
In this article, we will examine how to set up Windows 10 on a new virtual machine using Hyper-V virtualization software, which is widely used in Microsoft’s Windows and Server systems.
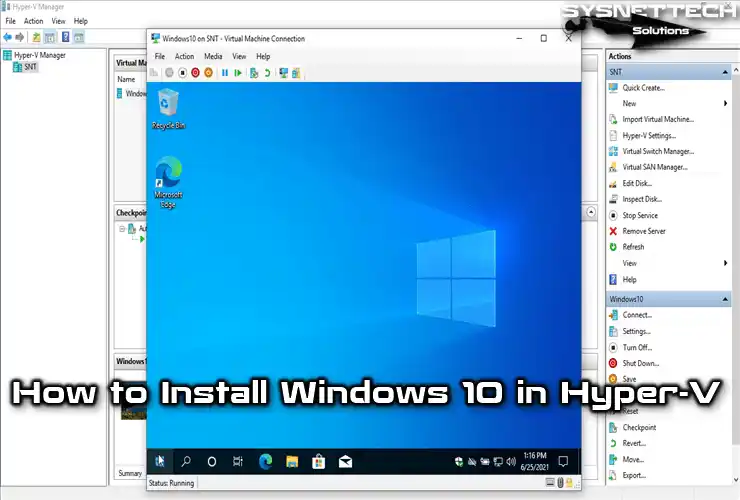
How to Install Windows 10 on a Virtual Machine using Hyper-V
Thanks to Hyper-V software, you can easily install and use both Windows and Linux-based operating systems that support virtualization on your physical computer. All operations on the virtual machines you create are independent of your host computer, so you can make any changes you want without damaging the system files.
Compared to other virtualization programs, Microsoft Hyper-V Client is a virtualization software that uses hardware resources most efficiently and offers advanced performance for guest operating systems. It has a Hypervisor system that manages the hardware devices of virtual computers running on the host computer or Windows server well.
This virtualization program is built into the Windows operating system and is not enabled by default. However, you can install it on your computer using the Turn Windows Features On or Off tool from the control panel.
How to Create a New Virtual Machine for Windows 10
In order to use the Windows 10 operating system virtually on your computer, you must first prepare a virtual PC with the correct settings.
After installing Hyper-V, you need to create a new External Switch using Virtual Switch Manager to connect guest systems to your local network or the Internet. This software has a default switch adapter that uses a NAT connection to access the network, but in most cases, it is healthier to use an external switch, as it causes network problems.
Step 1
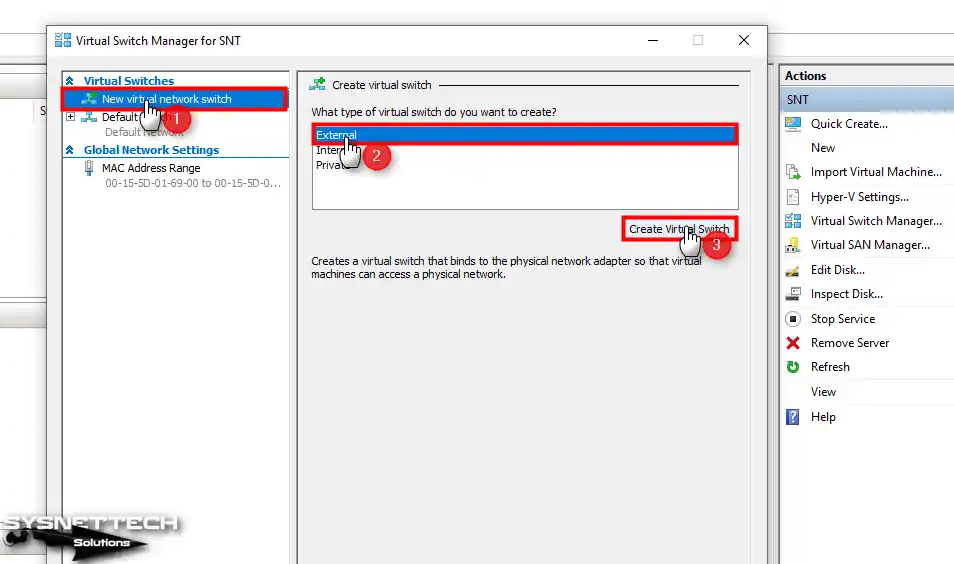
Before starting the virtual machine creation steps, open the Virtual Switch Manager and select the New Virtual Network Switch option. Next, select the Internal or External virtual switch type you will create and click the Create Virtual Switch button.
Step 2
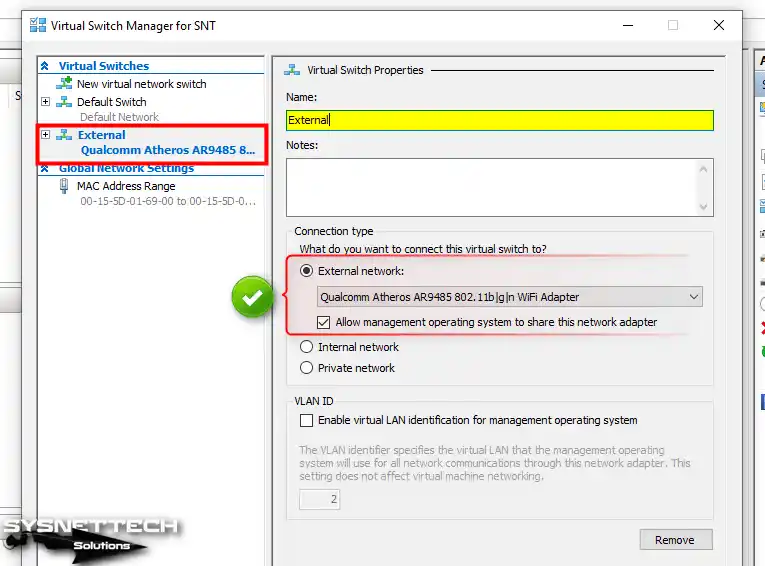
After creating the external virtual switch, select the Ethernet or Wi-Fi adapter of your physical computer connected to the network from the External Network section and click OK. While the new virtual switch is being created, your network connection may be interrupted for a short time because your host computer’s network adapter will be configured.
Step 3
After creating the External Switch, click Action / New / Virtual Machine on Hyper-V Manager.

Step 4
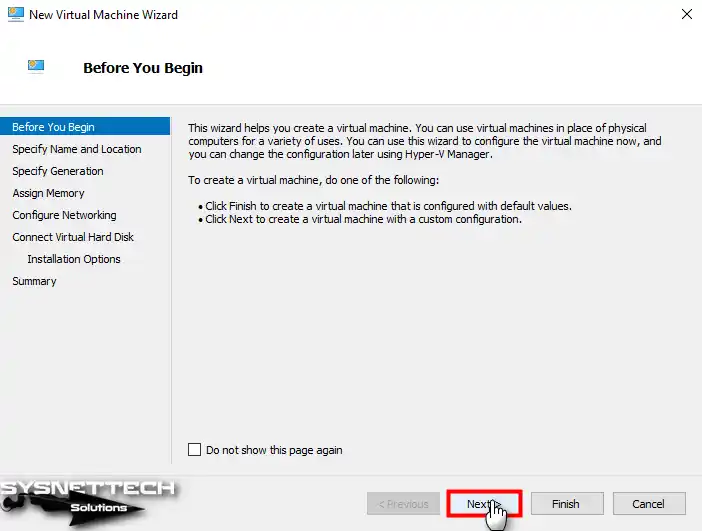
To create a new virtual machine with default settings, you can directly click the Finish button or choose to create a custom VM by continuing with Next. In order not to display the Before You Begin window again, check Do not show this page again and click Next to create a custom VM.
Step 5
Type the name of the Windows operating system, check the Backup virtual machine’s files in an external location option, and select your external SSD or NVMe disk via Browse.
If the capacity of your host disk is 1 TB or 2 TB, you can choose to back it up in the default location.

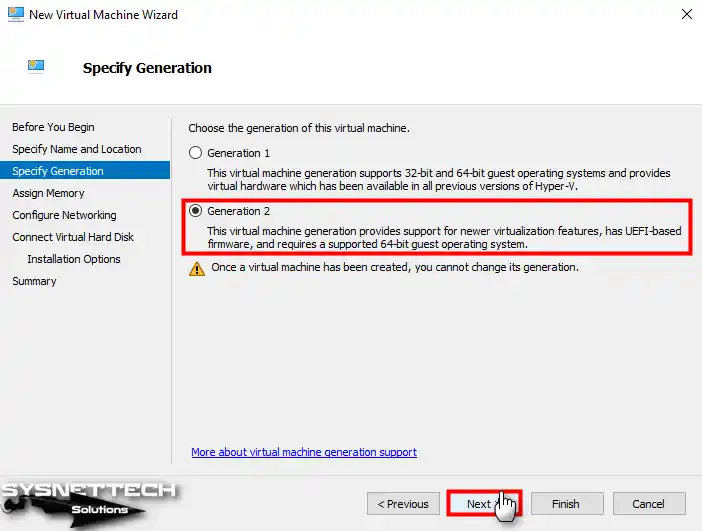
Step 6
In this window, you can select Generation 1, which supports BIOS firmware for legacy systems, or Generation 2, which promotes UEFI-based firmware supporting newer systems.
Since installing UEFI-supported Windows is recommended for both security and performance, select Generation 2 and click Next.
Step 7
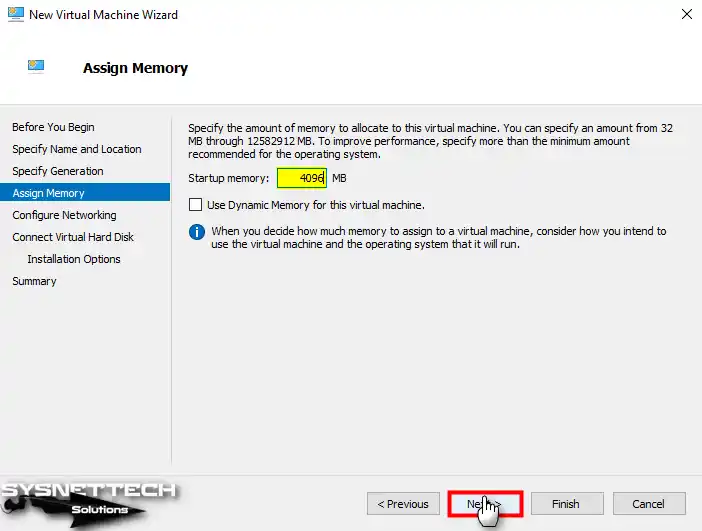
To assign a RAM size for the Windows 10 VM according to the RAM capacity of your host computer, type 4096 MB (4 GB) or higher in the Startup Memory section.
Here, you can additionally enable the Dynamic Memory feature to automatically increase the RAM size for the program in case the VM needs more memory. You can configure the maximum RAM size to be used from the host in the Dynamic Memory settings of the VM.
This feature is handy if you are running multiple virtual computers. Otherwise, you will use only one VM in your system. It would be better to assign a memory value of 4 GB.
Step 8
Select the External virtual network adapter you created using the Virtual Switch Manager tool.

Step 9
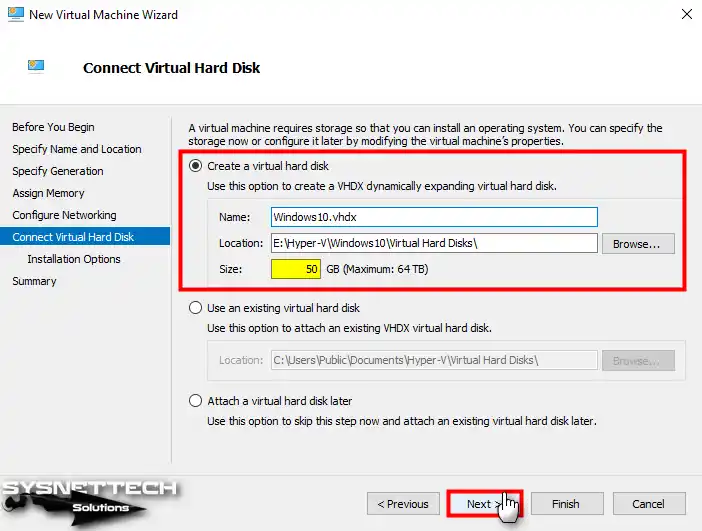
In this window, you can see that the location where you will back up the virtual PC and the area where the virtual disk will be backed up are the same. If you choose to back up only the virtual disks on an external storage device, you can change the location of the virtual disk.
The maximum virtual HDD capacity for the Windows 10 VM is 127GB, but if you want to specify a smaller size, you can change it in the Size section.
Step 10
To add the Windows 10 ISO file to the VM in the setup options settings, enable the Bootable Image File option and click the Browse button to select the image file you downloaded to your computer.

Step 11
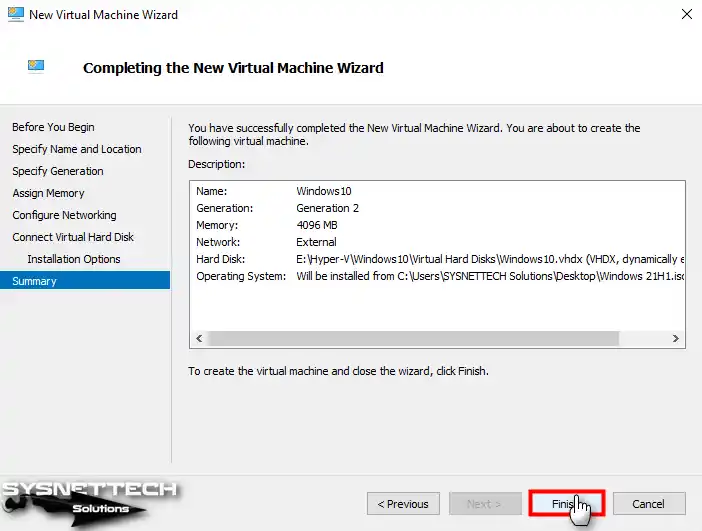
After checking the settings you made in the summary window in the last step of the virtual machine wizard, click Finish.
Step 12
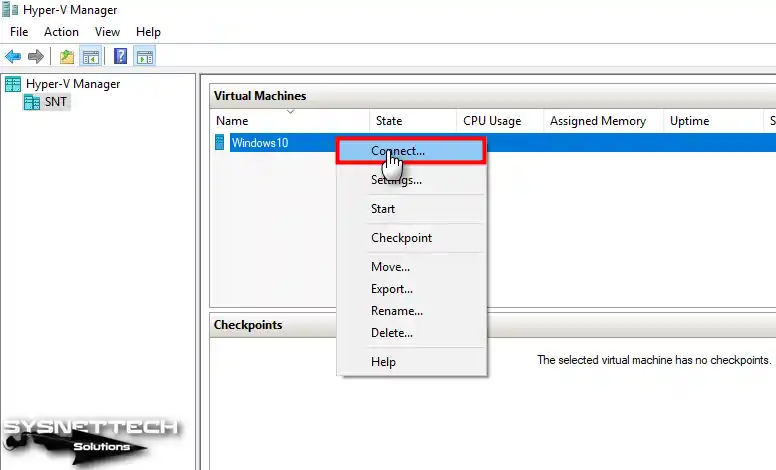
The virtual computer you created will appear in the Virtual Machines section. Here, to set some settings of the VM first, right-click on it and click Settings.

Step 13
Click the Processor hardware in the settings of the Windows 10 virtual PC and increase the number of virtual processors according to the characteristics of your host CPU.

Step 14
Finally, first, connect to the guest system to start the Windows 10 VM.
Step 15
After connecting to the guest operating system, you can run the VM by clicking the Start button from the tool menu.

How to Install Windows 10
After creating the Windows virtual PC and configuring its settings, you will now follow the same steps on the VM as if you were installing the system on a physical computer.
Step 1
After starting the virtual computer, press any key on your keyboard to start the installation with the ISO image mounted on the CD/DVD device.

Step 2
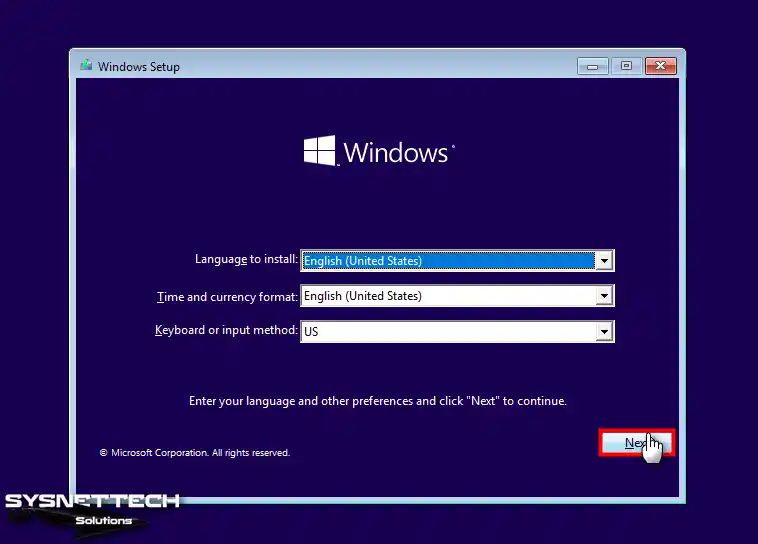
Set the display language, time, and region settings, and keyboard layout you want to use on the Windows 10 setup screen and click Next.
Step 3
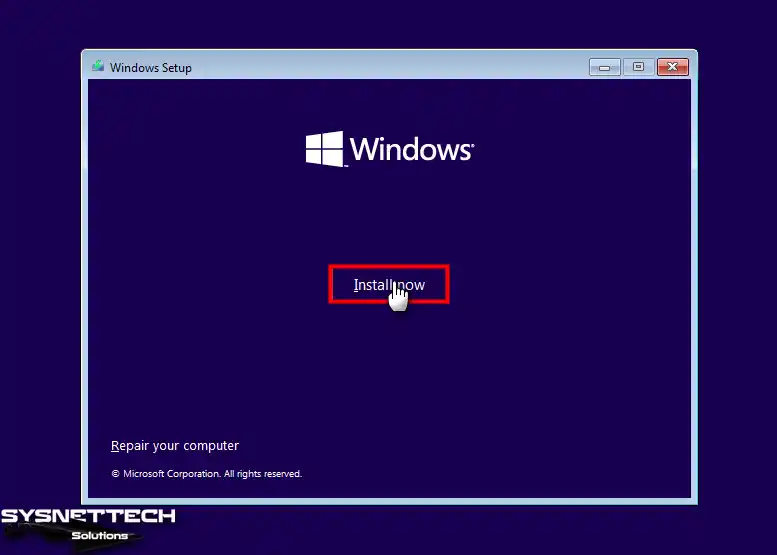
Click the Install Now button on the setup screen to start installing Windows 10 in Hyper-V.
Step 4
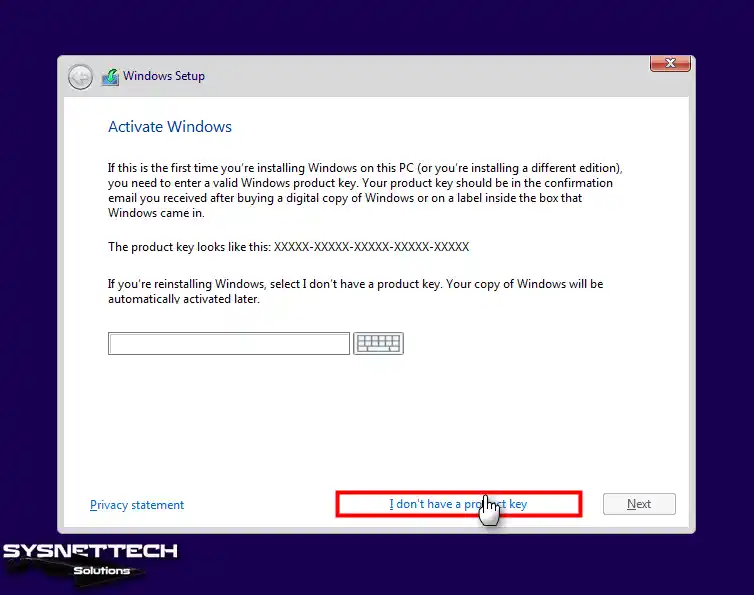
Suppose you have previously purchased a Windows 10 product key and would prefer to use that key in the VM. Type in your license key and click Next. If you are going to use the VM for testing purposes only, click I don’t have a product key.
Step 5
You need to choose one of the Home, Home N, Home Single Language, Education, Education N, Pro, or Pro N editions of Windows 10. Select the most commonly used Pro version on PCs and click Next.

Step 6
To accept the Microsoft software license terms, check I accept the license terms and click Next.

Step 7
Since you have installed Windows from scratch and you cannot continue with the Upgrade option on this screen, click on the Install Windows option.

Step 8
You need to create a new partition on the disk where you want to install Windows. To configure the disk with a capacity of 50 GB, click the New button, then the Apply button, and then click OK in the information window, informing that additional spaces can be created.

Step 9
After creating a new partition on the virtual disk, select the Primary type Drive 0 Partition 3, and click Next to start the Windows installation.

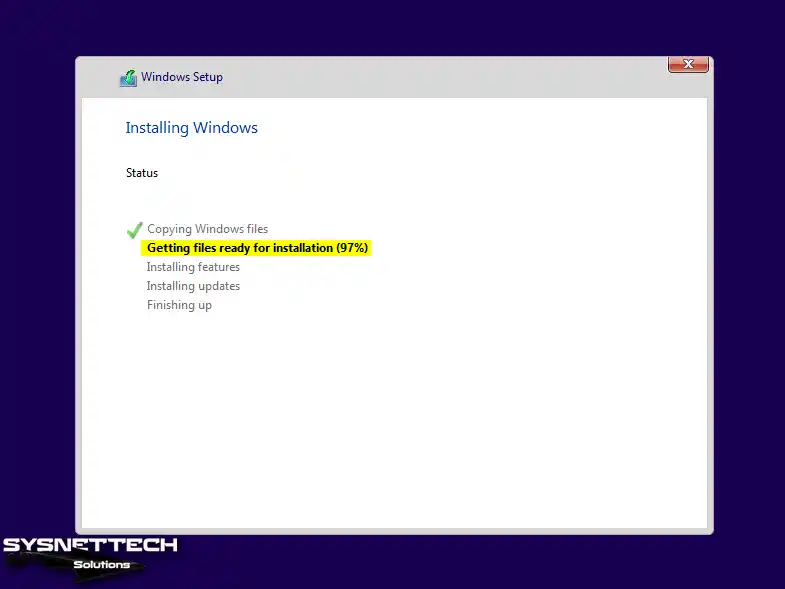
Step 10
Wait while the Windows installation files are being prepared. The time to copy system files may vary depending on the hardware performance of your host computer, so wait a bit.
Step 11
To configure the region settings of your system, select the country you live in and click Yes.

Step 12
You must also select the keyboard layout of your host computer during the system setup. If you want to use a different design on your system, you can add a second keyboard layout in the next step.

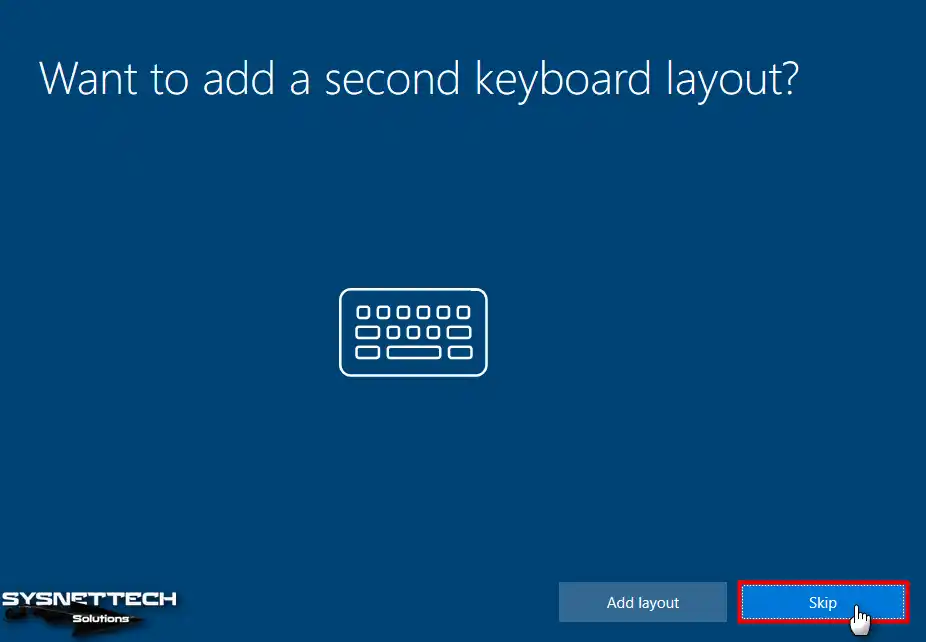
Step 13
If you prefer to add a second keyboard layout, you can click the Add Layout button. Click Skip if you want to use the keyboard layout you selected in the previous step.
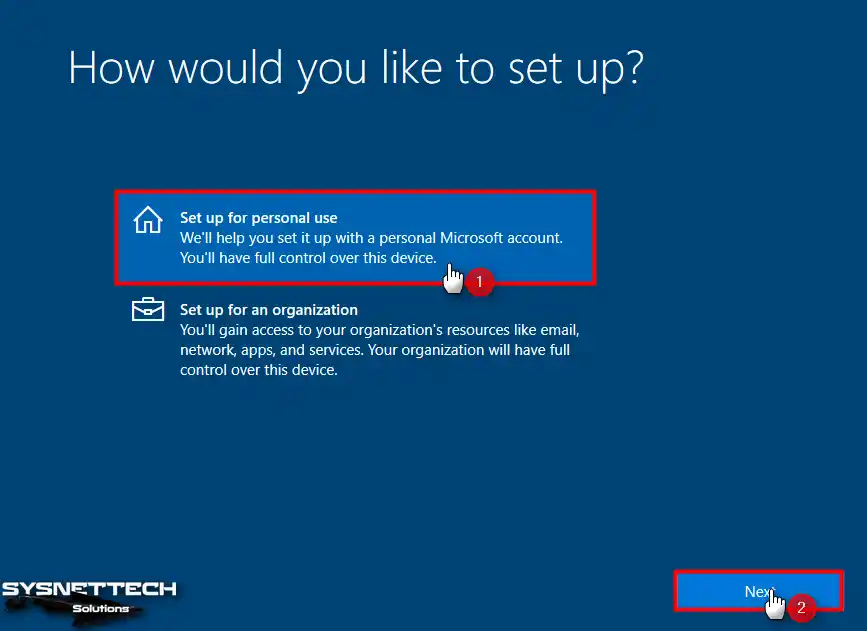
Step 14
If you are going to use your virtual machine in a domain environment, you can continue with the Organization option and make your settings. However, if you are going to configure it for personal use, select Personal and click Next.
Step 15
At this stage, you will be asked to enter a Microsoft account. If you don’t want to log into the VM online, you should click Offline Account.

Step 16
The setup wizard will offer you the benefits of logging in with the online account again. To continue creating an offline account, click Limited Experience.

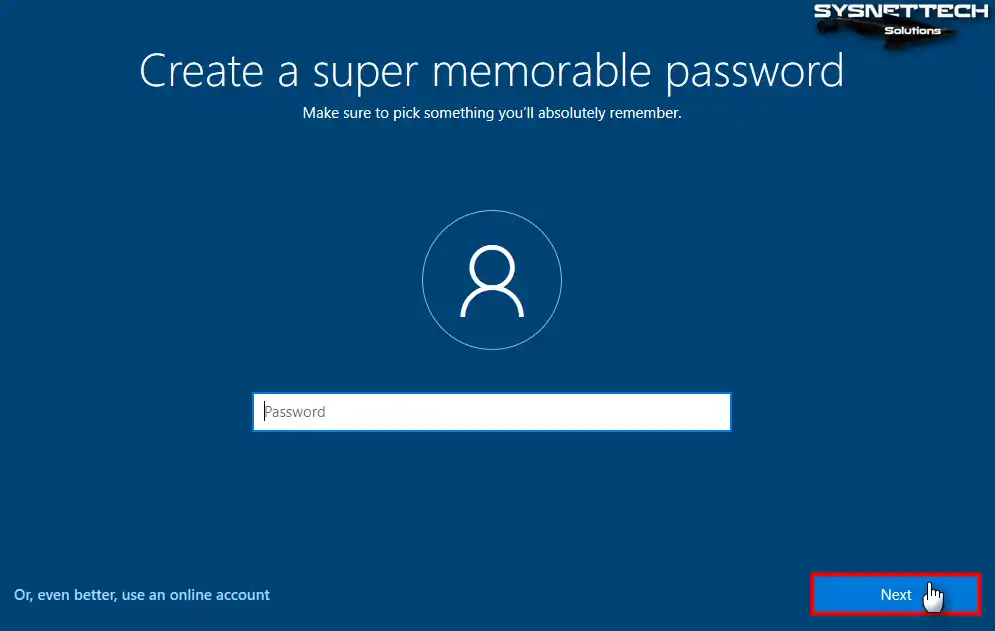
Step 17
If you decide to open an online account instead of using an offline account at this step, you can click on Or, or even better, use an online account to return to the previous settings. To create an offline account, type a new user account name that you will use on the virtual PC and click Next.

Step 18
If you do not want anyone else to access your guest operating system, you can create a memorable password.
Step 19
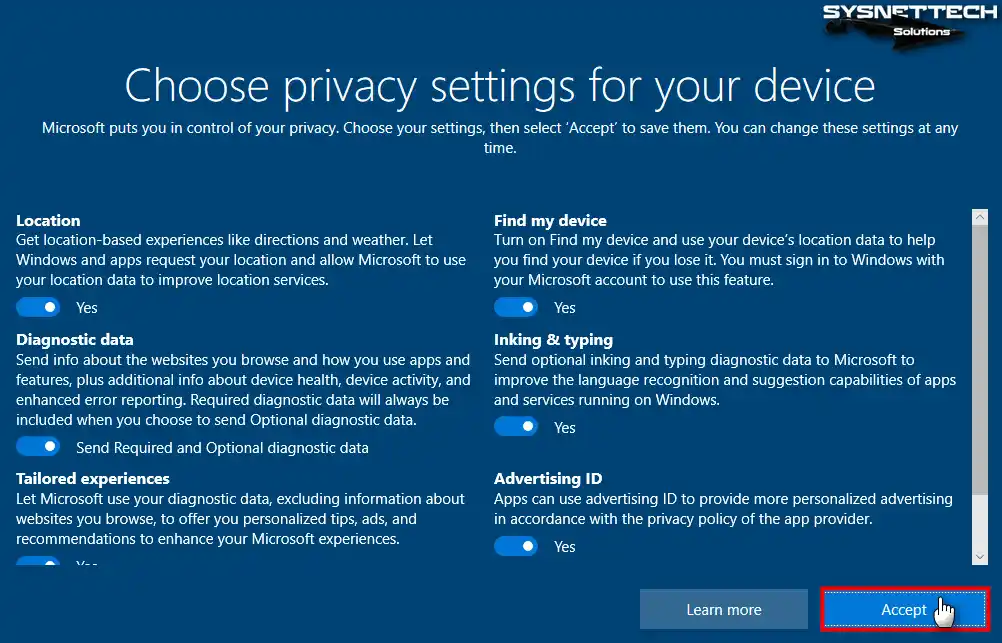
If you prefer to send reports containing an advertisement, location, or error data to Windows 10, click Accept.
Step 20
Microsoft analyzes your location information, typing, or search history to improve your system experience, allowing you to get better results through Cortana. If you want to enable Cortana in the VM, you can click Accept or click Learn More for more information.

Step 21
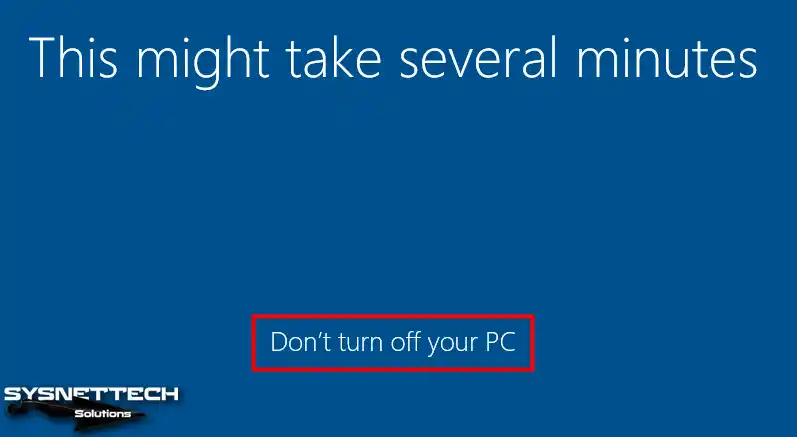
After configuring the necessary settings, your virtual system will be ready in a few minutes. Do not turn off your VM and wait while the setup wizard configures the final settings for your system.
Step 22
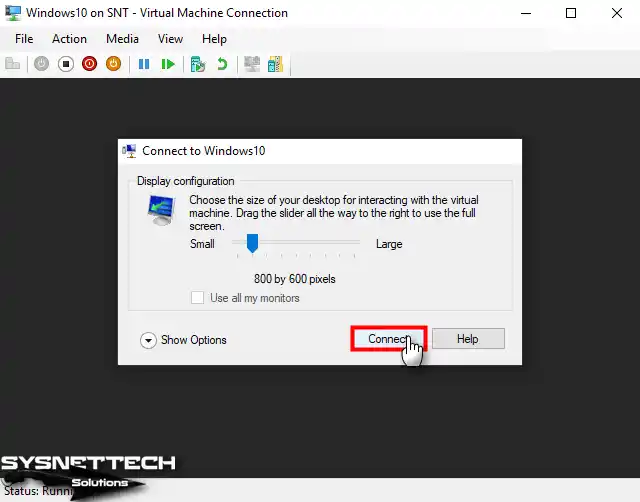
After the final settings are configured, you need to do the Display Configuration to connect to the VM. So you can configure the screen resolution of the VM on your host machine as you want.
Step 23
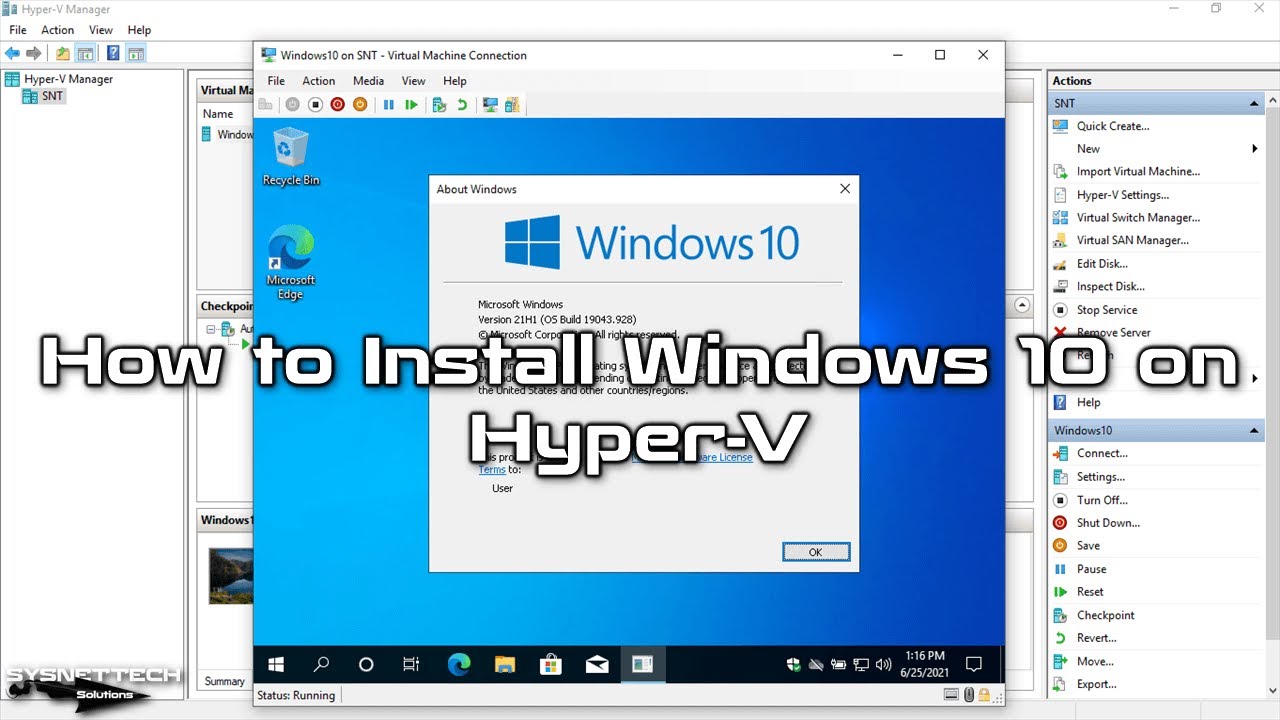
After choosing the screen resolution, you will be able to access the Windows 10 desktop environment. You can find out the version of the system you have installed by executing the winver command in the Run window.

How to Check Internet Connection
One of the first things you should do after installing Windows 10 on the VM is to test the local network and Internet connection. After testing your network connection, you can start making the changes you want to your system.
Step 1
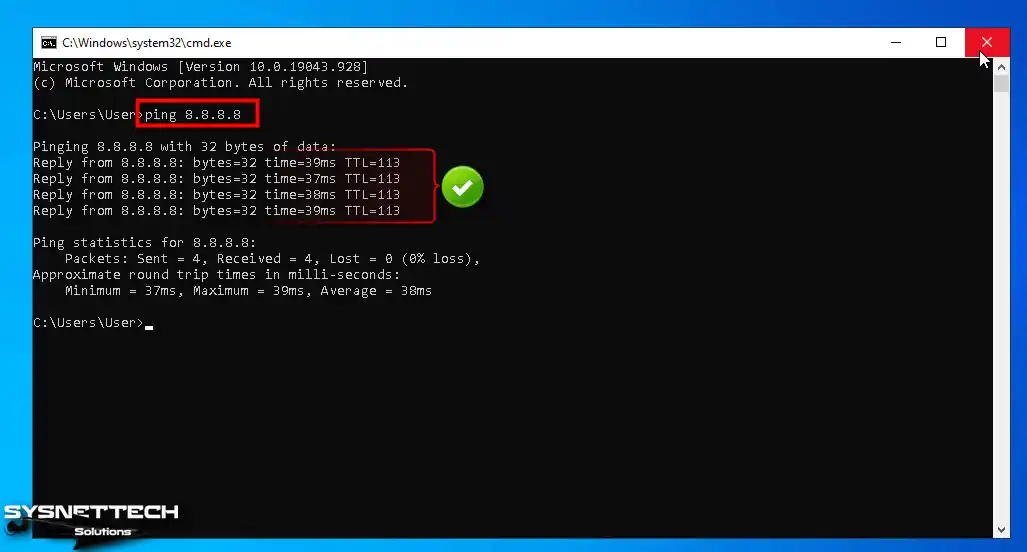
To test the internet connection, right-click on the start menu, open Command Prompt (CMD), and test your connection by pinging Google servers by executing the ping 8.8.8.8 command.
If you get results like the image below, that is, if you get TTL (Time-to-Live) values, you can understand that there is no problem with your Internet connection.
Step 2
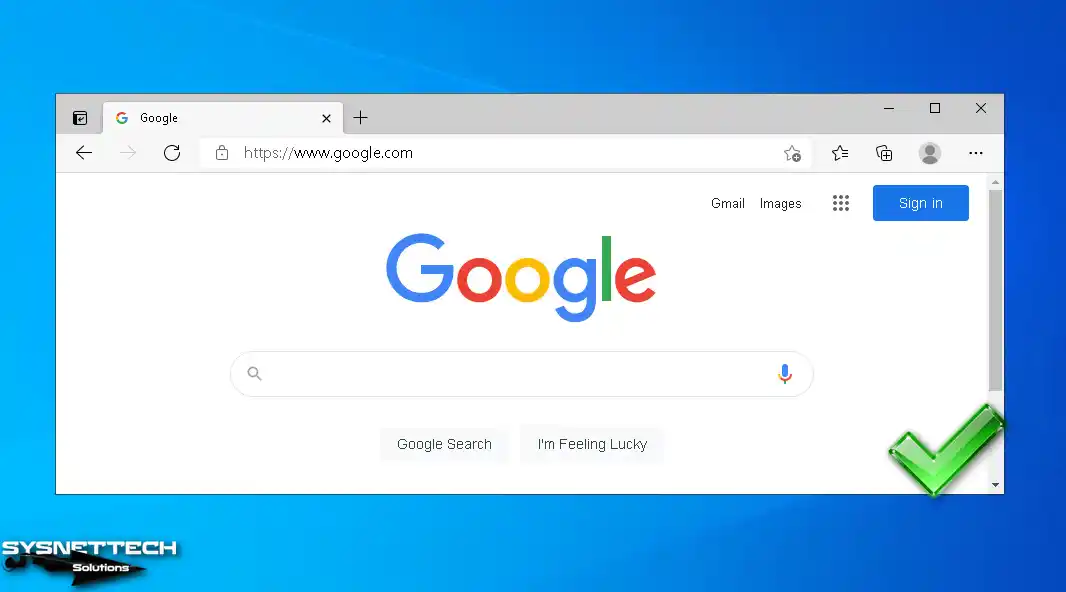
Open the Microsoft Edge browser and check that you can access the Google homepage.
How to Use USB Flash Memory in a Virtual Machine
Using USB flash memory in VMs on Hyper-V can be solved with a straightforward method. To do this, you must first plug a flash drive into your host’s USB 3.0/3.1 port and then configure local resources when connecting to the VM.
Step 1
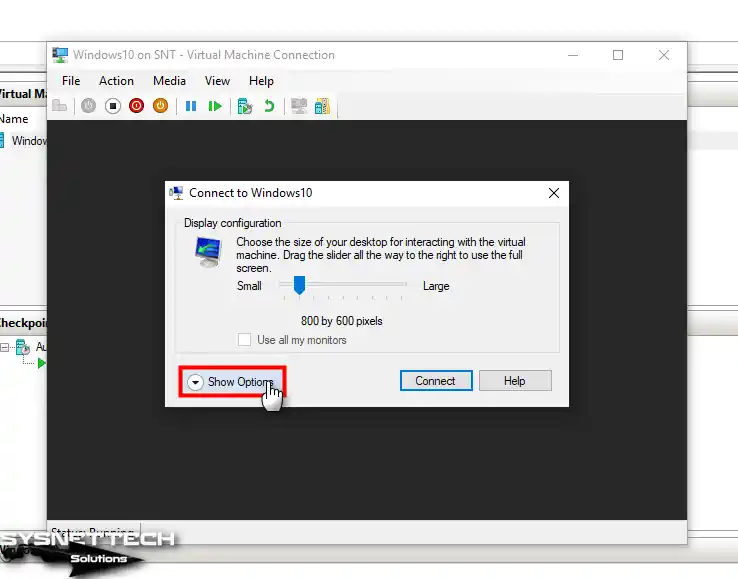
Plug a USB memory into your host computer and then connect to your virtual computer in Hyper-V. Then, when the screen configuration window opens, click Show Options.
Step 2
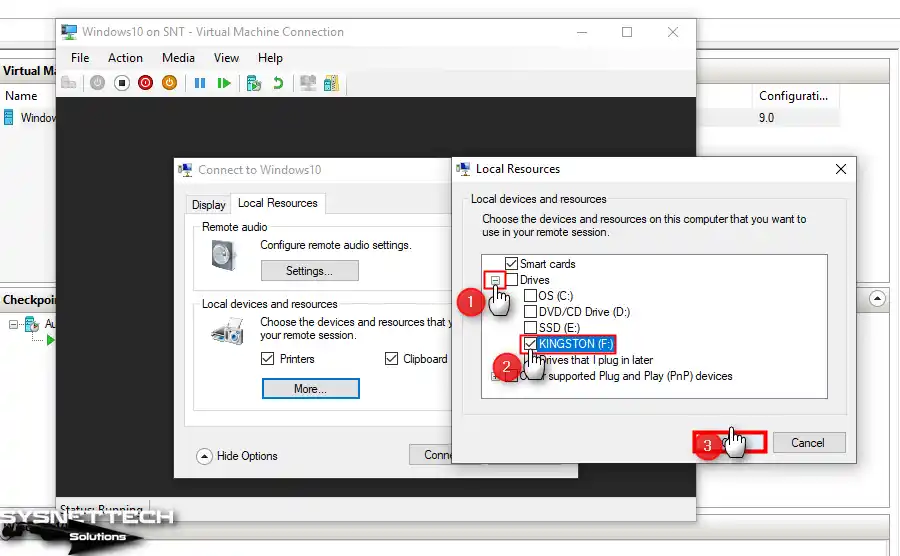
In the Local Resources tab, under Drives, tick your flash drive and click OK.
Step 3
Under My Computer / Redirected drives and folders, you can now see the USB stick you have plugged into your physical computer.

Step 4
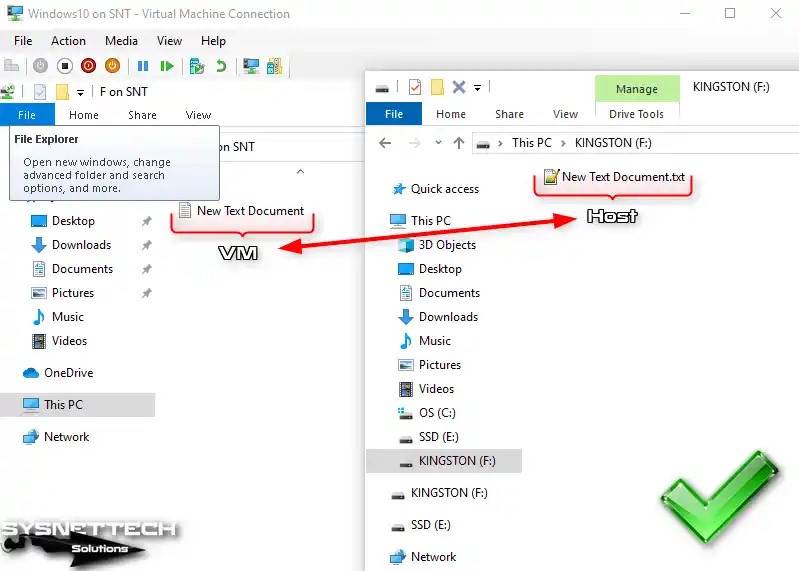
You can also see all the files or folders that you have copied into the flash memory on the virtual PC on the host. Thus, you can transfer data between the host and the VM more easily.
Video

1 Reader Comment
An excellent How To, easy to follow and simplifies connection to the internet. Unfortunately, the successful implementation is plagued with the Disconnect/Reconnect syndrome.
What is the solution to this problem? My attempts to find a solution have been unsuccesswful