
This guide provides a detailed walkthrough on effortlessly installing and utilizing Oracle VM VirtualBox 7.0, a freely available virtualization software, to create new virtual machines on the openSUSE Leap 15 (15.4) Linux distribution.
How to Set Up Oracle VM VirtualBox 7.0.0 to Create a Virtual Machine on openSUSE Leap 15
Oracle VM VirtualBox is a great free, open-source virtualization software. By utilizing this software on your primary computer, you can effortlessly operate a wide range of Windows, Linux, or macOS systems virtually, eliminating the need for a complicated dual-boot system setup.
Any operation you perform on these virtual machines you have installed will not harm the operating system installed on your physical computer. A virus that will only infect your virtual computer when connected to the same network can also infect your host system. While this may be the only drawback, it presents an excellent opportunity to explore and engage with diverse operating systems on your virtualization-supported computer.
Many users generally use the Windows system on their host PCs. Still, those aiming to gain advanced experience prefer a Linux-based distribution.
Another Linux platform is the openSUSE distribution developed by the SUSE company. There are two variants of this distribution, Leap and Tumbleweed. When there are system updates in the Leap type, the version is changed. Still, in the Tumbleweed type, the updates are pulled from the Internet and installed instantly, but there is no change in the system version.
We recommend choosing Oracle VM software to create and use a new virtual machine in the openSUSE Leap 15 (15.4) distribution.
How to Download and Install Oracle VM VirtualBox
You can download VirtualBox virtualization software developed by Oracle from the official website for Windows, Linux, or macOS platforms. The setup file extension may vary depending on the downloaded operating system, necessitating the program’s installation by the corresponding file extension.
Step 1
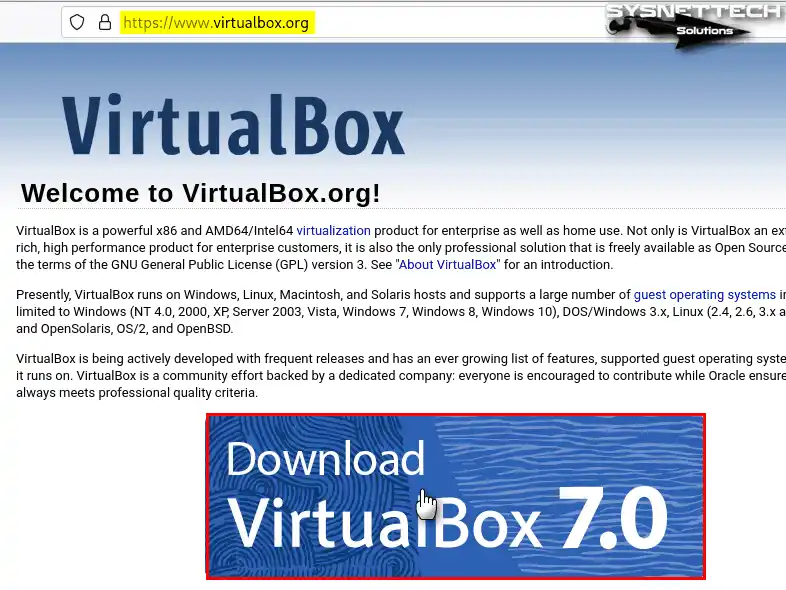
To download VirtualBox on your Linux computer, visit this address and click on the big image on the homepage.
Step 2
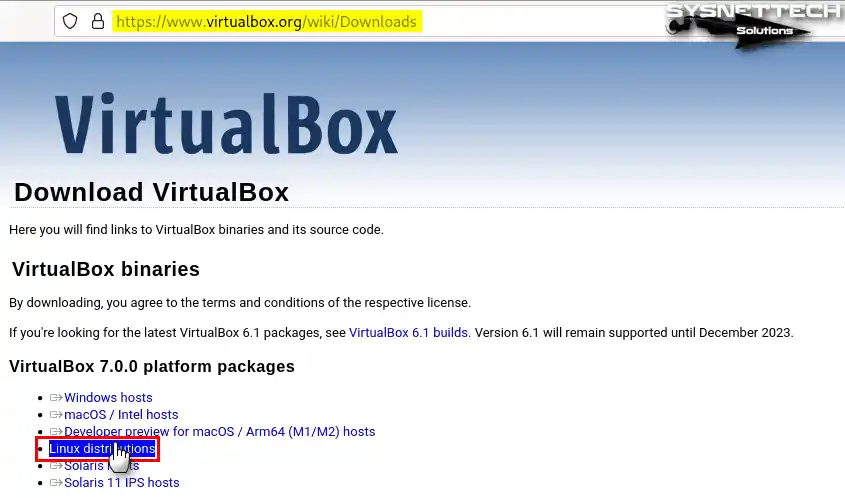
When redirected to the VirtualBox 7.0.0 Platform Packages webpage, click Linux Distributions.
Step 3
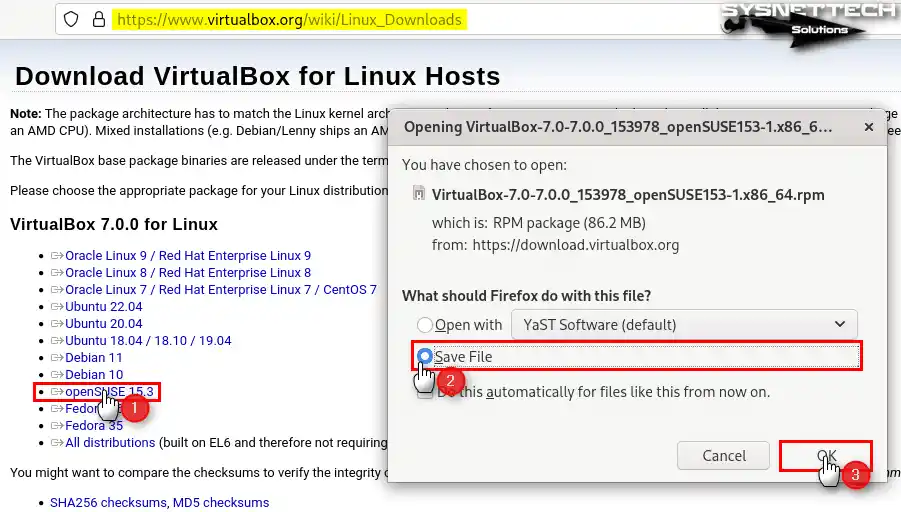
You can see the distributions you can download for Linux hosts on this page. Click on the link to get the setup file compatible with your openSUSE system and has the rpm package extension, and then save the file.
Step 4
After downloading the VirtualBox.rpm setup file, you need to update your openSUSE system’s repository sources before starting the installation. To accomplish this, initiate the process by opening the terminal and executing the “sudo zypper refresh” command.
sudo zypper refresh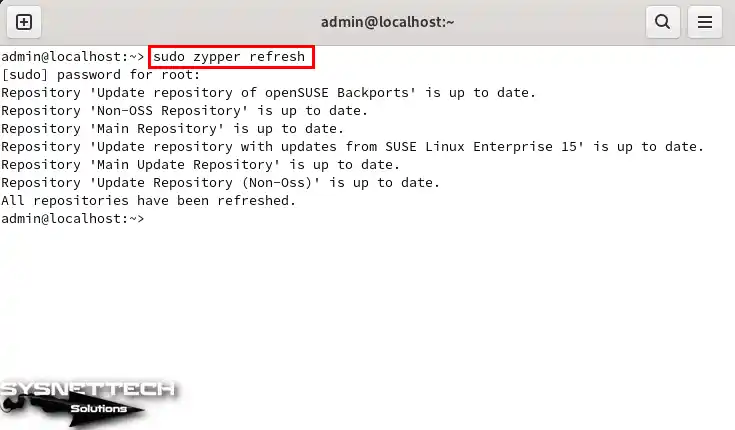
Step 5
For VirtualBox to run smoothly on your computer, execute the “sudo zypper in gcc make kernel-devel” command in the terminal to install GCC and kernel packages on your system and press Y and Enter to confirm the packages to be installed.
sudo zypper in gcc make kernel-devel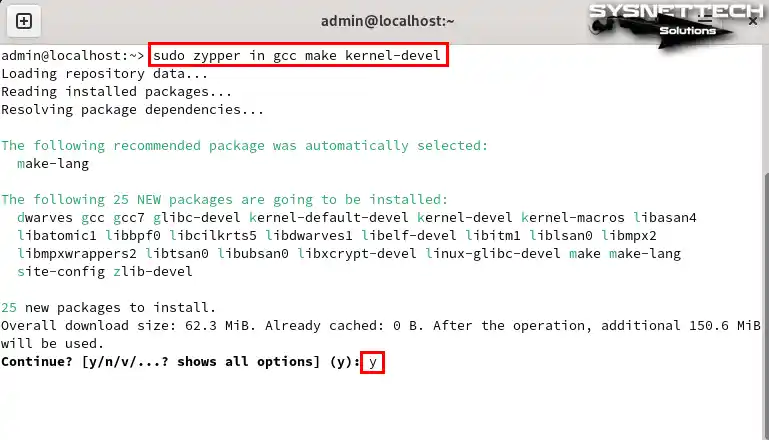
Step 6
You must download and import the signed key when installing Oracle software on your openSUSE system. If you continue without downloading the key, you will not get an error during installation. Still, you may get an error on your guest machines.
Execute the commands below in the terminal to download the oracle_vbox key and add it to your system.
sudo wget -q https://www.virtualbox.org/download/oracle_vbox.asc
sudo rpm --import oracle_vbox.asc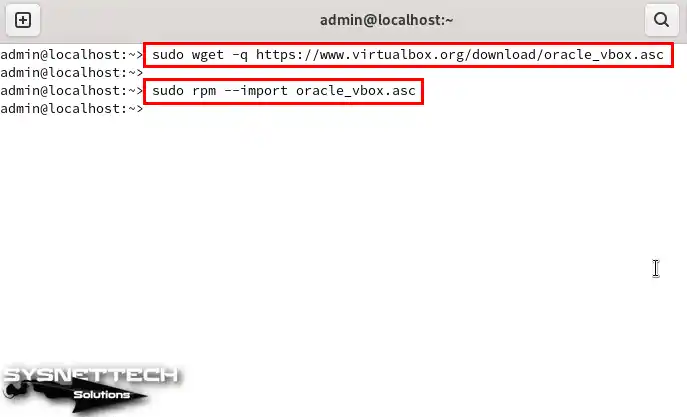
Step 7
After completing the necessary preparations, proceed to the directory where you downloaded the VirtualBox.rpm file. From there, in the terminal, execute the command “sudo zypper install VirtualBox-7.0-7.0.0_153978_openSUSE153-1.x86_64.rpm” to trigger the setup process.
sudo zypper install VirtualBox-7.0-7.0.0_153978_openSUSE153-1.x86_64.rpm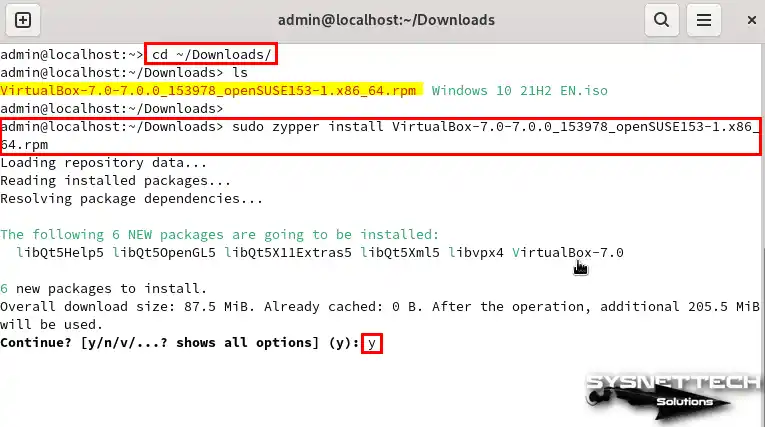
Step 8
After installing Oracle VirtualBox, you must add your current user account on your SUSE system to the vboxusers group; otherwise, you will get a warning about user control.
To add your existing user account to the vboxusers group created by Oracle, run the command “sudo gpasswd -a $USER vboxusers” in the terminal. Afterward, to apply the changes, reboot your computer using the command “sudo reboot.” This will ensure that the modifications take effect accordingly.
sudo gpasswd -a $USER vboxusers
sudo reboot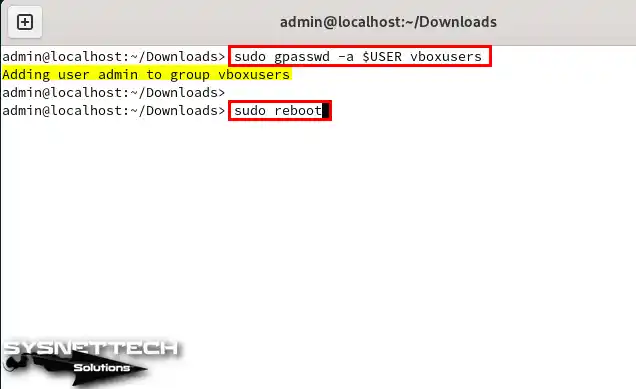
Step 9
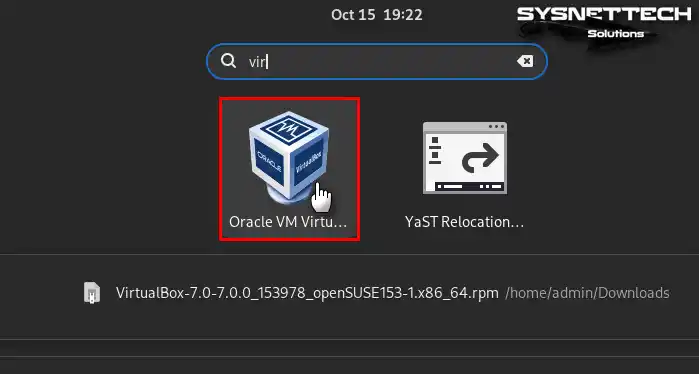
When you restart your SUSE computer, find VirtualBox from the applications menu and run it.
Step 10
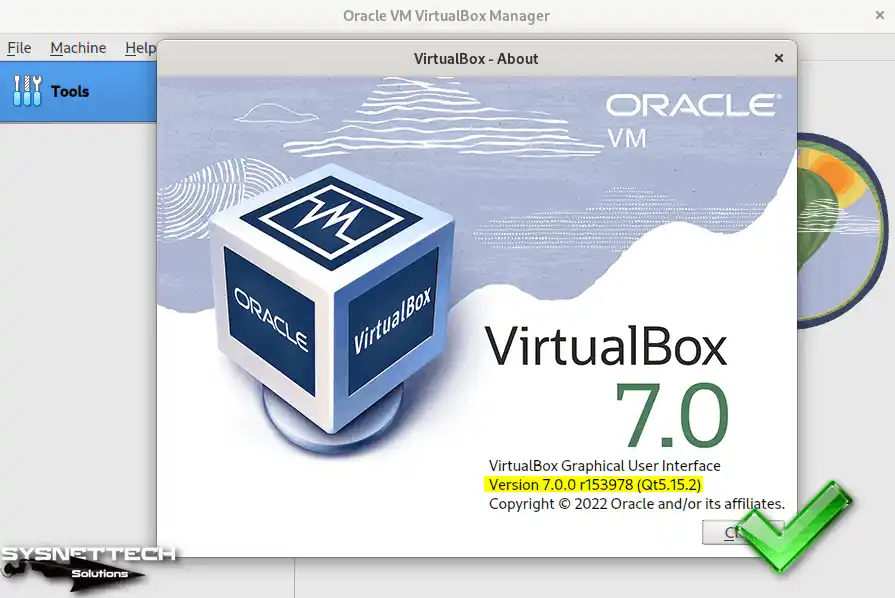
When you run the Oracle VM VirtualBox virtualization software, you can check Help / About from the tool menu to check version 7.0.
How to Install Extension Pack
You must install the Extension Pack application to use USB, webcam, or other host hardware in your guest virtual machines that you will run in VirtualBox.
Step 1
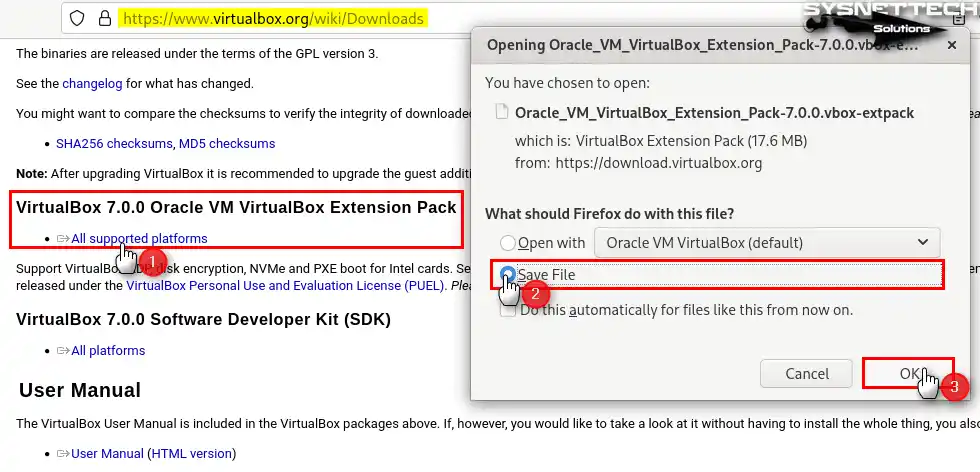
Likewise, visit the virtualbox.org website, and this time click on the All Supported Platforms link in the “Extension Pack” title and save the vbox-extpack package to your computer.
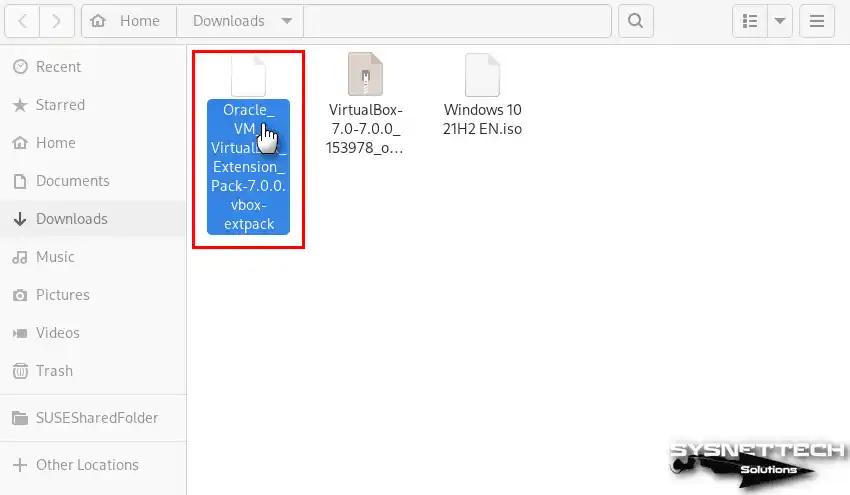
Step 2
Go to Downloads and double-click the relevant file to install the Extension Pack on your SUSE system.
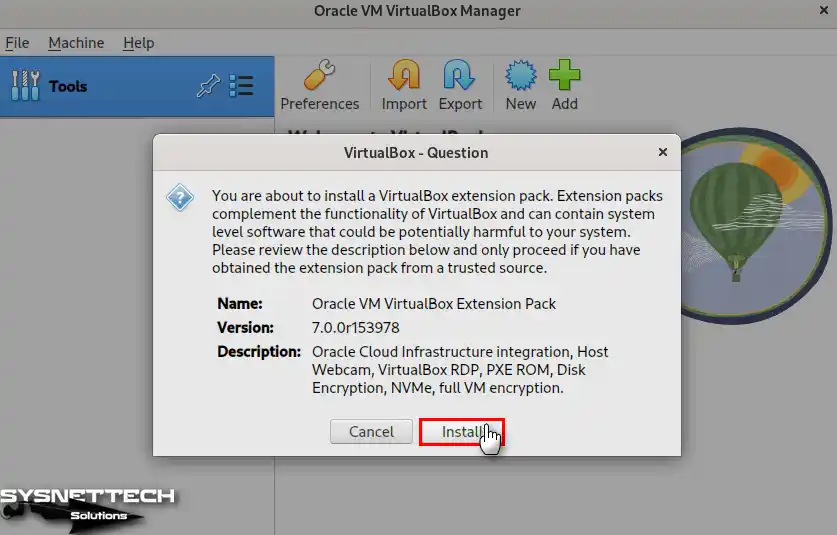
Step 3
As soon as you double-click the installation file, when the Oracle program opens, click the Install button in the Question window.
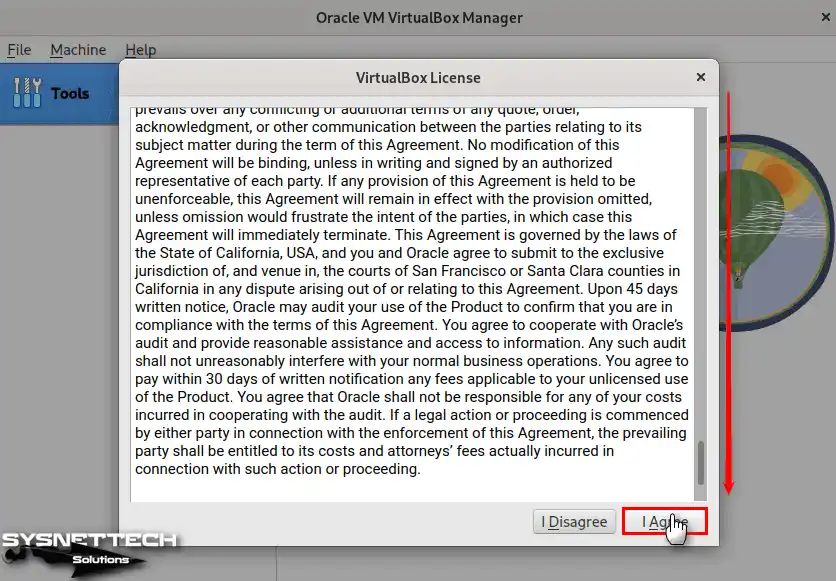
Step 4
Scroll down the window and click “I Agree” to see the entire license agreement text for the application package.
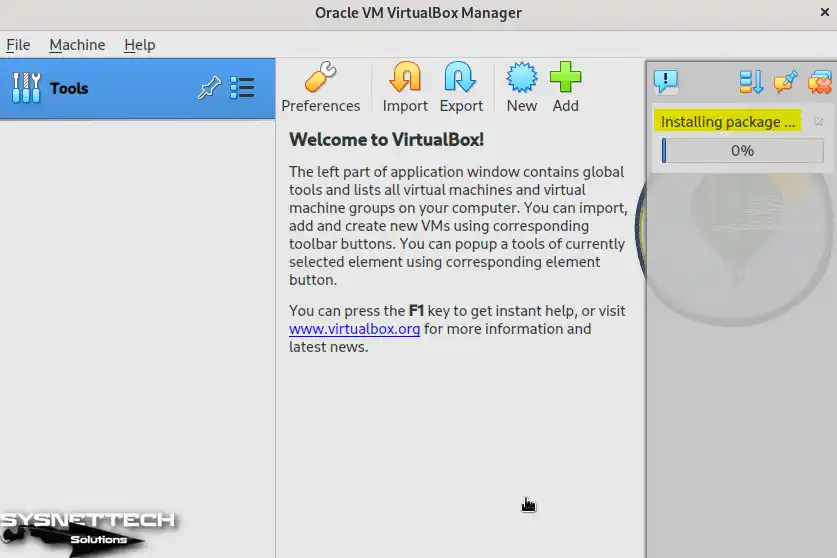
Step 5
Wait while the driver package for virtual machines is installed.
Step 6
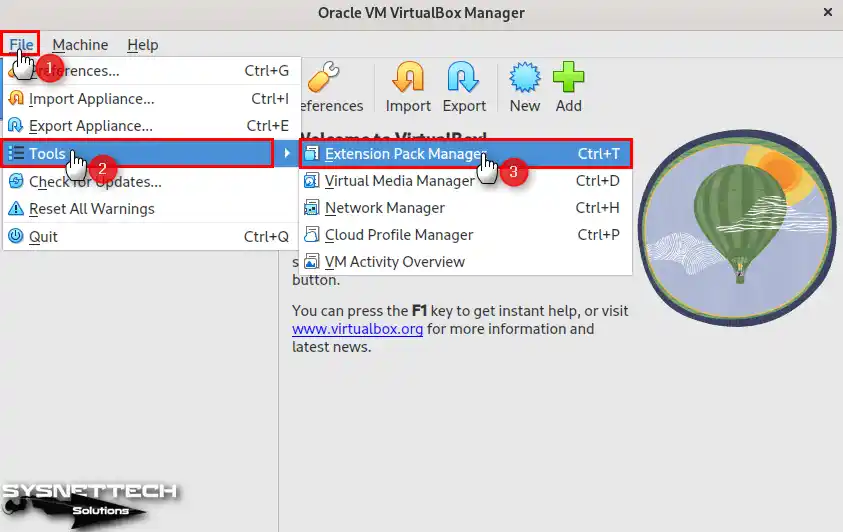
Open File / Tools / Extension Pack Manager to verify the installation process.
Step 7
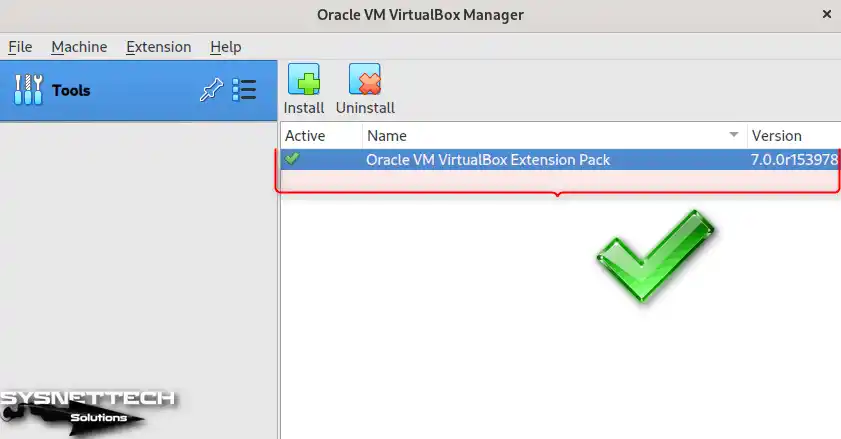
You can check that you added version 7.0.0 of the Oracle VM Extension Pack to the program.
How to Create a New Virtual Machine
After installing VirtualBox on openSUSE, you can install a Windows or other operating system on your host computer and run it virtually.
Step 1
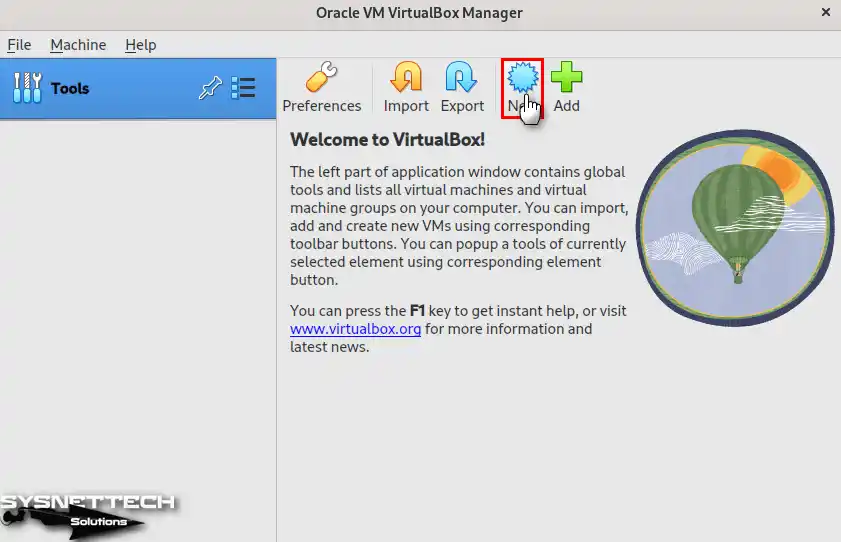
Open the VirtualBox program, click the New button from the large icons section, and open the virtual machine wizard.
Step 2
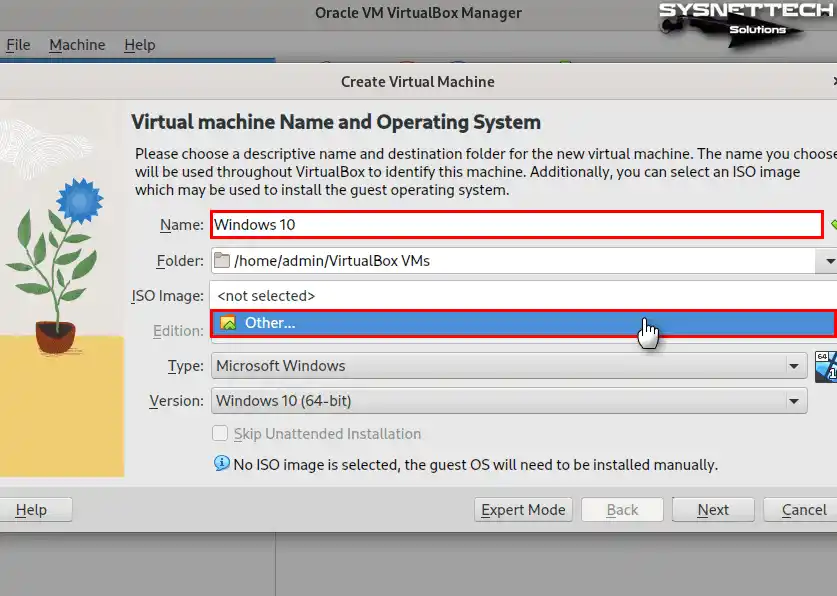
In the virtual machine preparation wizard, type the operating system name you will install and select Other from the drop-down menu to add the Windows 10 image file from the ISO Image section.
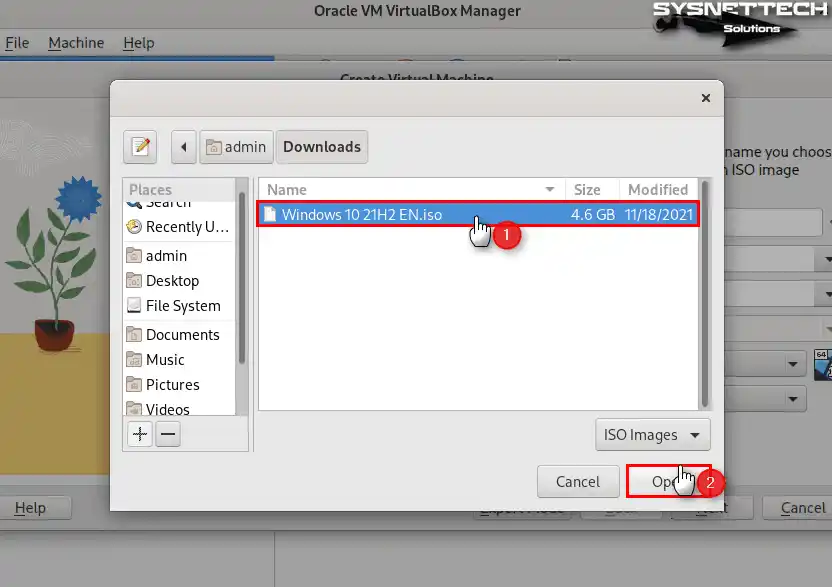
Step 3
Choose the Windows 10 ISO file you downloaded to your computer within the open window and add it to the program.
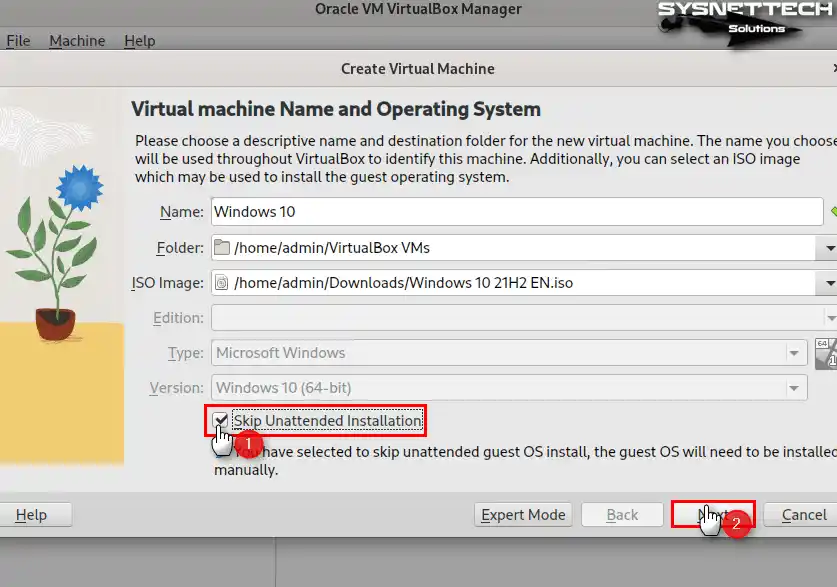
Step 4
If you want to make the user account name, password, or product activation key unattended after adding the image file, proceed without checking the Skip Unattended Installation option.
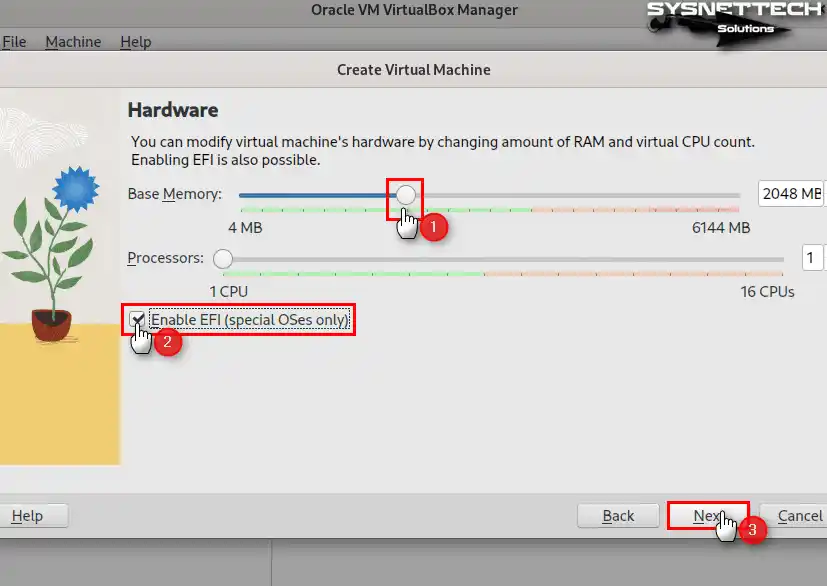
Step 5
Specify a suitable virtual memory size for your Windows 10 virtual computer and enable the EFI infrastructure.
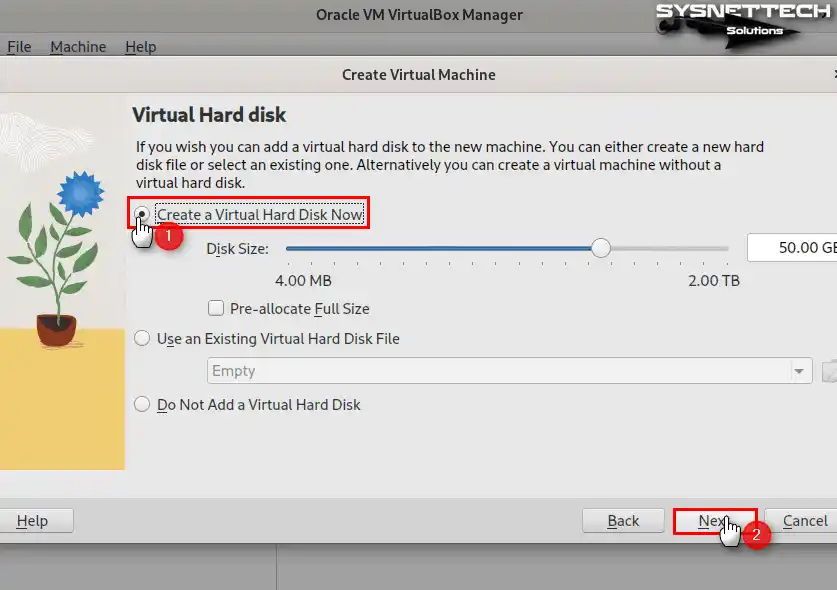
Step 6
Create a new virtual disk for your Windows 10 guest machine and set an appropriate disk space size.
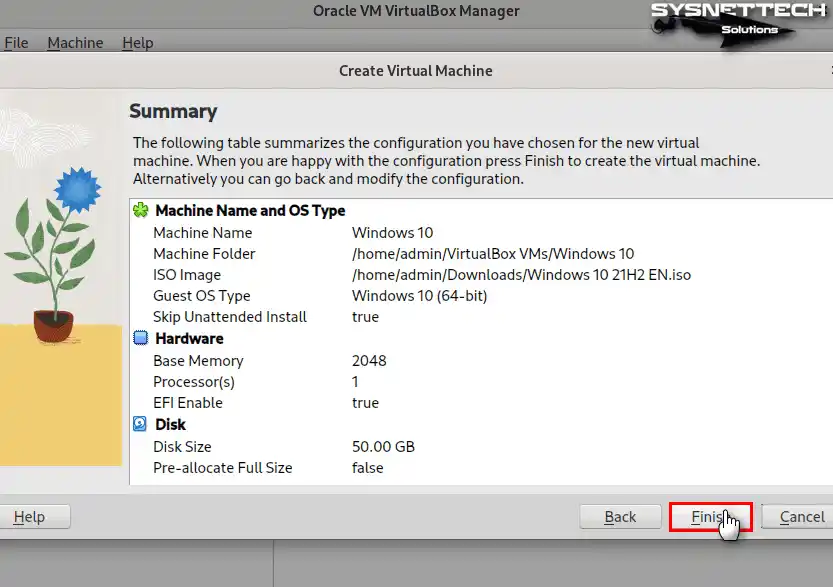
Step 7
Check the summary information about the virtual hardware settings of the guest operating system and close the wizard.
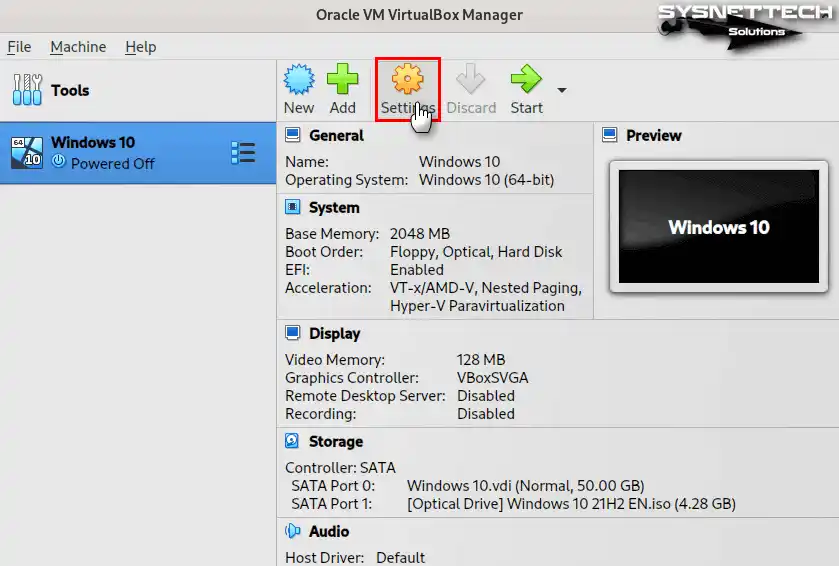
Step 8
Open the Windows 10 virtual machine’s settings to make more advanced virtual hardware settings.
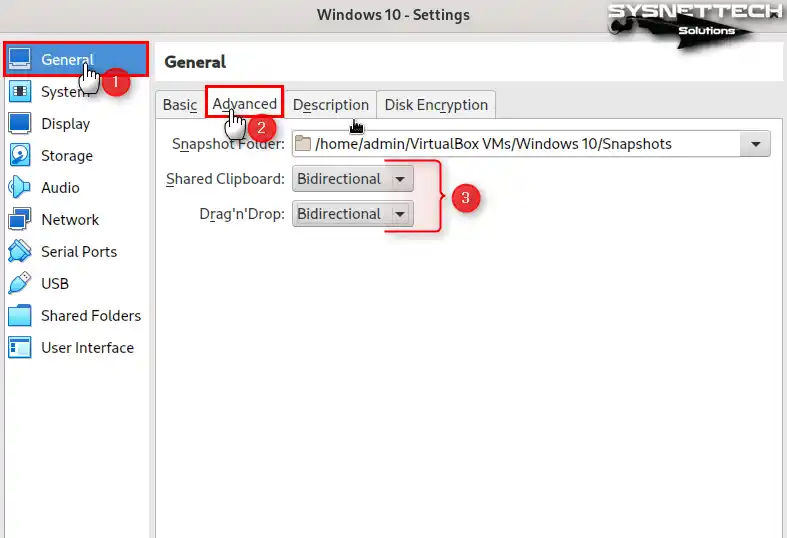
Step 9
Change Shared Clipboard and Drag’n’Drop properties to Bidirectional in General / Advanced settings for fast file transfer between your host PC and guest machine.
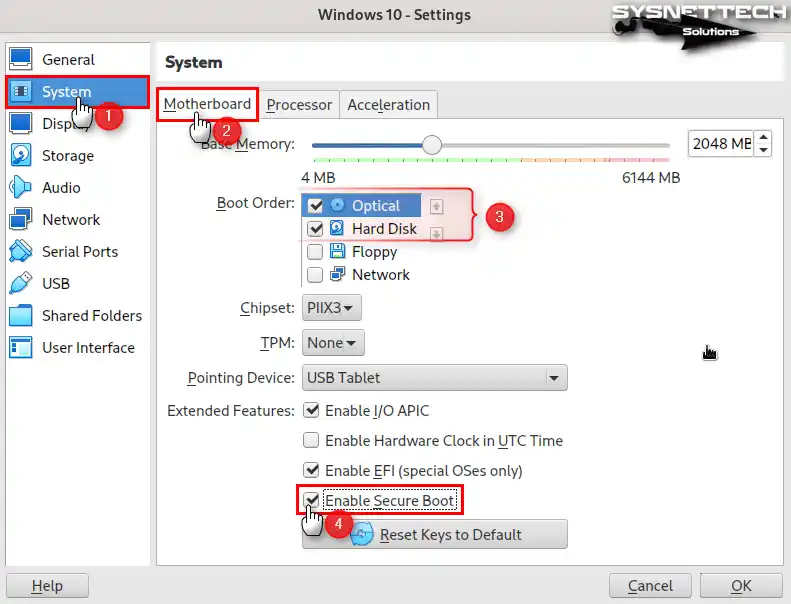
Step 10
To install Windows using the ISO file, set Optical to the top of the Boot Order devices in the System / Motherboard settings and enable the Secure Boot feature.
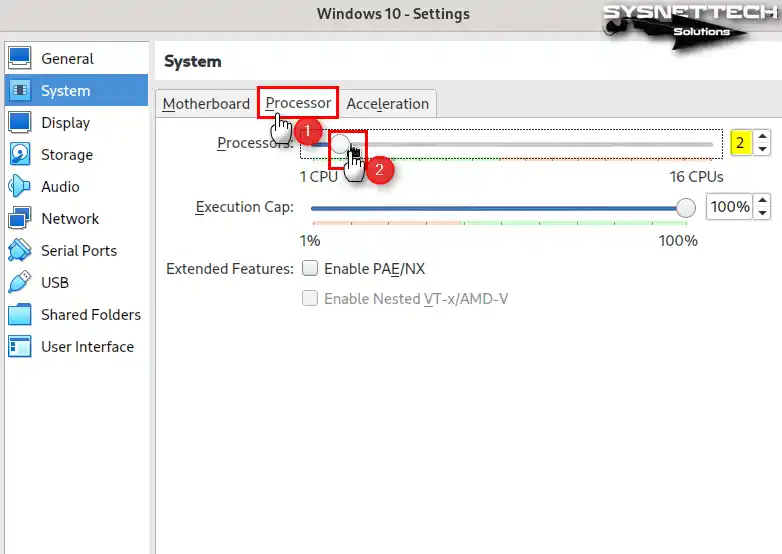
Step 11
Configure the vCPU setting to 2 or higher in the Processor settings to use your virtual computer faster.
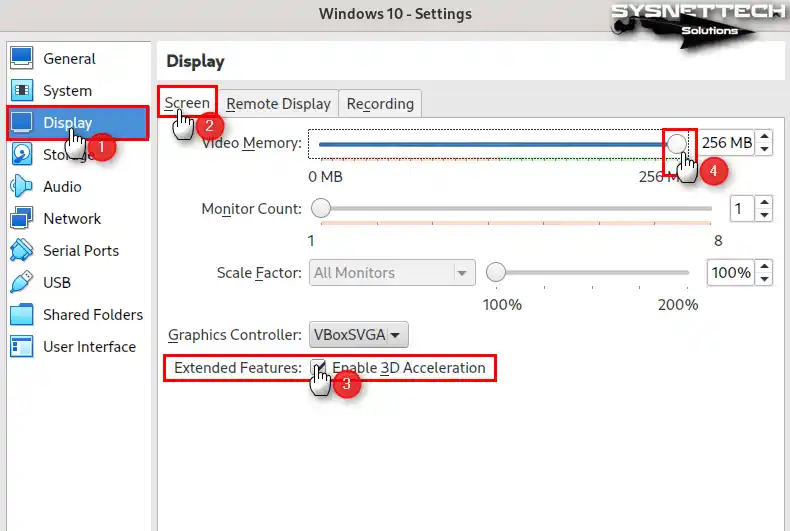
Step 12
Enable 3D Acceleration from Display / Screen settings and change Video Memory size to 256MB for a better video experience.
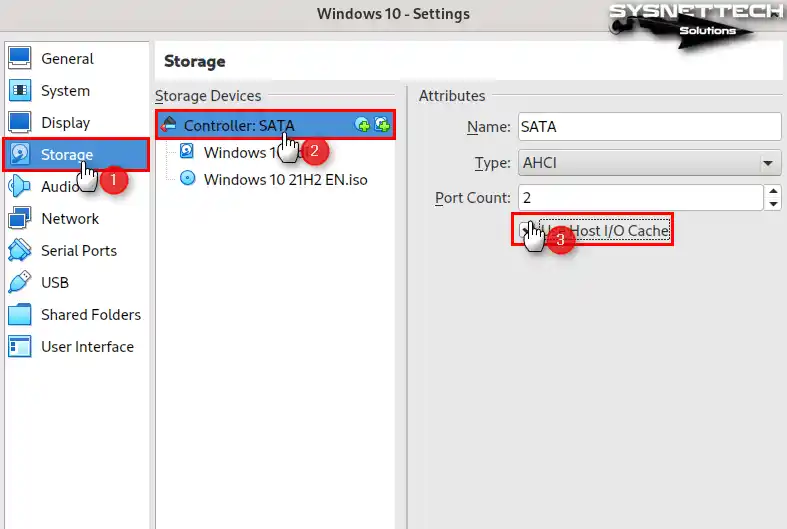
Step 13
To increase the performance of the virtual disk, select the SATA controller from the Storage settings and enable the Host I/O Cache feature.
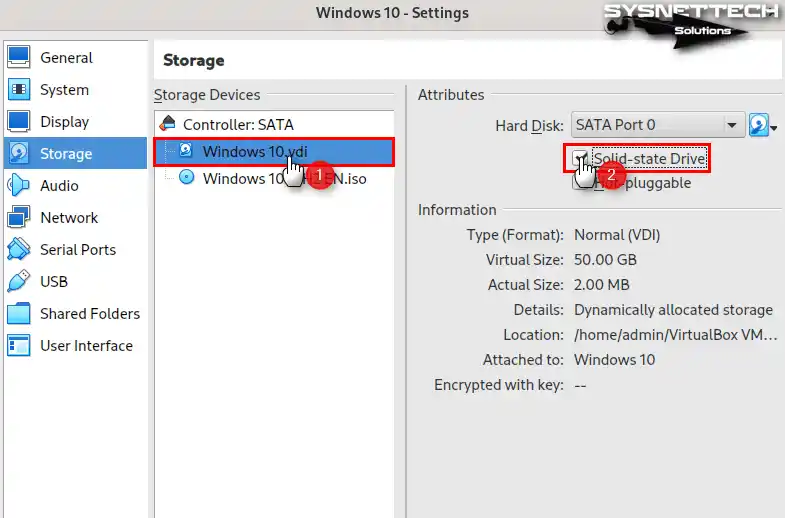
Step 14
Likewise, set the Windows 10.vdi disk file as Solid-State Drive (SSD).
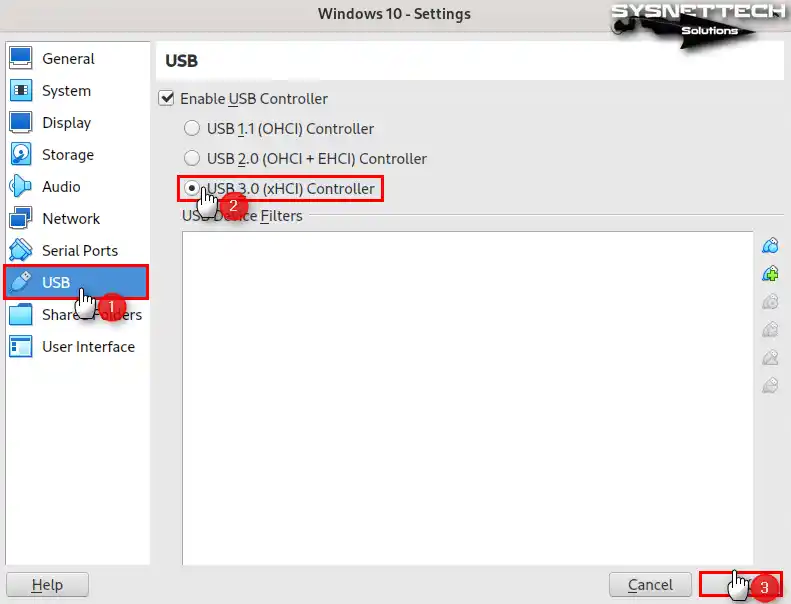
Step 15
To utilize USB 3.0 devices within your Microsoft Windows 10 virtual machine, access the system’s settings and enable the xHCI Controller. After selecting this option, close the preferences window to finalize your configuration.
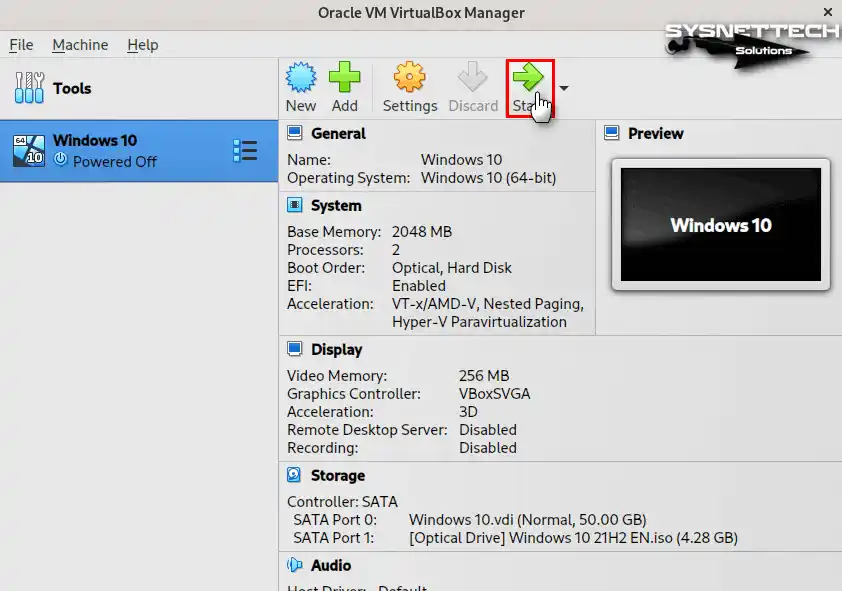
Step 16
After making the settings of the Win10 virtual computer you have prepared, click the Start button from the tool menu to run it.
Step 17
You can now set up your system when the Windows 10 setup wizard opens over the ISO image you added when you ran the VM.

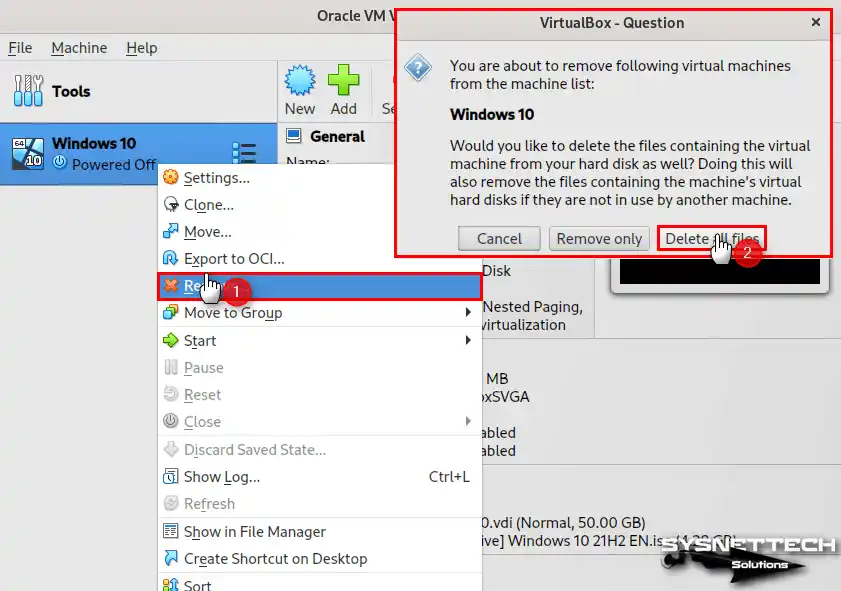
Step 18
To remove your Windows 10 virtual system from your system later, right-click it within the virtual machine library and select the “Remove” option. When the Question window opens, click Delete All Files to delete all files related to this machine from your system.
How to Uninstall VirtualBox
Suppose you no longer want to use Oracle virtualization software on your openSUSE Leap 15 system. In that case, you can use the terminal to easily uninstall it.
Step 1
Before moving with the complete uninstallation of VirtualBox from your SUSE system, it is advisable to verify if it is installed by executing the command ( sudo rpm -qa | grep -i VirtualBox ) in the console. If you see the program, run the command “sudo rpm -e VirtualBox-7.0” to start the uninstall process.
sudo rpm -e VirtualBox-7.0
sudo rpm -qa | grep -i VirtualBox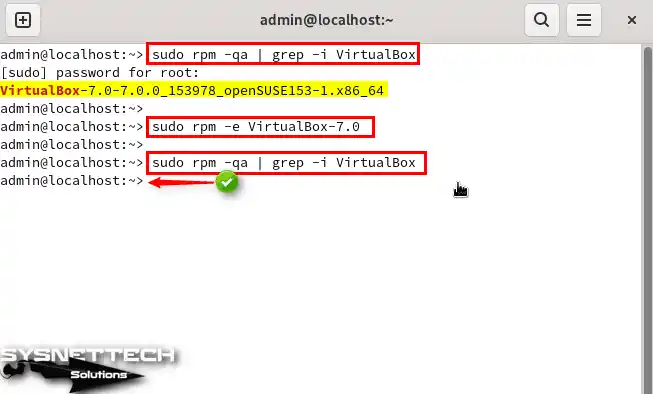
Step 2
Finally, we recommend deleting the vboxusers group added to your system when installing VirtualBox. First, check that the group exists with the command “cat /etc/group | grep vbox” and execute the command “sudo groupdel vboxusers” to delete it.
cat /etc/group | grep vbox
sudo groupdel vboxusers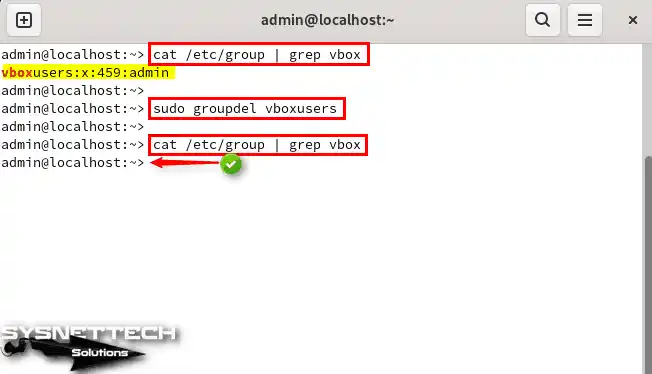
Video
Conclusion
As a result, Oracle VM VirtualBox 7.0.0 delivers a flexible virtualization experience on openSUSE Leap 15. Additionally, users can easily install VirtualBox by following the steps in this guide. However, they can create new virtual machines and install the Extension Pack.
Additionally, VirtualBox allows exploring operating systems without the need for special hardware. This makes it ideal for those looking for a versatile and risk-free virtualization solution. All in all, VirtualBox is an invaluable tool for those looking to enhance their virtualization environments.

Be the first to share your comment