
This article will discuss installing and using a Linux-based Ubuntu distribution in a virtual machine instead of a Windows system in the Hyper-V virtualization program that works effectively on Windows 10.
How to Install Ubuntu 17.10 / 18.04 / 18.10 / 19.04 / 21.04 / 21.10 / 22.04 / 22.10 Using Hyper-V
Hyper-V is a free virtualization program Microsoft developed and widely used by many system administrators today.
Hyper-V comes with Windows operating system and Windows Server systems and is very simple to install. In our previous article, we used Hyper-V on Windows. In addition, you can install Hyper-V on your machine using Powershell and the CMD Command Prompt.
You can install and use Windows and Linux operating systems after building a virtual computer using Hyper-V.
Let’s compare Hyper-V with the VMware Workstation virtualization program. The most notable distinction between them is that Hyper-V is entirely free.
You can browse our articles on Windows operating systems setup using Hyper-V on Windows PC from the links below;
- How to Install Windows 10 in Hyper-V
- How to Install Windows 8.1 in Hyper-V
- How to Install Windows 7 in Hyper-V
- How to Install Windows XP in Hyper-V
- How to Install Windows Vista in Hyper-V
How to Run Linux/Ubuntu in Hyper-V on Windows 10
Install the Microsoft VM software on the Windows operating system. Then, follow the steps below to create a new virtual machine and install Ubuntu.
Step 1
To install the Ubuntu virtual machine, run Hyper-V Manager.

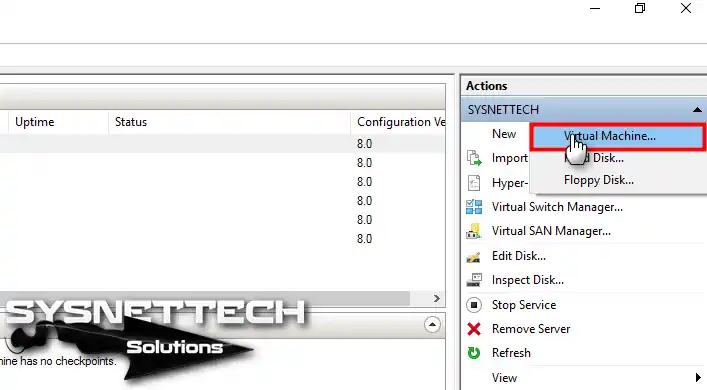
Step 2
Continue by clicking New / Virtual Machine from the Hyper-V Actions panel.
Step 3
Type a name for the Ubuntu virtual machine, then select Store the guest machine in a separate location.

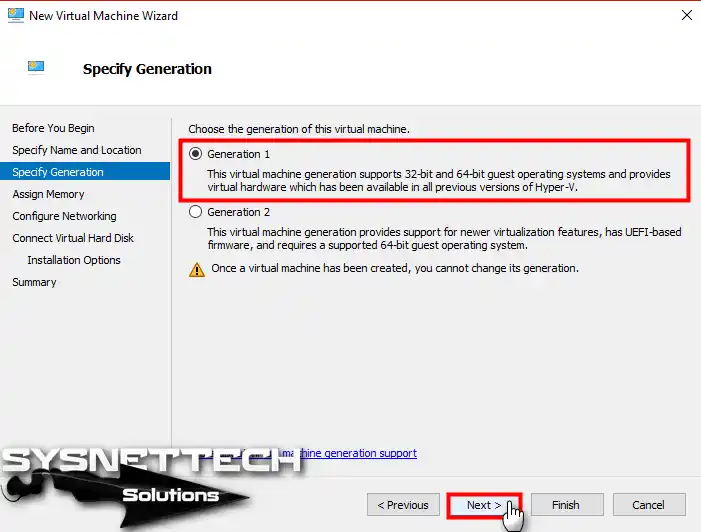
Step 4
Continue by selecting Generation 1.
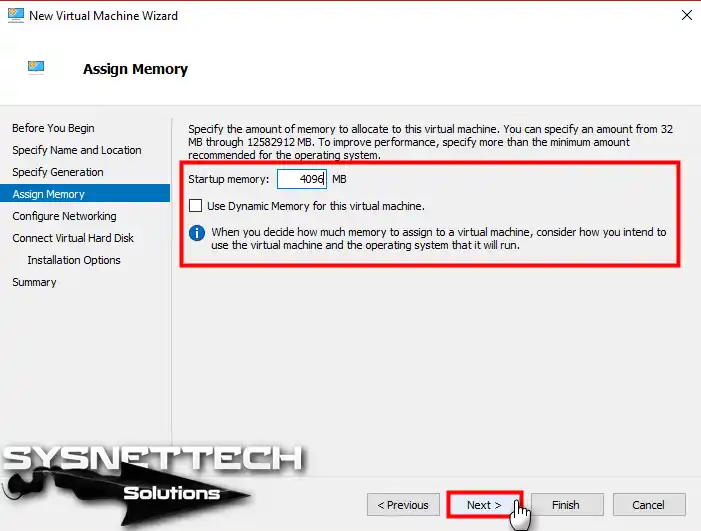
Step 5
Set the 4 GB (4096) RAM value for the Ubuntu virtual machine and click the Next button.
Step 6
40 GB of Hard Disk space is sufficient for the Ubuntu virtual machine. You can assign more HDD sizes if you want.

Step 7
After downloading the Ubuntu ISO file to your computer, add it by clicking the Browse button below.

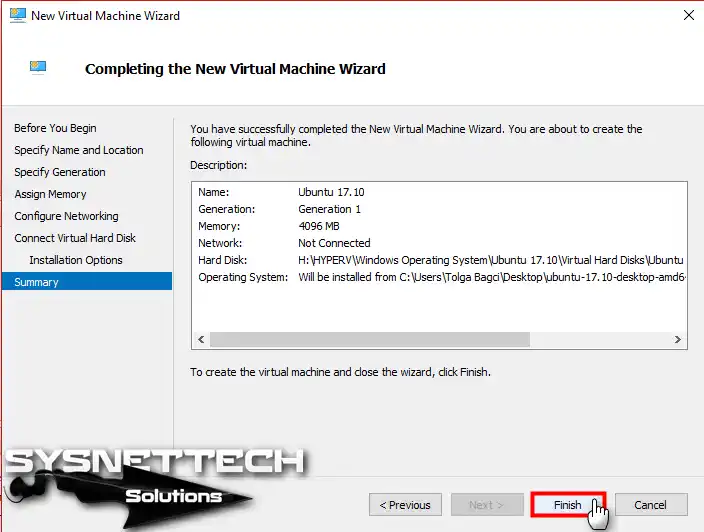
Step 8
This window provides summary information for the virtual machine to create. Click the Finish button to skip this window.
Step 9
In the Virtual Machines panel, Right-Button / Connect on Ubuntu.

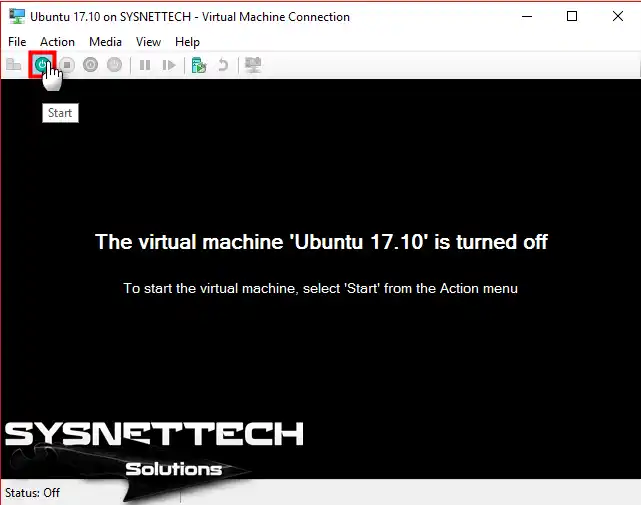
Step 10
Click the Start button to power on the Linux guest machine.
Step 11
We are starting the Ubuntu operating system.

Step 12
Click Install Ubuntu.

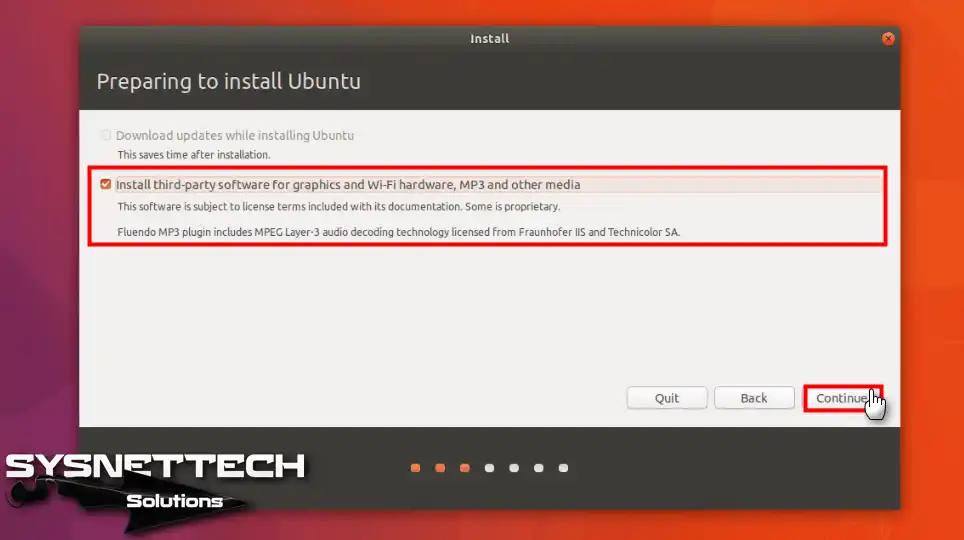
Step 13
If you want to use your VM more interactively, select “Install third-party software, Wi-Fi hardware, MP3 and other media” to install 3rd party programs and click Continue.
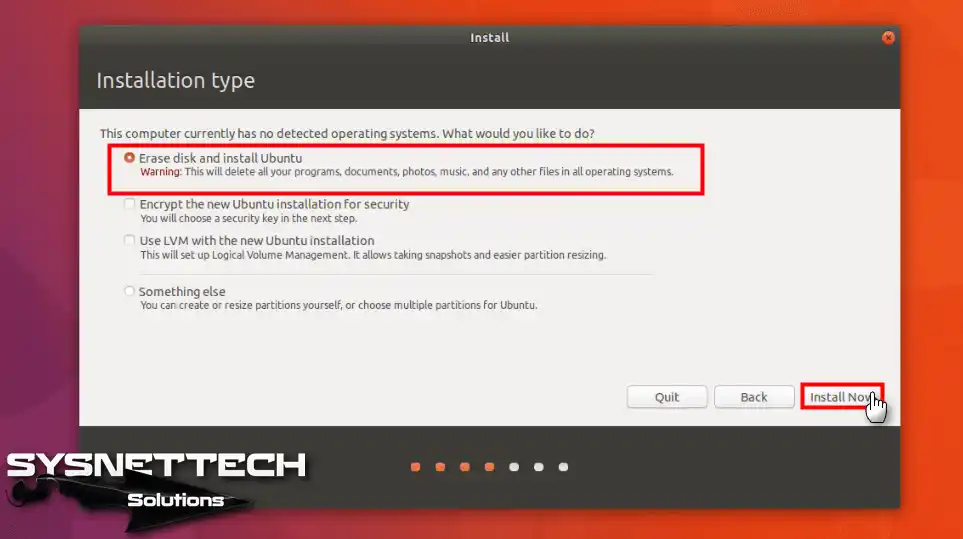
Step 14
Select Erase disk, install Ubuntu, and then click Install Now for a clean Linux installation.
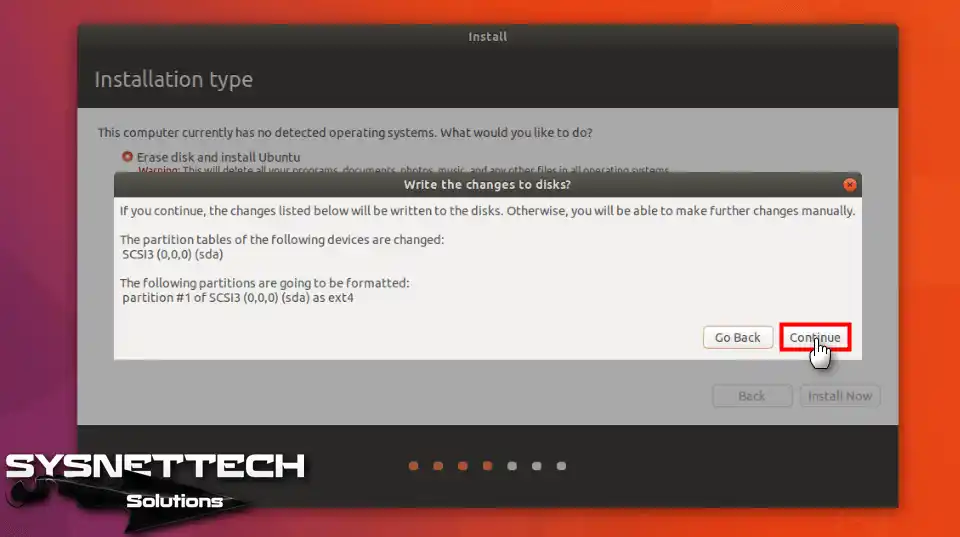
Step 15
Click Continue in the “Do you want to write changes to disk” question window.
Step 16
Continue the installation by selecting the region where you live in this step.

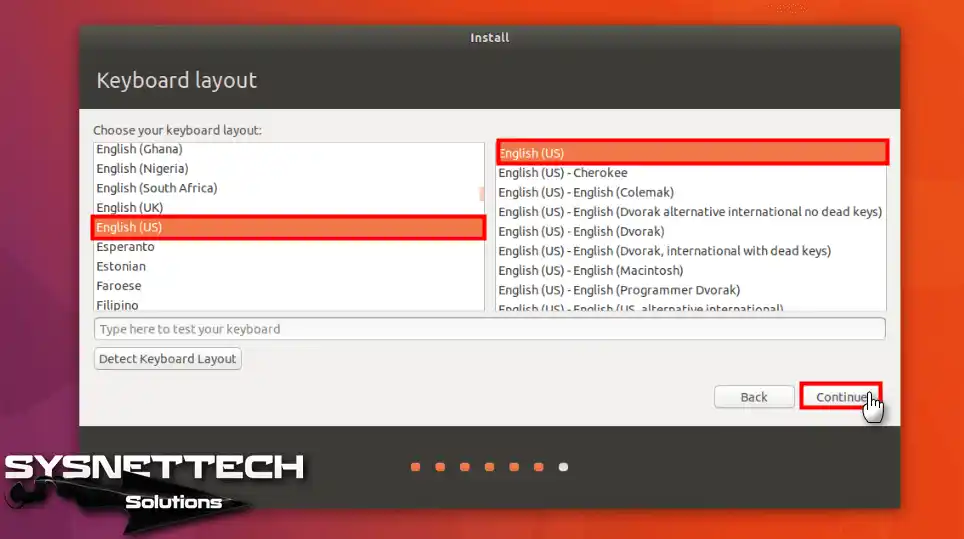
Step 17
Adjust the keyboard layout and click Continue.
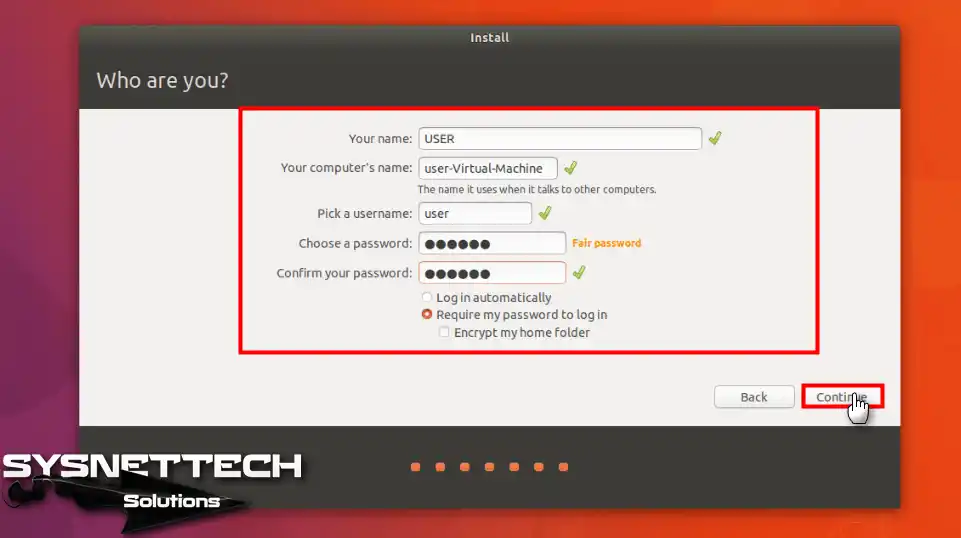
Step 18
Enter your username and set a root password to continue the installation.
Step 19
I am installing Ubuntu on the virtual machine.

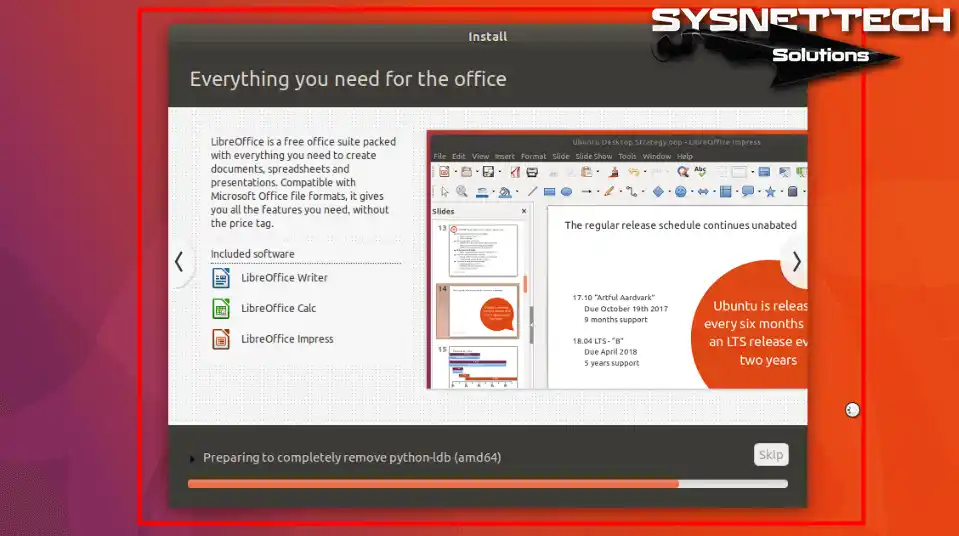
Step 20
The installation wizard installs the necessary programs for Ubuntu.
Step 21
After successfully installing Ubuntu, click Restart Now to restart the virtual machine.

Step 22
Remove the Ubuntu installation media (ISO File) and restart the virtual machine.
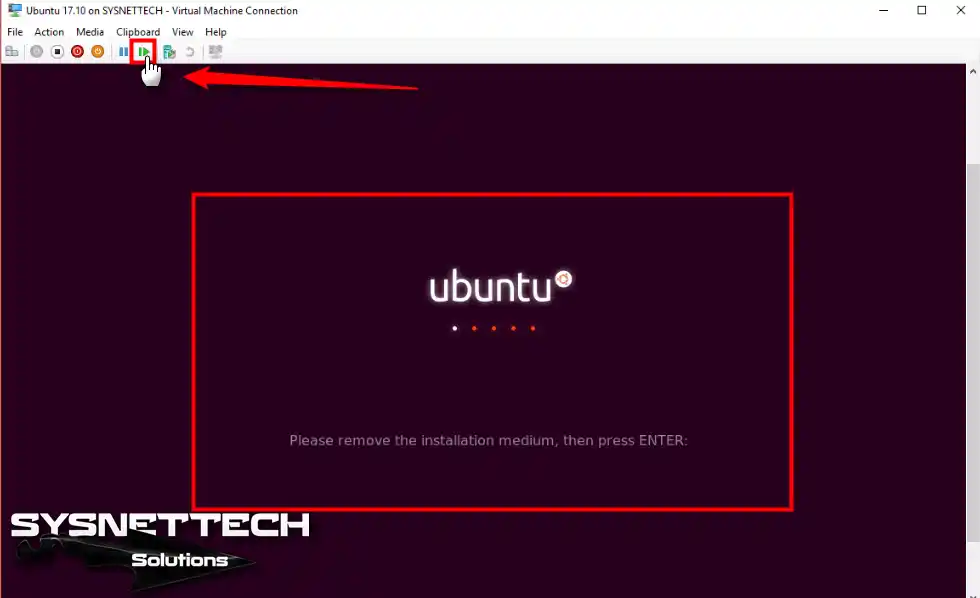
Step 23
Starting Ubuntu.

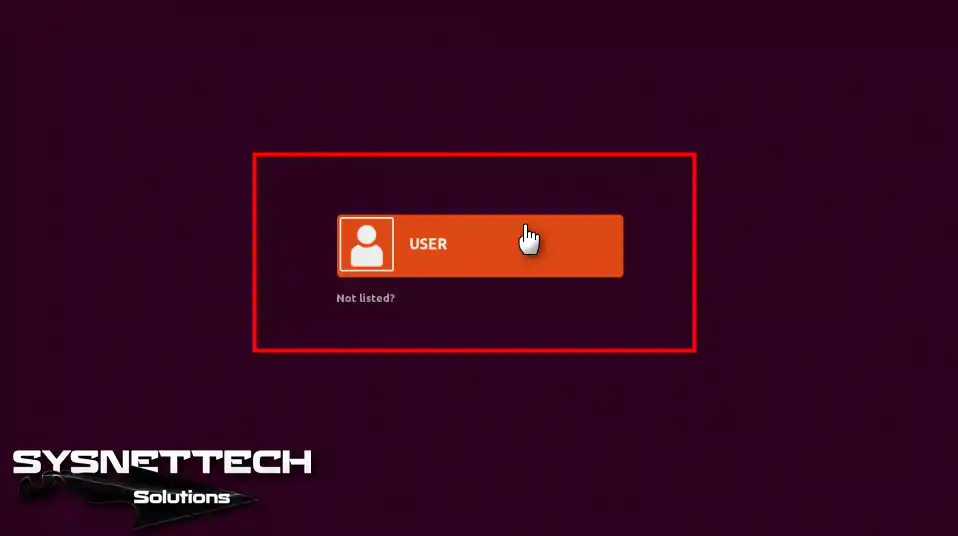
Step 24
Click on your username.
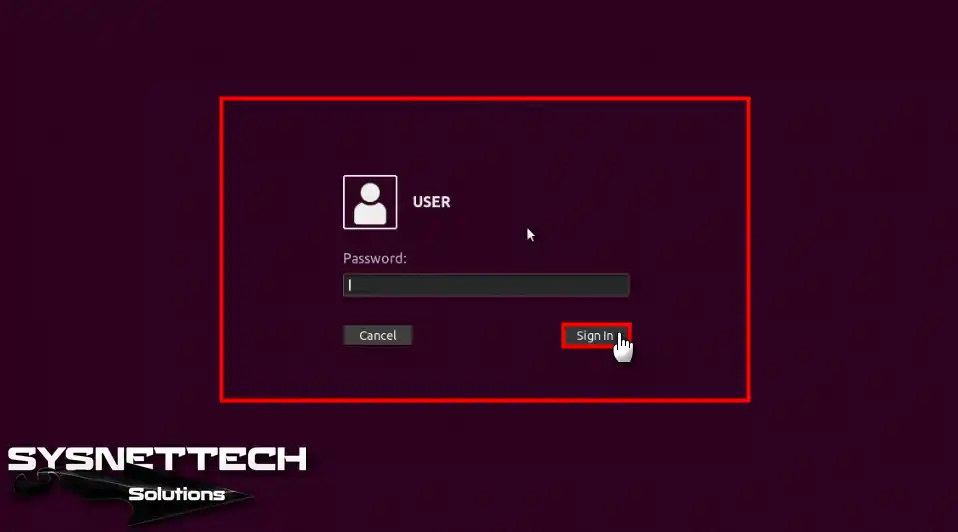
Step 25
Click the Sign in button after entering the root password you established.
Step 26
After successfully installing Ubuntu, you can start using the virtual machine as a full screen by selecting View / Full Screen.

Step 27
Ubuntu now runs in full-screen mode.

How to Run Linux in VM ⇒ Video
To install a Linux distribution with Microsoft VM software, watch the video below and subscribe to our YouTube channel to support us!
Conclusion
This article examined how to build Ubuntu using the HyperV virtualization program on the Windows 10 operating system. Thanks for following us!

Be the first to share your comment