
It would be best if you reconfigured the hardware compatibility of the virtual machines that you previously created using one of the older versions of VMware when you upgraded the program to the new version.

How to Upgrade Hardware Compatibility on VM Workstation/Player Virtualization Software
When you create a new VM with virtualization program that you used, the virtual machine hardware version is determined by default.
If you update your VM Workstation to a new version, the hardware number of the virtual machines you have previously installed will be adjusted to the previous version.
Therefore, when you do the VM Workstation update, you must upgrade the build number of the VMs that are installed on your computer.
It is easy to configure the compatibility of the virtual machines installed on the VM Workstation on your Windows 10 computer.
How to Upgrade HW Compatibility in VMware 15 Pro
Follow the steps below to change or upgrade the compatibility of your virtual machines on VM Workstation 15.
Step 1
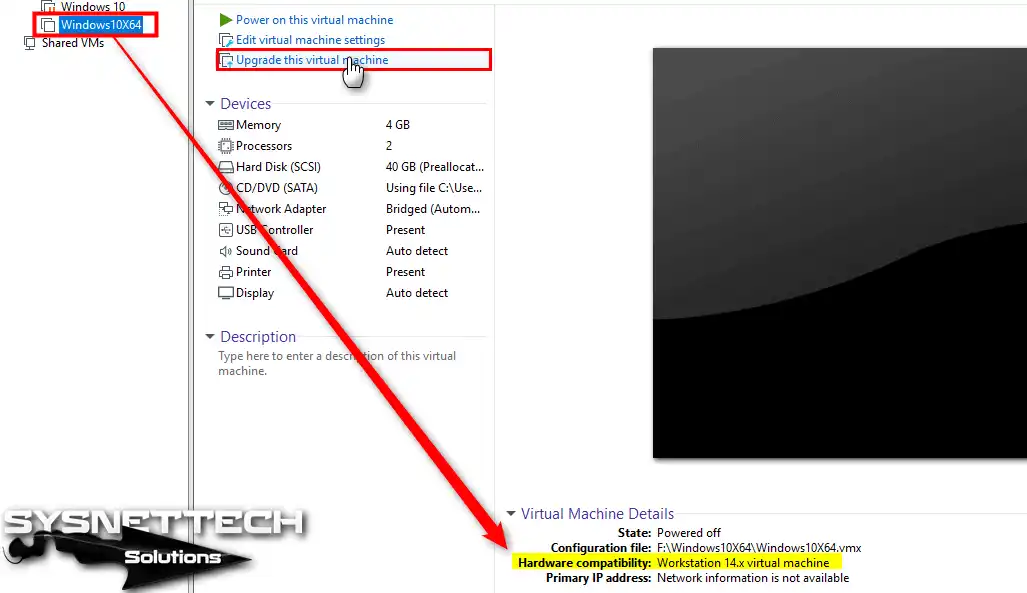
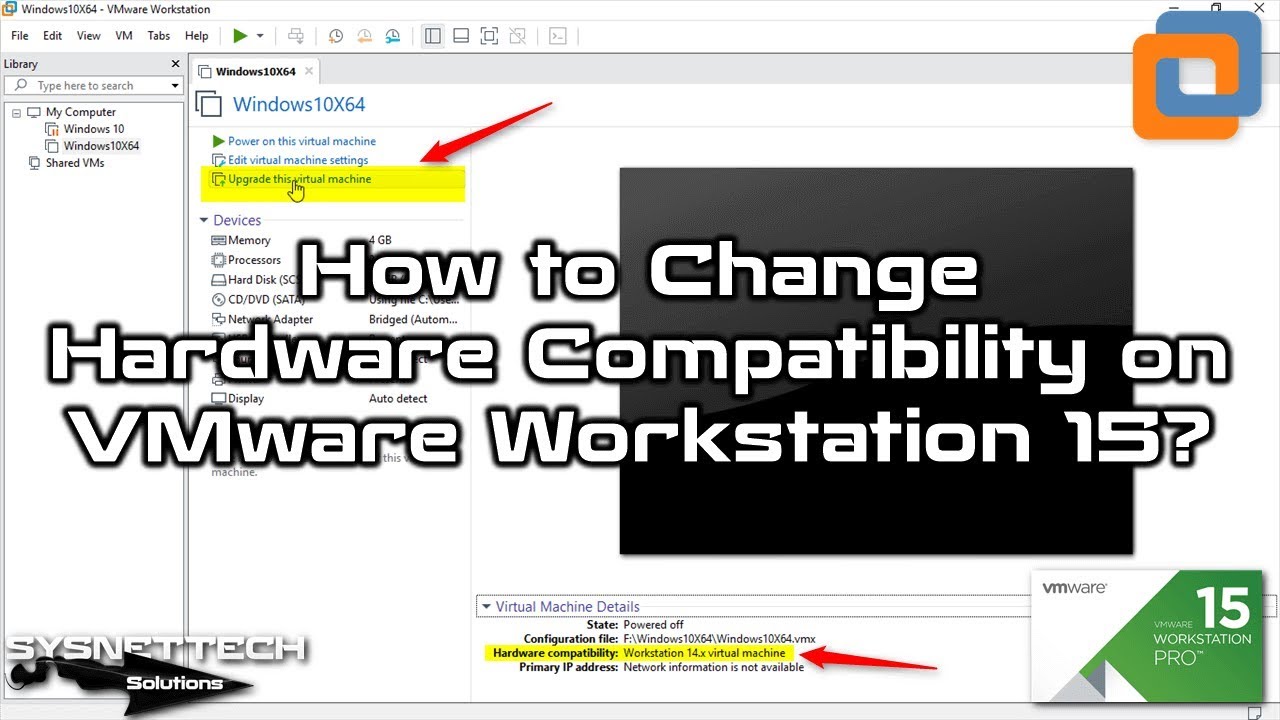
After you install VM Workstation 15 on your computer, double-click the .vmx file of the VM that you created on VM Workstation 14. After running the virtual computer, you will see the option Upgrade this virtual machine as in the following image.
The version of system compatibility that you see in VM Details belongs to the previous version of VMware. Click on Upgrade this VM to change your machine’s compatibility.
Step 2
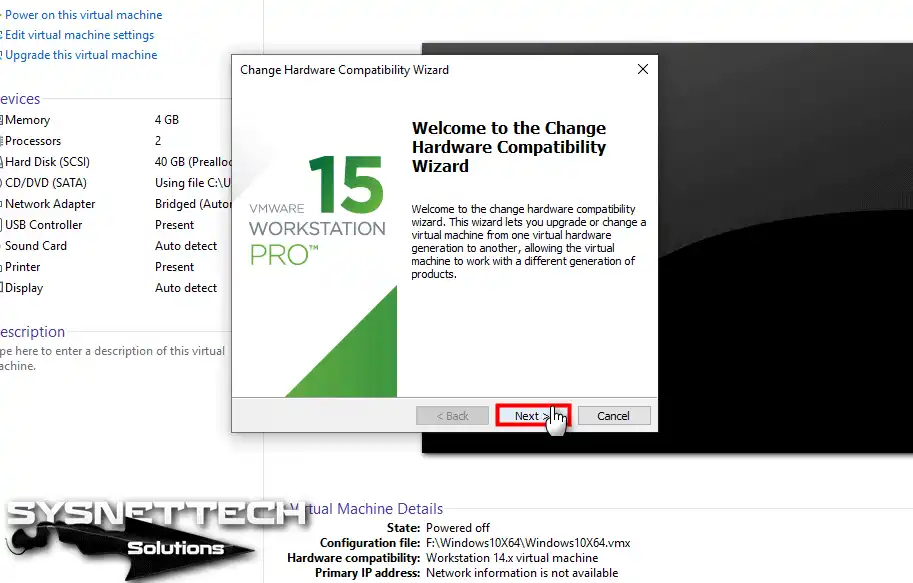
In the HW Compatibility Wizard window, click Next.
Step 3
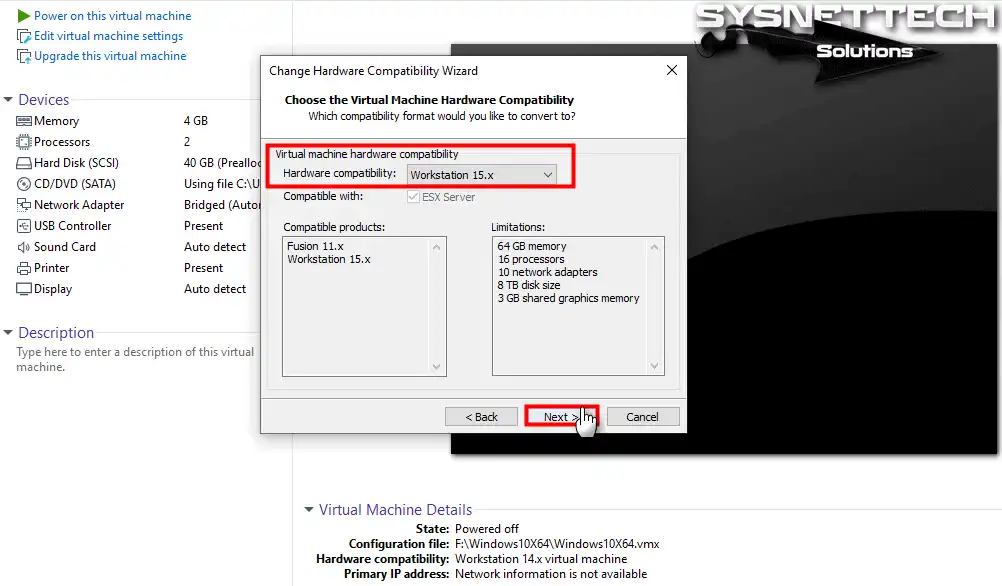
Change the version of the VM to Workstation 15.x.

Step 4
Click Next.
Step 5
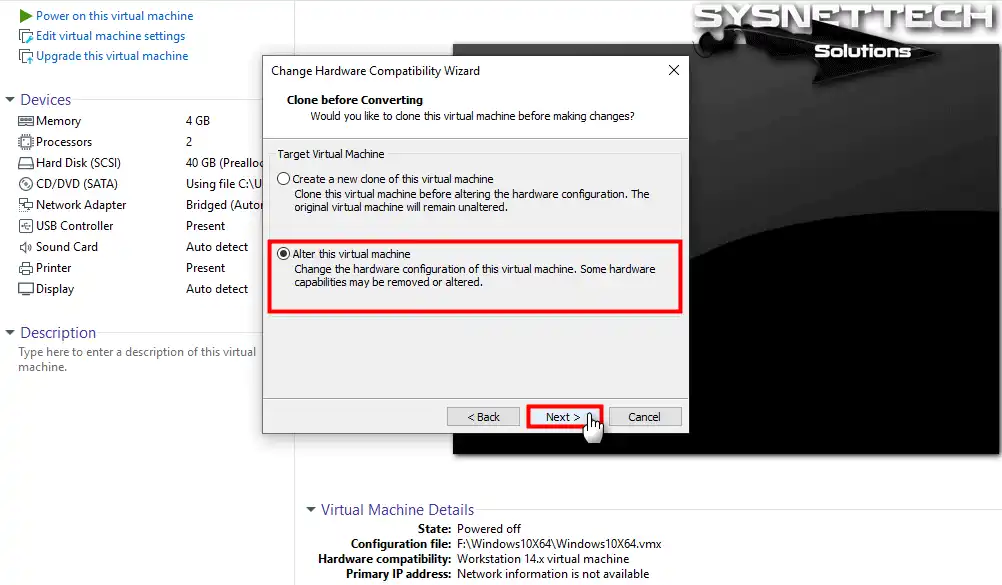
After you change the version, select Alter this virtual machine and click the Next button.
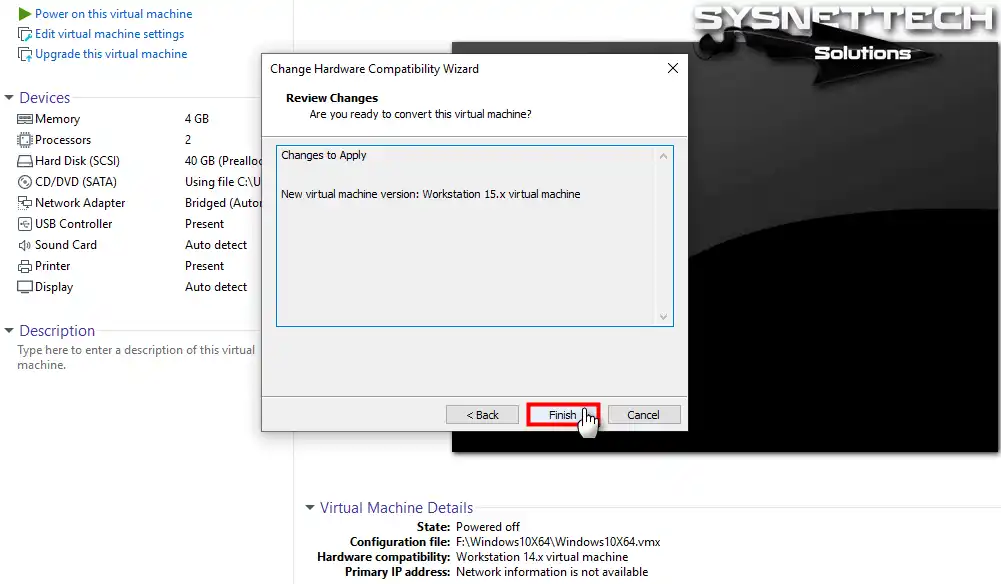
Step 6
Click Finish to apply your changes.
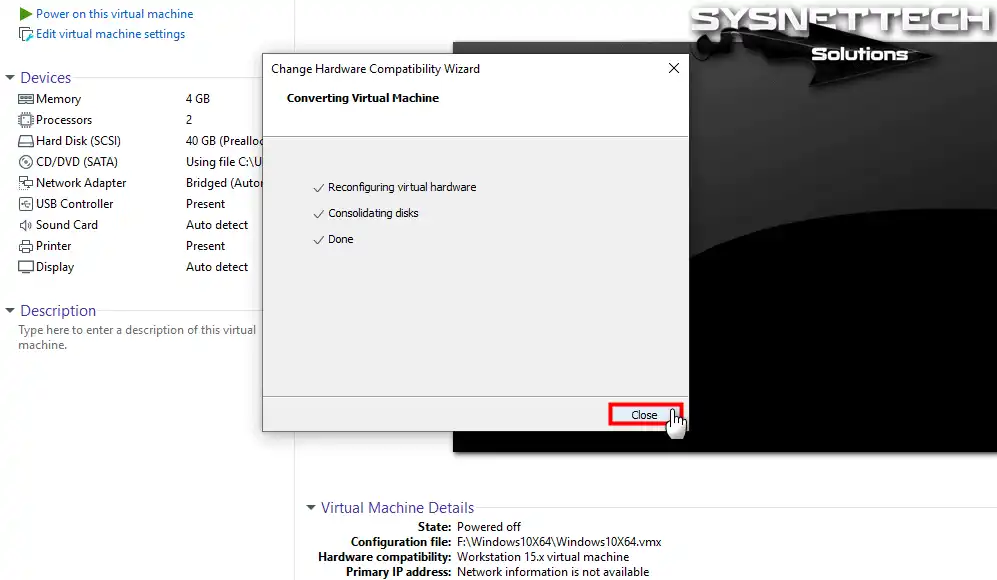
Step 7
Once the VM has converted, click Close.
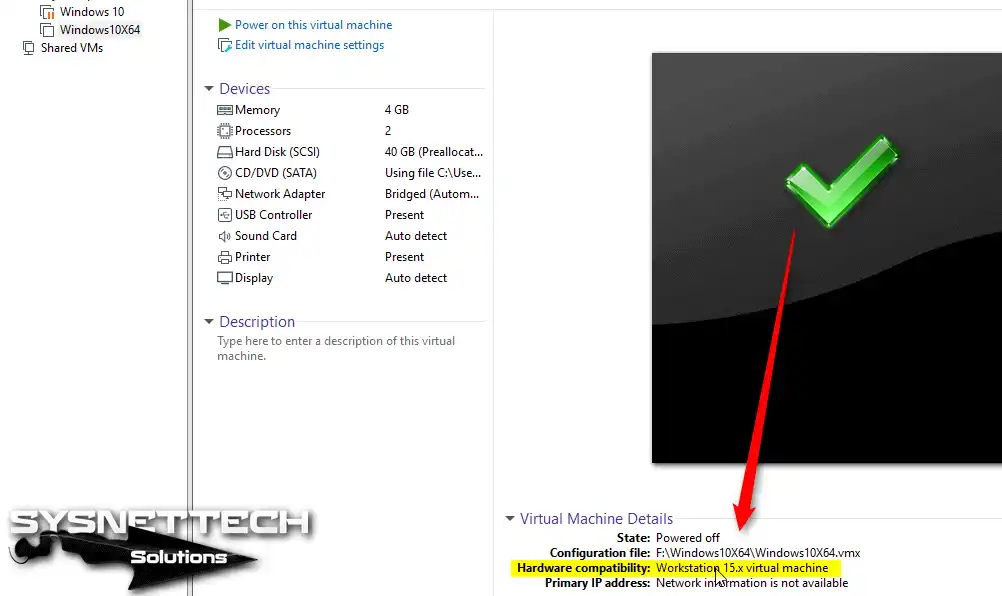
Step 8
You can check the version compatibility of the Windows 10 machine in the details section in the image below!
How to Change HW Compatibility on VMware 15 ⇒ Video
You can watch the video below to change the version of a Linux, Windows, or macOS VM on VMware 15, and you can also subscribe to our YouTube channel to support us.
How to Update HW Version in VM Workstation 14
If this program is not installed on your computer, you can download VM Workstation 14 to your computer and install VM Workstation 14 on Windows 10.
Follow the steps below to upgrade or update the HW compatibility of the VM.
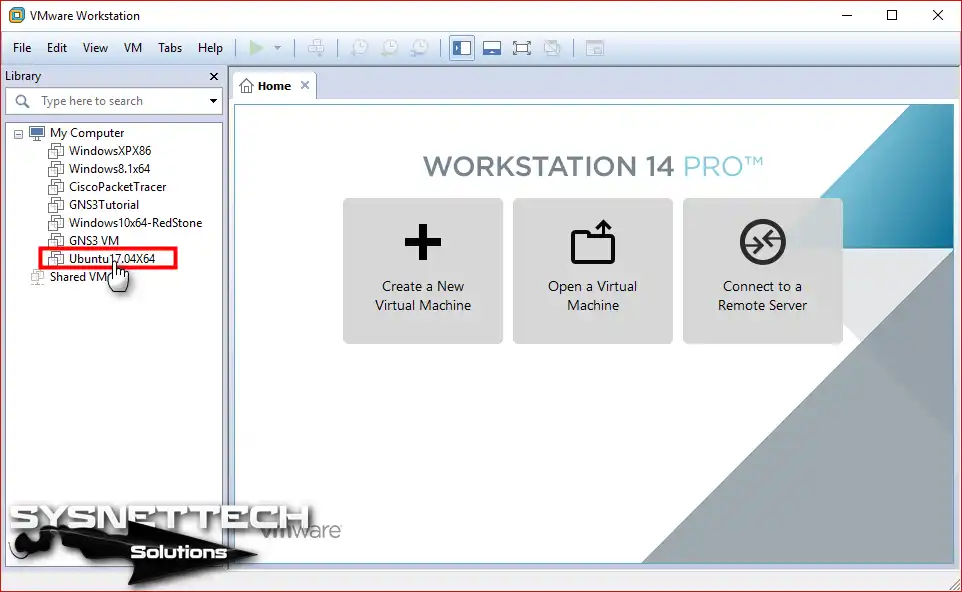
Step 1
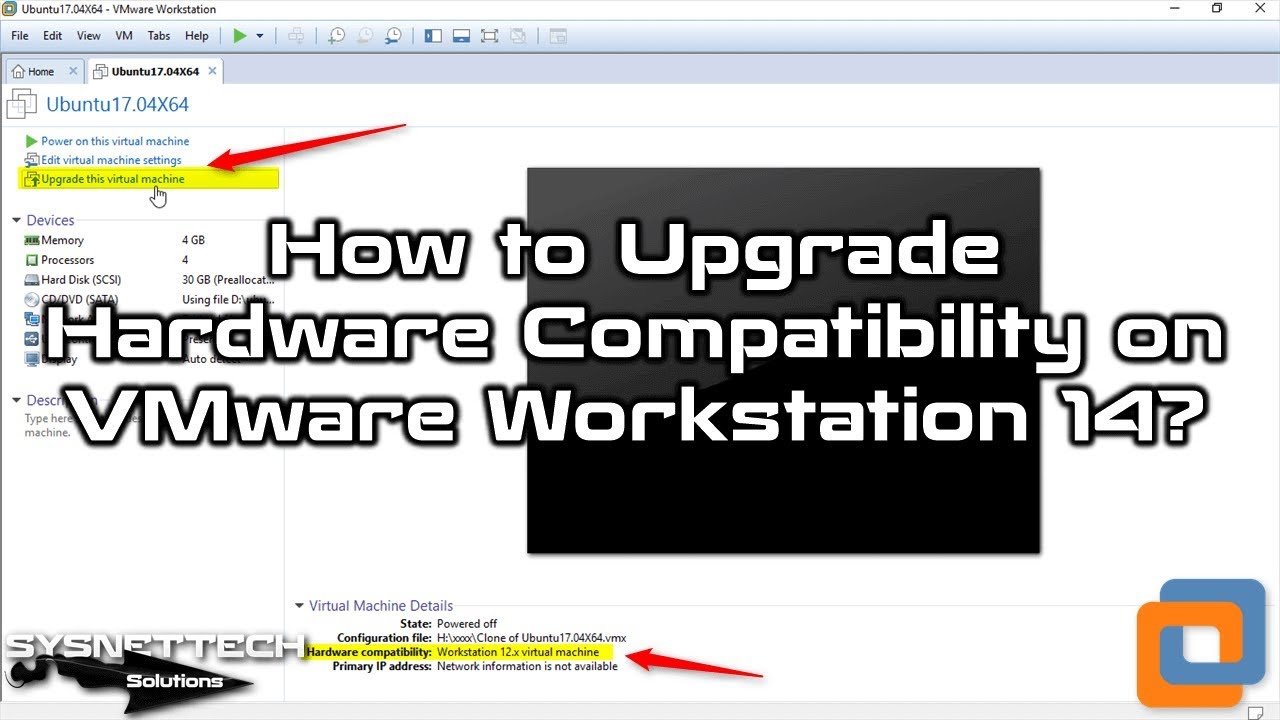
Open the virtualization program and click on the machine you want to update HW Compatibility.
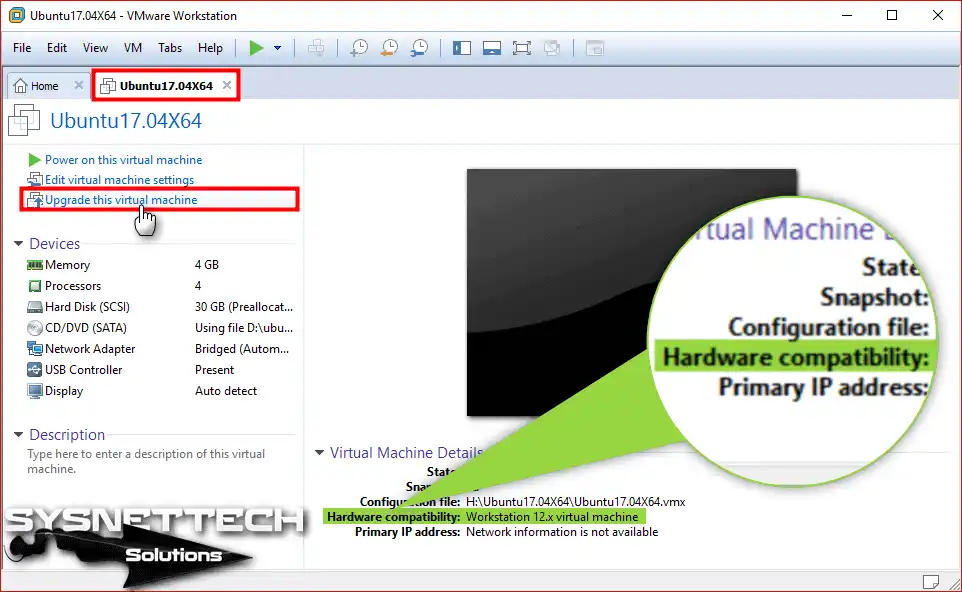
Step 2
In the VM console, click Upgrade this VM. In the Details area, you can see the current version.
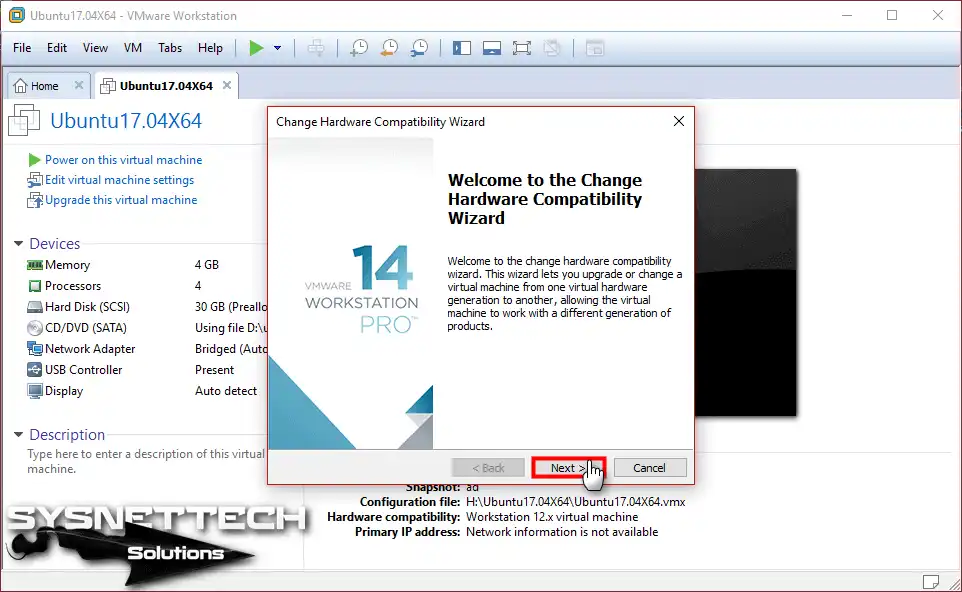
Step 3
In the VMware HW Compatibility window, click Next to continue.
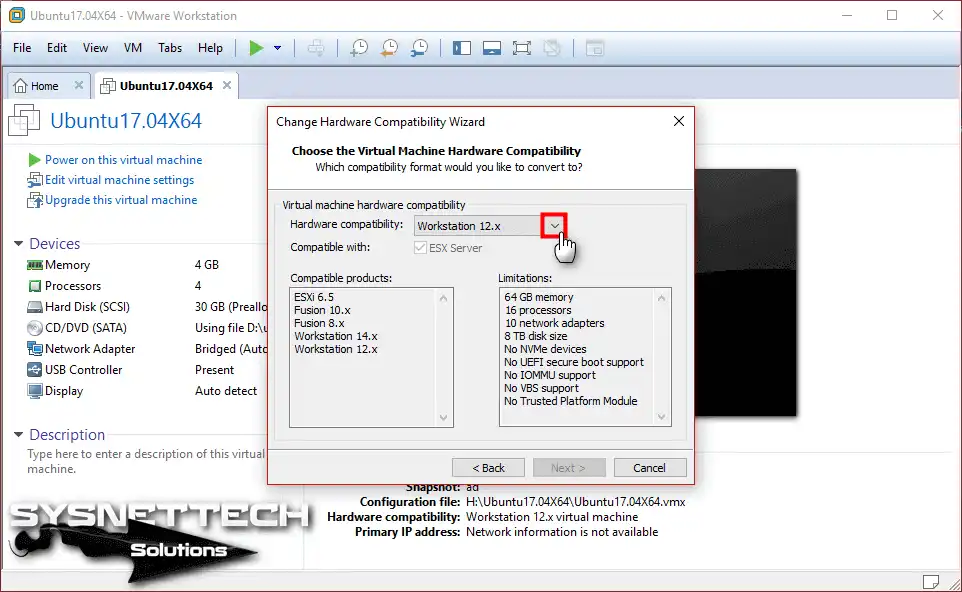
Step 4
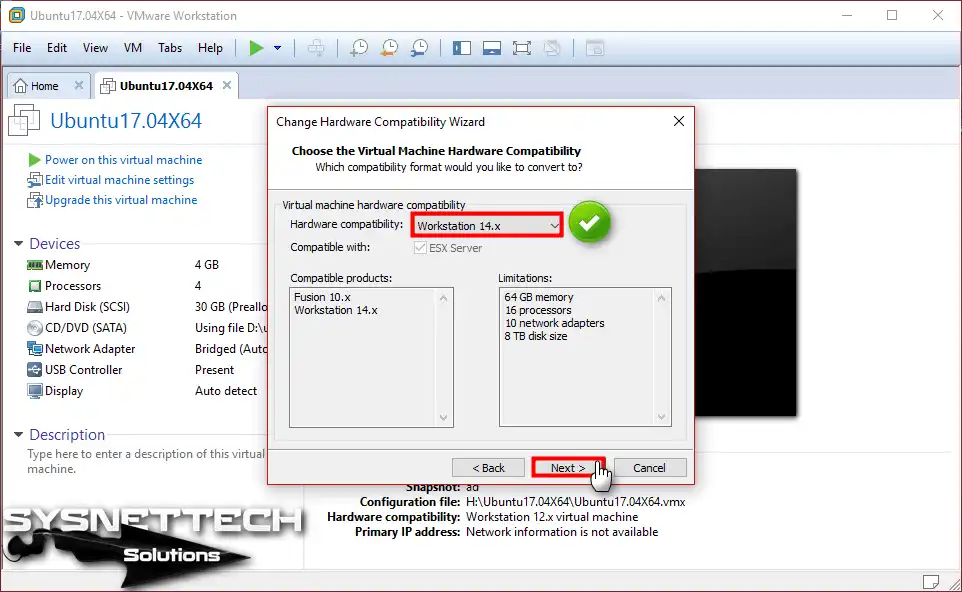
In the Choose the HW window, the VM you selected is now VM Workstation 12.x. Click the pop-up window to update this VM to Workstation 14.x.
Step 5
After selecting VM Workstation 14.x, click Next.
Step 6
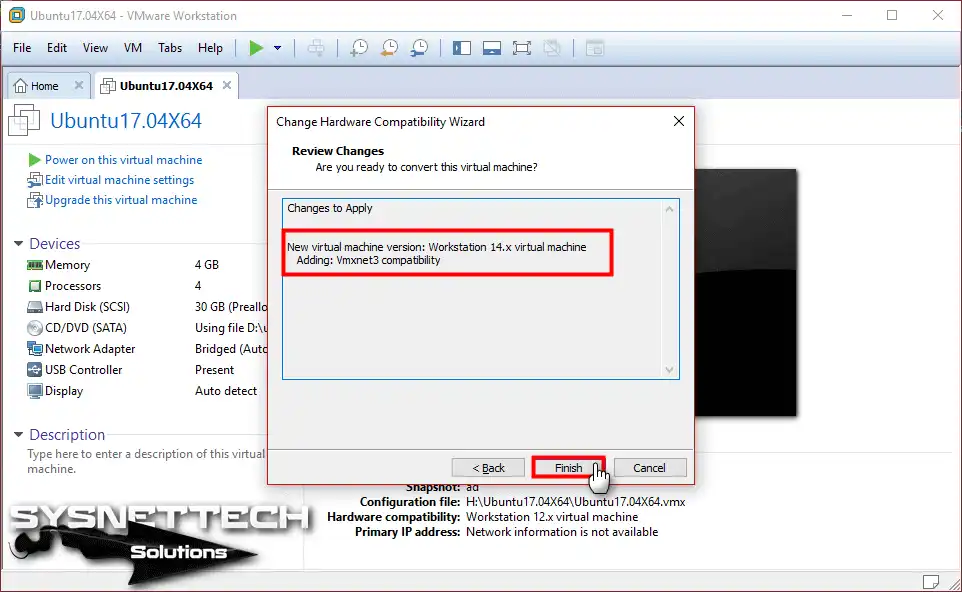
In the Clone before Converting window, select the Alter this virtual machine. If you want to clone the VM, you can continue by choosing the upper option against any errors.

Step 7
The settings to be configured in the VM compatibility update were reported. Click the Finish button to start the VM update process.
Step 8
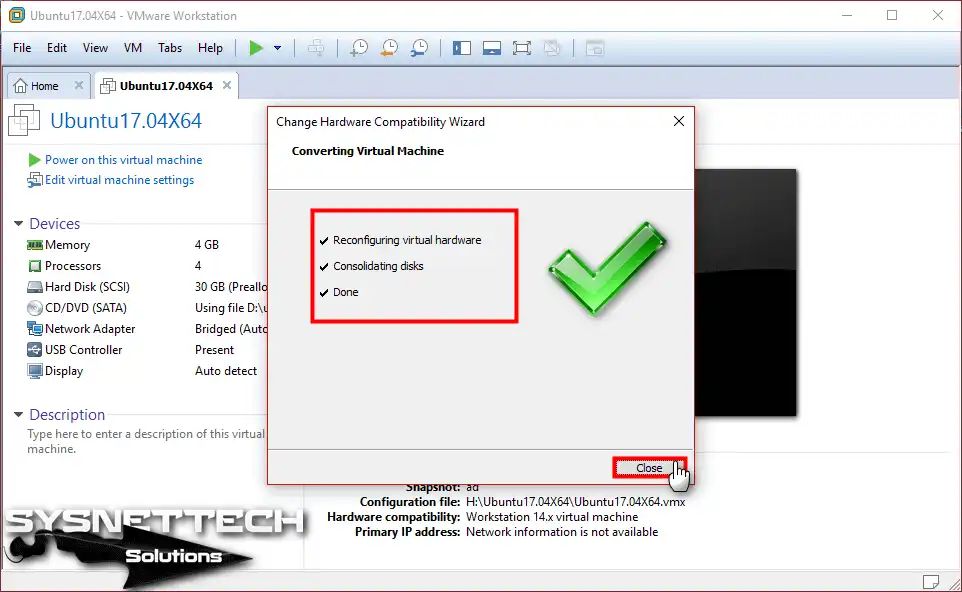
After successfully updating the system compatibility, click Close.
Step 9
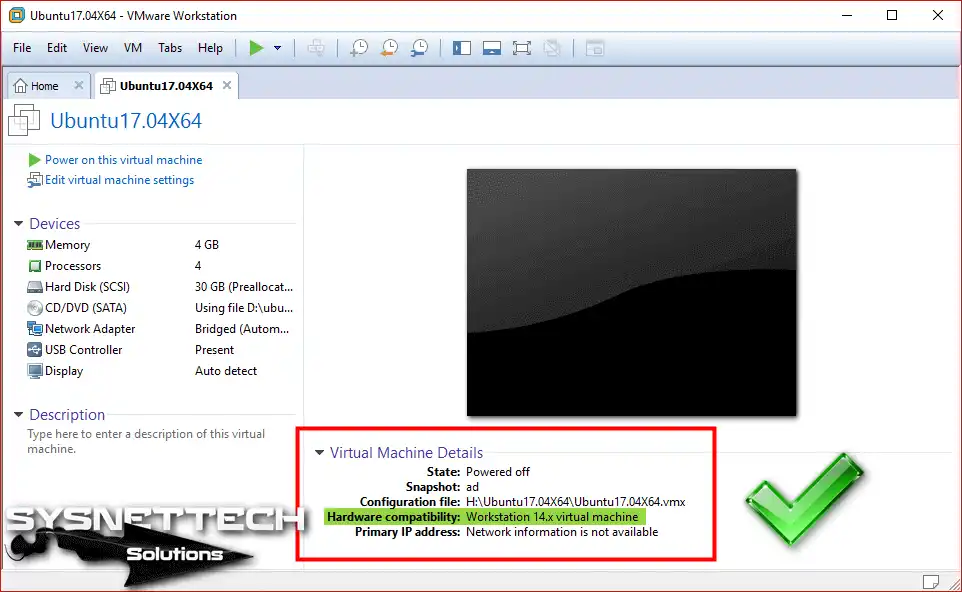
To check that the selected machine has been updated, you can check the compatibility section in the VM console in the Details.
How to Update HW Version ⇒ Video
After updating from VMware 12 to version 14, you can view the video below to update the build version of VMs and also subscribe to our YouTube channel to support us.
What You Need to Know About Hardware Compatibility in VMware Version Updates
Why does my old virtual machine give an ‘Upgrade’ warning after updating VMware Workstation?
Does the hardware compatibility upgrade process delete the files inside the virtual machine?
How should I choose between ‘Alter this virtual machine’ and ‘Clone before Converting’?
Does the virtual machine’s boot speed or performance increase after the upgrade?
What happens if I want to go back to an old Workstation version?
Can I manually change the hardware version on VMware Workstation?
Conclusion
In this article, we have examined step by step how to upgrade the hardware version of a machine installed with an older version of VM Workstation.

Be the first to share your comment