

In this article, we examine the steps to install Windows 7 Ultimate. You can do this on a desktop or laptop computer. You use a Flash (USB) Memory instead of CD/DVD media.
How to Install Windows 7 on a PC
You want to install a clean Windows 7. First, you need an ISO file. This applies to a new or current computer. Next, download the ISO file to your computer. Then prepare the setup media.
Check the minimum system requirements before starting it.
- 32-bit / 64-bit Processor with 1 GHz or faster
- 1 GB RAM for 32-bit / 2 GB RAM for 64-bit suffices.
- 16GB HDD Space for 32-bit / 20GB HDD Space for 64-bit
- A DirectX 9 Graphics Card with WDDM 1.0 or higher works fine.
How to Run Windows 7 without using a CD/DVD
Technology has changed. New computers no longer ship with Windows CD/DVD media. Instead, the laptop comes with a licensed Windows operating system.
You can install a clean Windows system on your new computer. First, download the ISO file from the Internet. Then burn it to a DVD or a Bootable Flash Memory.
Also, you may want to install this system on Windows 10. Then you must configure the setup as a Dual Boot. In short, create a new partition on the HDD. Then install Windows 10 on it.
Follow the steps below to install Windows 7 Ultimate 64-bit. You can do this step by step on your PC.
1. Preparing a Windows 7 Installation Disk with Rufus & Booting
Step 1
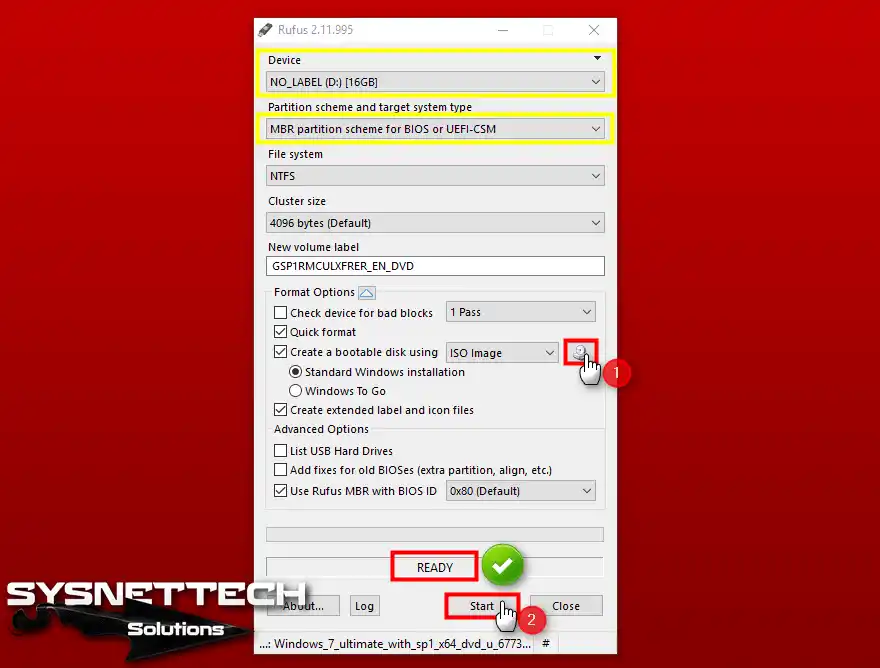
First, you need to prepare the installation media. Make a bootable Win7 installation media using the Rufus program. You can see this in the image below.
To do this, open the Device section. Select the drive letter of your Flash Memory. Then click the CD icon button. Select the ISO file you downloaded.
You can also choose the BIOS or UEFI installation type. Do this in the Partition Scheme and Target System Type.
Step 2
After preparing your USB media, plug it into your computer. Restart your system. If it does not boot from USB, open BIOS settings. Configure the first Boot device as your Flash Memory.
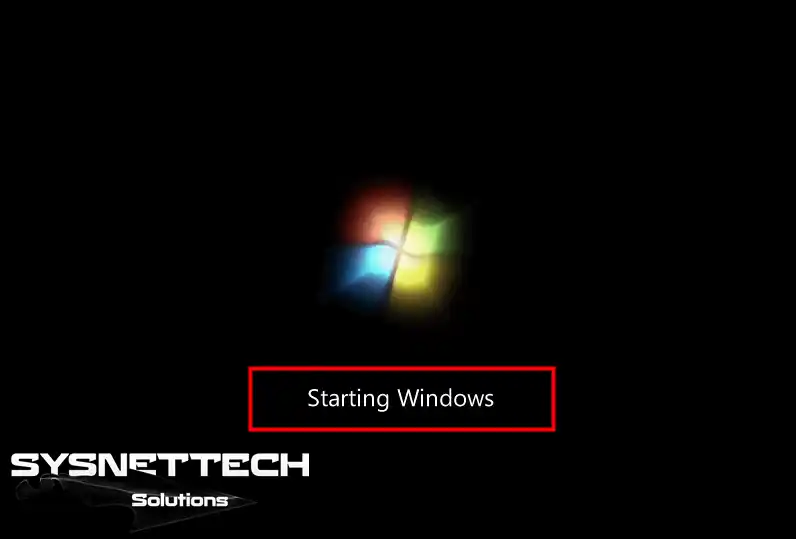
After making the necessary settings, restart your computer. Press any key when you see the boot message.
2. Windows 7 Installation Process from Scratch
Step 1
Win7 installation from USB starts smoothly. In the Install Windows window, configure the system language, time zone, and keyboard layout. Then click Next.

Step 2
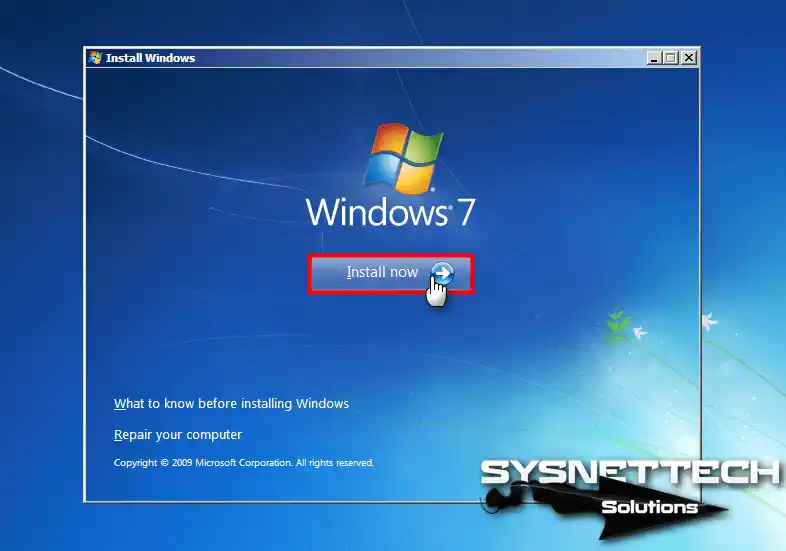
Click Install Now to start configuring it.
Step 3
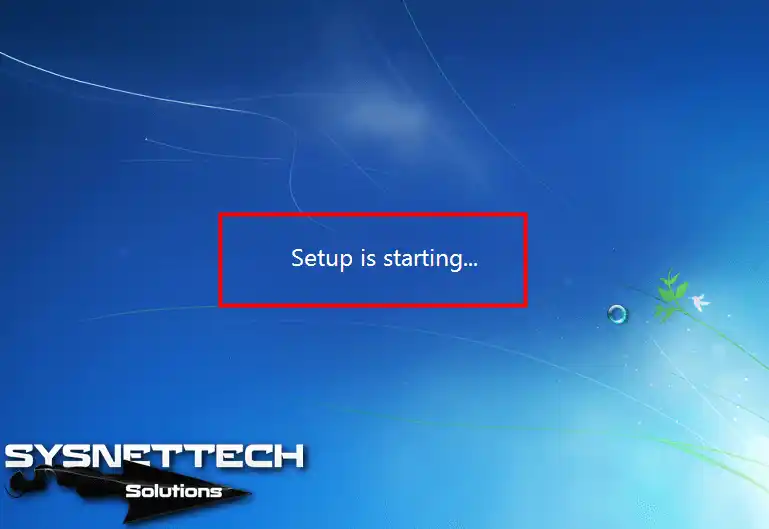
Setup is starting for Windows 7.
Step 4
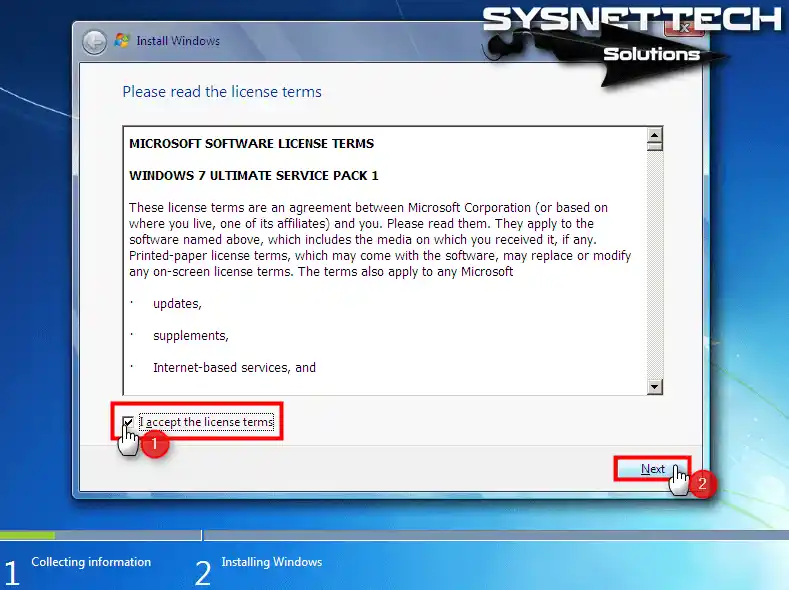
After reading the Windows 7 license agreement, select I accept the license terms and click Next.
Step 5
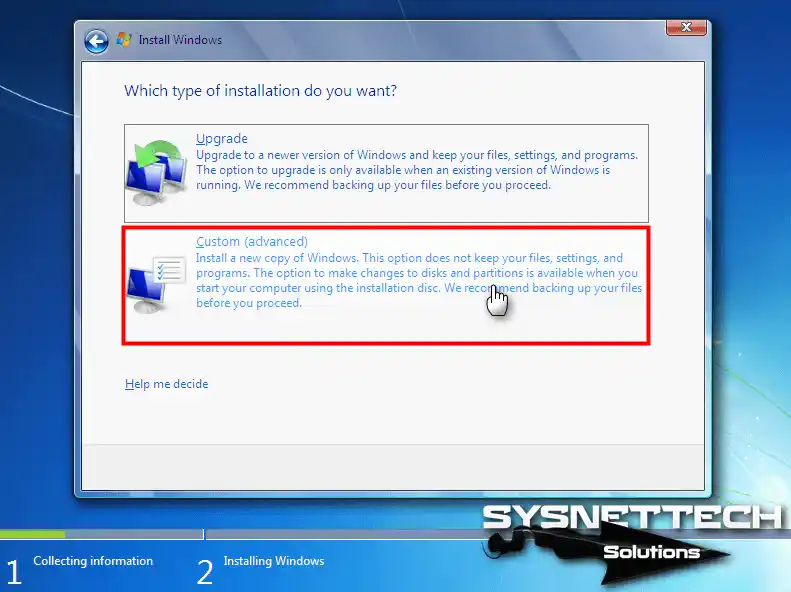
You can upgrade from Windows XP or any other system. In this case, continue with the Upgrade option.
For a clean installation of Windows, click Custom.
Step 6
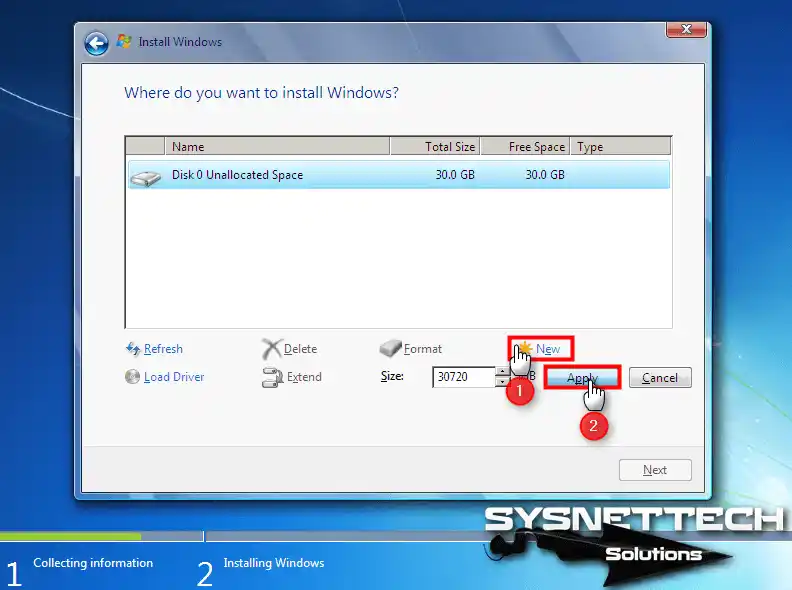
You will see only Disk 0 in the hard disk window. This is because you install from scratch. Click Drive options (advanced) to configure the disk.

Step 7
To use the entire disk, click New, and then leave Size to default. Then click the Apply button to confirm your actions.
Step 8
The installation will allocate additional partitions to ensure that all Windows features work correctly. Click OK to continue.

Step 9
To start the Win7 Ultimate 64-Bit installation, select Disk 0 Partition 2 and click Next.

Step 10
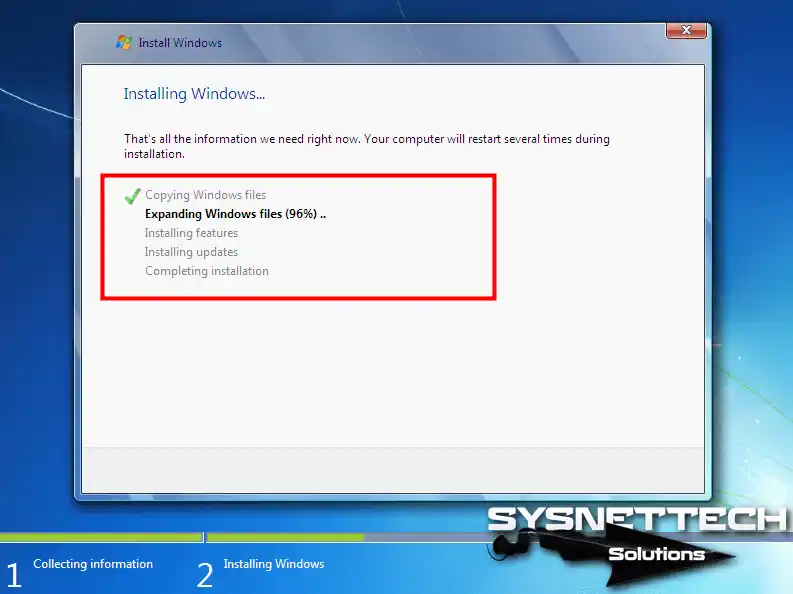
Wait while Windows installs. This phase takes time depending on your computer’s performance.
Step 11
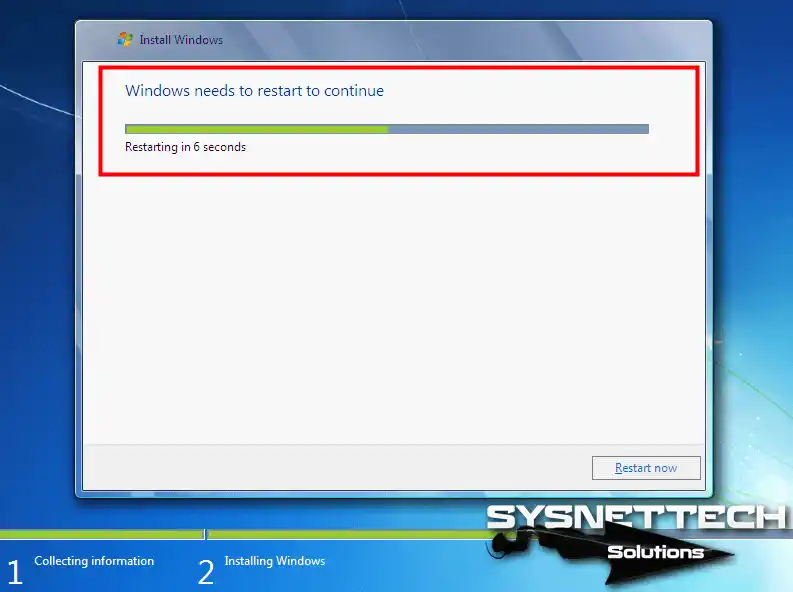
The setup will reboot the Windows system after copying the necessary Windows files. Click the Restart Now button to restart the system directly.
Step 12
Wait while the setup configures the necessary adjustments.

Step 13
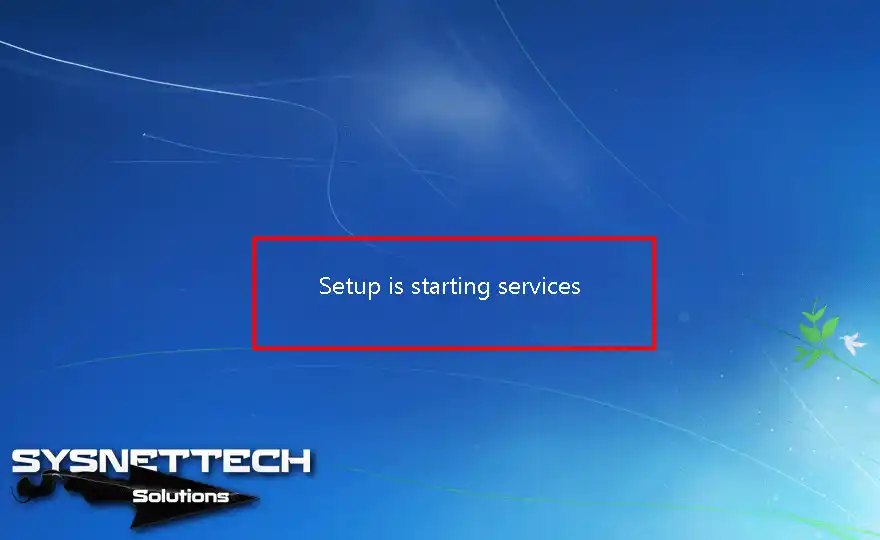
The setup is starting the Windows 7 services.
Step 14
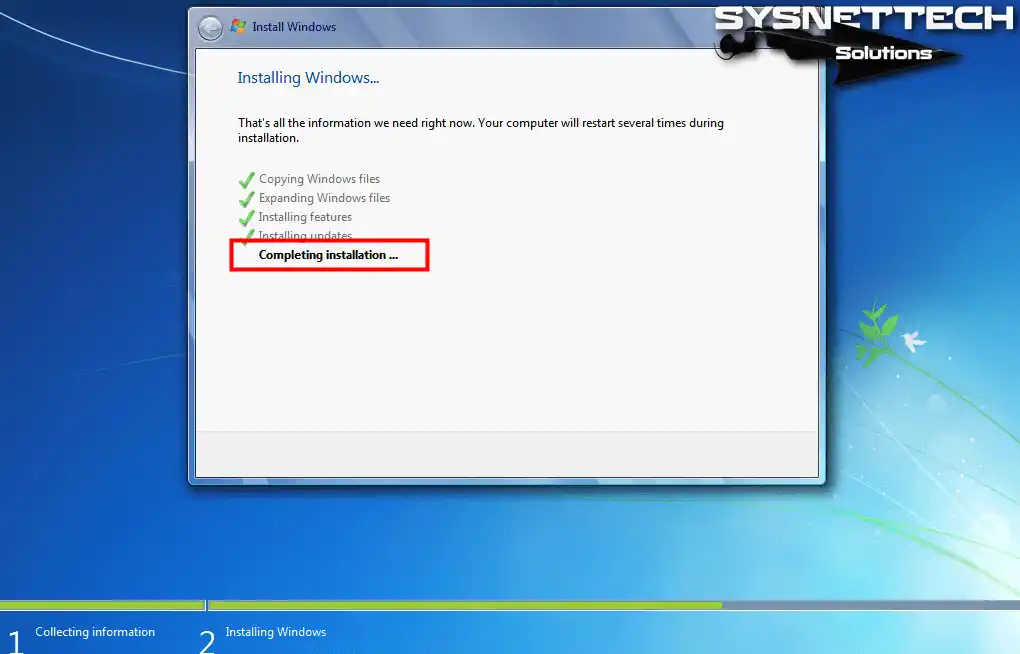
Microsoft system installation is almost complete.
Step 15
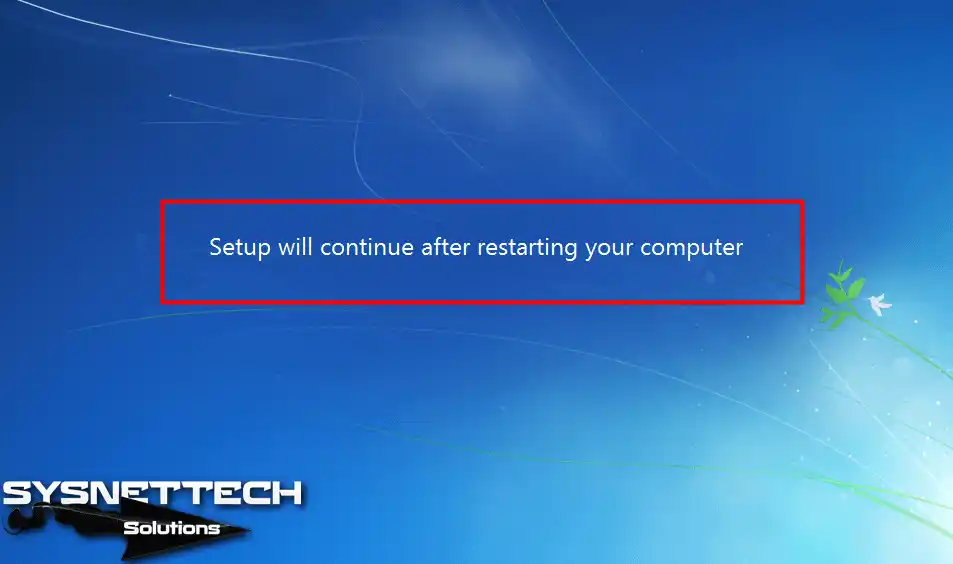
The setup will restart your computer.
3. Configuring User Name, License, Date, and Network Settings
Step 1
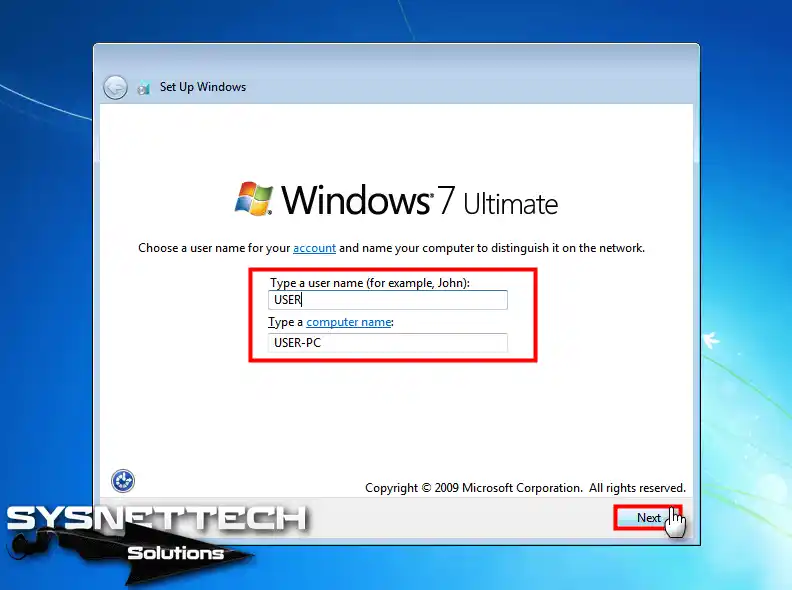
Type a username and computer name for your system, and then click Next.
Step 2
If someone else will use your computer, create a password. Then click Next.

Step 3
Type your Windows 7 product key and continue with the installation. If you do not have a license key, you can click Skip or Next.

Step 4
For Windows security, continue with the Use Recommend Settings option. You can click Ask me later to configure the Windows update service later.

Step 5
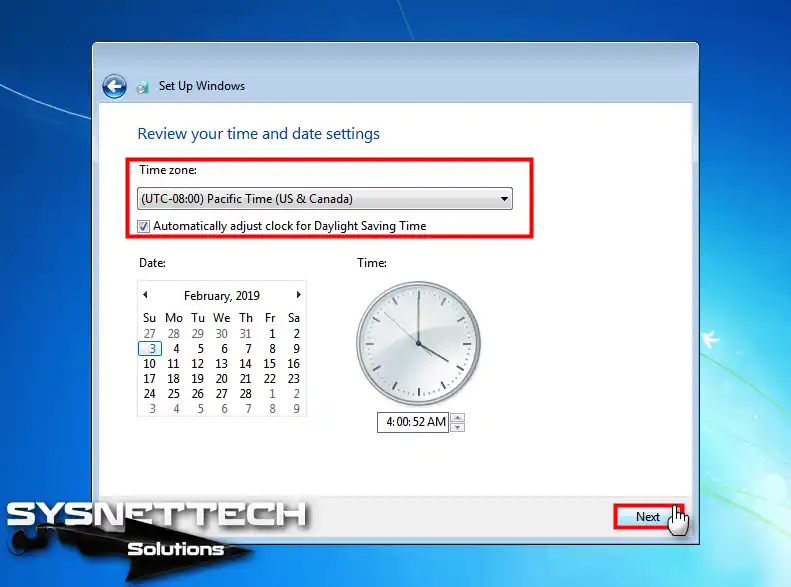
After selecting the time zone of the country where you live, click Next.
Step 6
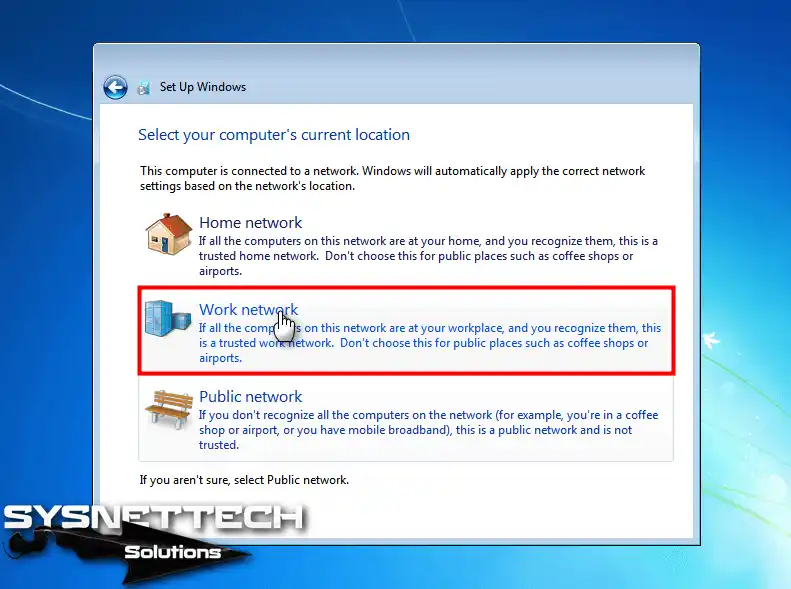
Your network structure determines your choice. Select Home Network, Work Network, or Public Network in the next window.
Step 7
Windows is configuring your last settings.

Step 8
You have completed the clean installation of Ultimate! Next, install missing drivers in Device Manager.

Video
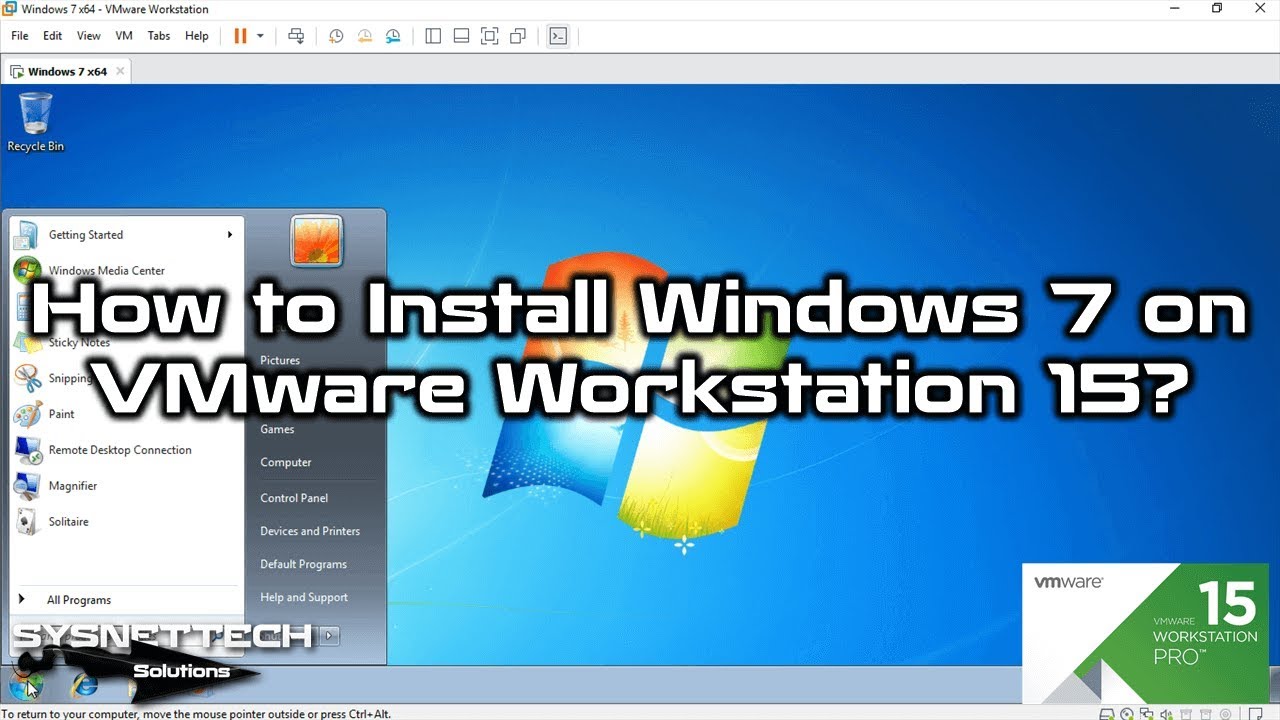
Frequently Asked Questions About Windows 7 Installation
Why should I specifically choose Windows 7 Ultimate 64-Bit for installation?
Should I choose BIOS or UEFI when preparing a USB with Rufus?
Why can’t I connect to the internet after completing the Windows 7 installation?
Should I perform an upgrade or a clean (Custom) installation?
I’m getting a ‘Driver not found’ error during installation. What should I do?
Can I continue with the installation if I don’t have a product key?
Conclusion
In conclusion, installing Windows 7 on your PC with a USB stick is easy. Whether you are new or experienced, you will find the process straightforward.
With the step-by-step guide I gave, you can easily follow the setup process. As a result, you can have a smooth install on your desktop or laptop.
You may update the current system or install a new one. ISO and USB drives give you a choice. That way, the process becomes easier. You also save time.
You may want to upgrade your operating system to a newer version. In this case, check our guide on how to install Windows 10. In this article, I explain the transition in detail. You can move from your old system to the new one from scratch.

Be the first to share your comment