
In this article, we will examine how to install VMware Tools on a Linux virtual machine installed in the VMware Workstation program.

How to Install VMware Tools on Ubuntu
After installing Ubuntu with VMware software, you need to install the VMware Tools software to use the Ubuntu virtual machine more efficiently and transfer files to the host computer.
When you install the Windows operating system with VMware Workstation, it is easy to install the VMware Tools software on the Windows virtual machine. However, this can be a bit difficult for Linux-based operating systems such as Ubuntu, Debian, Linux Mint, or openSUSE.
To install VM software on Ubuntu, make sure that the CD/DVD device is installed on the virtual machine. This method is the easiest way to install VM Tools.
In the previous article, we reviewed how to install Linux/Ubuntu with VMware. In this article, we’ll examine step by step how to install VMware Tools on a virtual machine running on VMware.
VM Tools for the Ubuntu virtual machine can also be installed over the Internet using the Terminal. However, we recommend that you use the installation files in the VMware program.
Other Linux distributions are the same as the VM software installation steps. You can install this additional software on Ubuntu 16.10 / 17.04 / 17.10 / 18.04 / 18.10 and Ubuntu 19.04 by following the steps below.
How to Build/Update VMware Tools in Linux
To install the VM Tools step by step for the Ubuntu virtual machine installed on the VM Workstation, follow the steps below in sequence.
Step 1
After running Ubuntu on Workstation/Player, you’ll see a message at the bottom of the VM Tools. Click the Update Tools to start the installation.

Step 2
If a CD/DVD device is not installed on the Ubuntu virtual machine, you will get an error, as in the image below. To resolve this issue, turn off the virtual machine and then insert the CD/DVD device.

Step 3
After restarting the Ubuntu virtual machine, click Update VM Tools or Install VM Tools from the VM menu.

Step 4
Before installing it, you will see a warning, as in the image below.

Step 5
After clicking VM / Install VM Tools, the VM Tools ISO image will be mounted to the CD/DVD device automatically.

Step 6
Copy all the files you extracted to the folder.

Step 7
Create a new folder on the Ubuntu desktop. Then, paste the files that you copied into the folder.

Step 8
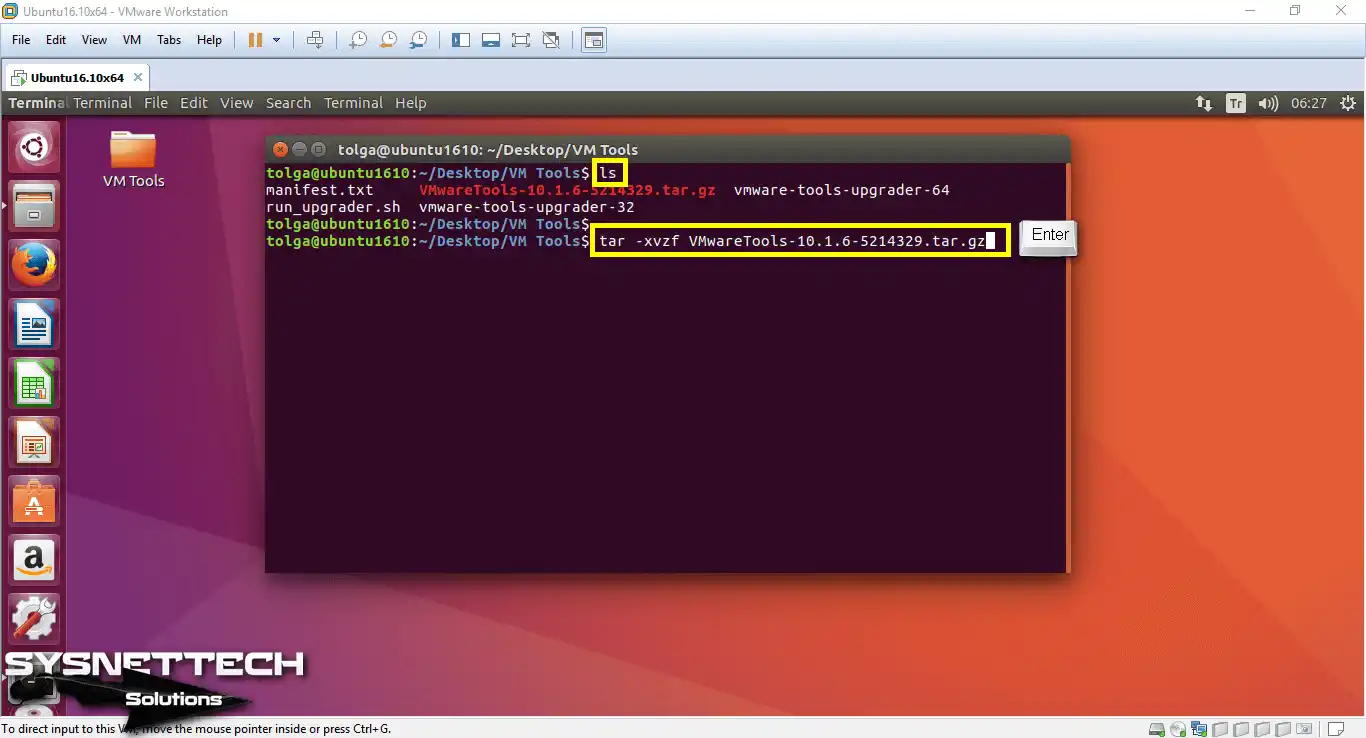
Open the Terminal in the folder you have extracted.

Step 9
To extract the Tar.gz file to the folder, follow the tar -xvzf VMwareTools-10.1.6-5214329.tar.gz command.
tar -xvzf VMwareTools-10.1.6-5214329.tar.gz
Step 10
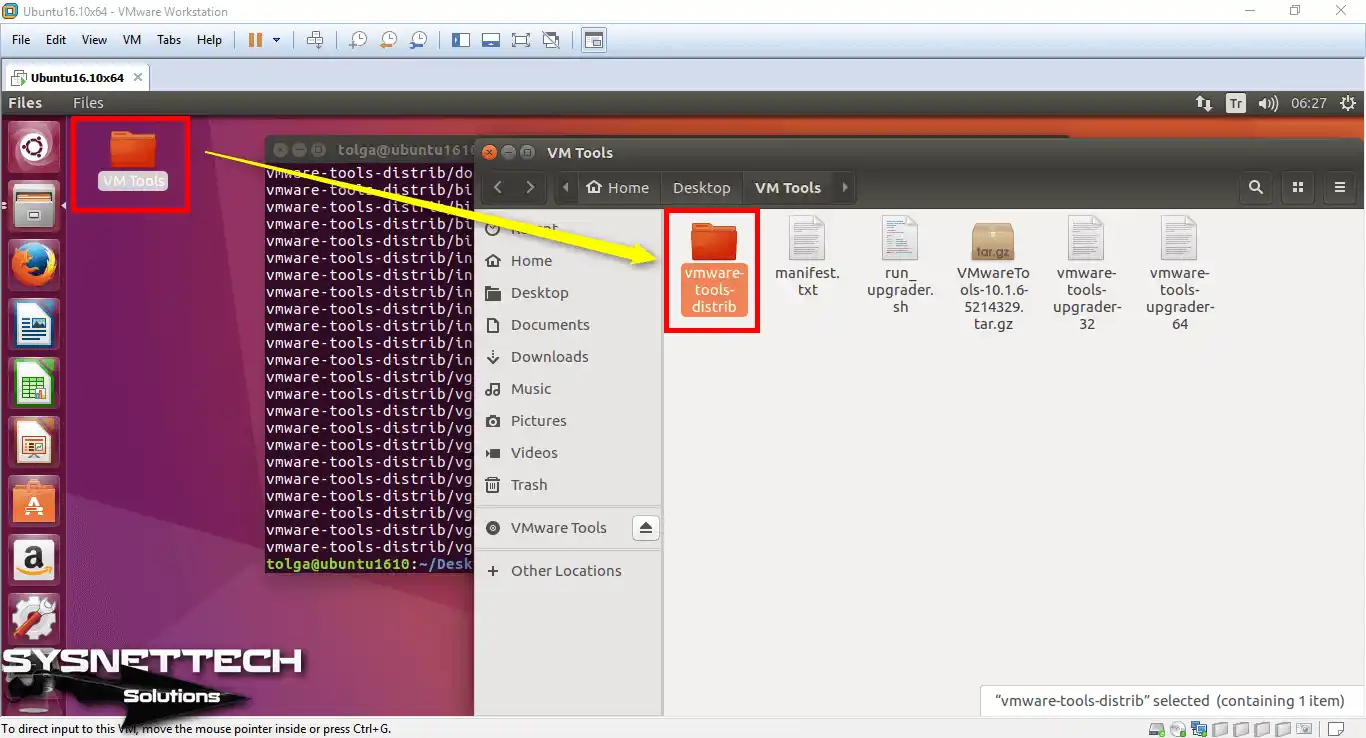
The configuration files were extracted from the ISO image and transferred to the vmware-tools-distrib folder.
Step 11
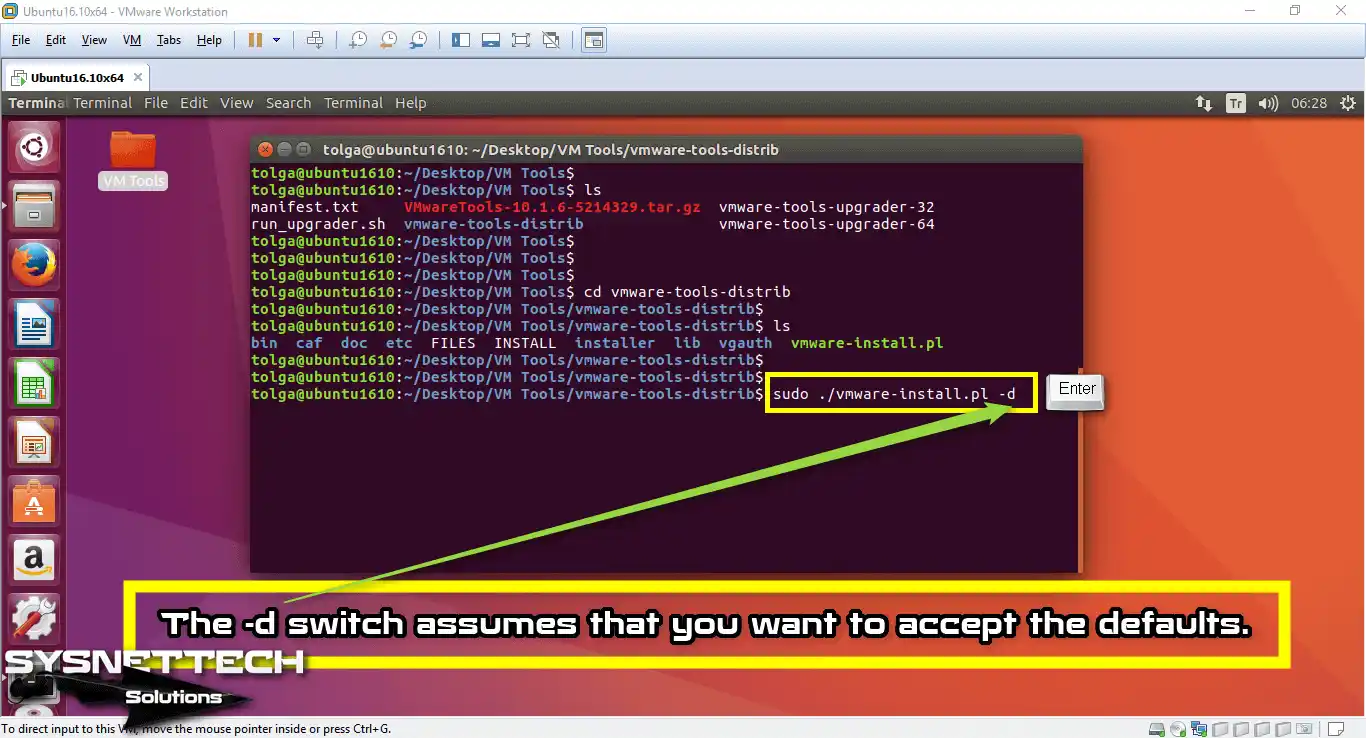
Go back to the Terminal and execute cd vmware-tools-distrib.
cd vmware-tools-distrib

Step 12
Execute sudo ./vmware-install.pl -d to start the installation of virtual machine tools.
sudo ./vmware-install.pl -d
Step 13
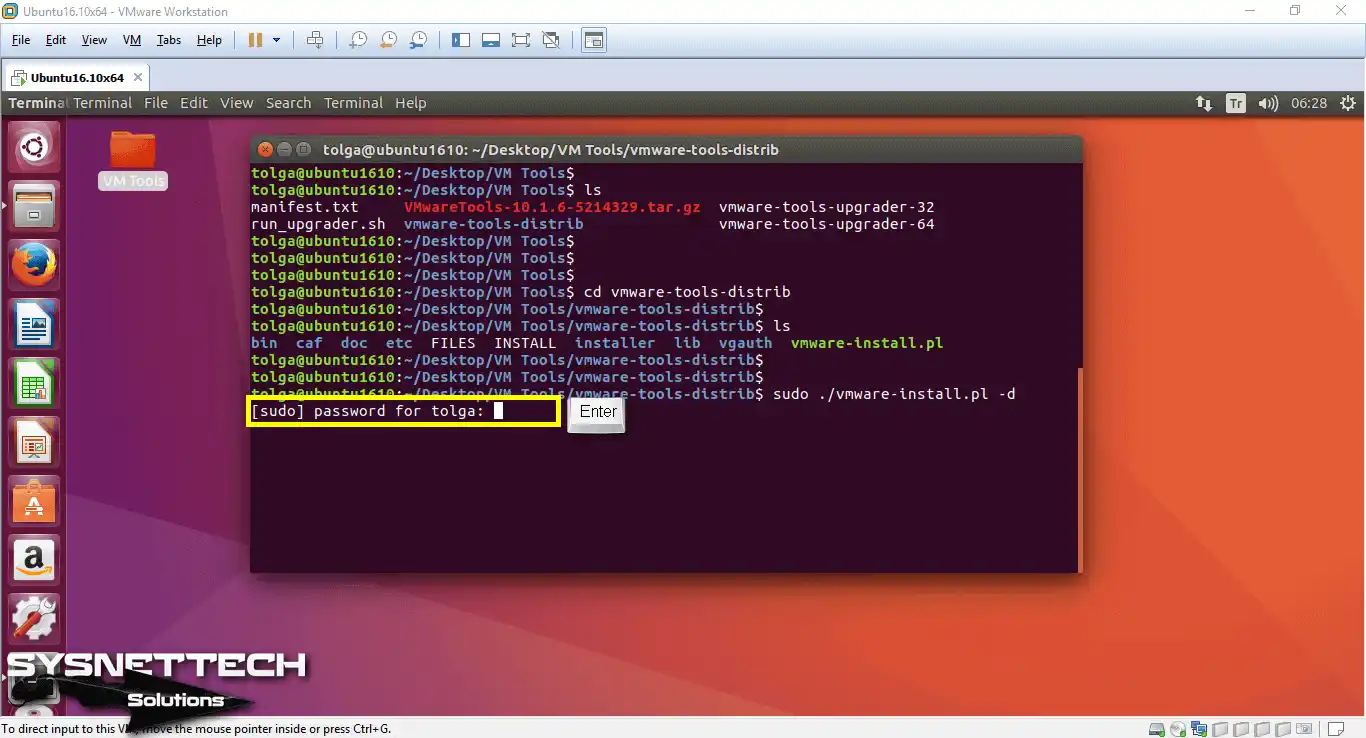
Type your root password and press Enter.
Step 14
After you type your user password, the installation will start. The -d command applies the default settings.

Step 15
Installation completed successfully!

Step 16
You can restart the virtual PC to activate the settings.

Step 17
You can verify that VMware tools are installed from the image below.

VM Tools Installation for Linux / Ubuntu Virtual Machine ⇒ Video 1
You can watch the video below to build VMware tools software on the Linux Guest machine step by step, and also subscribe to our YouTube channel to support us.

Installation of VM Tools on Ubuntu 18.10 / 19.04 ⇒ Video 2
After you install Ubuntu 18.10 / 19.04 with VMware, there is a screen resolution problem every time you restart the virtual machine.
This is due to the incorrect installation of VM Tools.
To fix the Ubuntu 18.10 screen resolution, you can watch the video below to install the correct virtual machine tools.
Conclusion
In this article, we’ve reviewed how to install VMware Tools on a Linux distribution. Thanks for following us!

Be the first to share your comment