
Are you wondering how to upgrade your VMware Workstation Pro & Player virtualization software? Then, in this simple and comprehensive guide, you will be able to upgrade the virtual machine software to the latest version easily.
You may be using Pro 12, 14, 15, 16, or 17 on your PC. However, you can seamlessly upgrade to the latest version to get more advanced features.
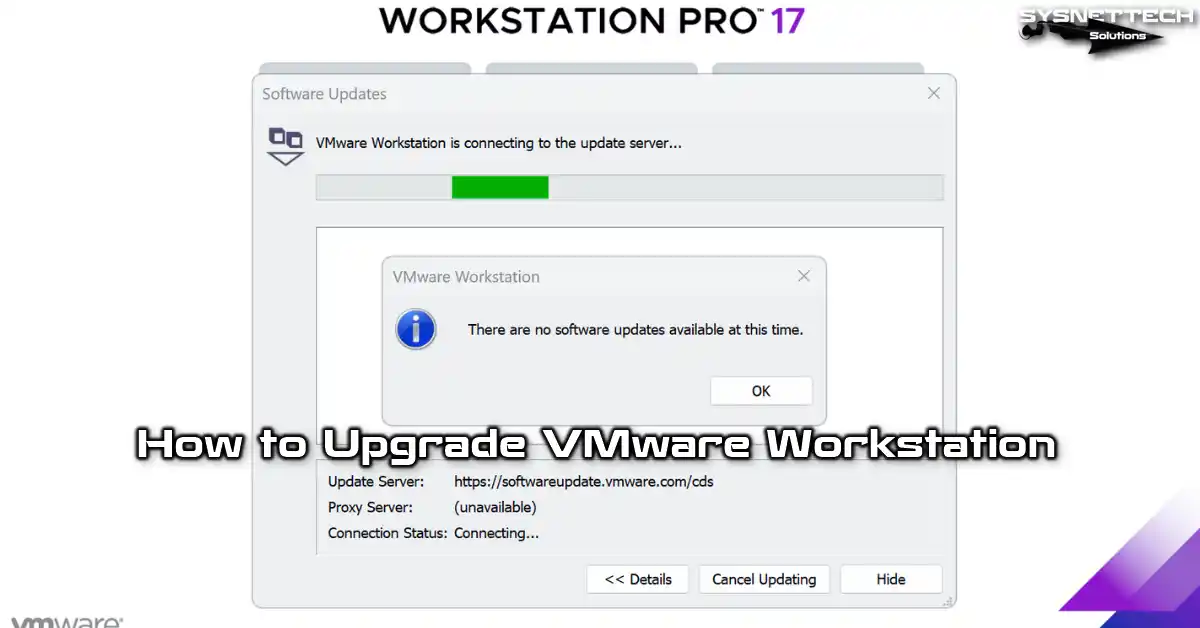
How to Upgrade VMware Workstation Pro & Player?
VMware company is constantly improving the Workstation virtualization program for us. Thus, we have newer features and operating system support. In addition, we provide compatibility with systems such as Microsoft, Linux, or macOS. Plus, we aim for better performance when using these systems virtually.
For these reasons, we need to update VMware Workstation. With this process, we update not only the Pro version but also the Player (free) one.
Under normal circumstances, VMware offers us the update package as soon as it releases a new version. We notice this latest version as soon as we open our virtualization software. However, in some cases, we do not try to install the new edition immediately. So, we want to install the latest one of the following programs at the launch.
In short, when we run the Workstation program, the Software Updates window appears. In this upgrade wizard, we can download the latest edition directly.
But sometimes, we prefer not to use new versions. Because of that, we have been actively running virtual machines. So, we don’t want them to have any compatibility issues.
What If I Have a License for Workstation Pro?
As I said, the Pro version is subject to a certain fee. However, the edition you want to use without paying is Player.
If you have the paid version of Workstation software, your license continues when you upgrade to the latest one. But this doesn’t apply to players. So you can update your VTx software without worrying.
What Should I Do After the Upgrade?
Of course, you, like me, definitely have a lot of virtual machines. For example, I found most of them 2 or 3 years ago. In these cases, we should also update the hardware versions of our old VMs after upgrading them.
For instance, I have a guest machine with Windows 10. I installed this virtual system 3 years ago. I was using Pro 14 back then. However, when I updated the software to Pro 17, I also needed to configure the hardware of this virtual computer.
However, it is helpful to remember. Before setting the hardware version, be sure to make a full copy of your VM. In some cases, new hardware compatibility settings can disrupt our virtual systems.
What’s New in the Latest Version of VMware Workstation?
VMware Workstation Pro & Player’s latest version is 17.5.2 as of May 14, 2024. You can easily upgrade the old releases we are using to the current edition, 17.5.2.
However, let’s see what’s new in version 17.5.2. Here’s what I’ve basically summarized and supported guest operating system support:
| Feature | Explanation |
|---|---|
| New Security Enhancement | It offers an improved encryption scheme (CBC instead of XTS) for maximum protection. |
| CVE-2023-34044 Solution | This release resolves CVE-2023-34044. |
| Control Virtual Machines with VMRUN Commands | You can control VMs with the VMRUN command line tool. |
| Import/Export VMs with vTPM Appliance | You can import/export vTPM device-enabled VMs using the OVF Tool. |
| Manage Power Operations of Encrypted Virtual Machines with VMREST API | You can manage encrypted VMs using the VMREST API service. |
| Hardware Version 21 | It can handle up to 256 NVMe devices. Moreover, it also includes NVMe 1.3 support for Server 2022 with Microsoft Windows 11. |
Supported Operating Systems
| Operating System | Version |
|---|---|
| Microsoft Windows | Windows 11, 10, 8.1, 7, Server 2022, 2019, 2016, 2012 R2, 2012 |
| Ubuntu | 22.04, 20.04, 22.10 |
| Debian | 11.5, 12 |
| Fedora | 37, 36 |
| RHEL | 9, 8, 7 |
| CentOS | 8, 7 |
| openSUSE Leap | 15.3, 15.2 |
| FreeBSD | 12, 13 |
| macOS | macOS 11, 10.15, 10.14 |
How to Upgrade to VMware Workstation Latest Version
I talked about the necessary features, explanations, and supported systems. Now, it’s time to upgrade the VMware Workstation to the latest version!
First of all, back up all your VMs. You can directly copy all folders in the installation location to another disk. Also, there are other ways you can try.
Steps:
Step 1
As I said, under normal circumstances, you will see the update wizard automatically. However, when you click on Skip new releases, you must turn it on manually later.
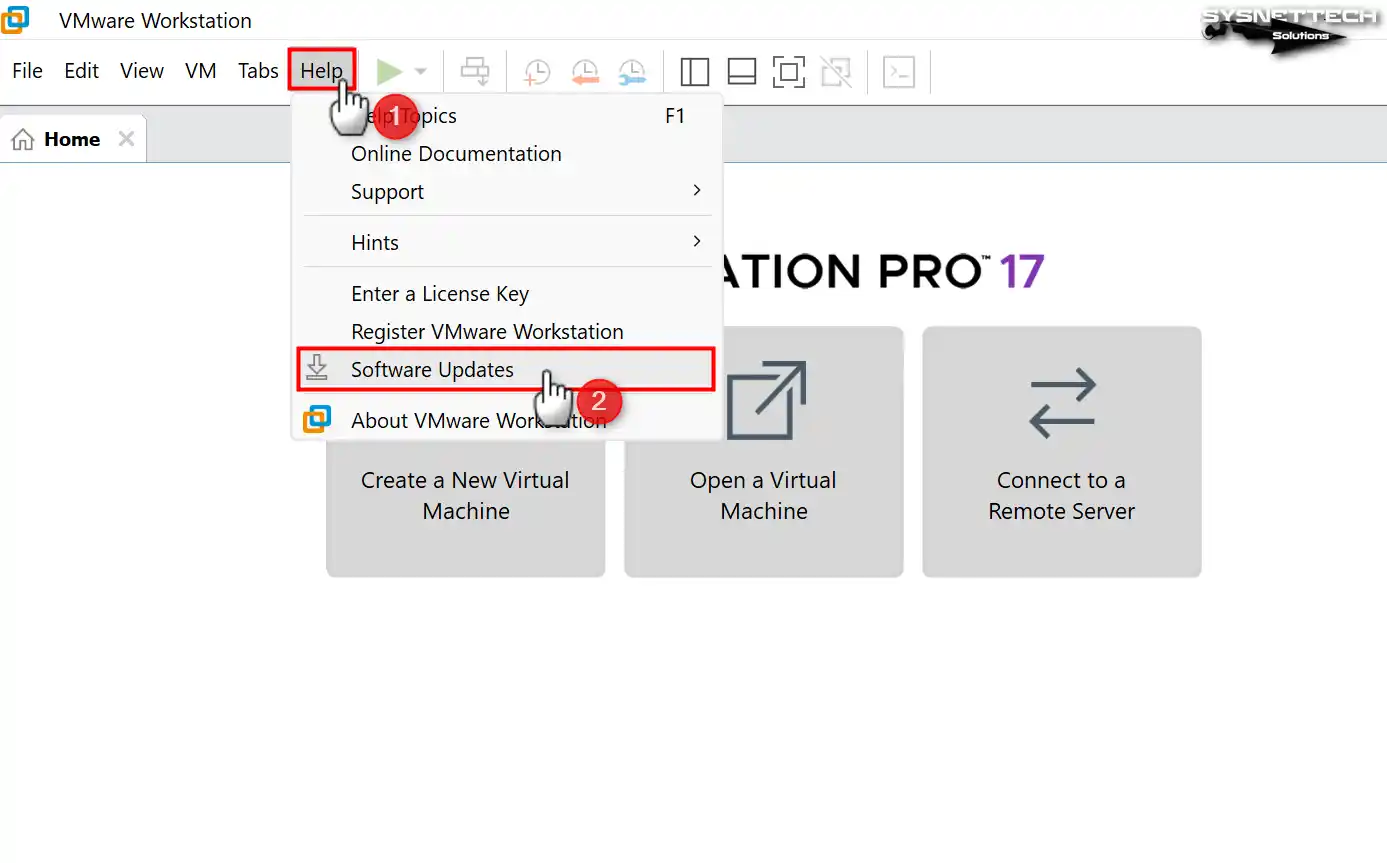
So, open VMware Workstation and click Help / Software Updates.
Step 2
When you open the software update tool, you will see the window in the image below. Right here, click Check for Updates to check the new variant of virtualization software.

Step 3
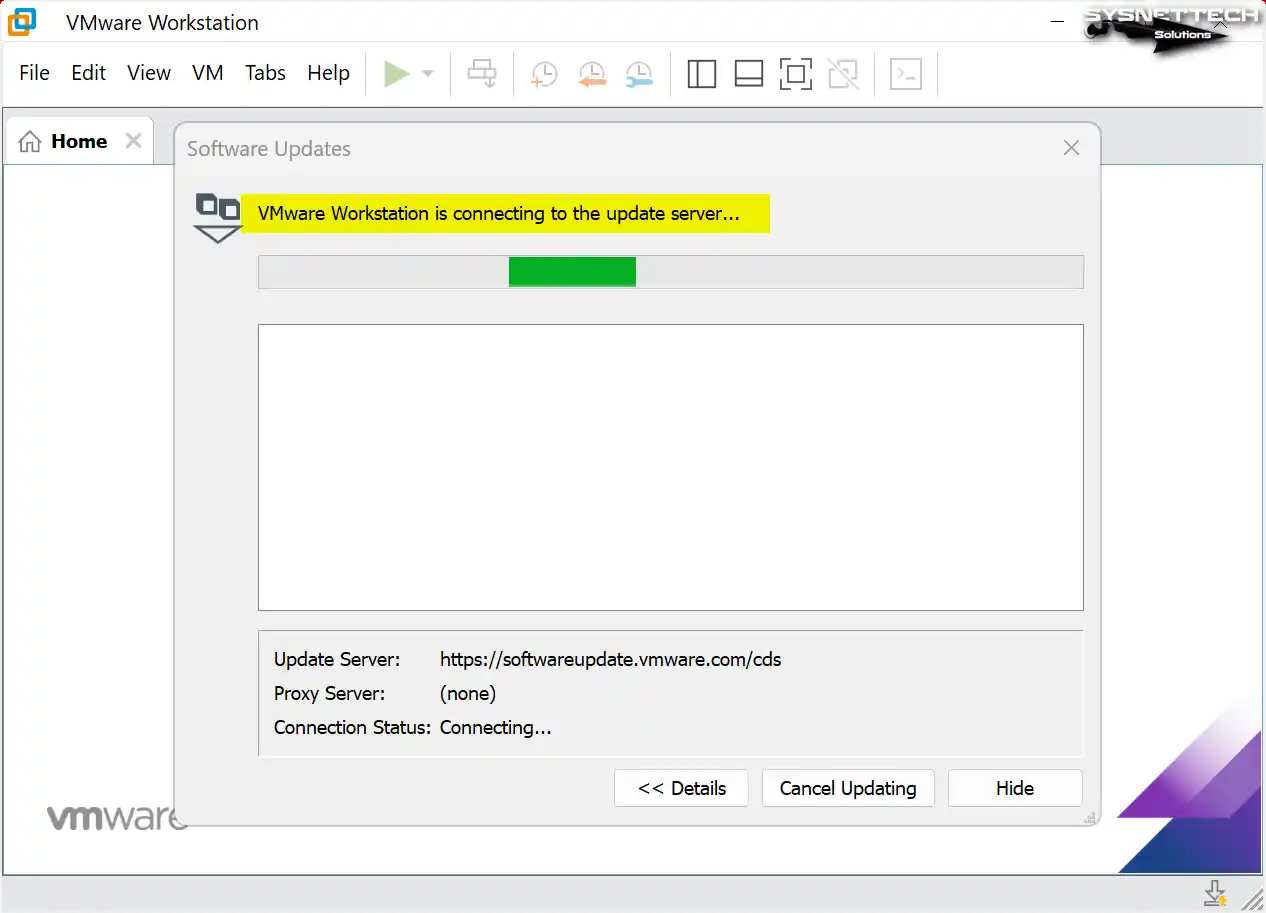
At this point, your virtualization software will connect to the update server.
Step 4
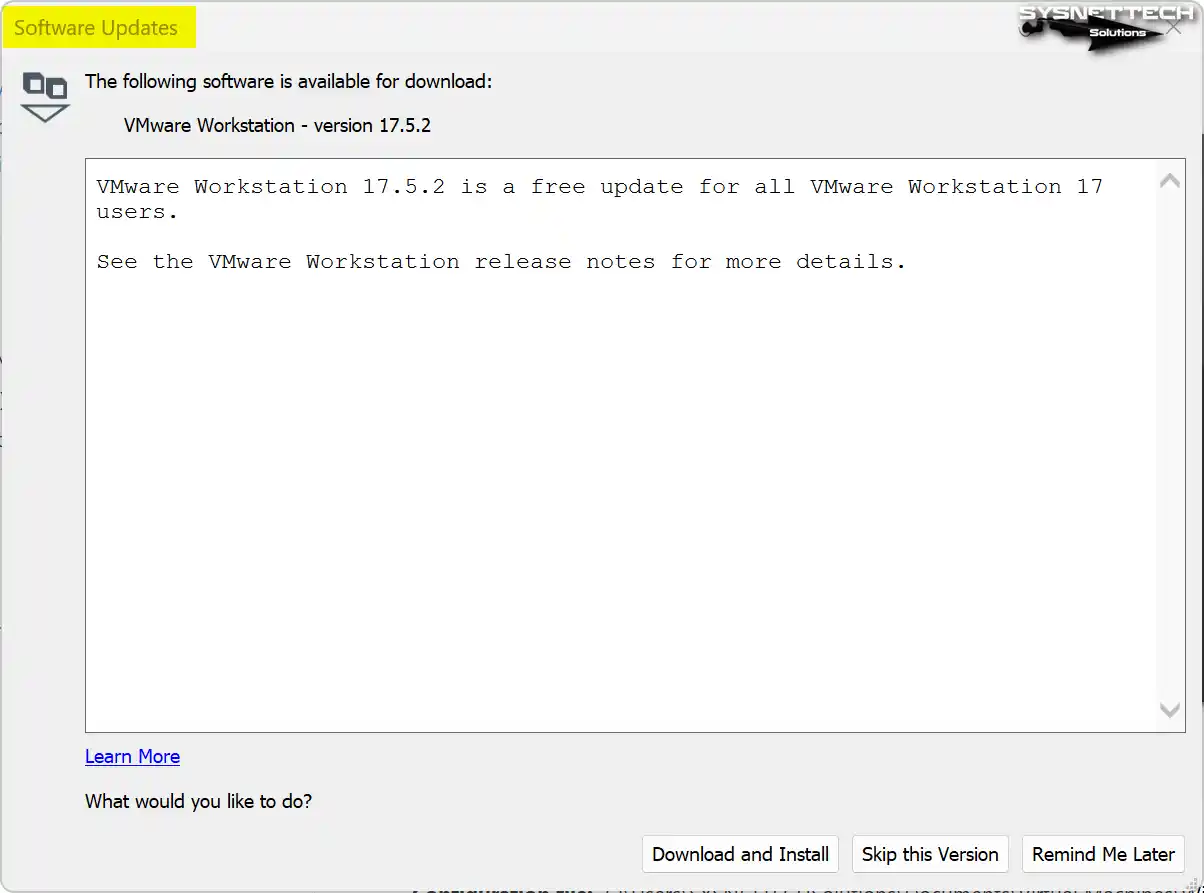
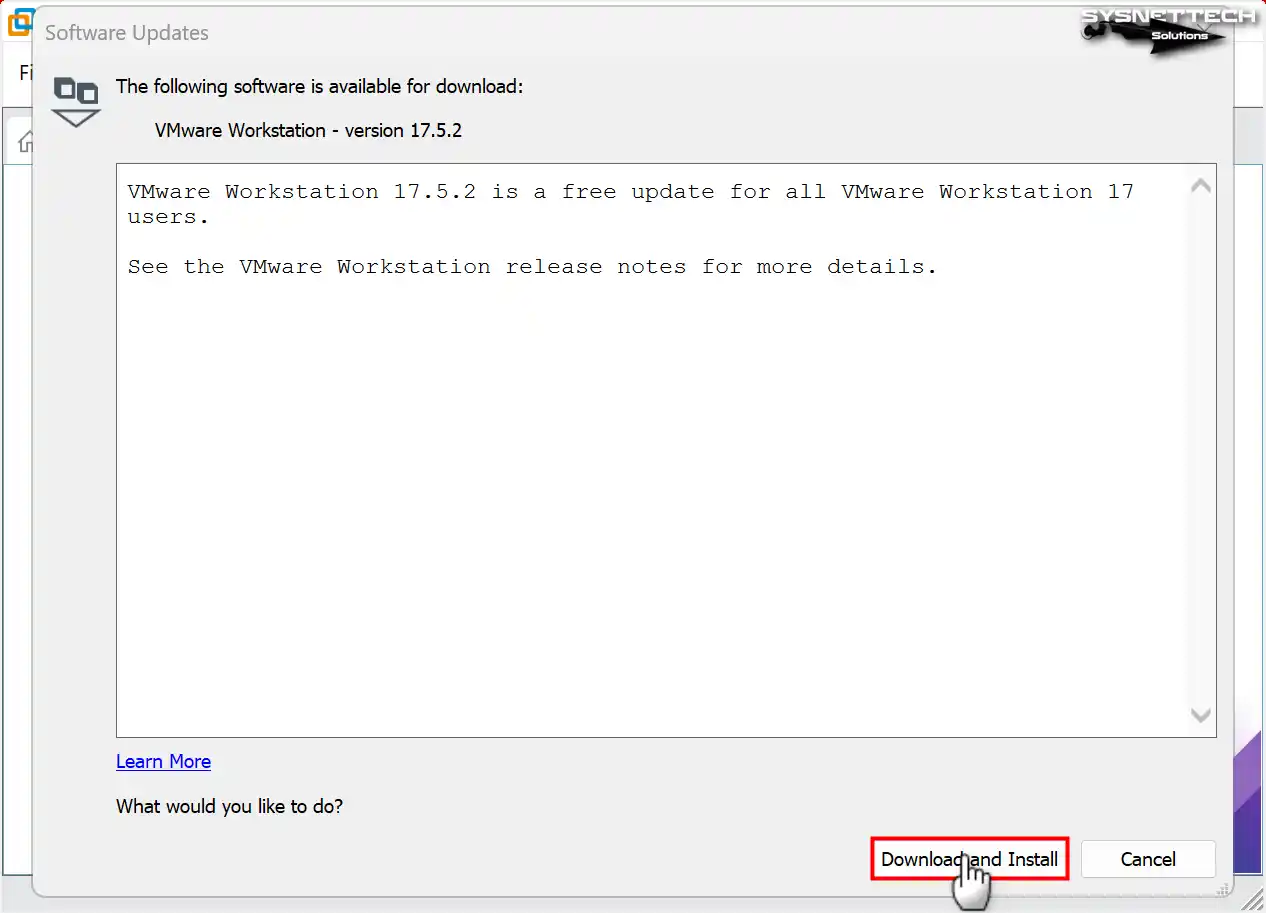
The update wizard found the latest version of Workstation Pro. Now, on this screen, we see that 17.5.2 is the latest distribution. Hit the Download and Install button to initiate the process of getting the current software package.
Step 5
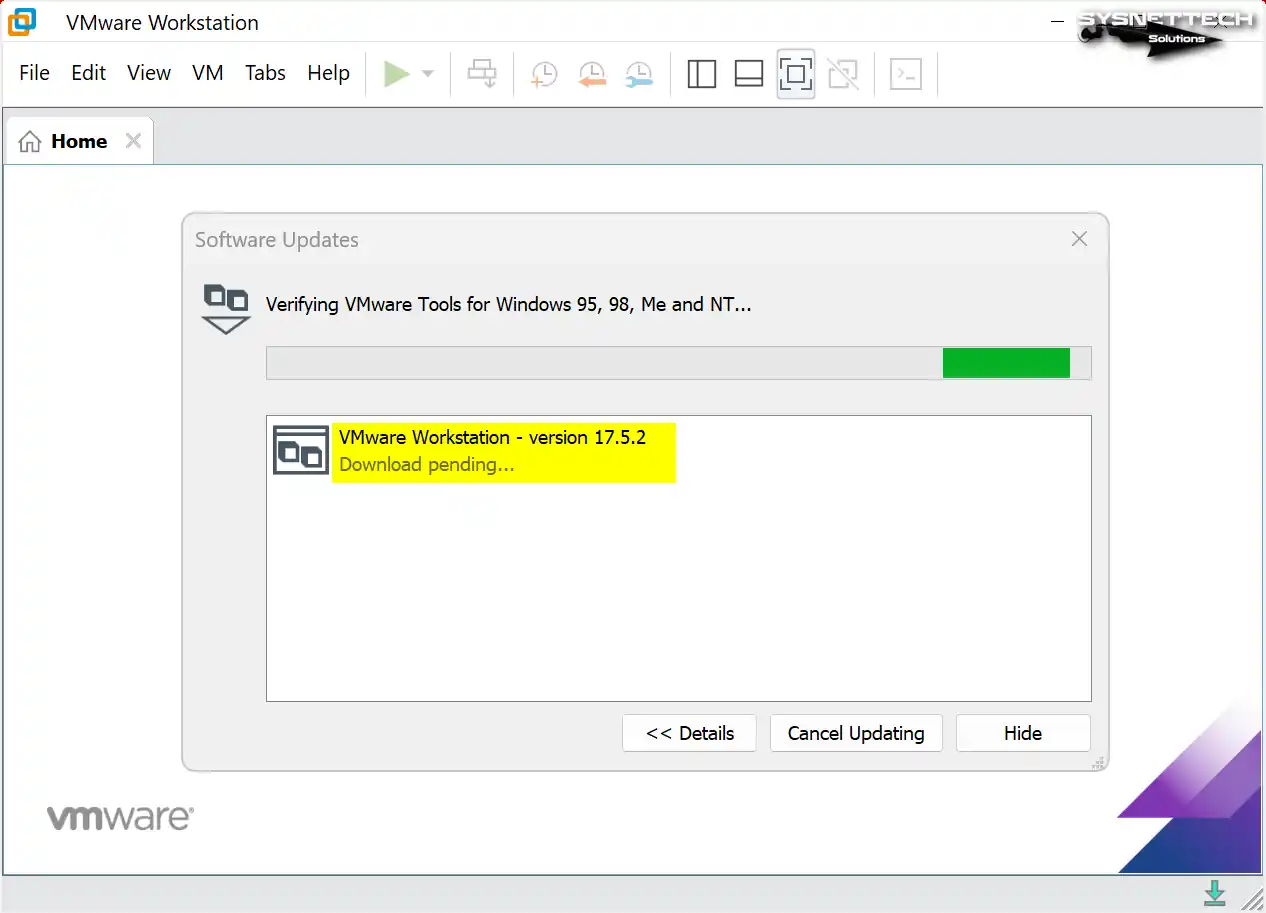
When you start the download period, you will also download tools such as VMware Tools for your guest systems. You will also get new features related to the Workstation.
Step 6
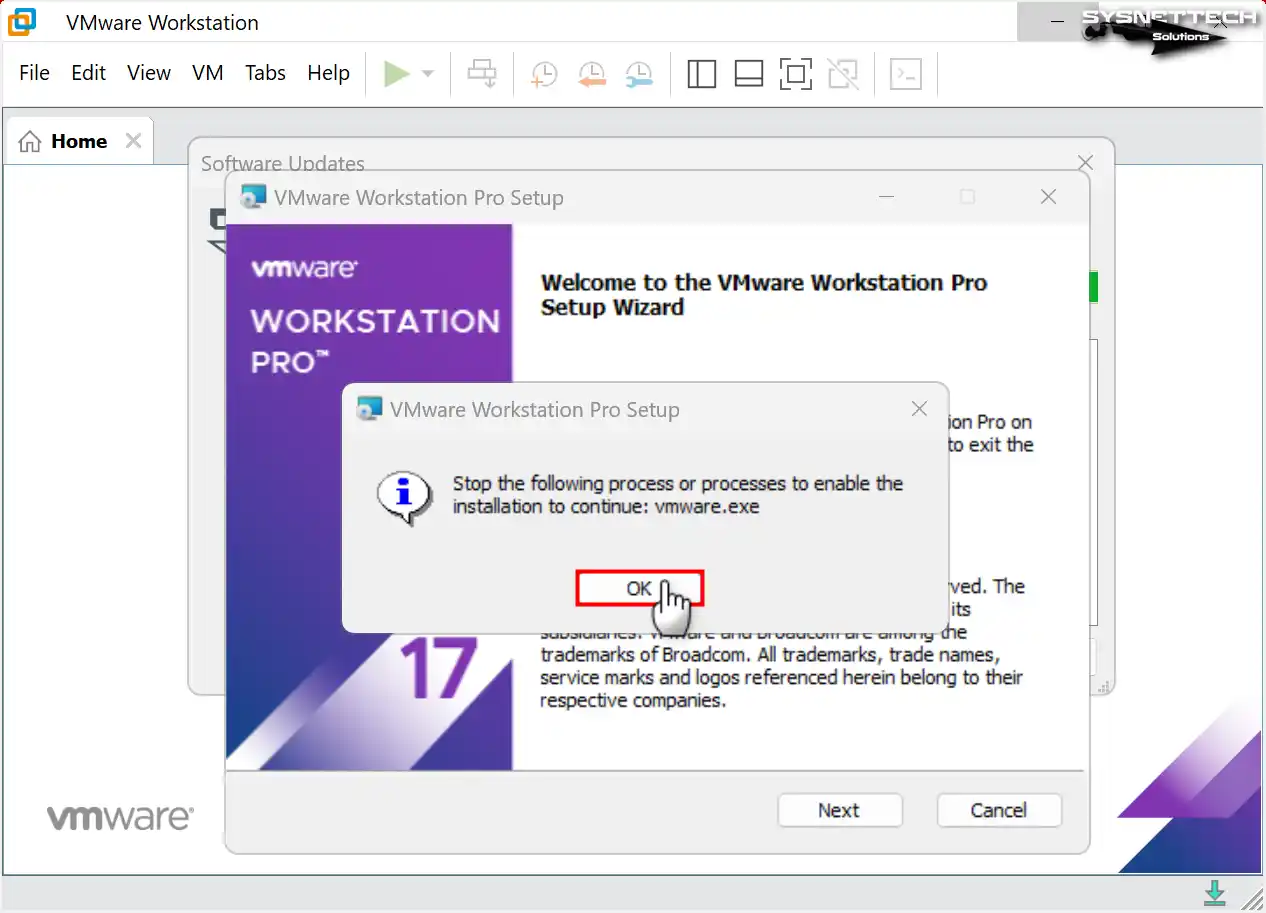
You have downloaded the new packages required for Workstation & Player. Now, you will see a warning like the image below. This warning informs you that you need to close the VMware service (i.e., vmware.exe) running in the background for the upgrade process.
Step 7
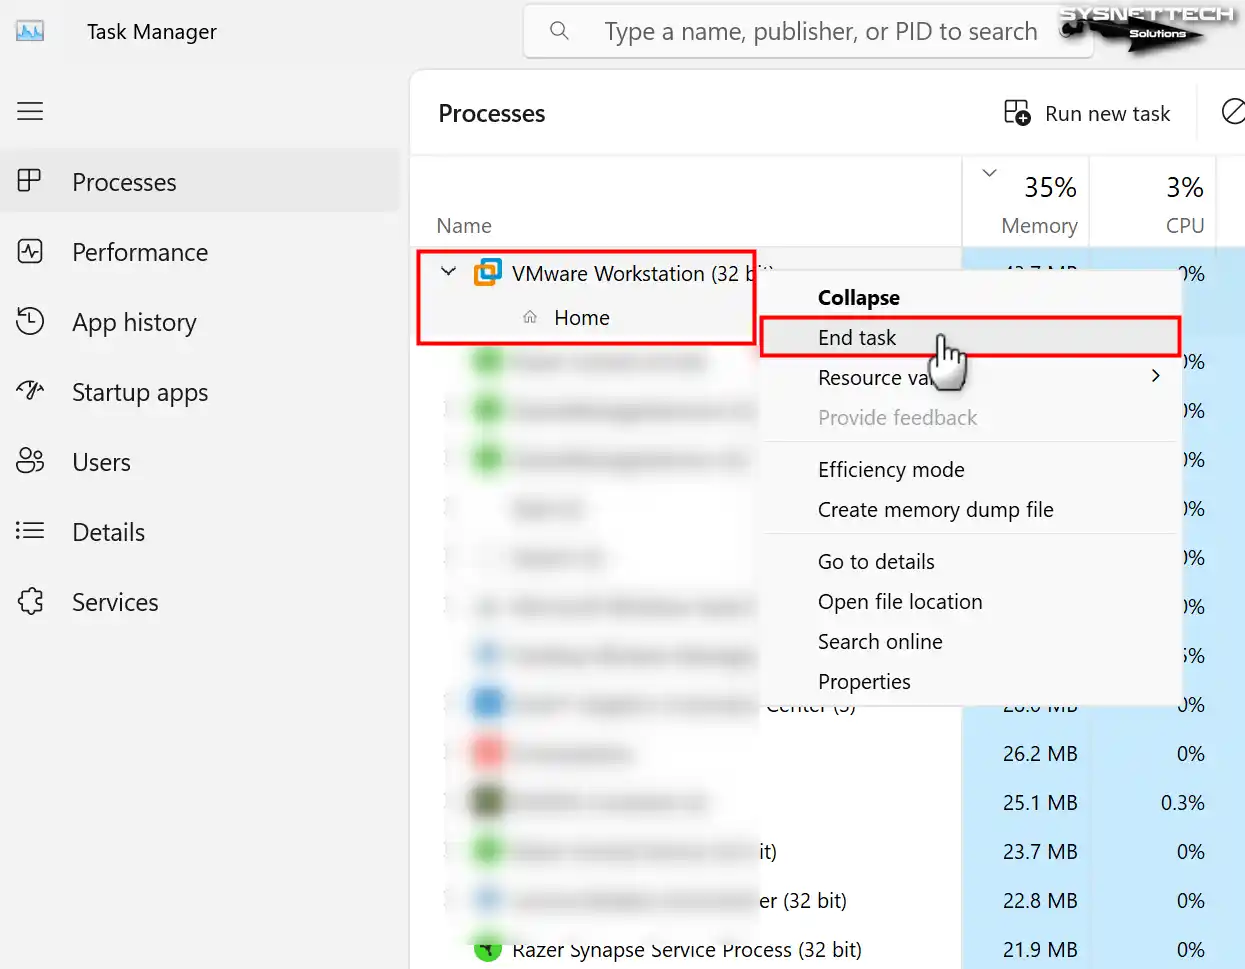
In the Windows 10 & 11 operating system you use, press CTRL + Shift + ESC together. This will allow you to run the Task Manager tool from the shortcut.
Now, right-click on the VMware Workstation (vmware.exe) service in the Task Manager and select End task.
Step 8
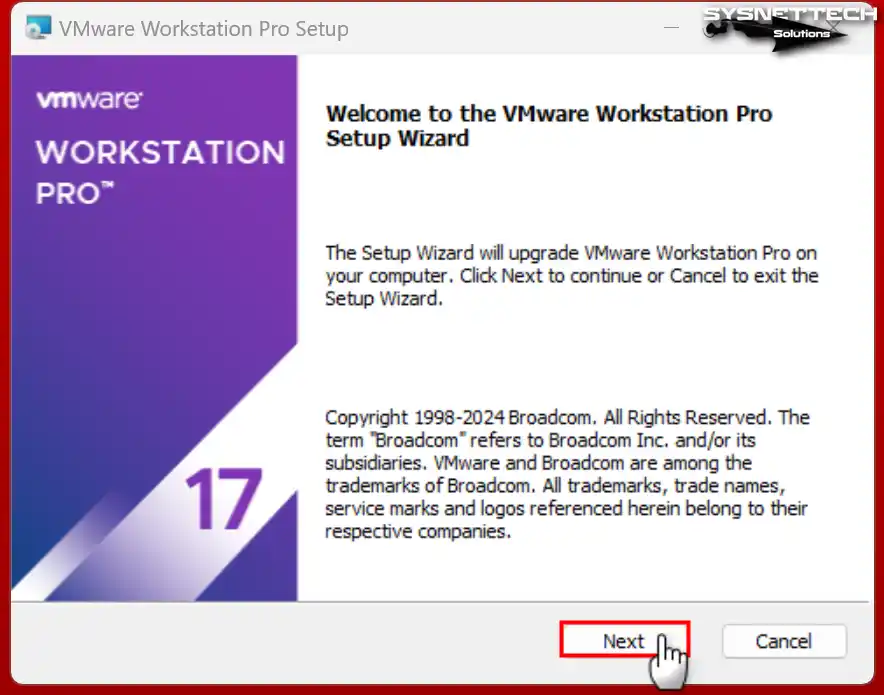
Return to the installation wizard as soon as you close the VM service. Now, all you have to do on this screen is to click Next.
Step 9
You see the end-user license agreement for Workstation Pro. If you are curious about the license rules, read them, accept them, and click Next.

Step 10
On this screen, proceed by enabling advanced keyboard features.

Step 11
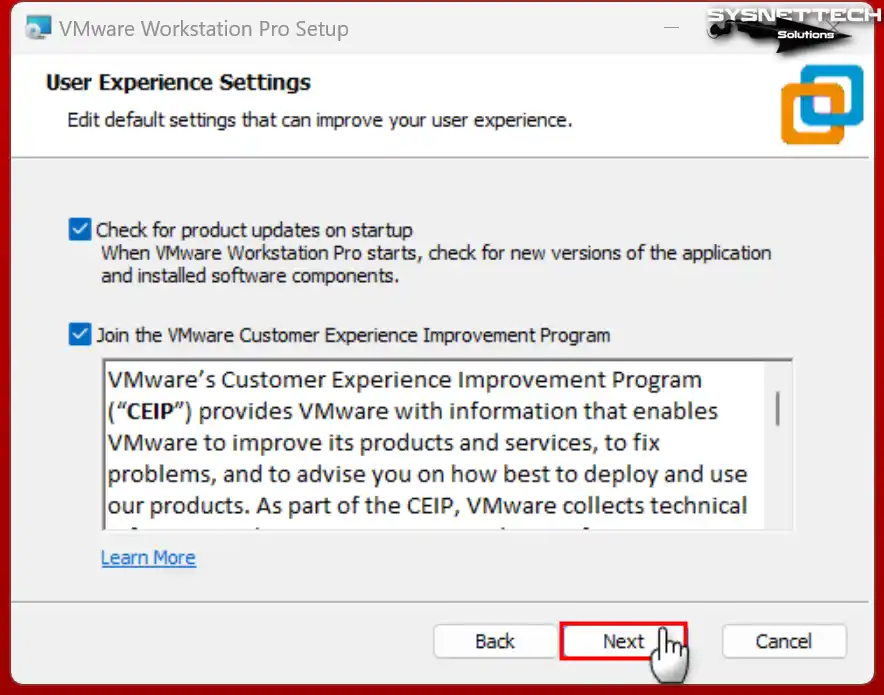
Approve the updates on the Workstation’s user experience screen. I also recommend joining the customer experience program to contribute to this excellent software. After making your decision, continue on the relevant screen.
Step 12
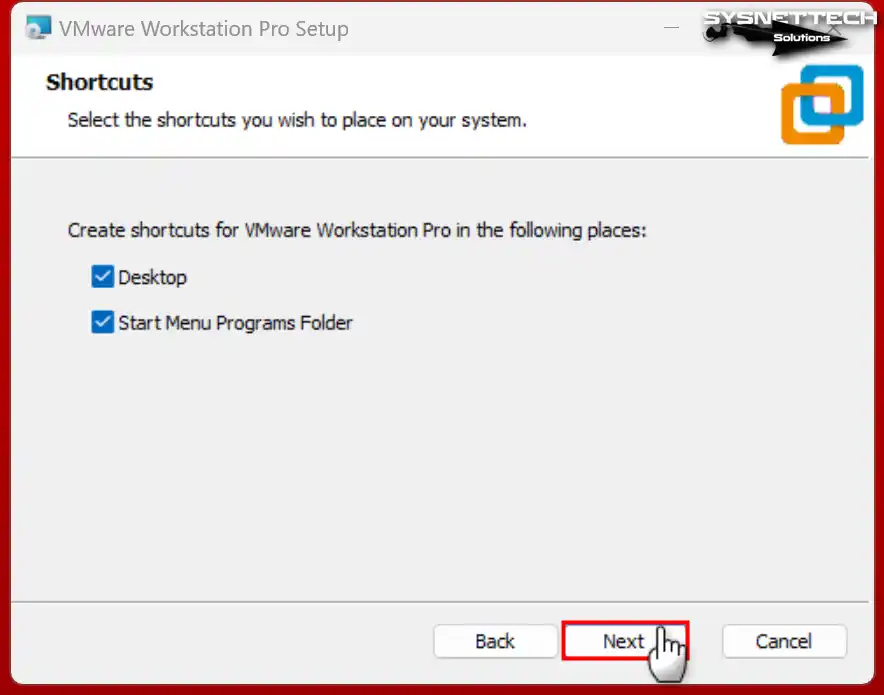
I think we all love desktop shortcuts. That’s why I enable shortcuts for both the start menu and the desktop location.
Step 13
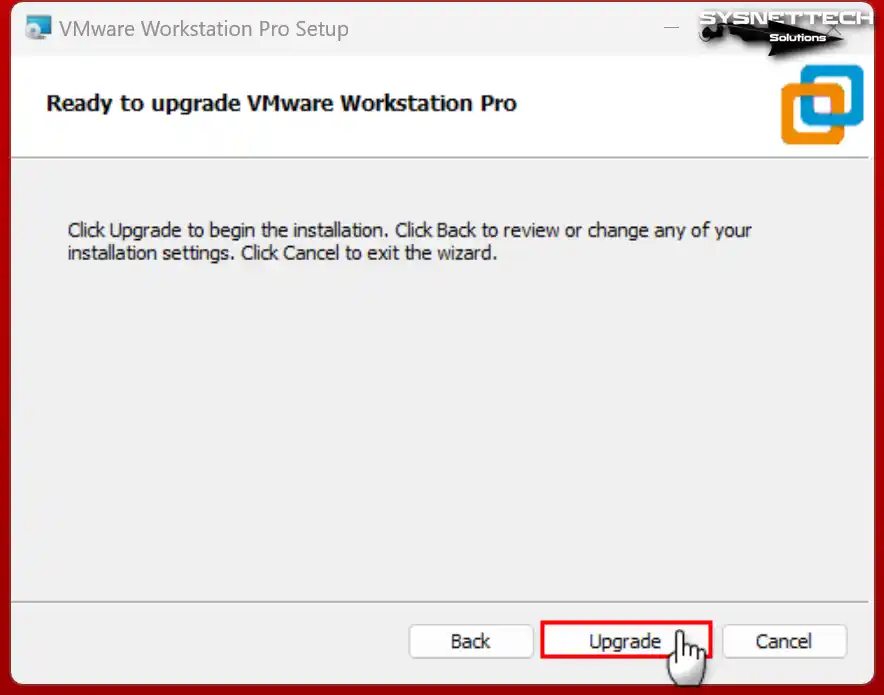
Finally, in this step, you will need to click on the Upgrade button to refresh the release.
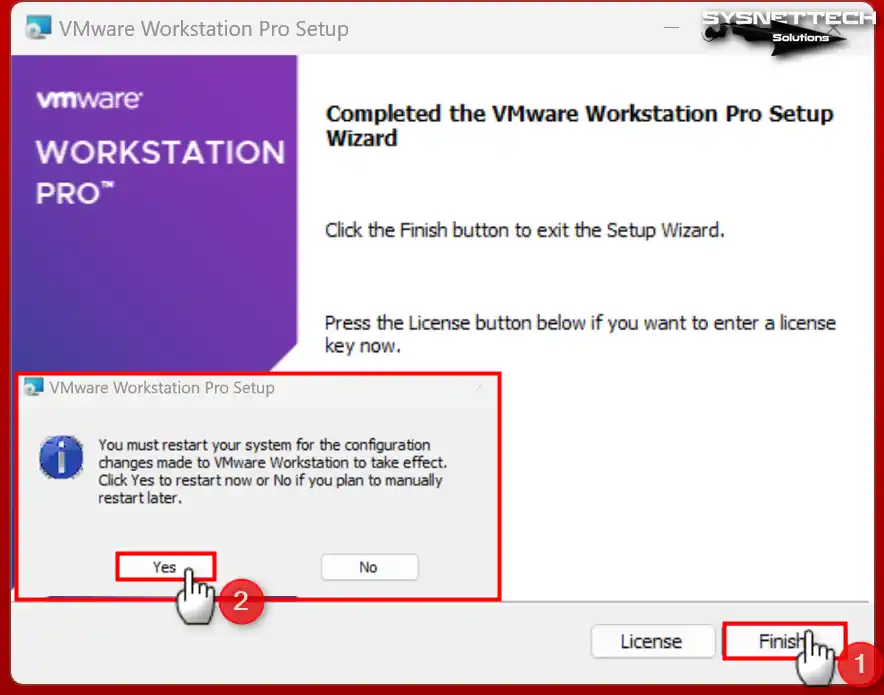
Step 14
You’ve finally updated your Workstation Pro program. Now, the only thing I suggest is restarting your PC so the changes take effect.
Our YouTube Training Video for VMware Workstation Update
We also have a simple and easy video guide for you to update VMware to the latest version. You can quickly get the new version by watching the YouTube training video below!
Potential Compatibility Issues with Virtual Machines When Upgrading to the Latest Version
It is essential to update your existing VTx software on your PC. This will provide you with both performance and security. However, sometimes, you may experience compatibility issues with virtual machines. So why do these problems occur?
You should especially check whether your VMs are compatible with the new version. Just renewing the Workstation version is not enough. You should also check its compatibility.
So, if you are wondering what you can do in case of a possible problem, I suggest you try the following:
- VMware provides us with backward compatibility of our virtual machines. Therefore, you can solve some of the problems you will experience in the new version. But how? Of course, it is to download and install the old version that you use without any issues from official sources.
- You should check if your VMs are compatible with the latest version or not. For example, make sure your system is included by looking at the 17 Pro release notes.
- Do detailed research before installing the new version. If there is a new feature that may affect your VMs, be careful. That’s why I recommend reviewing the release notes.
- Another thing to think about is what your computer needs to run VMware Workstation software. Newer ones are good but may have a hardware requirement that affects your current program. For example, CPU & RAM criteria may change for your current VM. This may affect the power of your virtual system. As a result, you must also check conditions such as system and hardware.
- Perhaps the most important thing is to back up your guest machines. This allows you to respond faster in case of an unexpected problem. For example, you installed the latest version, but your current VM does not boot. If so, you can reinstall the old version, copy your VM to the relevant location, and add it again.
Frequently Asked Questions (FAQ)
- Can I upgrade from VMware Workstation 16 to 17?
- Should I upgrade VMware Tools or hardware?
- How do I manually update VM tools?
Conclusion
Briefly, in this guide, I explained how to update the VMware Workstation. While following the steps in our guide, you must turn off the vmware.exe service before the update. Otherwise, you will not be able to start the installation process of your virtual machine software.
Additionally, whether it is VMware or any other software, be sure to make a backup beforehand. These things could be your virtual machines or projects. You want to make sure you don’t lose all your hard work. For this reason, I recommend that you pay attention when installing or upgrading.

Be the first to share your comment