The simplest way to use VMware or VirtualBox virtual machines in GNS3 is to use the Cloud structure.

How to Add a Cisco Router, Switch, PC, VM to Cloud on GNS3
Since the GNS3 program is continuously updated, its use is further simplified. In GNS3, you can test virtual machines by creating a more realistic network design.
The old version of the program had the “Host” option in the tools section. And with it, we were connecting to VMware and GNS3. This is now easier with the Cloud Nodes feature, which comes with GNS3 2.0.
In this article, we will add virtual computers to the network topology using GNS3 and VMware Workstation.
How to Add VMware Virtual Machine to GNS3
For configuration, create two virtual machines in the VMware program, and then follow the steps below to add the Cloud.
Step 1
First, run the GNS3 network simulator and create a new project.

Step 2
Click on the Edit menu.

Step 3
From the Edit menu, click Preferences.

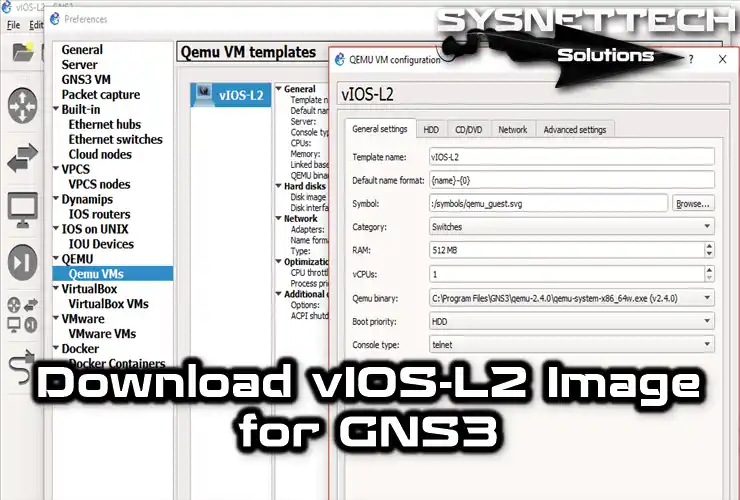
Step 4
Click on Cloud nodes as in the image below. In this window, click on the New button to create a Cloud outline.

Step 5
Because the Cloud node that you create will be related to virtual machines, you can type the virtual machine operating system name.

Step 6
After typing the VMware virtual machine operating system name, click Finish.

Step 7
Now, click Edit to continue.

Step 8
In the image below, you need to add an Ethernet interface created on the Host for the Cloud.
In the VMware Virtual Network Editor, click Show special Ethernet interfaces to add the VMnets you created earlier.

Step 9
Click the down arrow to select VMnet.

Step 10
Select VMnet1 for Windows 8.1 machine and click the Add button.

Step 11
To change the Cloud symbol that you added to the workspace to the Computer symbol, click on the Misc tab.

Step 12
Click the Browse button to change the symbol.

Step 13
In the symbol window that opens, select the Computer symbol and click the OK button.

Step 14
Close the window by clicking the OK button to save your settings.

Step 15
Now click the New button to add a new Cloud to the Windows 10 virtual machine again.

Step 16
In the same way, type a name for Cloud and click Finish.

Step 17
Select VMnet2 for the Windows 10 machine and then change the symbol.

Step 18
Now let’s test the Clouds by creating a small network design in the GNS3 program.

Step 19
As you can see in the image below, two Cloud computers have added to the tools section.

Step 20
Check the VMnet settings of the virtual machines on VMware. As you can see in the Virtual Network Editor, VMnets configured as Host-Only.
Windows 8.1 settings are as follows.

Step 21
Also, check the Windows 10 VM settings.

Step 22
Before running virtual machines, enter Network Connection Settings from your physical computer. The VMnet1 and VMnet2 settings should be as in the following image.
Here, the main purpose of changing IP addresses for VMnets is that IP addresses with .1 uses as the default gateway.
If you do not pay attention here, a network error may occur in GNS3 projects.

Step 23
Create a network topology as in the image below and add the Cloud computers you added to the workspace.
Change the Hostname name of Cloud1.

Step 24
Change the Hostname name of Cloud2.

Step 25
Finally, run the Router to configure the FastEthernet interfaces of the Cisco Router.

Step 26
Open the Cisco Router R1 CLI command prompt and assign an IP address to the FastEthernet0/0 and FastEthernet0/1 interfaces.
R1#conf t
Enter configuration commands, one per line. End with CNTL/Z.
R1(config)#interface fastethernet 0/0
R1(config-if)#ip address 192.168.5.1 255.255.255.0
R1(config-if)#no shutdown
R1(config-if)#exit
R1(config)#
*Mar 1 00:02:19.999: %LINK-3-UPDOWN: Interface FastEthernet0/0, changed state to up
*Mar 1 00:02:20.999: %LINEPROTO-5-UPDOWN: Line protocol on Interface FastEthernet0/0, changed state to up
R1(config)#interface fastethernet 0/1
R1(config-if)#ip address 192.168.10.1 255.255.255.0
R1(config-if)#no shutdown
R1(config-if)#end
R1#

Step 27
Run the Win 8.1 virtual computer and configure the TCP/IP setting.

Step 28
In the same way, configure the TCP/IP setting on the Win10 virtual computer.

Step 29
Test the network connection by Pinging from Win8.1 to Win10.

Step 30
Ping from Win10 to Win8.1 and test the network connection.
As can be seen, the two virtual machines communicate successfully with each other through the Cisco Router.

Router Show Commands
R1#show running-config
Building configuration...
Current configuration : 1043 bytes
!
version 12.4
service timestamps debug datetime msec
service timestamps log datetime msec
no service password-encryption
!
hostname R1
!
boot-start-marker
boot-end-marker
!
!
no aaa new-model
memory-size iomem 5
no ip icmp rate-limit unreachable
ip cef
!
!
no ip domain lookup
ip auth-proxy max-nodata-conns 3
ip admission max-nodata-conns 3
!
!
ip tcp synwait-time 5
!
!
interface FastEthernet0/0
ip address 192.168.5.1 255.255.255.0
duplex auto
speed auto
!
interface Serial0/0
no ip address
shutdown
clock rate 2000000
!
interface FastEthernet0/1
ip address 192.168.10.1 255.255.255.0
duplex auto
speed auto
!
interface Serial0/1
no ip address
shutdown
clock rate 2000000
!
ip forward-protocol nd
!
!
no ip http server
no ip http secure-server
!
no cdp log mismatch duplex
!
!
control-plane
!
!
line con 0
exec-timeout 0 0
privilege level 15
logging synchronous
line aux 0
exec-timeout 0 0
privilege level 15
logging synchronous
line vty 0 4
login
!
!
end
R1#
R1#show ip route
Codes: C - connected, S - static, R - RIP, M - mobile, B - BGP
D - EIGRP, EX - EIGRP external, O - OSPF, IA - OSPF inter area
N1 - OSPF NSSA external type 1, N2 - OSPF NSSA external type 2
E1 - OSPF external type 1, E2 - OSPF external type 2
i - IS-IS, su - IS-IS summary, L1 - IS-IS level-1, L2 - IS-IS level-2
ia - IS-IS inter area, * - candidate default, U - per-user static route
o - ODR, P - periodic downloaded static route
Gateway of last resort is not set
C 192.168.10.0/24 is directly connected, FastEthernet0/1
C 192.168.5.0/24 is directly connected, FastEthernet0/0
R1#
R1#show ip route connected
C 192.168.10.0/24 is directly connected, FastEthernet0/1
C 192.168.5.0/24 is directly connected, FastEthernet0/0
R1#
How to Use Cloud in GNS3 ⇒ Video
You can watch the video below to add a virtual computer to GNS3 and also subscribe to our YouTube channel to support us!
Final Word
In this article, we have added VMware virtual computer to the Cloud structure added to the GNS3 workspace. For more specific studies, we recommend that you use the Cloud structure instead of VPCS. Thanks for following us!
Related Articles
♦ GNS3 and OSPF
♦ GNS3 and EIGRP
♦ Using GNS3 in Ubuntu
♦ GNS3 Cisco IOS
♦ Download GNS3

TolgaBagci
Hi, I'm Tolga, a computer expert with 20 years of experience. I help fix computer issues with things like hardware, systems, networks, virtualization, servers, and operating systems. Check out my website for helpful info, and feel free to ask me anything. Keep yourself in the loop about the newest technologies!
I did everything that you said to do, but I cannot ping from my router to my VM. I can ping my default gateways router from my VM though. I’m not sure whats going on? I’m using vmware workstation pro 16 and the latest GNS3