
This article will give you a complete guide on how to get the ISO file for the VMware vSphere server system and update ESXi when a new version comes out. We’ll take you through each step, from finding the correct ISO file to installing the latest update.
Whether you’re a pro in IT or new to VMware, this guide has what you need to keep your ESXi system up to date-and working well. You’ll get straightforward instructions, so you can concentrate on getting the job done without any extra headaches.

How to Upgrade vSphere ESXi 6.5 to 6.7
Suppose you are using a more aged version of VMware vSphere Hypervisor ESXi. In that case, you may need help to upgrade directly to ESXi 6.7. The following versions are required to update your existing building to the vSphere 6.7 version.
- 6.0.0
- 6.0.0 U1
- 6.0.0 U2
- 6.0.0 U3
- 6.5.0
If you are using one of the VMware vSphere versions mentioned above, you can upgrade your system directly to 6.7.
To upgrade VMware vSphere 5.5 to 6.7, you must first upgrade your building to 6.0.
Note: You can update the VMware vSphere ESXi 6.7U1 version to 6.7U2 by following the steps in this article.
How to Update VMware Hypervisor ESXi 6.5 to 6.7 using ISO
To update the VMware Hypervisor ESXi server running on a physical disk on a VMware Workstation using an ISO file, follow the instructions below.
Step 1
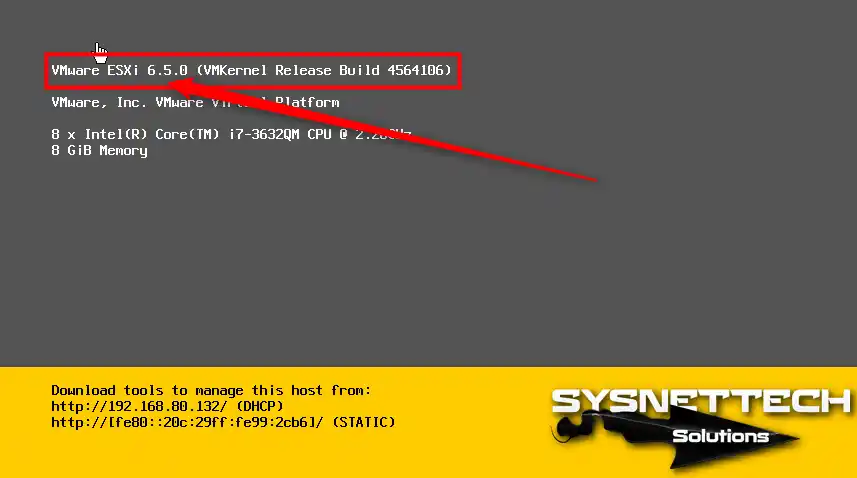
You can see from the image below that the existing ESXi server is version 6.5. Now, to upgrade VMware ESXi 6.5 to 6.7, first, download the ESXi ISO file to your PC and burn the ISO file to a CD/DVD or Flash Memory.
Insert your setup media on your Server and restart your system.
Step 2
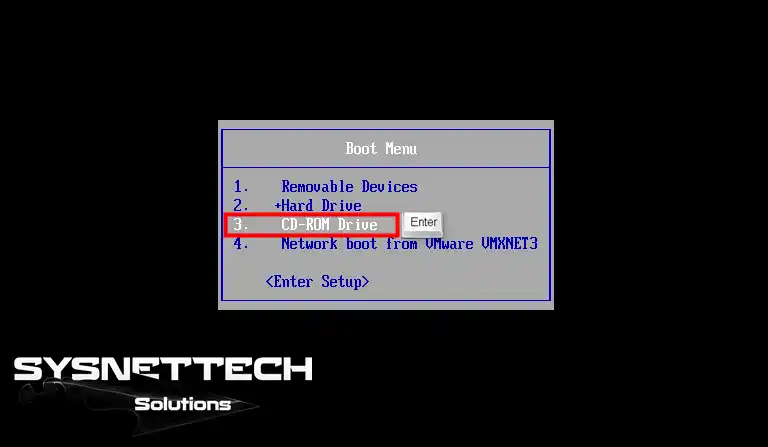
From the Boot menu, select CD/DVD-ROM or USB Flash Drive and press Enter.
Step 3
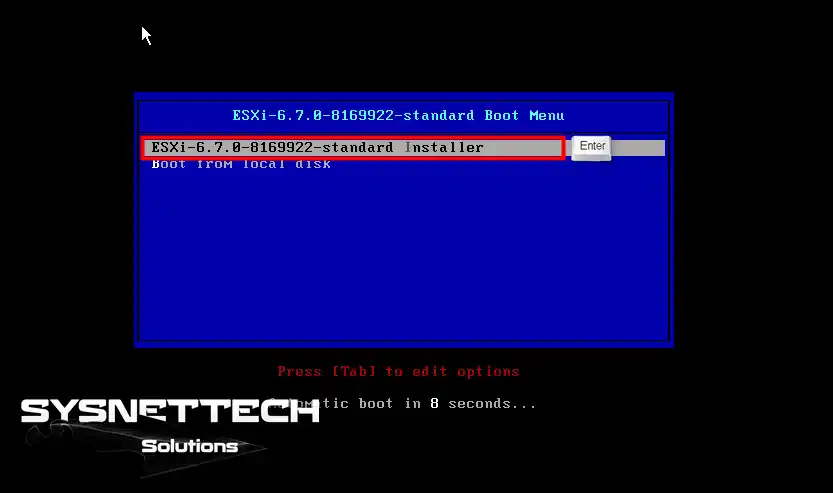
Press Enter on the 6.7.0-8169922-standard Installer option.
Step 4
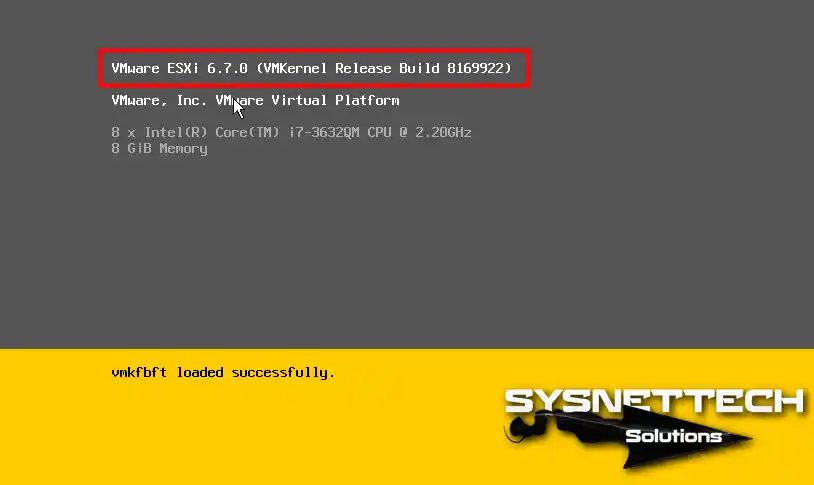
Wait while the 6.7 installation is starting.
Step 5
At the Welcome to the Installation screen, press Enter to continue.
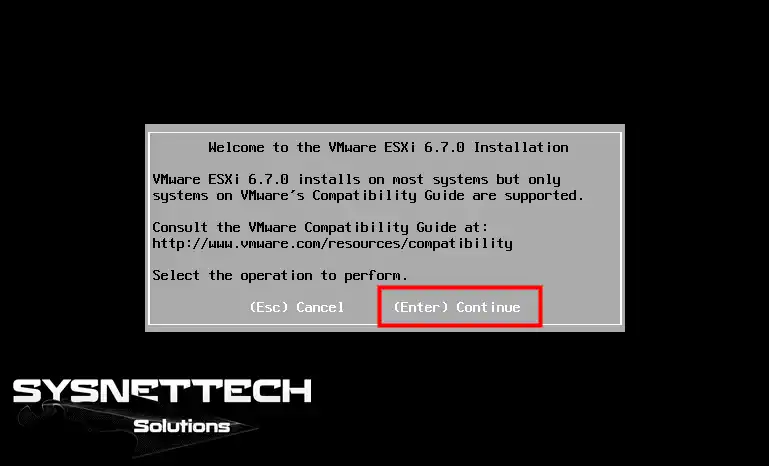
Step 6
Press F11 to accept the license agreement.
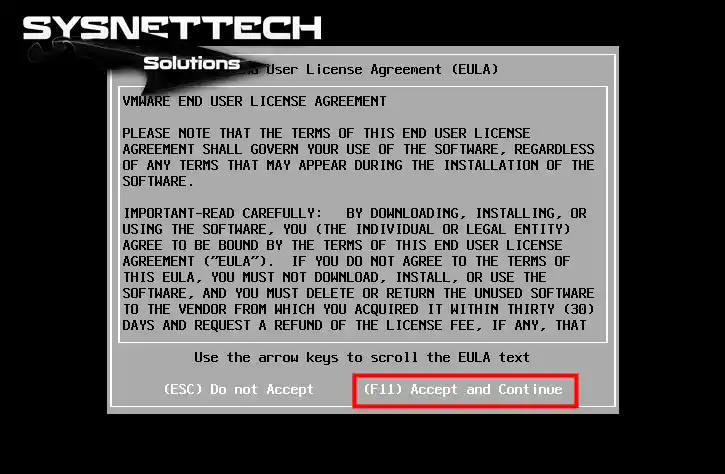
Step 7
To find out the current version of the system you want to update to 6.7, press F1 and look for the existing ESXi version.
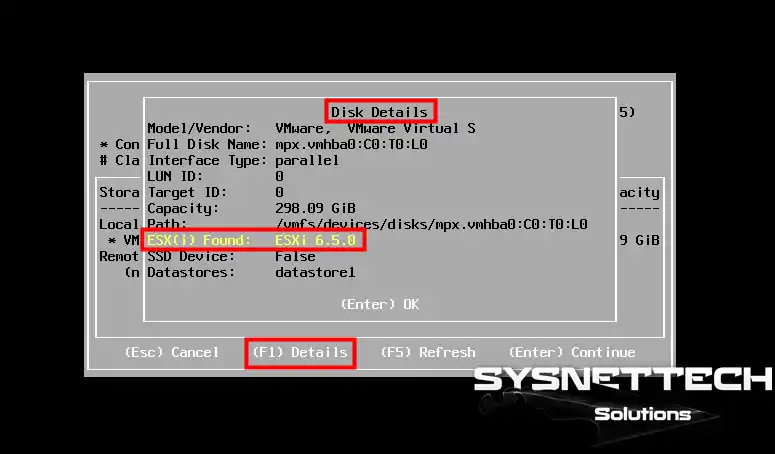
Step 8
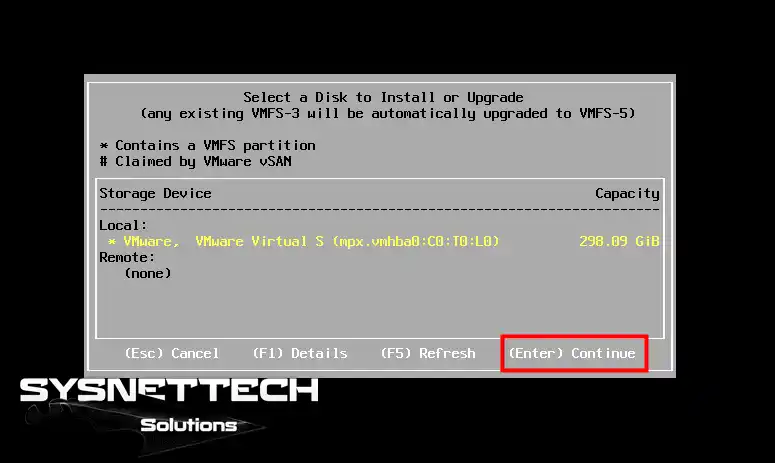
Select the disk to install the 6.7 version and press Enter.
Step 9
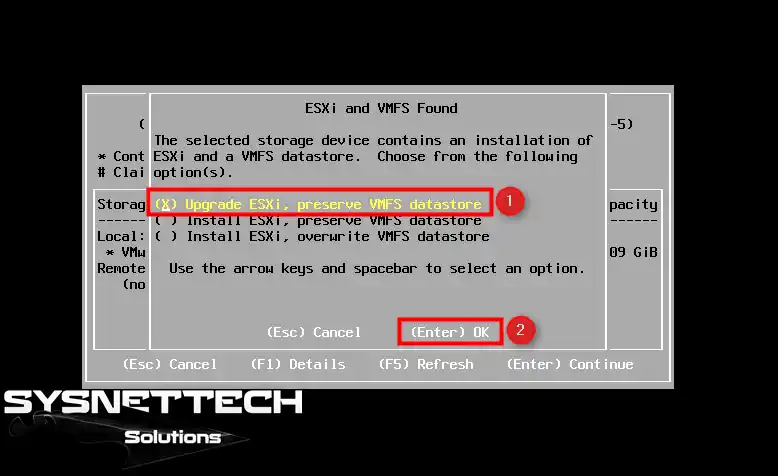
This is the most crucial step in updating your Server. As you can see in the image below, there is an Upgrade option to update your existing architecture.
To upgrade 6.5 to 6.7, select Upgrade ESXi, preserve VMFS datastore, and press Enter.
Step 10
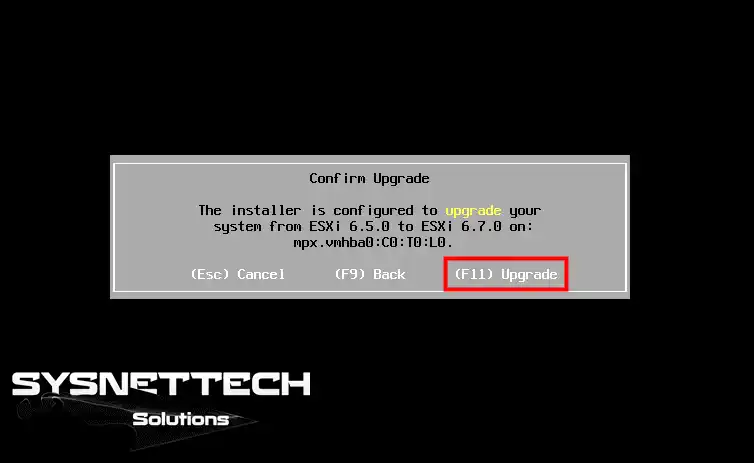
Press F11 (Upgrade) to start the update process.
Step 11
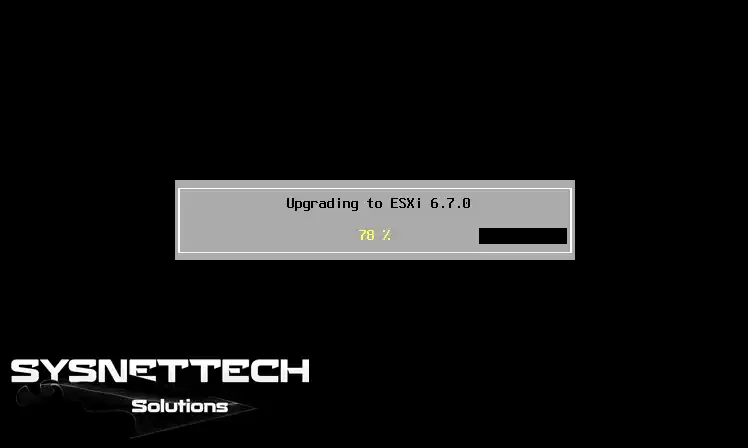
Wait while updating your current infrastructure to 6.7.
Step 12
Before you restart your Server, press the Enter key and select the Remove the installation media before rebooting option.

Step 13
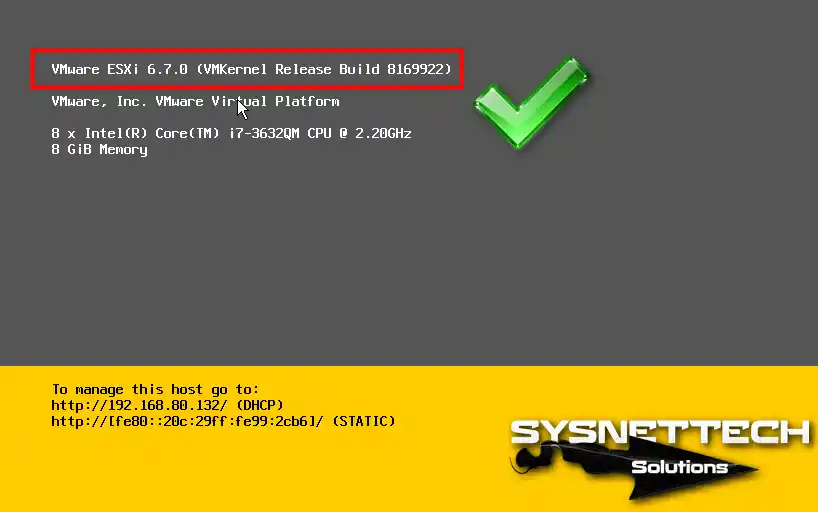
After successfully updating ESXi 6.5 to 6.7, open your web browser to link to your Server with the IP address assigned by DHCP.
Step 14
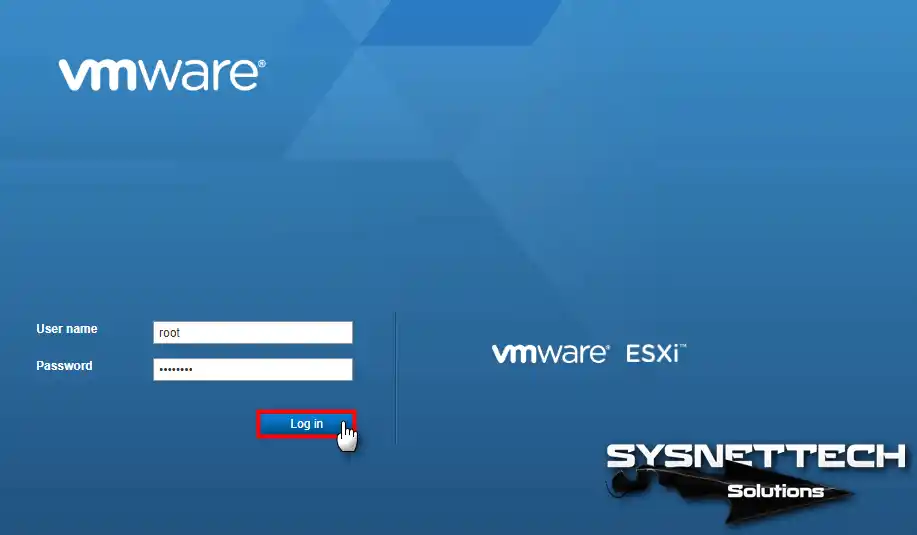
On the login screen, type the username and password that you made earlier, and then click the login button.
Step 15
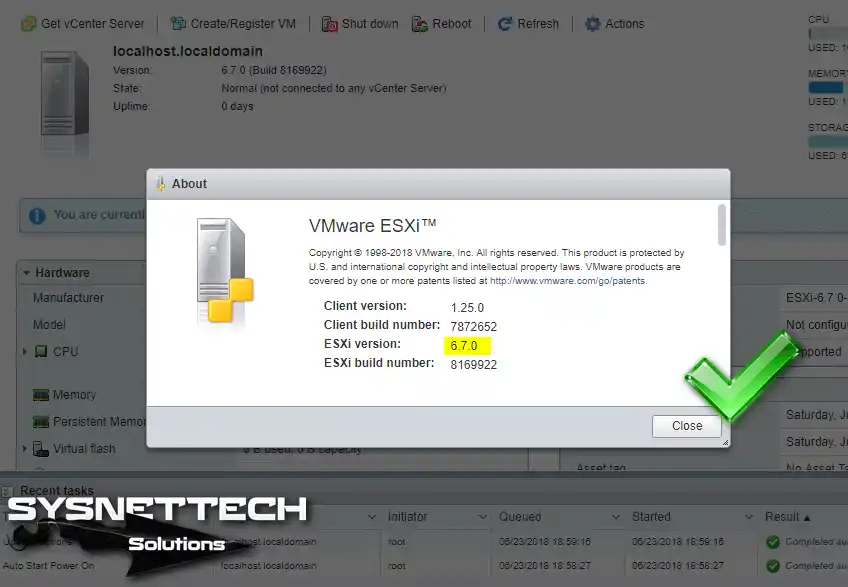
Once you have connected to your Server, you can also check the version from Help / About.
Video


Be the first to share your comment