
In this article, we will review the steps to upgrade the macOS High Sierra operating system to the latest version using the Apple Store.

How to Upgrade macOS High Sierra
Apple released the latest version of the macOS system, 10.13.5. macOS users can download and install this update from the Apple Store.
In this article, we will upgrade macOS 10.13.4 to 10.13.5. It is easy to update the Apple operating system. In addition, the eye-catching innovation in version 10.13.5 is iCloud Message support.
If you’ve never installed macOS before, virtualization tools offer a good starting point. For example, you can check out our step-by-step guide to running High Sierra with VMware Workstation.
Similarly, we have a detailed installation guide for those who prefer VirtualBox. Furthermore, professional users can find our guide for installing macOS on VMware ESXi.
You can easily find all the installation guides we’ve prepared for these three platforms on our website.
How to Update macOS High Sierra Step by Step
After installing Apple Mac OS 10.13.4, follow the instructions below in order to update/upgrade your macOS system to the latest release.
Step 1
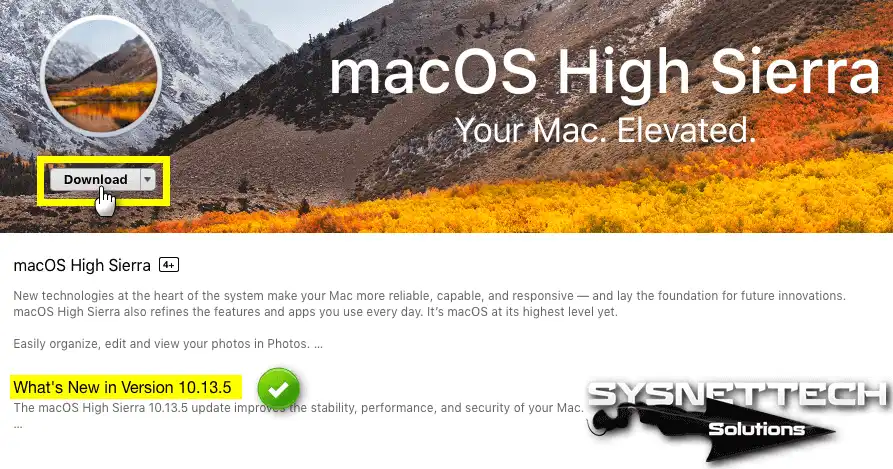
Open the Apple Store and find the 10.13.5 version after typing “macOS high sierra” in the search box.
Then click the Download button on the 10.13.x version you want to obtain.
Step 2
After downloading High Sierra 10.13.5, click on the Open button to start the installation.

Step 3
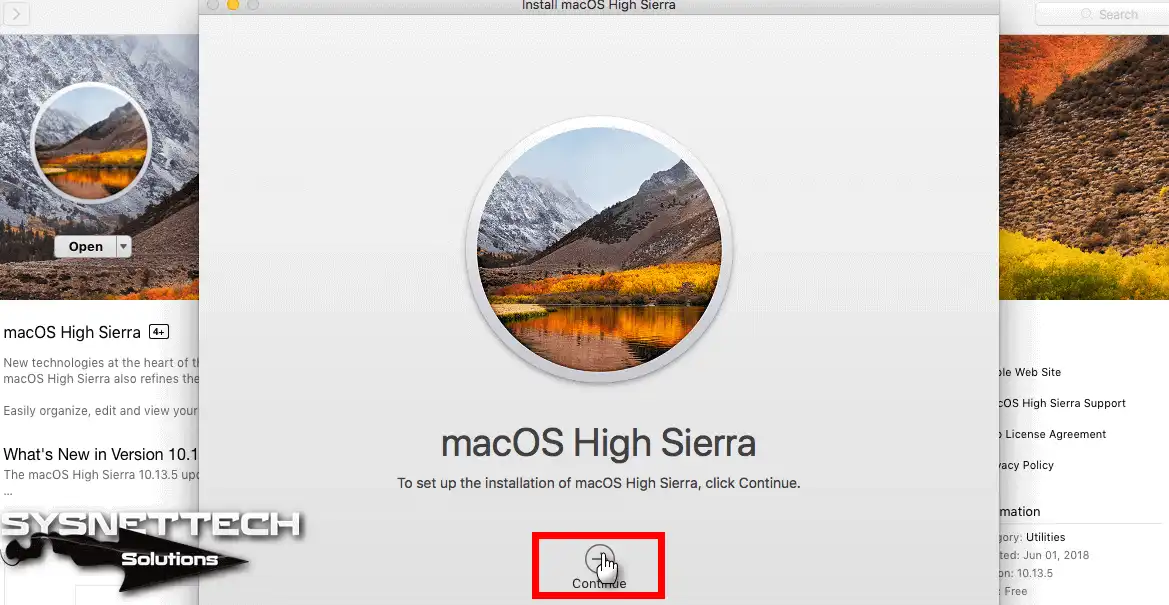
In the Install High Sierra window, click the Continue button.
Step 4
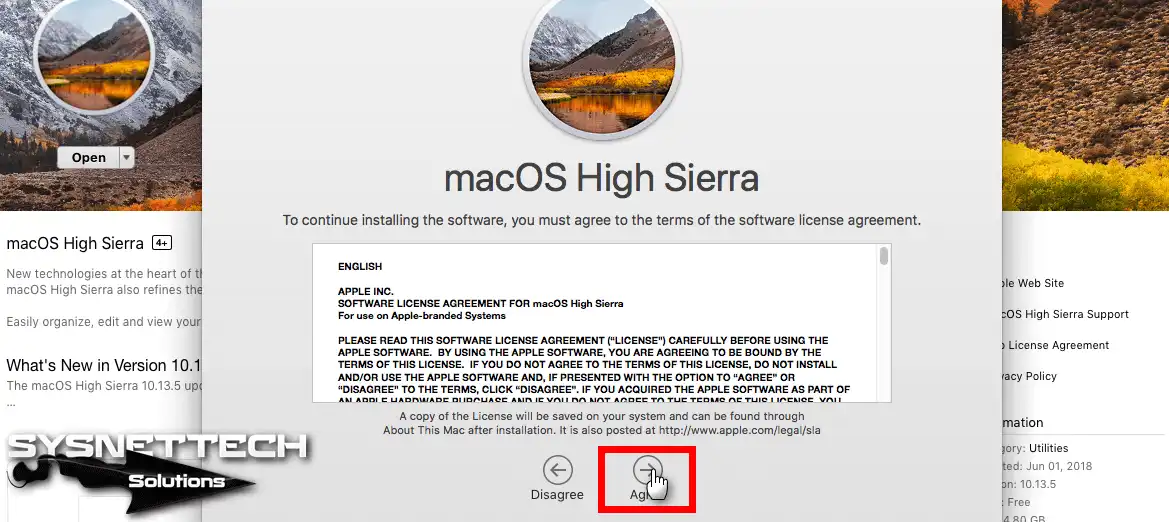
To accept the license agreement, click on the I Agree button and then confirm the license again in the confirmation window.
Step 5
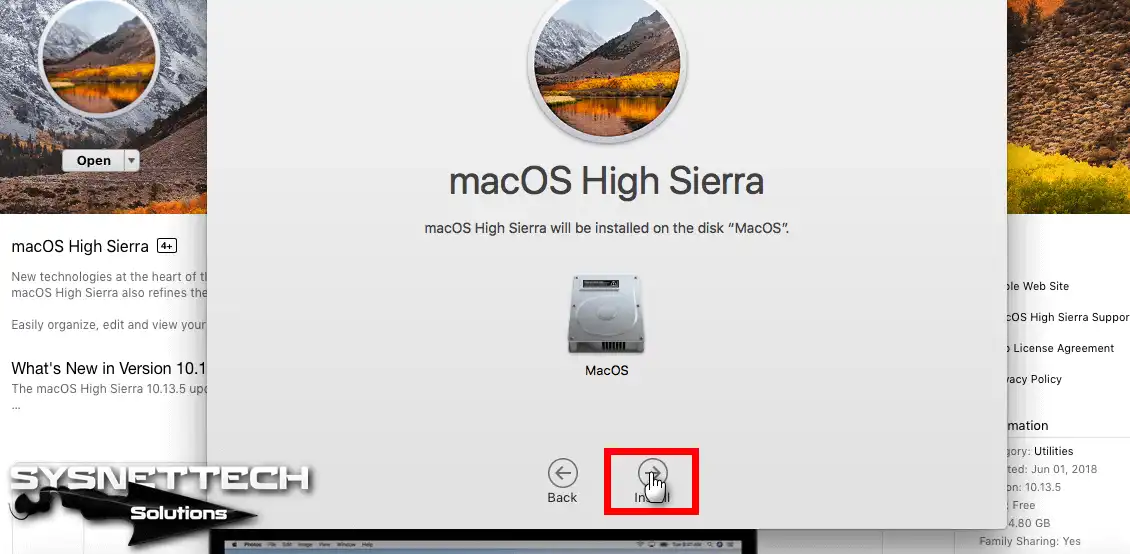
The High Sierra 10.13.5 update will be installed on the macOS disk. Click on the Install button to launch the installation.
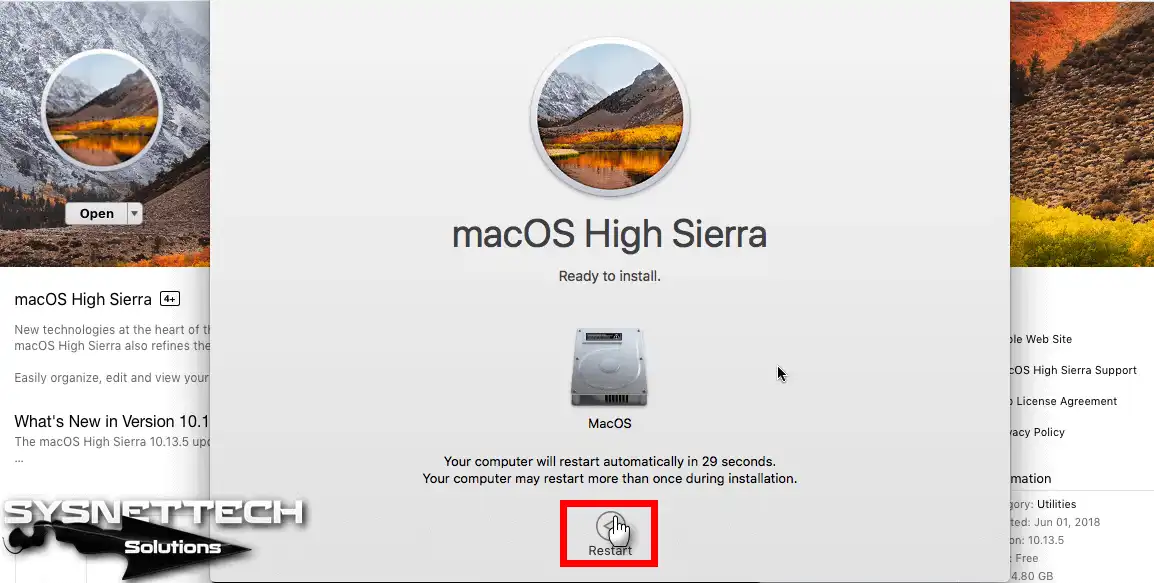
Step 6
Click on the Restart button to restart your system and continue with the installation.
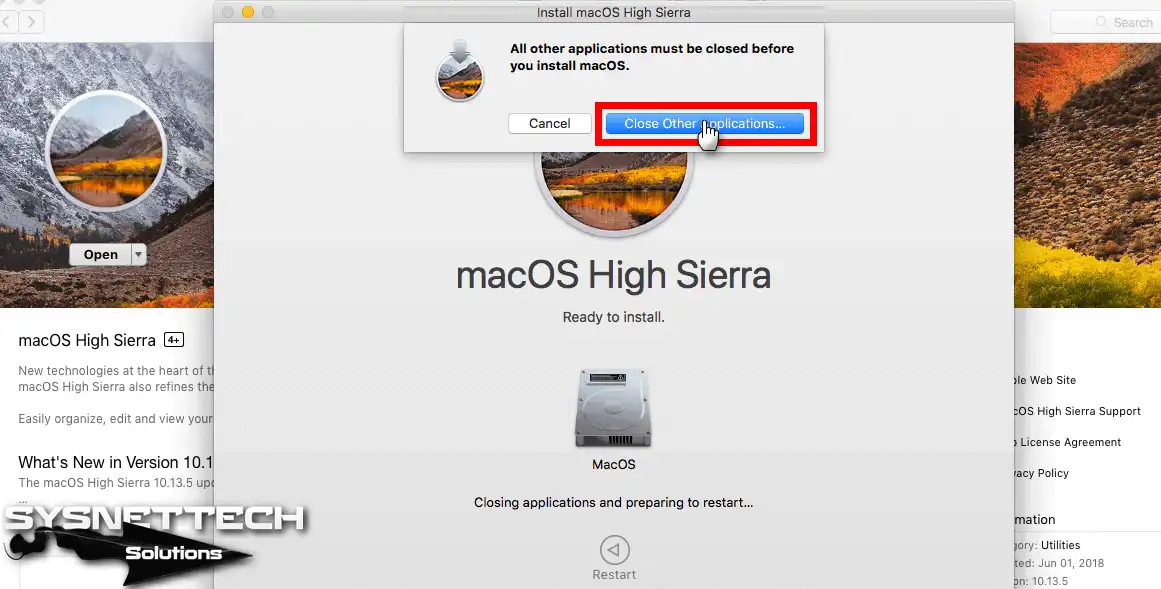
Step 7
Click the Close Other Applications button.
Step 8
Wait while it is updating the 10.13.4 version to 10.13.5.

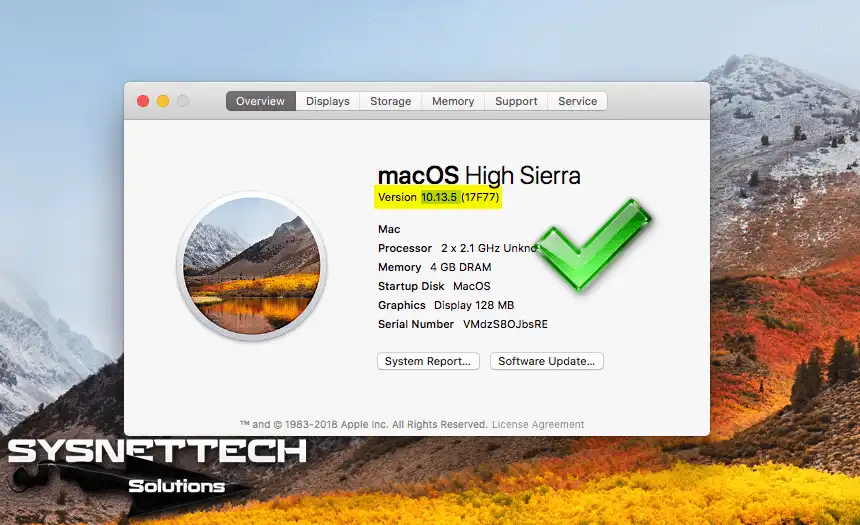
Step 9
Once macOS 10.13.5 is installed, you can check the version in the window below.
How to Upgrade macOS 10.13.5 to 10.13.6 using ISO on Mac
Apple released the full version of macOS 10.13.6 in the past few days. We have also prepared and shared the macOS 10.13.6 ISO file with you.
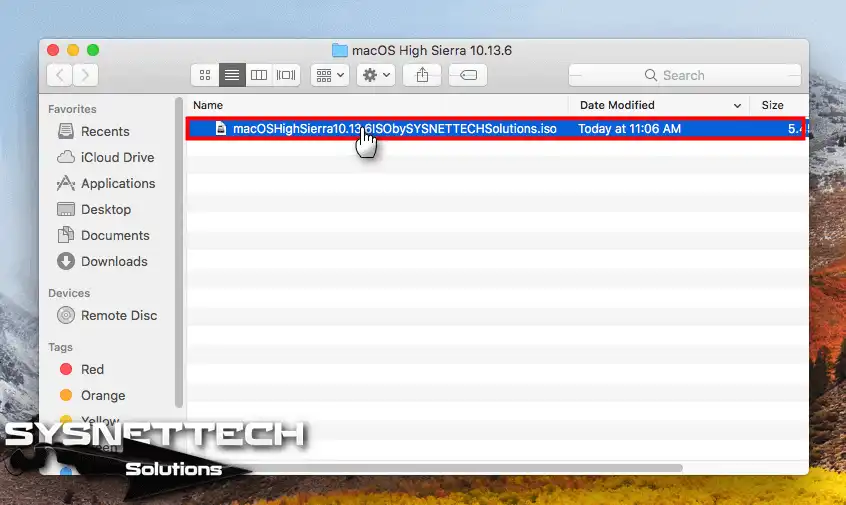
You can update your existing 10.13.5 system to 10.13.6 using an ISO file. First, download the High Sierra installation media to your computer and follow the steps below.
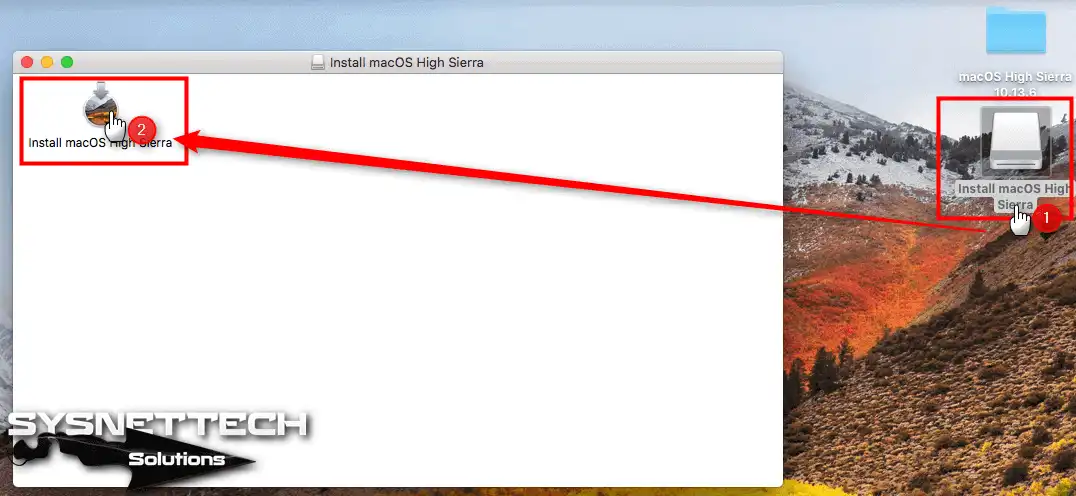
Step 1
Double-click on the ISO file to mount it on the system.
Step 2
After mounting the ISO file, double-click on Install macOS.
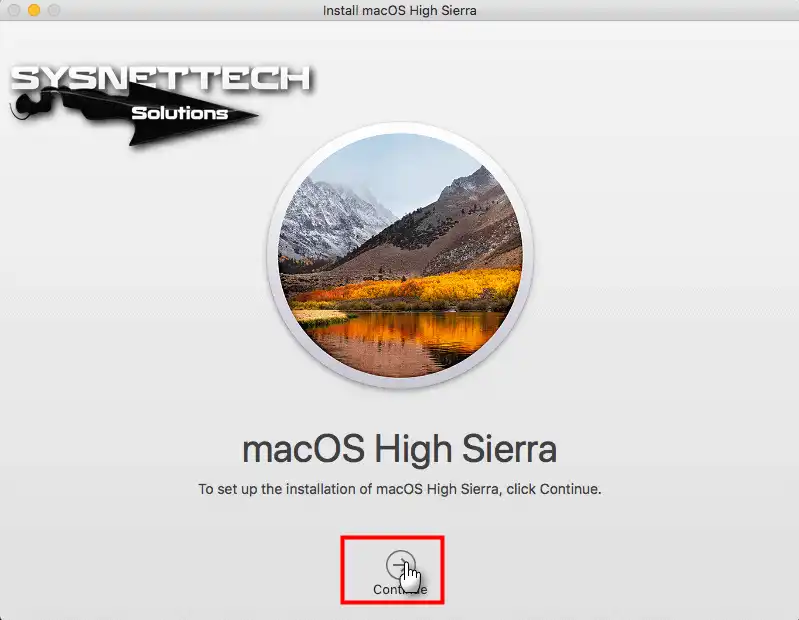
Step 3
Click the Continue button to update.
Step 4
Click the Agree button to accept the High Sierra license agreement.

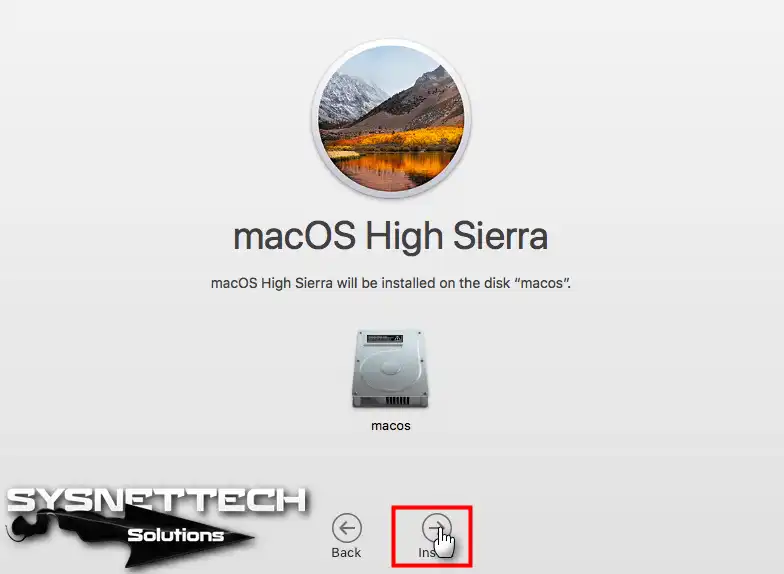
Step 5
Click the Install button to upgrade your Mac to the latest version.
Step 6
Wait while preparing update files.
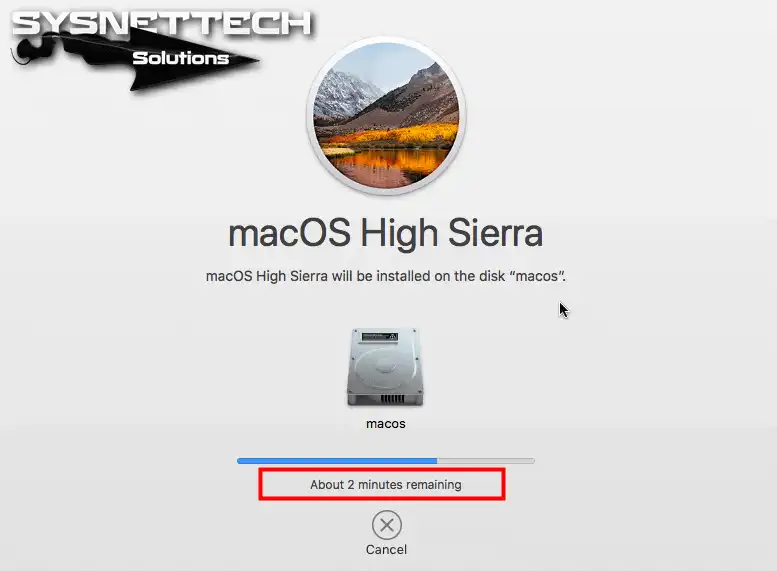
Step 7
Wait while it is updating 10.13.5 to version 10.13.6.
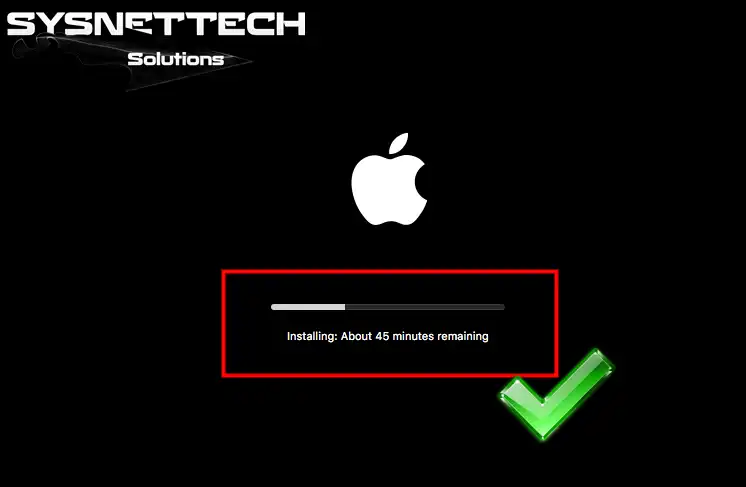
Step 8
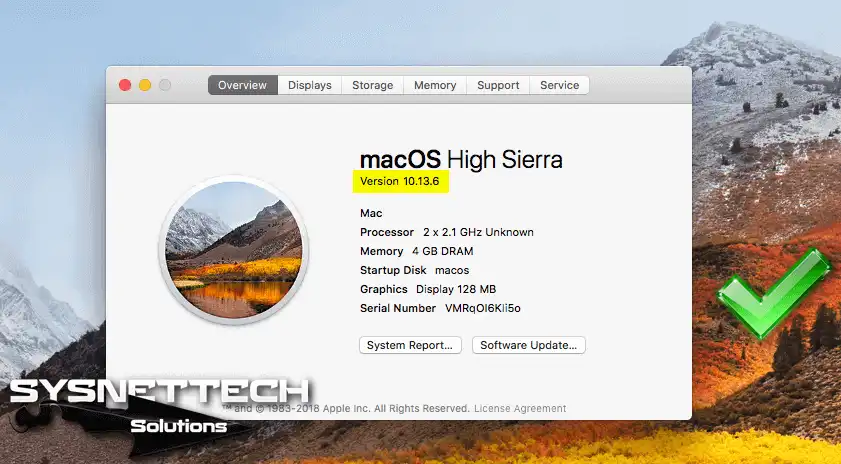
After successfully updating your Mac, you can check your system from About.
Conclusion
In this article, we have updated/upgraded the latest release of the Mac operating system on VMware Workstation 14/15. Thanks for following us!

Be the first to share your comment