
Welcome to the Wine 9.0 Stable installation guide on Debian 12 Bookworm. If you want to run Windows programs with exe or msi extensions on your Debian system, you are in the right place.
In this article, I will tell you how to install and use WineHQ. Plus, I will make sure that Windows programs run smoothly on your Linux machine. I will also show you how to remove Wine safely. Let’s get started!
How to Set Up Wine 9.0 to Run Windows Programs on Debian 12 Bookworm
In Windows operating systems, the extensions of setup files are usually exe or msi. But on Linux systems, the software setup file can be deb, bundle, or any other extension.
If you are using Debian, one of the Linux distributions, on your host computer, if you want to install the Office program that works only compatible with Windows, you can do this with WineHQ software.
Thanks to WineHQ software, you can easily install and run a Windows program on your Linux system. However, you may not be able to install all software on your system with WineHQ due to compatibility issues. So you need to check the database of applications powered by Wine.
For example, you can continue to use the programs you know by installing Adobe Photoshop or Microsoft Office software on your Debian computer.
How to Install Wine
To install WineHQ software on your Debian system, you need to take some steps. First, you need to add the program key and repository addresses. Then, after making the necessary settings, update the package list. Eventually, you can install the latest version of WineHQ software.
Step 1
After booting your Debian computer, open the terminal. First, run the command “sudo dpkg –add-architecture i386” to enable the 32-bit architecture. Also, download the WineHQ Key. Then, add the key to the corresponding location.
sudo dpkg --add-architecture i386
wget -nc https://dl.winehq.org/wine-builds/winehq.key
sudo mv winehq.key /usr/share/keyrings/winehq-archive.key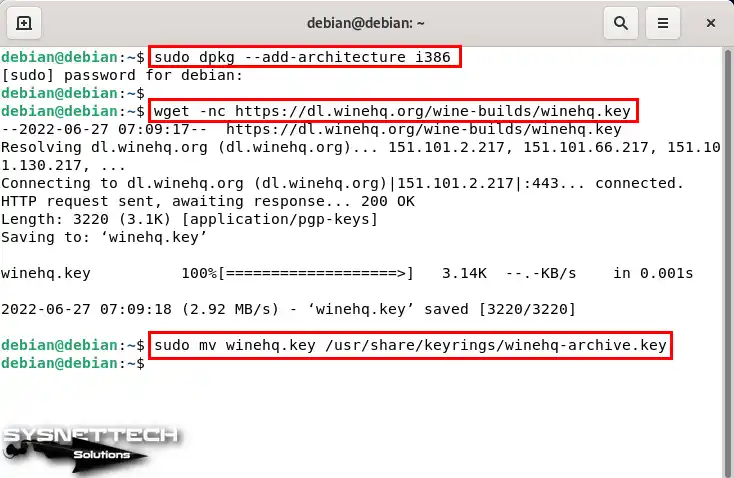
Step 2
The repo sources of the Wine application may vary according to the Linux distributions. So, you need to add the repo address that is appropriate for the distribution you are using. Execute the commands below in the terminal to download wine-hq.sources and copy them to sources.list.d.
wget -nc https://dl.winehq.org/wine-builds/debian/dists/bullseye/winehq-bullseye.sources
sudo mv winehq-bullseye.sources /etc/apt/sources.list.d/
Step 3
After editing the repo addresses on your Debian system, execute the “sudo apt update” command in the terminal to update the package list.
sudo apt update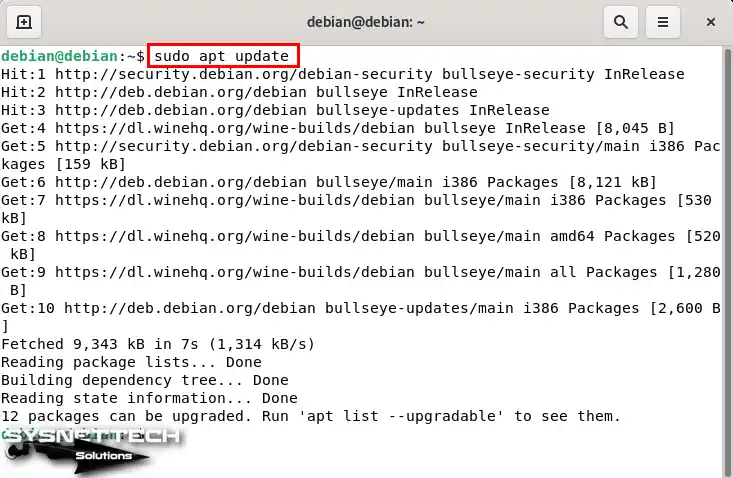
Step 4
After refreshing the repo addresses, execute the “sudo apt install –install-recommends winehq-stable” command in the terminal to download and install the Wine Stable version.
sudo apt install --install-recommends winehq-stable
Step 5
Installing Wine-related packages will use 1,748 MB (1.7 GB) of extra disk space. Make sure you have enough free space on your disk. Of course, then press Y and Enter to confirm the installation.

Step 6
After installing dependent packages and Wine, you can check the version of the program with the “wine –version” command from the terminal.
wine --version
Step 7
Execute the “winecfg” command in the terminal to view all wine-related settings.
winecfg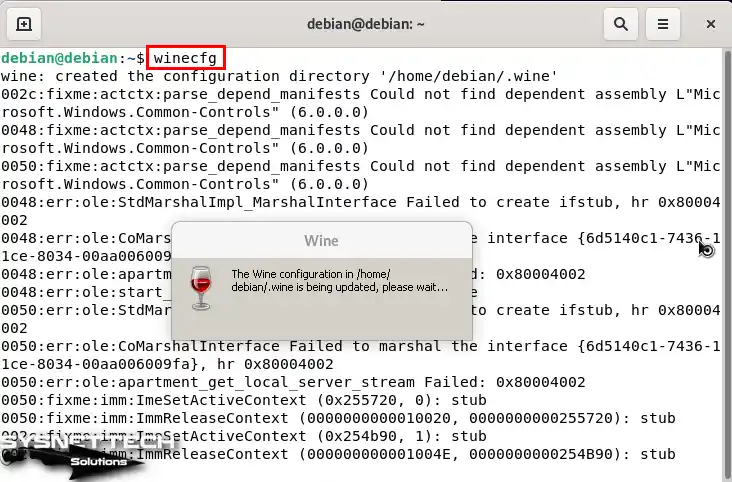
Step 8
After the WineHQ settings are updated, in the Wine Mono Installer window that opens, click the Install button to install the necessary packages for the NET framework-based applications to work correctly.

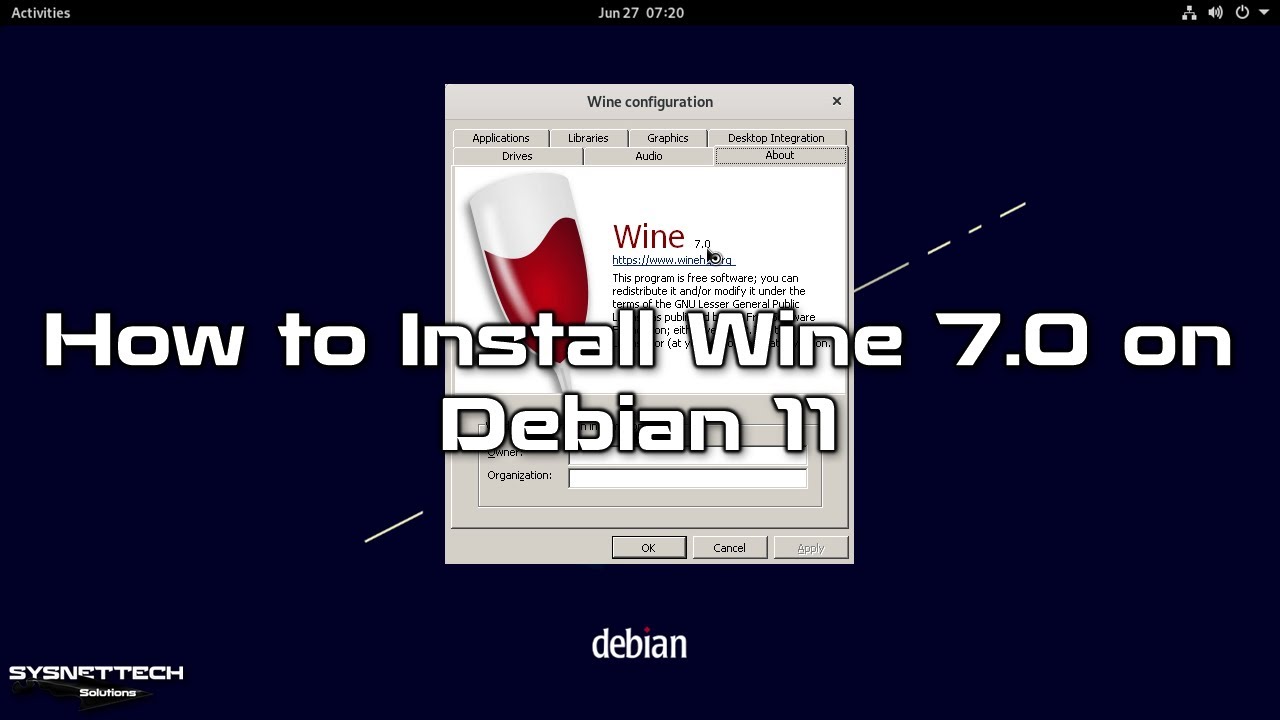
Step 9
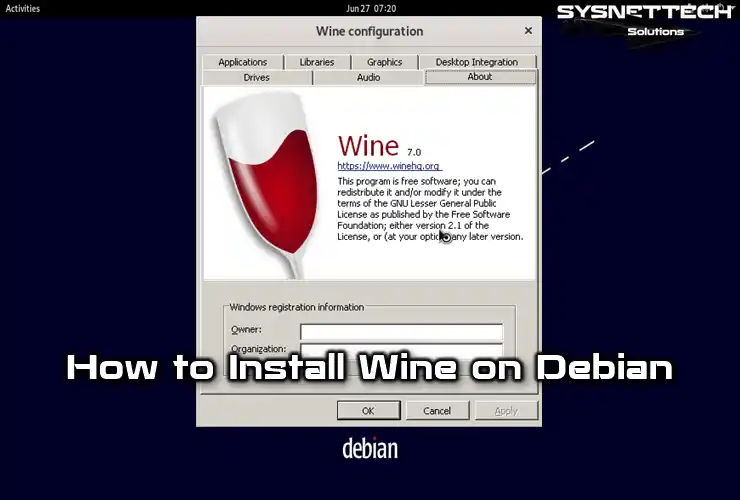
When Wine Configuration opens, you can check the stable version you have installed from the About section.

How to Install a Windows Program
After installing Wine on Debian, you can download and install the setup file of a Windows-compatible program you want to use on your system.
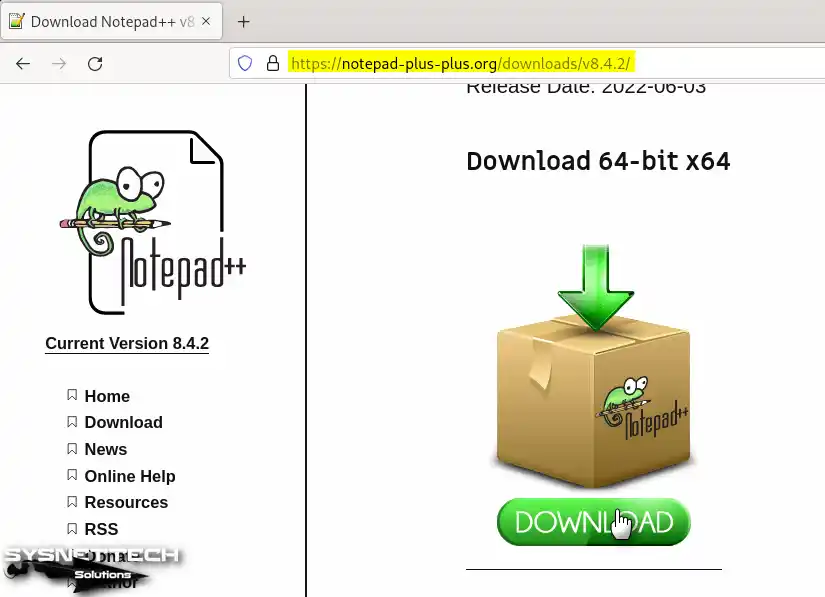
Step 1
For example, to download the setup file of the widely used Notepad++ software to your computer, visit https://notepad-plus-plus.org/downloads/ and download the latest version of the program.
Step 2
You can download the program more easily with the terminal instead of downloading it from the web page. Open the terminal and navigate to the location where you want to download the program with the “cd ~/Downloads” command. Then, download the file to your PC using the program link via the wget command.
cd ~/Downloads
wget https://github.com/notepad-plus-plus/notepad-plus-plus/releases/download/v8.4.2/npp.8.4.2.Installer.x64.exe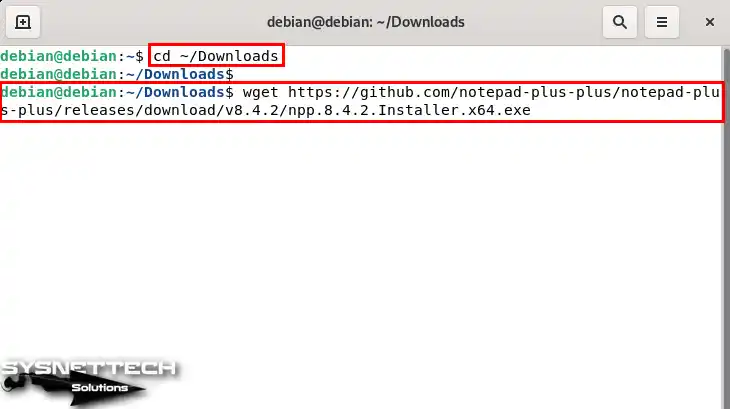
Step 3
To run the exe file you downloaded, execute the “wine npp.8.4.2.Installer.x64.exe” command in the terminal.
wine npp.8.4.2.Installer.x64.exe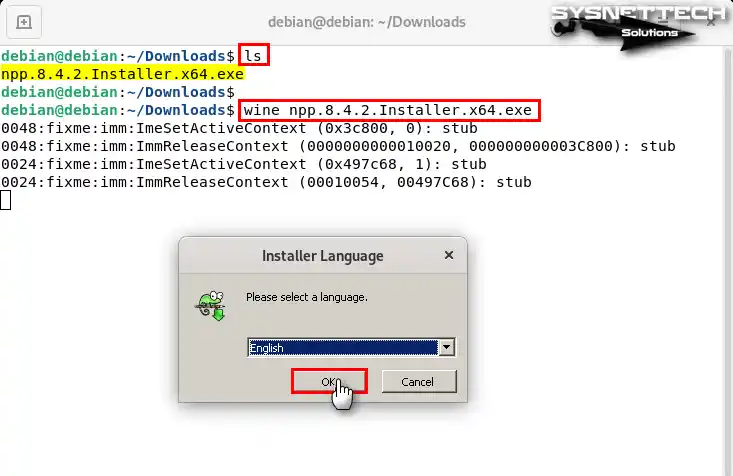
Step 4
When the Notepad++ setup wizard opens, click Next to continue.

Step 5
After reading the license terms of the note-taking application, click I Agree to confirm.

Step 6
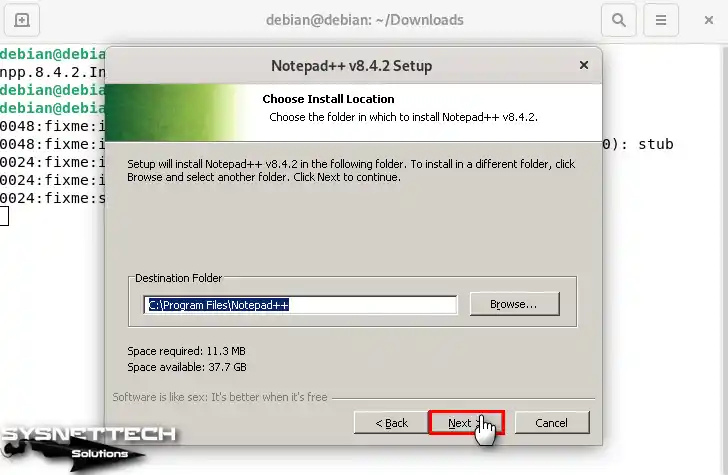
Continue without changing the Notepad++ default installation location.
Step 7
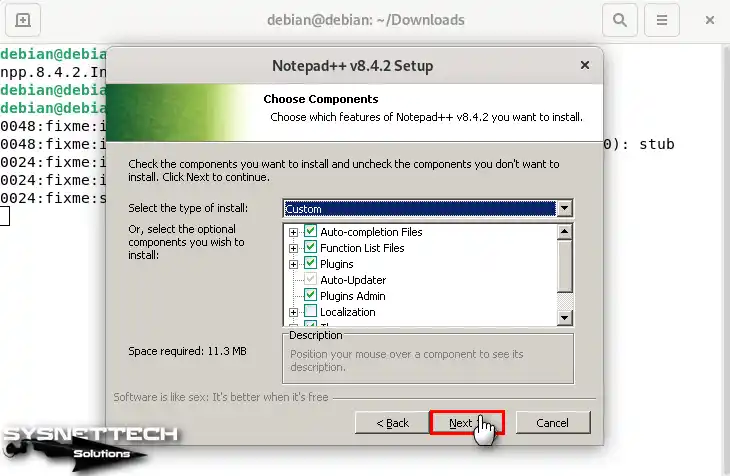
If you are using this program professionally, you can edit some of its components.
Step 8
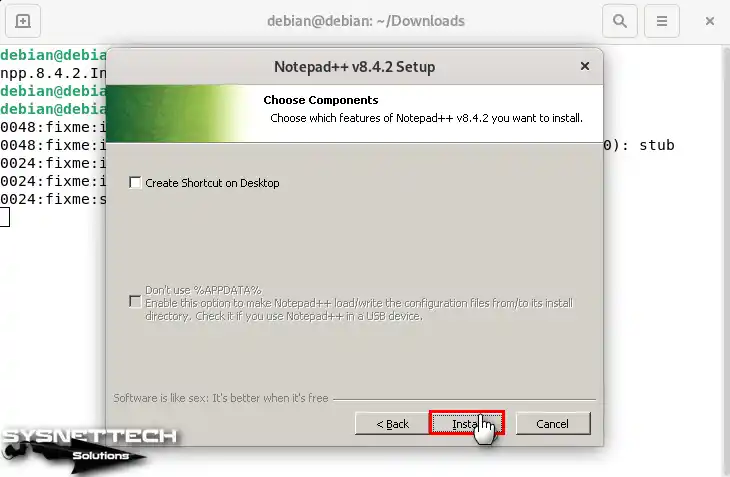
Finally, set whether to create a desktop shortcut and click the Install button.
Step 9
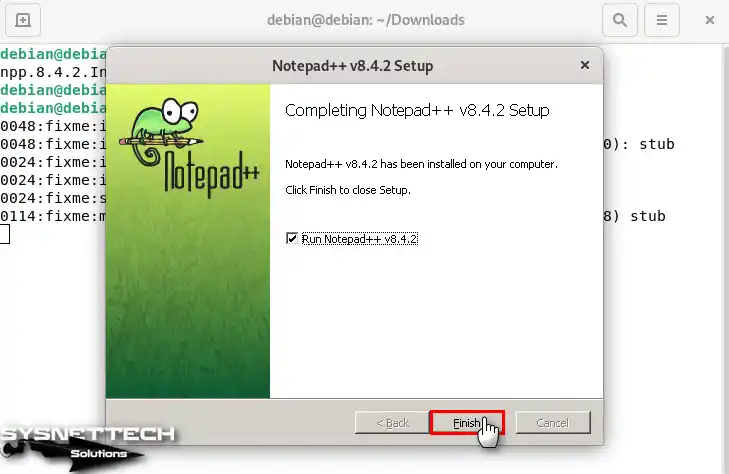
After installing the Windows-compatible Notepad software on your Debian PC, run it.
Step 10
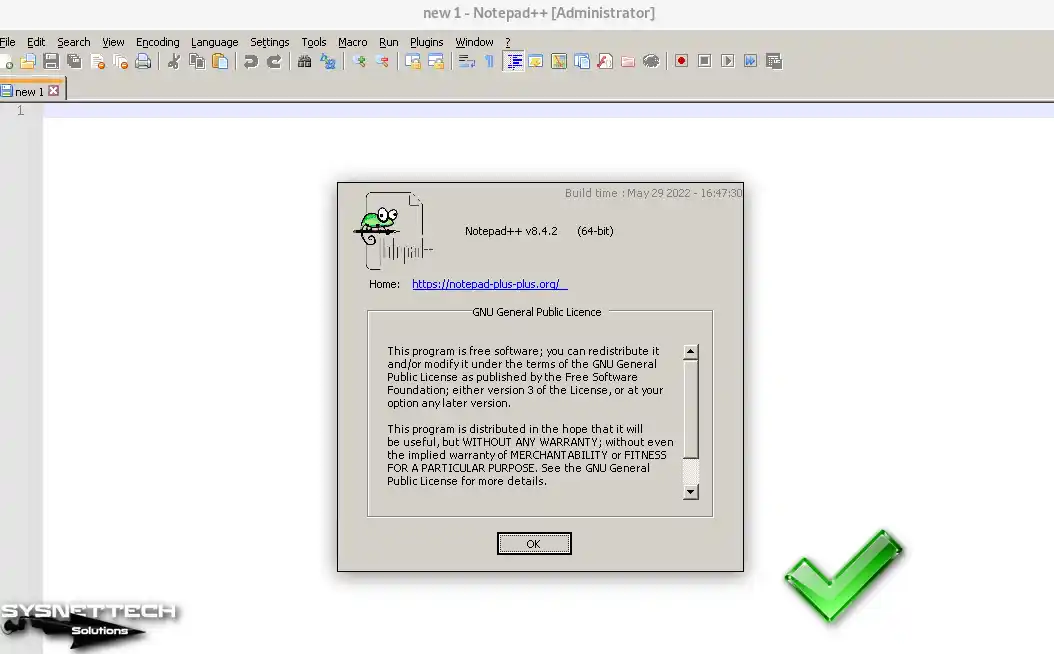
Click Help / About in the tool menu to check if you have the latest version of Notepad++.
How to Uninstall Wine from Debian
If you want to remove Wine from your PC, back up the files or projects you have created with the software you use, and then remove it from your system.
Steps:
Step 1
To remove all Wine related packages from your system, execute the “sudo apt remove wine*” command in the terminal and then type your root password and press Enter.
sudo apt remove wine*
Step 2
After removing all packages belonging to WineHQ, 685 MB of space will be freed on your disk. As a result of this process, your free space will increase. Also, press “Y” and then “Enter” to confirm that you have deleted all dependent packages.

Step 3
After removing Wine from your computer, open the terminal. First, run the command sudo apt autoremove. Then, use the command sudo apt autoclean to remove extra packages. In short, this process will make your system cleaner.
sudo apt autoremove && sudo apt autoclean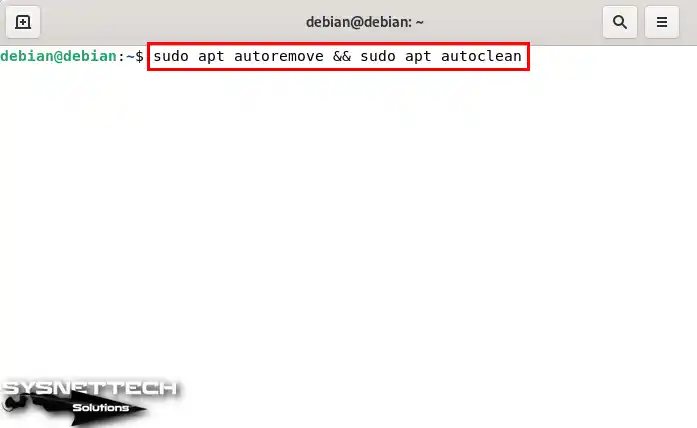
Step 4
Before installing Wine, you can check for any extra packages from apps you installed and uninstalled. Press Y to ensure you want to delete these packages. Finally, press “Enter” to finish the process.

Step 5
Finally, execute the commands below in the terminal to delete the WineHQ source and key that you added to your system’s sources.list file. To confirm that WineHQ has been removed, try rechecking the software version and verify that the command does not work.
sudo rm -rf /etc/apt/sources.list.d/winehq-bullseye.sources
sudo rm -rf /usr/share/keyrings/winehq-archive.key
Video
Conclusion
As a result, you can get great experiences by installing Wine 9.0 Stable on your Debian 12 PC. With this software, you can ensure that your Windows-based software runs smoothly on the Linux system.
You can also run various Windows programs with WineHQ. Thus, you increase the functionality of your Debian computers. You can easily integrate Wine into your system by following the steps I have provided you.
In addition, you can benefit from software compatibility between your Windows and Linux environments. For example, It is possible to install applications such as Adobe Photoshop or Microsoft Office. In short, with this software, you can experience the best sides of both operating systems on a single machine.

Be the first to share your comment