
In this professional guide, I will walk you through the process of installing and using Wine 9.0 (Stable) on the Linux Mint 21 Vanessa distribution. Wine allows us to run Windows programs and games on Linux. Thus, it bridges the gap between both operating systems.
We will cover every step from installation to usage and even removal to ensure a smooth and successful experience. So, let’s explore and discover how you can get the most out of Wine on your Linux Mint PC!

How to Use Wine 9.0 to Run Windows Programs or Games on Linux Mint 21 Vanessa
Usually, you can’t run programs or games made for Windows on Linux. That’s why you’ll need to find Linux-compatible software that works like the apps you use on Windows.
But on Linux, you can use Wine software. It lets you install many Windows apps. Wine is free and made by WineHQ. In short, it gives you a way to use Windows apps on Linux.
Thanks to WineHQ or Wine, you can install and run, for example, Microsoft Office or Photoshop applications on your Linux-based operating system.
You can keep running most Windows software for your business on your Linux Mint computer. You can also look at the WineHQ database to see which other Windows programs or games you can install on your system.
You can quickly install Wine on your PC from the Mint repository. Still, since the version may be a little older, we recommend using the WineHQ repo source to install the most optimal version.
How to Install Wine via WineHQ
You can quickly install Wine software on your computer using the terminal and the WineHQ repo addresses. If running scripts is difficult for you, you can try to install this software from your system’s software center.
Step 1
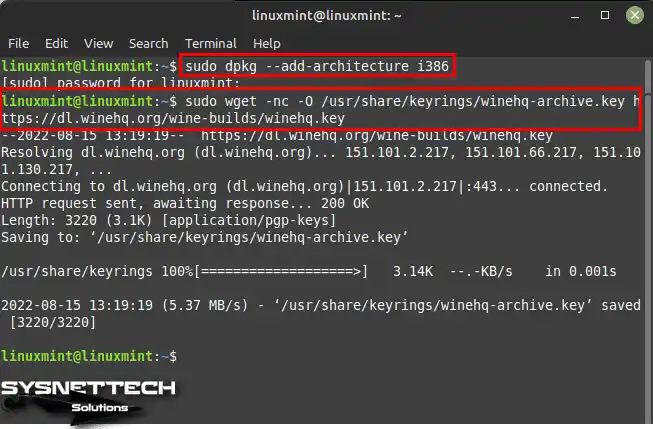
Open the terminal tool by pressing CTRL + ALT + T together and execute the “sudo dpkg –add-architecture i386” command to enable 32-bit architecture. Then, run the commands below in the terminal to download the wine key and copy it to the required location.
sudo dpkg --add-architecture i386
sudo mkdir -pm755 /etc/apt/keyrings
sudo wget -O /etc/apt/keyrings/winehq-archive.key https://dl.winehq.org/wine-builds/winehq.key
Step 2
For Linux Mint 21, you need to use the Ubuntu Impish repository. So, execute the below command in the terminal to download WineHQ.Sources file and add it to /etc/apt/sources.list.d.
sudo wget -NP /etc/apt/sources.list.d/ https://dl.winehq.org/wine-builds/ubuntu/dists/jammy/winehq-jammy.sources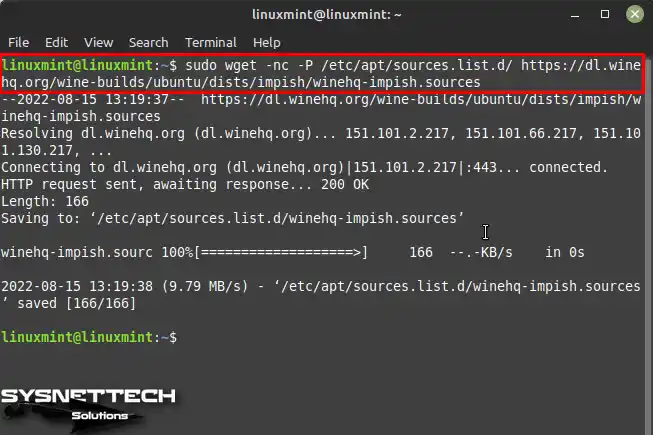
Step 3
To update the software packages of your Linux Mint system, execute the “sudo apt update” command in the terminal.
sudo apt update
Step 4
To install the latest stable edition of Wine software, first, update the package list. And then open the terminal and type “sudo apt install –install-recommends winehq-stable.”
sudo apt install --install-recommends winehq-stable
Step 5
All necessary packages for Wine software will be downloaded and installed from the Internet. This will take up 2,052 MB (2 GB) of space on your disk. Press Y and Enter to continue installing the packages and confirm.

Step 6
After installing the stable version of Wine on your computer, you can check the version with the “wine –version” command in the terminal.
wine --version
Step 7
When you execute the “winecfg” command in the terminal to open the Wine software settings, you can see that you need to install the Wine Mono package for Net Framework applications to work correctly.
In the Wine Mono Installer window, click the Install button to download and install the critical packages. If you want to learn more about the Mono package, you can visit the https://wiki.winehq.org/Mono website.
winecfg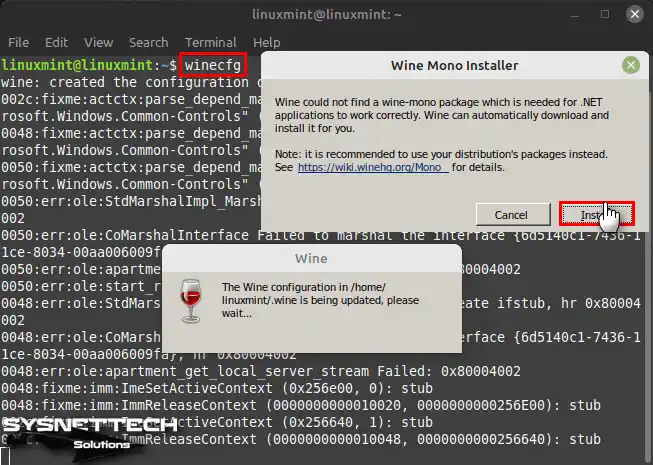
Step 8
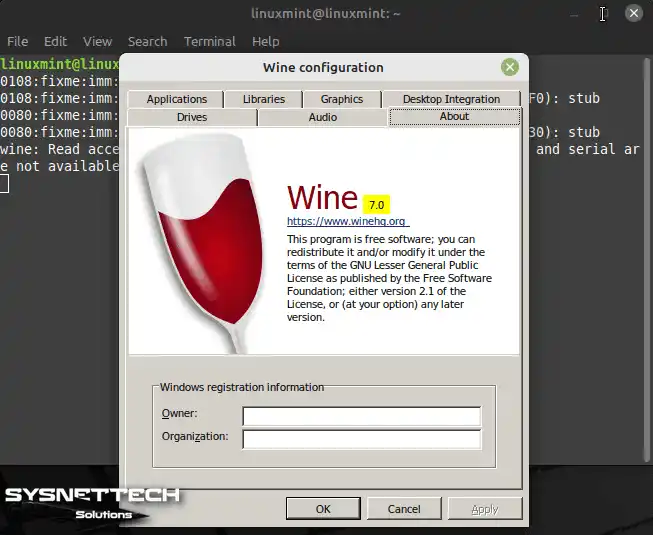
After installing the Mono package, the Wine Configuration window will open. In this window, you can set the installation locations of applications, virtual drives, or graphics settings.
How to Install a Windows Program
After installing Wine on Linux Mint, you need to install and experience a Windows-compatible program.
Step 1
Open the terminal and go to Downloads with the command “cd ~/Downloads.” To download the CPU-Z program to this location, execute the “wget https://download.cpuid.com/cpu-z/cpu-z_1.79-en.exe” command in the terminal in the same way, and then “wine cpu-z_1″ to start the installation of the program. Execute the .79-en.exe” command.
cd ~/Downloads
wget https://download.cpuid.com/cpu-z/cpu-z_1.79-en.exe
wine cpu-z_1.79-en.exe
Step 2
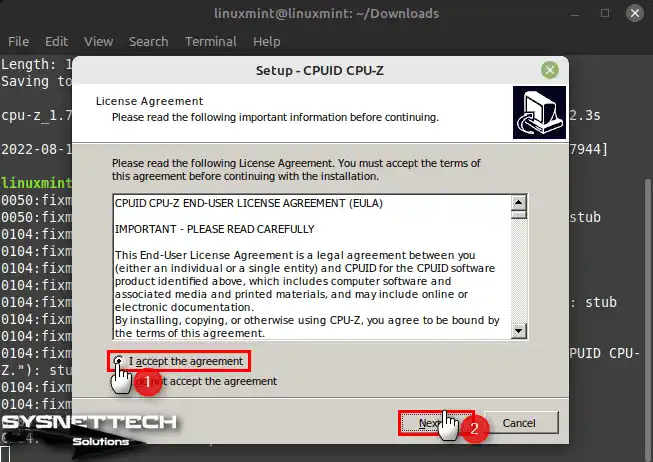
In the setup window of the CPUID CPU-Z program, accept the license agreement and click Next.
Step 3
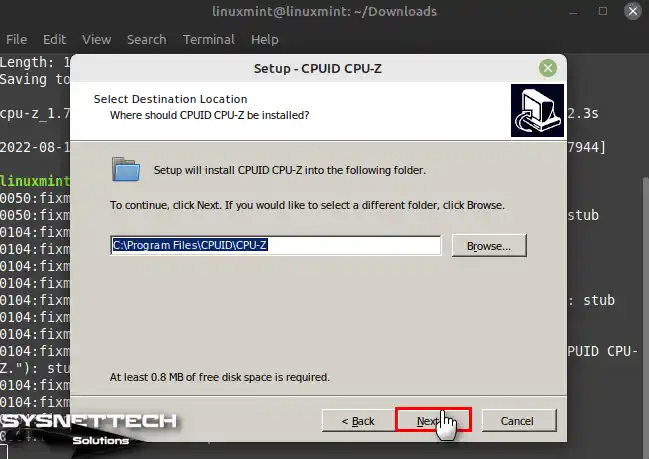
Configure the location where you will install CPU-Z and click Next.
Step 4
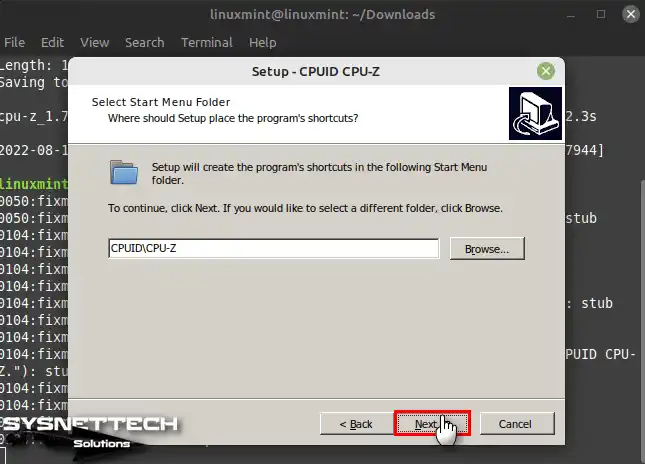
Edit the folder name to be created for the Start Menu and click Next.
Step 5
To open CPU-Z faster, create a shortcut on the desktop and click Next.

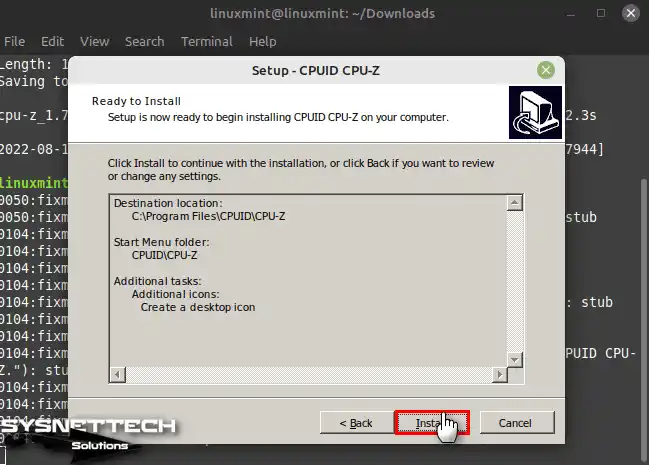
Step 6
When the setup wizard is ready, click the Install button to put the CPU-Z program on your PC.
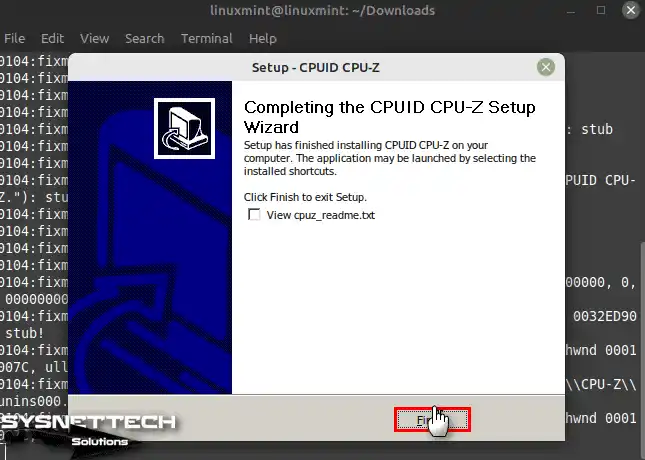
Step 7
After completing the installation of the CPUID CPU-Z program, click Finish and close the wizard.
Step 8
You can run the program by clicking the CPUID CPU-Z shortcut created on the Linux Mint desktop location.

How to Uninstall Wine from Linux Mint
When you plan to remove WineHQ from your system altogether, you can quickly do this using the terminal.
Step 1
To altogether remove WineHQ from your system, execute the “sudo apt remove wine*” command in the terminal.
sudo apt remove wine*
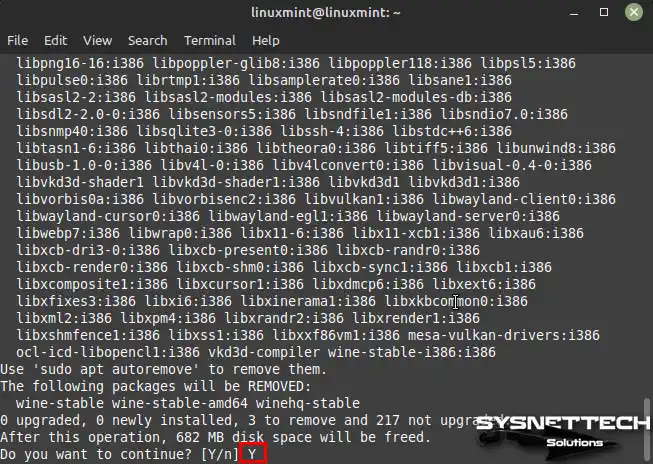
Step 2
Press Y and Enter to check and confirm the removal of all Wine-related dependent packages.
Step 3
After uninstalling Wine, execute the command “sudo apt autoremove && sudo apt autoclean” to delete the unnecessary packages left on your system.
sudo apt autoremove && sudo apt autoclean
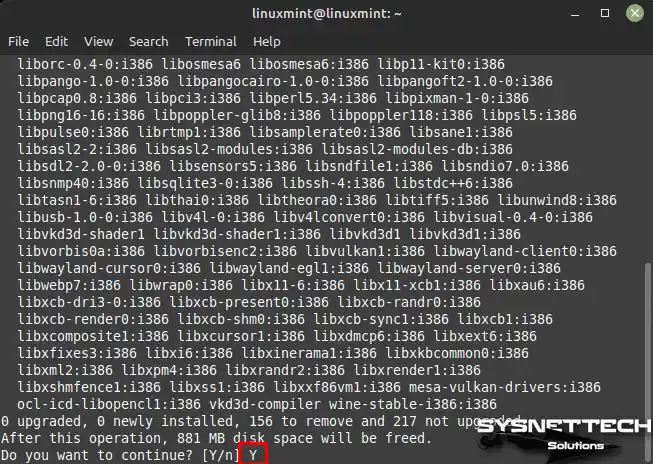
Step 4
After reviewing all the packages to be deleted, press Y and Enter to confirm the removal.
Step 5
Finally, since you have defined the WineHQ repo source and key to your system, execute the commands below in the terminal to clear them as well. Then, run the “wine –version” command again, and you can check that WineHQ has been completely removed from your system.
sudo rm -rf /etc/apt/sources.list.d/winehq-impish.sources
sudo rm -rf /usr/share/keyrings/winehq-archive.key
Video

Installing Linux Mint & Wine Old Versions
Frequently Asked Questions (FAQ)
- Why is Wine useful for Linux Mint users?
- Is there a graphical way to install Wine?
- How can I verify that I have installed WineHQ correctly?
- What are some essential points to consider when using Wine?
Conclusion
As a result, Wine creates a valuable bridge between Windows and Linux environments. This gives us the flexibility to run a wide variety of Windows applications on systems such as Linux Mint 21. You can install Wine without any problems by following the detailed steps in this article. As a result, you can install your preferred Windows apps or games.
In short, whether for business or personal use, Wine supports the compatibility and versatility of the platform. In this way, it continues to open new possibilities for Linux users. In summary, with Wine, you can continue to do your work without being limited by the operating system selection.

3 People Shared Their Experience
doesn’t work. ma;formed entry 1 in list file
Hello, I want to warn that the repository is wrong is not, I changed cosmic through bionic and managed to install and update.
thus, ‘deb https://dl.winehq.org/wine-builds/ubuntu/ bionic main’
There should be a space in front of “bionic”, which isn’t apparent from the way the text is formatted.
This wouldn’t be a problem, if it was possible to cut & paste the commands.