

With the Cisco Packet Tracer network simulation program, we can easily back up the IOS image to the TFTP server.
How to Copy & Backup Cisco Router IOS to TFTP Server
To copy the router images to the TFTP server, the Server must first be installed and configured in the network environment.
You can back up and restore the Router’s IOS to a TFTP server configured in a network environment. For example, If the IOS image fails in the event of a failure on the router, you can easily restore it from the server.
In fact, the only reason to back up is to be prepared for a potential disaster. If the iOS image is completely erased, the device will enter ROMmon mode. In practice, exiting this mode with the right commands is simpler than you think. The steps to recover your router from ROMmon mode can save you from this nightmare.
What File Format Should the IOS Image Be In?
Backing up and restoring Cisco IOS images is essential. First, make sure the image files are in the correct format. Typically, Cisco IOS image files have a “.bin” extension.
This format stands for binary. Following this, the router and other Cisco devices need this specific structure. Therefore, the binary file must be encoded correctly to work properly. Always verify the format before proceeding. This ensures smooth operations for your devices.
There are different types of files related to IOS, including “.tar” files. These files can hold one or more compressed images. They may also include related configuration files.
While you can use “.tar” files for installation, it’s best to use the standard binary file format (“.bin”) for backups. This format ensures compatibility and ease of use during restoration. By choosing “.bin”, you make the process simpler and more reliable.
To summarize, for adequate backups of Cisco IOS images, use the “.bin” format. This format makes it easier to copy and retrieve files.
Additionally, it helps maintain the IOS integrity during transfers. After transferring, always verify the file using a checksum. Using MD5 is a common choice. This step confirms that the file is not corrupted. Following these steps ensures a smooth backup and restoration process.
Backing Up Router IOS to the Server on Packet Tracer
Use the Packet Tracer to design a small network, and then follow the steps below to back up the IOS to TFTP.
To execute these commands, you first need to connect to the device via a console cable. To be clear, you cannot enter commands directly through the GUI. Direct access to the router via console connection is the starting point for all backup operations. If you skip this step, you will not be able to access the CLI interface.
Steps:
Step 1
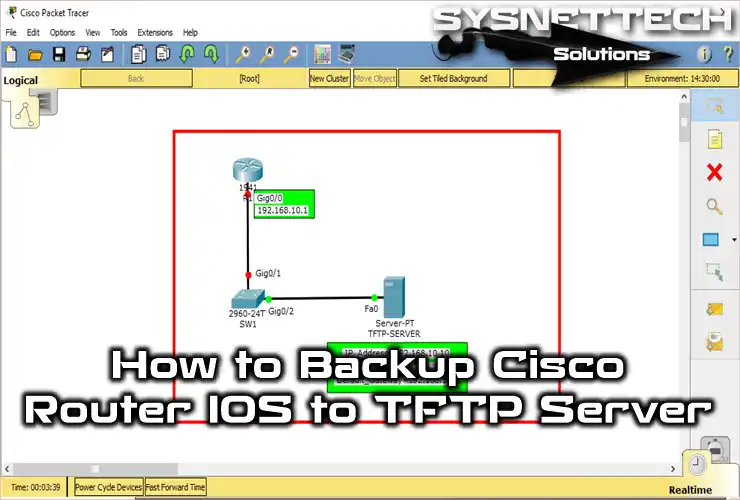
First, open the Cisco Packet Tracer and create a network topology as follows.

Step 2
Click once on the Cisco Router R1, and in the window that opens, configure the GigabitEthernet0/0 interface according to the topology.
Router> en
Router# conf t
Router(config)# hostname R1
R1(config)# interface gigabitethernet 0/0
R1(config)# ip address 192.168.10.1 255.255.255.0
R1(config)# no shutdown
R1(config)# end

Step 3
Configure the TCP/IP settings of the FastEthernet interface of the TFTP server according to the IP block. Then click on the Services tab.

Step 4
To enable the TFTP service, select On and delete the files in it.

Step 5
The TFTP server Root folder is now completely clean.

Step 6
Test the network connection by pinging from R1 to TFTP with the Add Simple PDU on the right panel of the Packet Tracer software.

Step 7
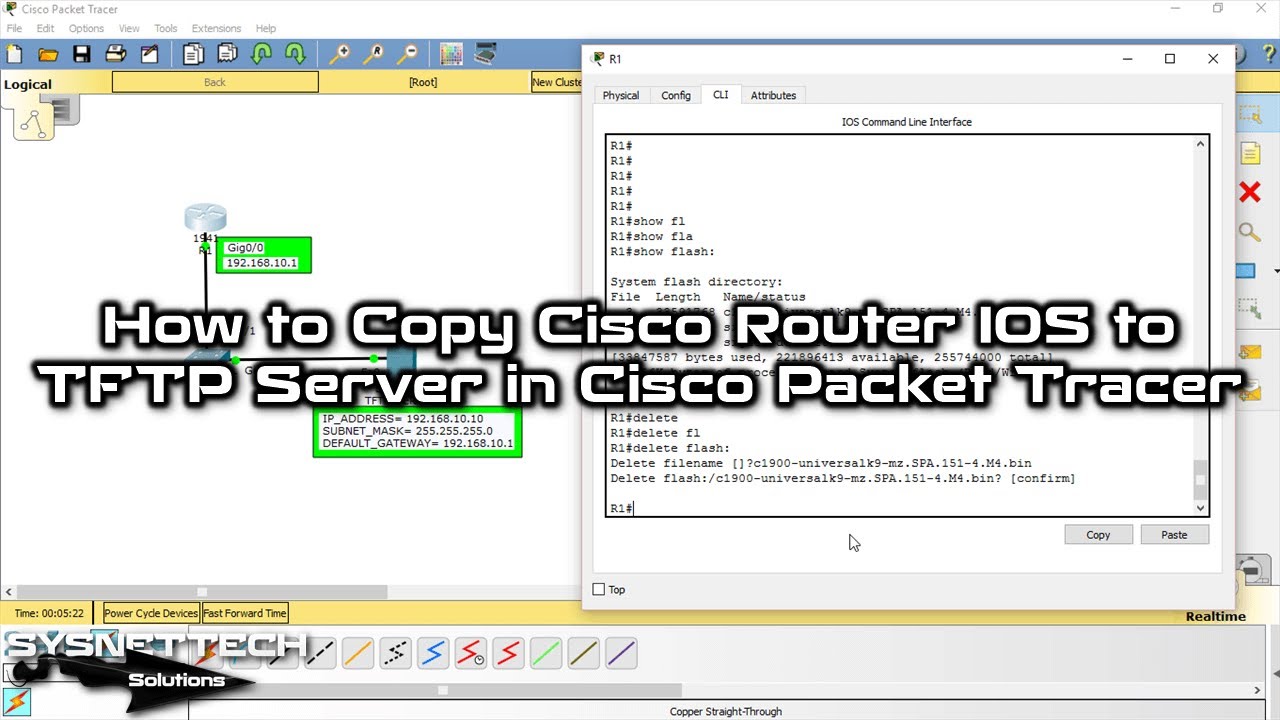
To back up the router image to the TFTP server, use the copy flash: tftp: command. Then, type the full name of the file you want to copy in the source filename (which file will be backed up) and press Enter.
As you can see in the image below, the IOS image has successfully been copied to the TFTP server.
R1# copy flash: tftp:

Step 8
When you check the TFTP server, you can see that R1’s IOS image has successfully transferred to the TFTP server.

Video
You can watch the video below to back up the router image file and also subscribe to our YouTube channel to support us!
FAQ About Router IOS Backup and TFTP Operations
Why is backing up the IOS image so critical?
Which network settings should I watch when backing up to a TFTP server?
What should I do if I see a .tar file instead of a .bin format?
When asked for ‘Source filename’ during backup, which name should I enter?
Why does the ‘copy tftp: flash:’ command give an error when restoring the image?
How do I verify that the backed up image is not damaged?
Conclusion
In this article, I showed you how to copy the Cisco IOS image to the TFTP server using Packet Tracer. When you want to restore the backed-up IOS image from the server, you can use the copy tftp: flash: command!
Finally, it is very important to stress that learning to master the Packet Tracer screen like a pro from the start will speed up your work. So, you will not waste time with the toolbars in the right-hand panel.

Be the first to share your comment