
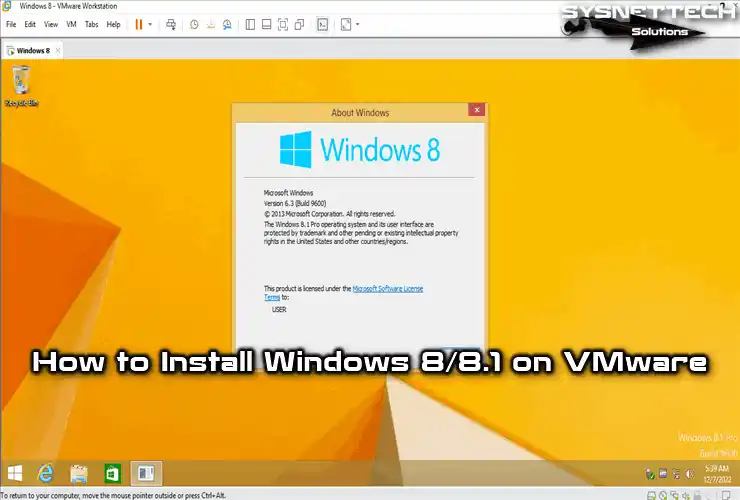
In this article, I will explain the virtual installation process of Windows 8 and 8.1 OS with VMware Workstation 17 Pro. Here, I explained the detailed installation time for both Windows 10 and Windows 11 users.
In addition, I shared some practical tips with you, such as performance. Let’s say you want to test supported software on Windows 8. Then, with this guide, you will be able to create a virtual machine without any problems.
How to Set Up Windows 8/8.1 on a Virtual Machine using VMware Workstation 17 Pro
We can easily set up different operating systems using apps like VMware Pro. For instance, this software works very well with OS like Linux, Windows, and macOS.
Unfortunately, the VMware Workstation app is paid for. Thus, of course, there is also a free version, such as Player. While the Pro one offers powerful features, the other one is a little more limited.
Moreover, Workstation Pro is one of the most widely used programs today. However, I can say that it works more stably compared to other software.
For example, let’s compare Workstation Pro with VirtualBox. The biggest difference is the price. Also, the Workstation is paid, while the other one is offered completely free of charge. Therefore, if you do not want to pay, you can prefer VirtualBox.
From a professional point of view, the Workstation is used more in big networks. Also, if you are a system admin, I highly recommend using this app.
In this way, you can manage your business processes better and produce ideal solutions for OS issues.
In short, after installing Windows 8 or 8.1 with VMware, you also need to install the VM Tools software. This software improves the performance of your guest machine and integrates better with your host.
Plus, if you need file transfer, you can turn on the necessary feature. So, you will have seamless communication between the host and guest machines.
How to Create a New Virtual Machine for Windows 8.1
First, install the latest version of Workstation Pro on your computer. Then, download the Windows 8/8.1 ISO file for VMware to your computer and follow the steps below in order.
Step 1
Open VMware Pro and click Create a New Virtual Machine from the options you see on its homepage. When the VM creation wizard opens, select the Custom (Advanced) option and click the Next button.

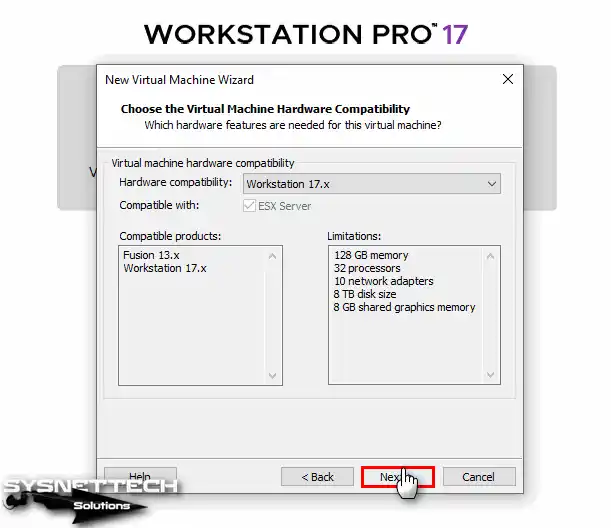
Step 2
For the virtual machine hardware compatibility setting, select the latest version of Workstation 17 and click Next. If the version of the program you are using is old, you can continue by choosing the relevant version in this window.
Step 3
In the Guest Operating System Installation window, check I will install the operating system later to add and install the operating system ISO file to the virtual machine later, and click Next.

Step 4
Select Microsoft Windows for the operating system to be installed in the Select a Guest Operating System window, and Windows 8.x x64 from the Version section, and click Next.

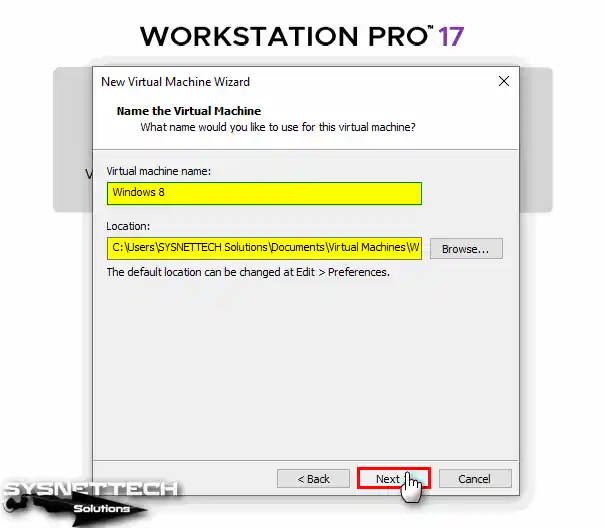
Step 5
In the Name the Virtual Machine window, type the name of the operating system you will install, and if your host computer has an NVMe or SSD disk, click Next without changing the installation location of the virtual machine.
Step 6
Select one of the BIOS or UEFI / Secure Boot options as the Firmware Type and click Next.

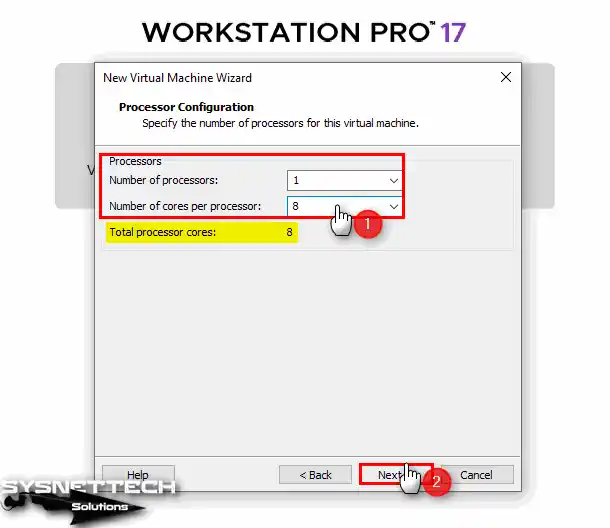
Step 7
According to the hardware features of your computer, you need to determine the number of processors and cores in the Processor Configuration window. Here, it will be sufficient to set 1 processor and the number of 4 or 8 cores.
Step 8
Likewise, determine a suitable RAM value for the virtual machine depending on the RAM capacity of your host computer.

Step 9
Proceed with the NAT selected by default when creating the virtual machine in the Network Type window.

Step 10
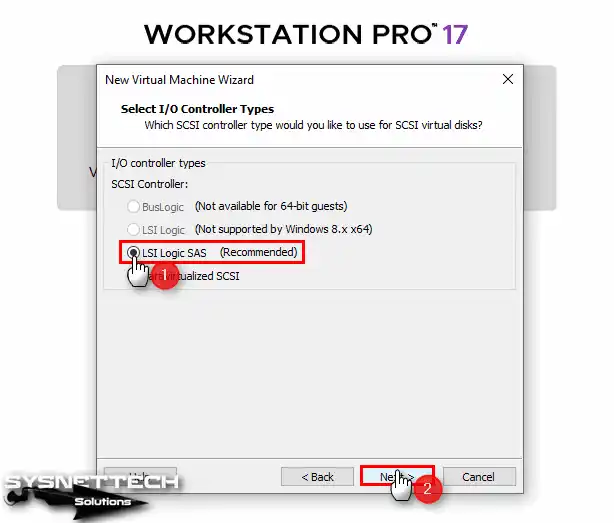
In the Select I/O Controller Types window, configure the SCSI controller type as LSI Logic SAS and click Next.
Step 11
In the Select a Disk Type window, select the SATA or NVMe disk type and continue the installation. Windows 8/8.1 works fine in NVMe disk structure, but for Windows 7 you need to install necessary Windows hotfixes.

Step 12
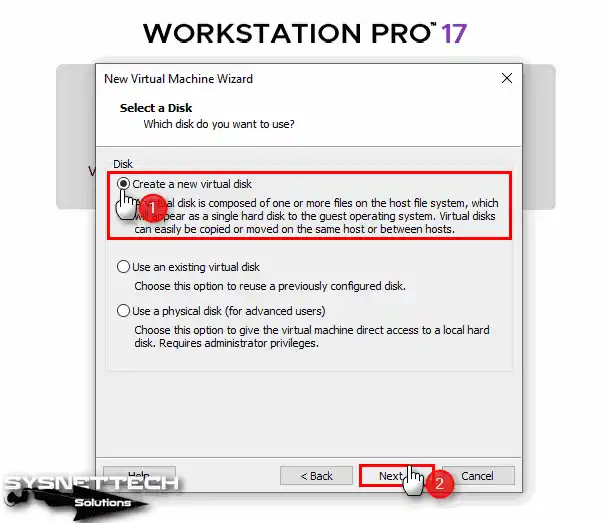
To create a new virtual disk for virtual operating system installation, select Create a new virtual disk and click Next.
Step 13
In the Specify Disk Capacity window, you can select the Allocate all disk space now option for virtual machine disk performance, but it will create a lot of space on your host’s storage.
- The Allocate all disk space now option allocates space on your disk as much as the disk size you have allocated for the virtual machine.
- The Store virtual disk as a single file option configures the virtual disk as a single file rather than splitting it into pieces.
Configure the size of the virtual disk to 30GB or higher, check the Store virtual disk as a single file option, and click Next.

Step 14
The Specify Disk File window asks where to save the virtual disk. If you want to store the virtual disk in a different location, you can change this setting with the Browse button. Leave the name and location of the disk file in the default setting and click the Next button.

Step 15
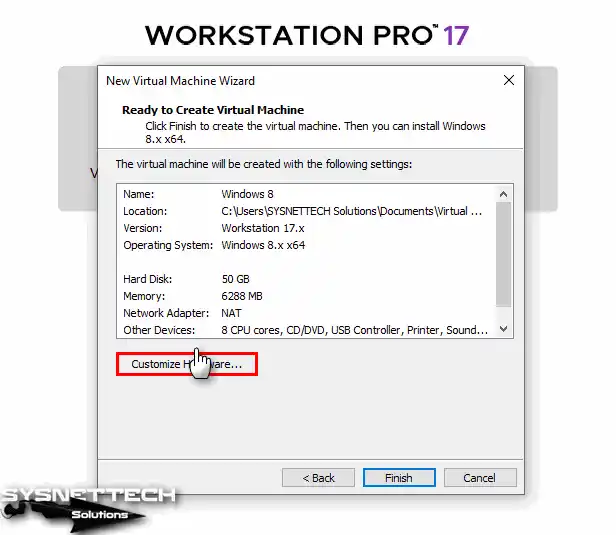
At the last step of the virtual machine creation steps, click Customize Hardware to add an ISO file and edit the graphics memory, or if you want to make any changes after creating the virtual computer.
Step 16
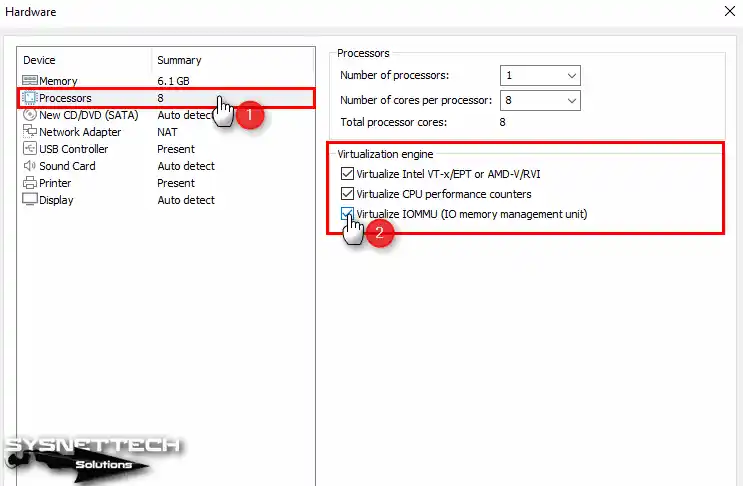
After selecting the processor hardware in the virtual machine settings, tick the Virtualize Intel VT-x/EPT or AMD-V/RVI, Virtualize CPU Performance Counters, and Virtualize IOMMU (IO Memory Management Unit) options in the Virtualization Engine section.
Step 17
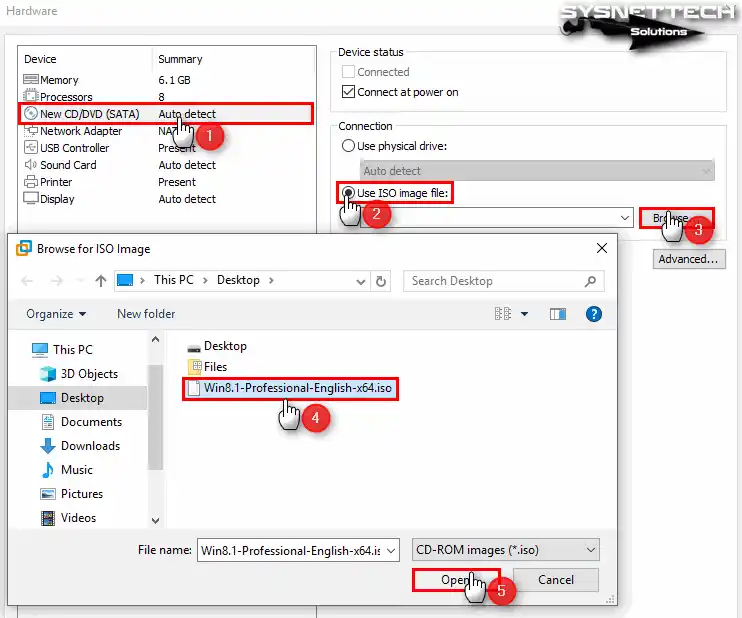
Click on the CD/DVD device to add the ISO file you downloaded to your computer and the virtual machine. Then, after selecting Use ISO image file, click Browse and choose the location of the ISO file.
Go to the location where you downloaded the Windows 8.1 Professional x64 ISO file, select the file, and click the Open button.
Step 18
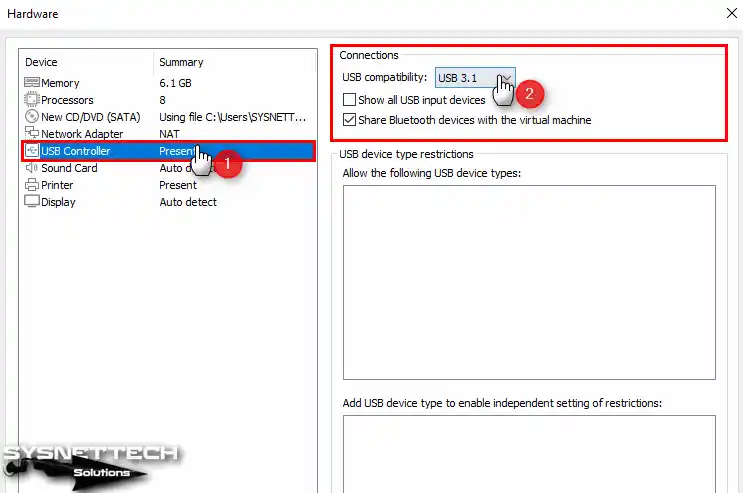
Enable USB 3.1 for USB Controller hardware and tick Show all USB input devices.
Step 19
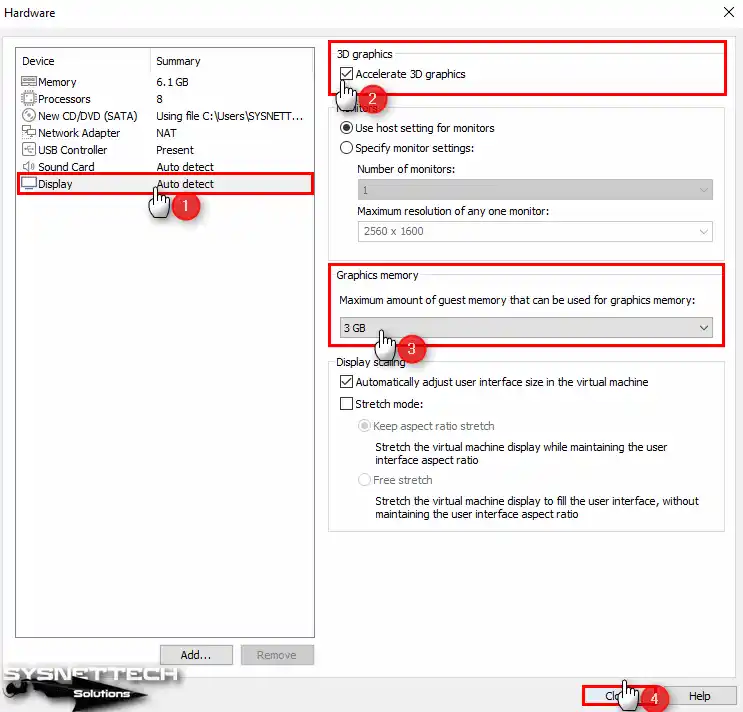
After clicking on the Display hardware, enable 3D graphics acceleration from the options displayed on the right, and configure the Graphics Memory size to the appropriate value.
Step 20
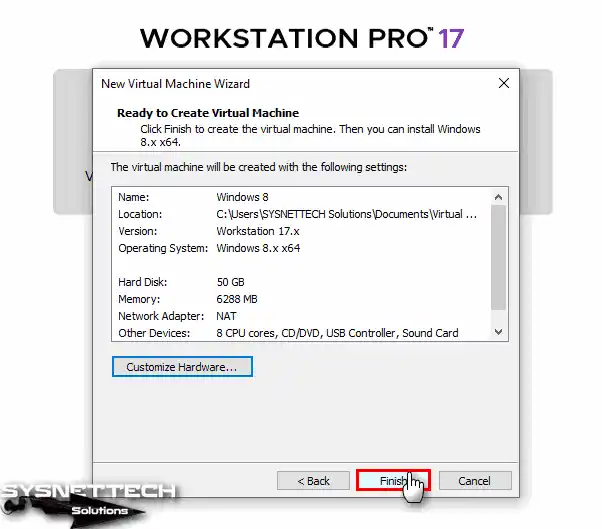
After completing the virtual machine creation steps, click Finish.
Step 21
Click Power on this virtual machine to run the Microsoft Windows 8/8.1 virtual machine and begin the installation.

How to Install Windows 8 in VMware
After creating, preparing, and starting a new virtual machine for Windows 8 installation, the setup screen will begin as follows. From this step, the installation steps are valid on both VMs and physical computers.
Step 1
In the Setup window, after configuring the system display language, time zone, and keyboard layout you want to use, click Next.

Step 2
Click the Install Now button to start the installation.

Step 3
To activate Windows, type the product key specified on the installation media you purchased and continue. If you do not have the product key you want to enter during the installation phase, you can get it in a short time by searching on Google.

Step 4
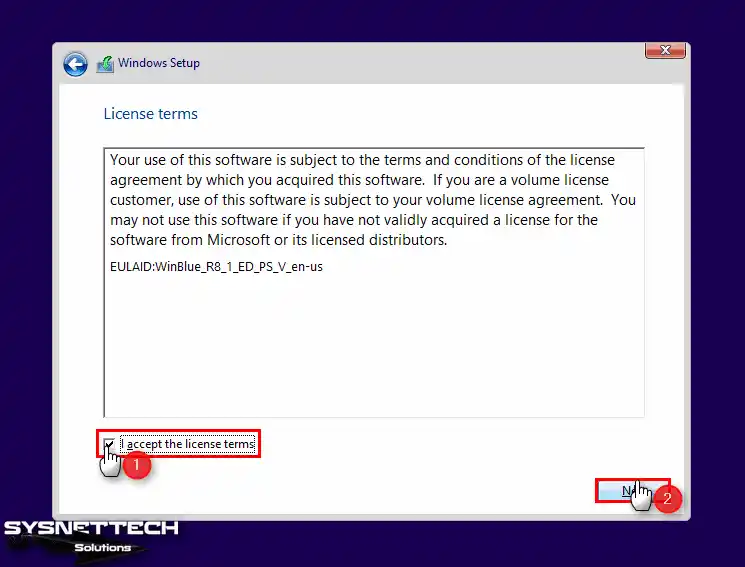
Accept the operating system license agreement and click the Next button.
Step 5
Click Custom: Install Windows Only (Advanced) to do a clean install of Windows 8.1 from scratch.

Step 6
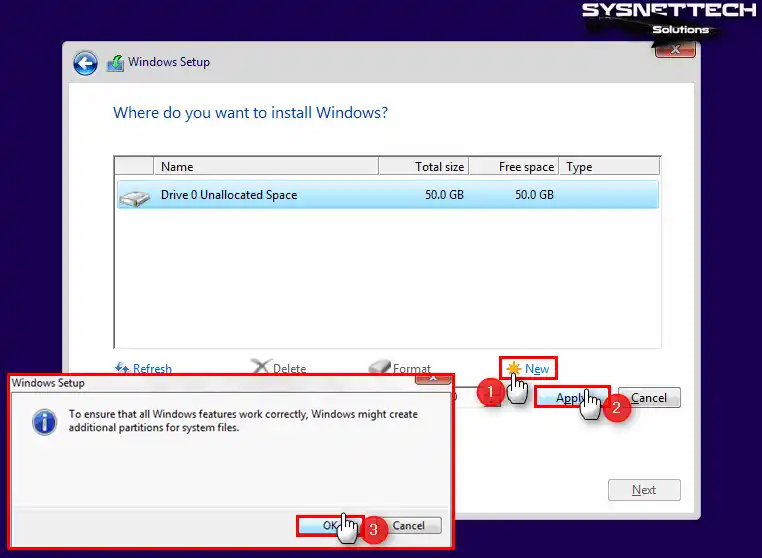
In the virtual machine disk configuration, first, click the New button, and then do not change the Size value to use all the disk space, and click the Apply button. Click the OK button in the warning window where additional fields will be created for Windows.
Step 7
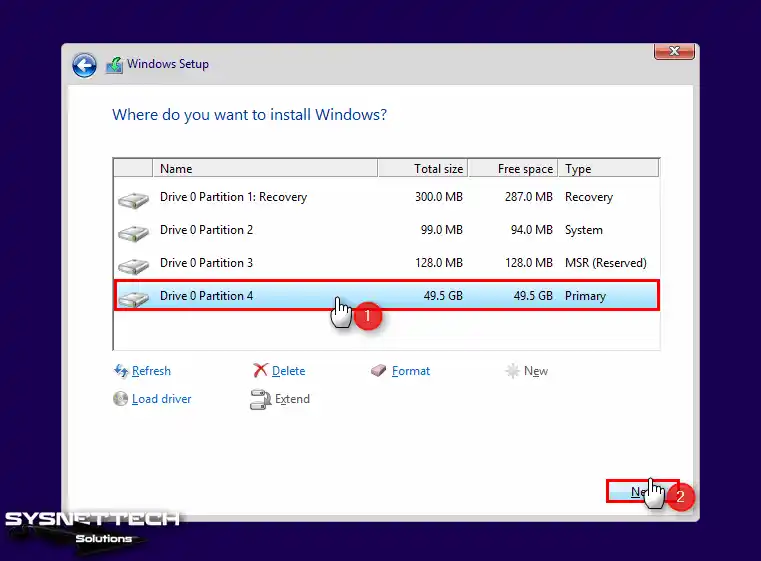
Select Drive 0 Partition 4 to install Windows 8.1 and click Next.
Step 8
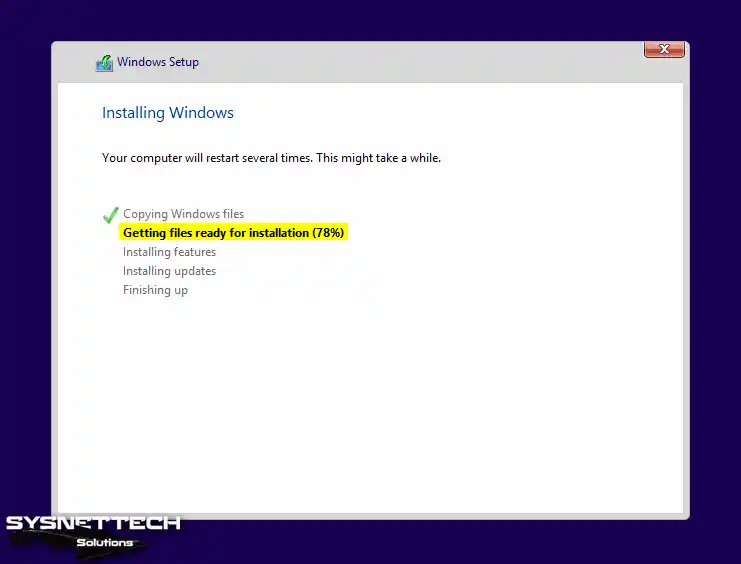
Wait while the files are being prepared for installation.
Step 9
After the installation, copy the necessary files, and click the Restart Now button to restart the guest machine immediately.

Step 10
Wait while the setup prepares the VM for configurations.

Step 11
Type the computer name for the Windows 8 virtual machine and click the Next button.

Step 12
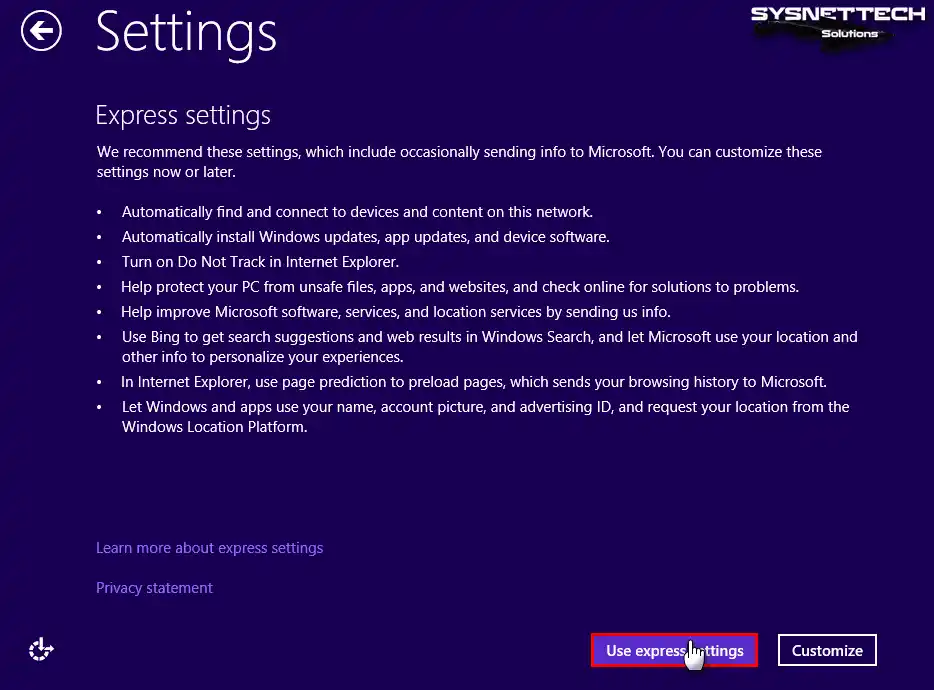
Click the Use quick settings button.
Step 13
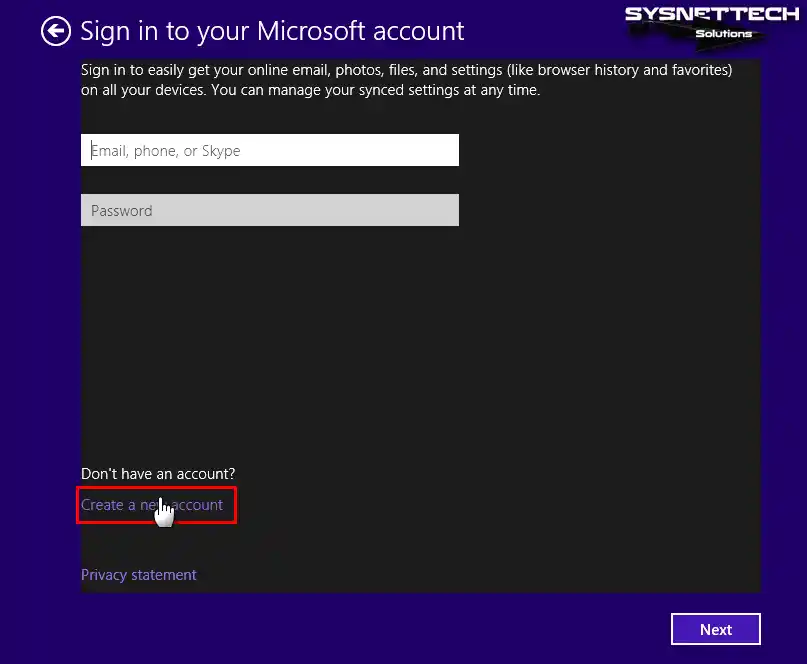
If you want to log in to your virtual system with a Microsoft account, enter your personal information in the Email and Password fields. If you want to use it with a local user account, click Create a new account and continue.
Step 14
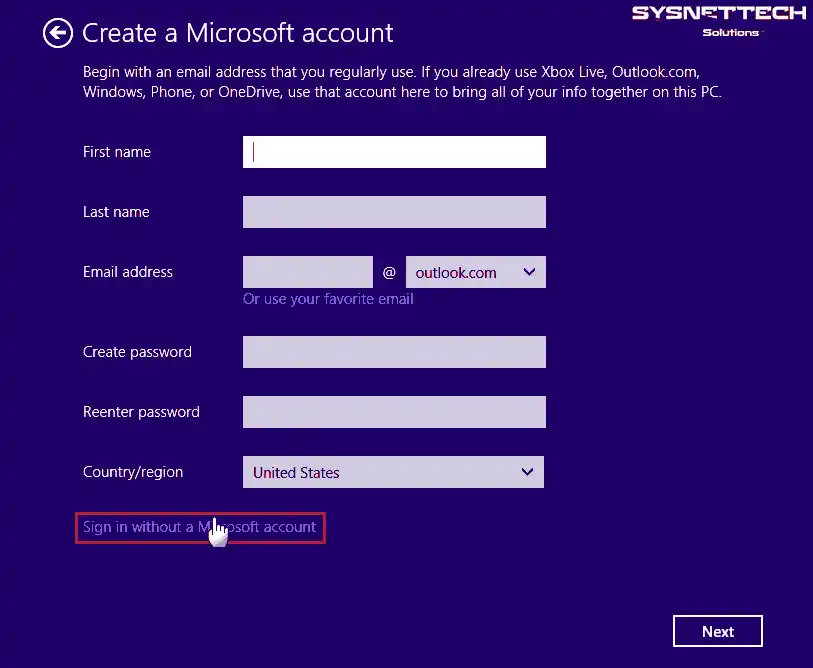
In this step, you can create a new Microsoft account through the operating system. However, if you do not want to use the Microsoft account for the new user account, click Sign in without a Microsoft account.
Step 15
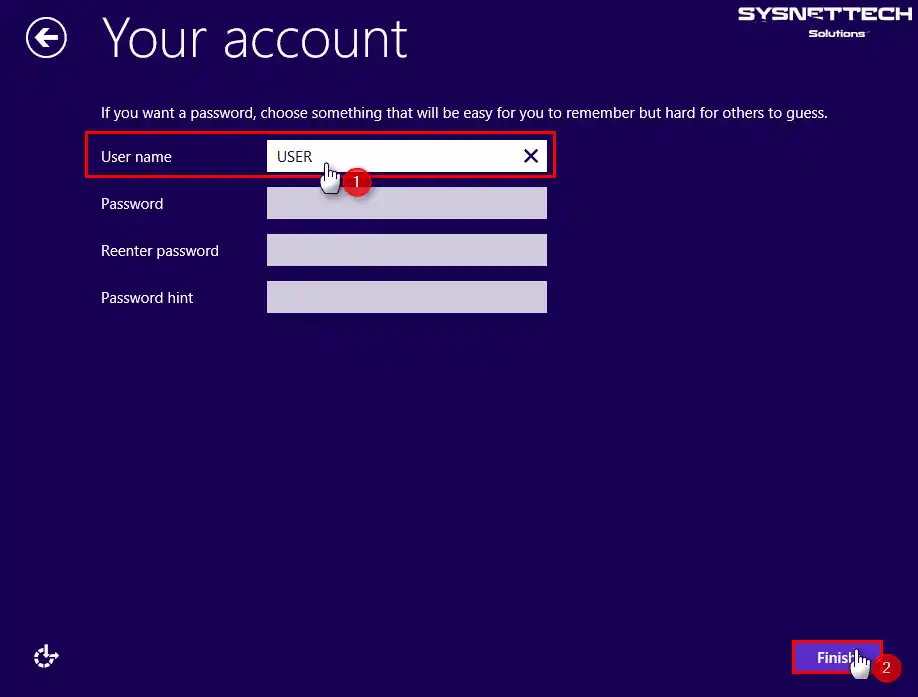
Specify a username and password for your local user account and click Finish.
Step 16
During the installation, the necessary applications for your system are installed. After this step, the Windows 8.1 desktop screen will appear in a few minutes.

Step 17
Finally, to check the Windows version, right-click on My Computer and click Properties, and you can check the system version from the window that will open.
How to Install VMware Tools in Windows 8
After installing any operating system on the virtual machine with VMware, one of the software programs you must install is VMware Tools. Thanks to this software, you can use the virtual computer more effectively and efficiently. It allows you to use hardware such as USB and webcam, which are available on your host device.
Step 1
Click VM / Install VMware Tools from the tool menu to install the drivers for your guest operating system.

Step 2
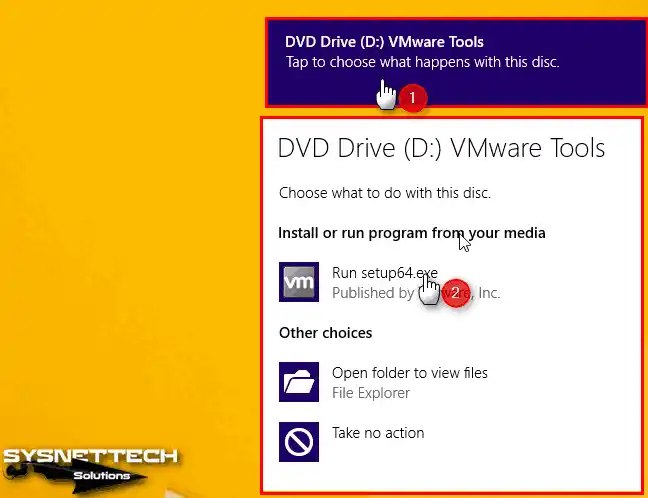
After the VMware Tools installation image file is automatically mounted to the system, click on the DVD drive. Click on Run Setup64.exe of the image file on the DVD drive.
Step 3
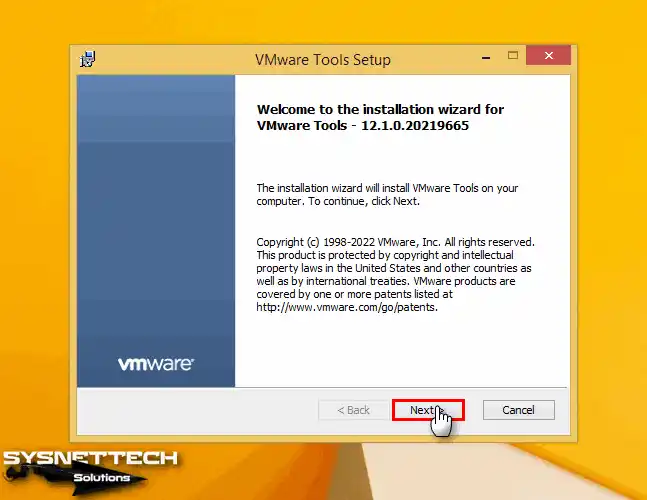
Continue by clicking Next in the installation wizard.
Step 4
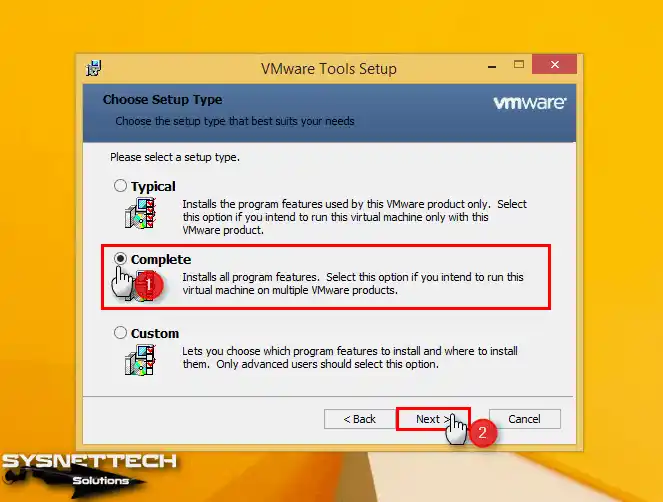
In the Choose Setup Type window, select the Complete option and click Next to use the virtual computer you have installed with other products developed by VMware.
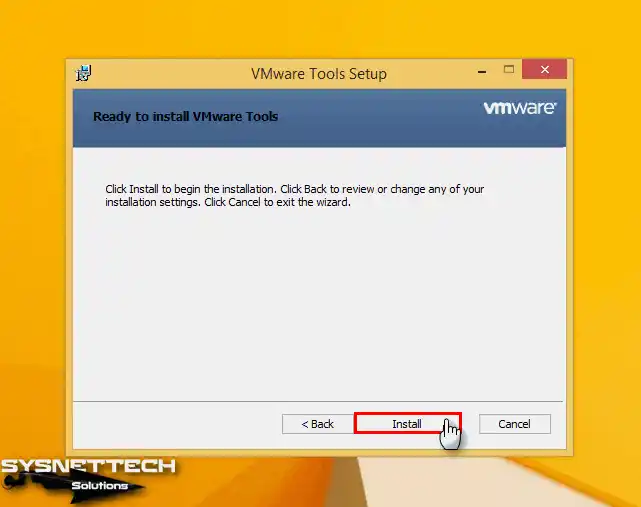
Step 5
Click the Install button to start installing the Windows 8/8.1 drivers.
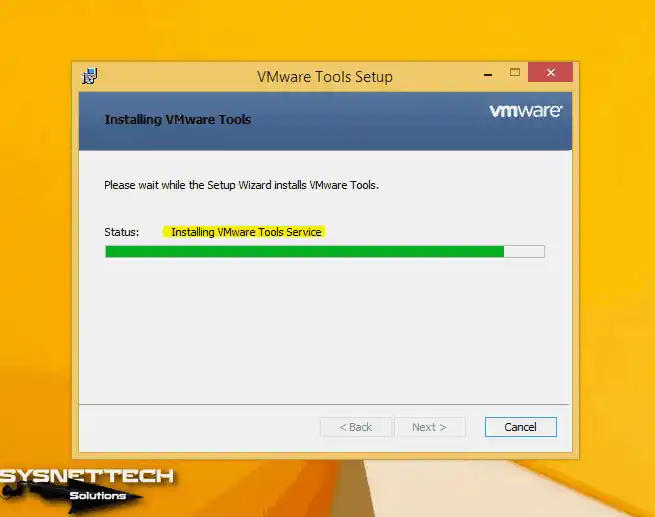
Step 6
In order to use devices such as a USB mouse or keyboard that are available on your host and that you use externally, wait while the relevant drivers are installed on the VM.
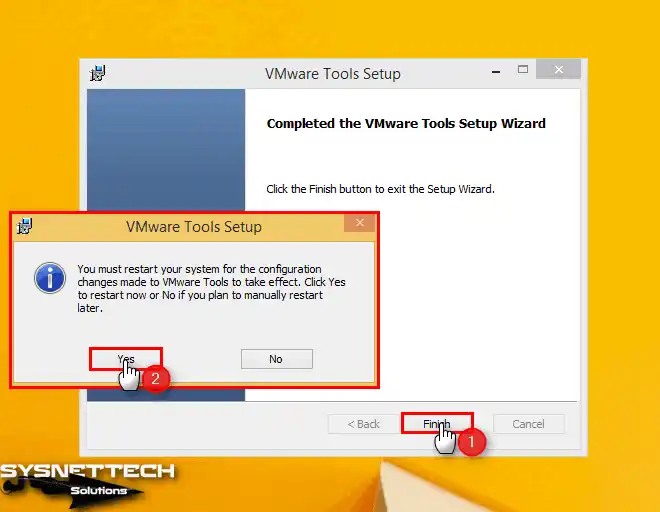
Step 7
After the necessary drivers for the virtual machine are installed, click Finish and restart your VM for the changes to take effect. After your system restarts, you can check the version by clicking the VMware Tools icon in the lower right corner.
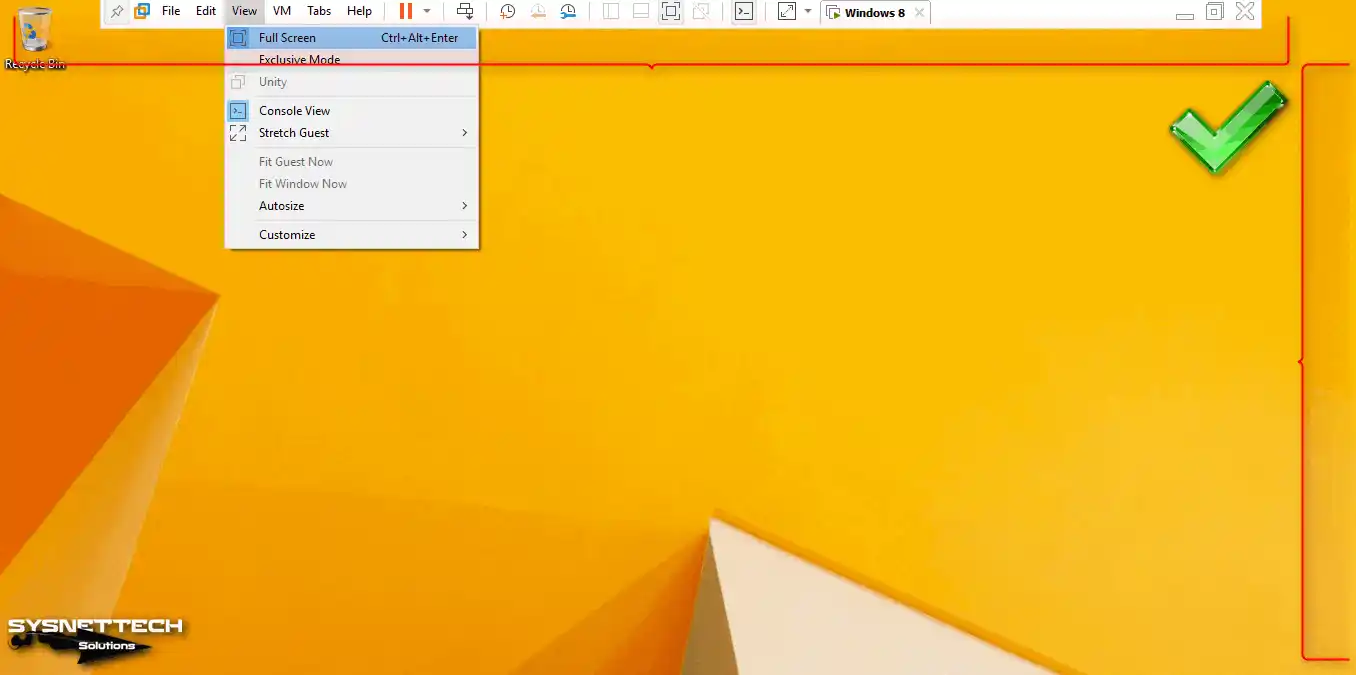
Step 8
Click View / Full Screen from the VMware tool menu and check that your guest system is running in full-screen resolution.
Step 9
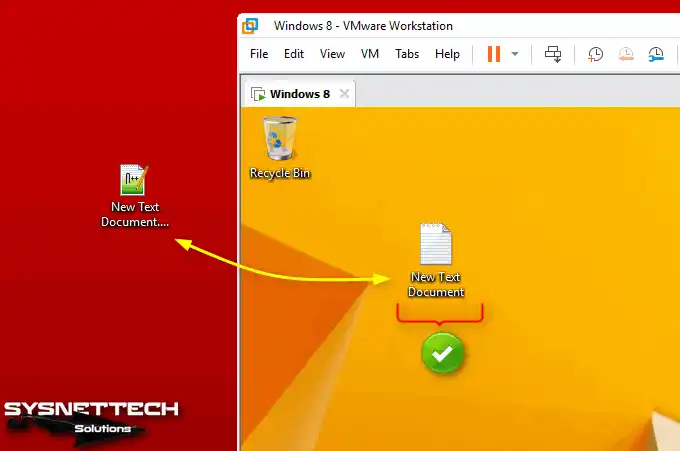
After the VM Tools installation, the file transfer from the host machine to the virtual PC works smoothly using the drag-and-drop method.
How to Create and Configure a Shared Folder
After installing Windows 8/8.1 with VMware, you can use the Shared Folder feature to create a common folder that you will use constantly between the host and the VM.
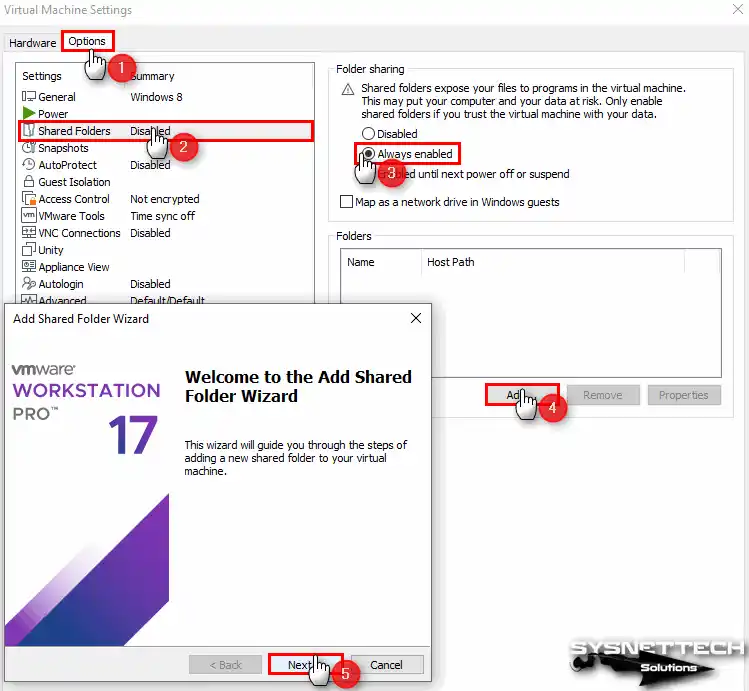
To create a Shared Folder in Windows 8.1, click VM / Settings. Select Shared Folders from the virtual machine settings and tick Always Enabled from the Sharing section.
Then, if you want the public folder you will create to appear as a network drive on My Computer, also check the Map as a network drive in the Windows guest option, and click the Add button to select and add the public folder.
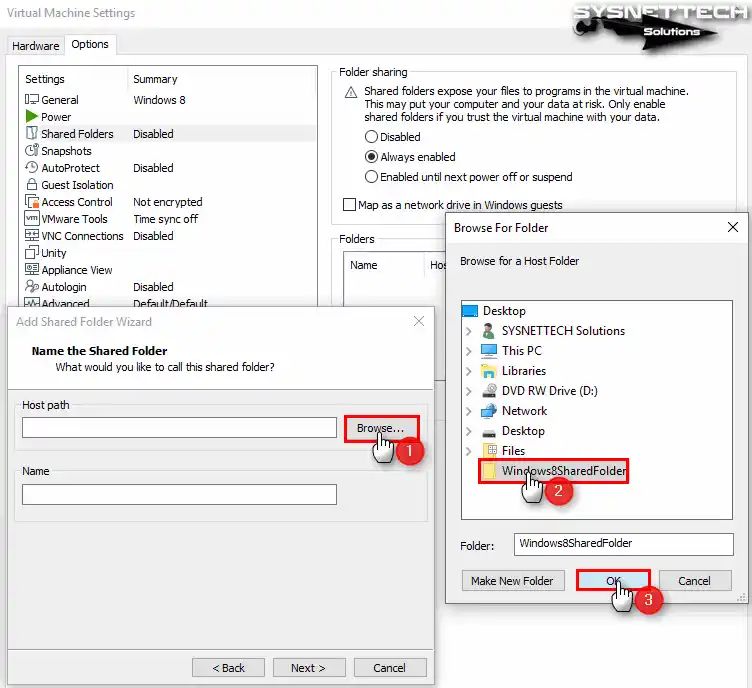
Click the Browse button and select the folder you specified. In the Name field, type the name of the folder on the host that will appear on the VM, and then click Next.
In the Additional Attributes section, check the Enable this share option to activate the public folder and click Finish.

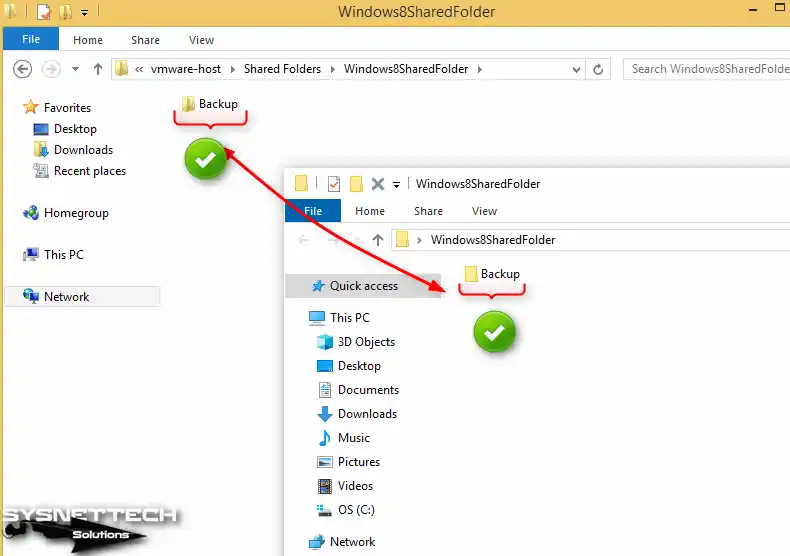
Open the Network and check if the vmware-host computer exists. When you click VMware-Host, you can see that the Shared Folders feature is running and can be accessed over the LAN.
How to Use USB Flash Memory
If you want to transfer files to your virtual machine via USB flash memory or a portable HDD, you need to plug your USB into one of the host ports according to the controller type in the VM settings.
Step 1
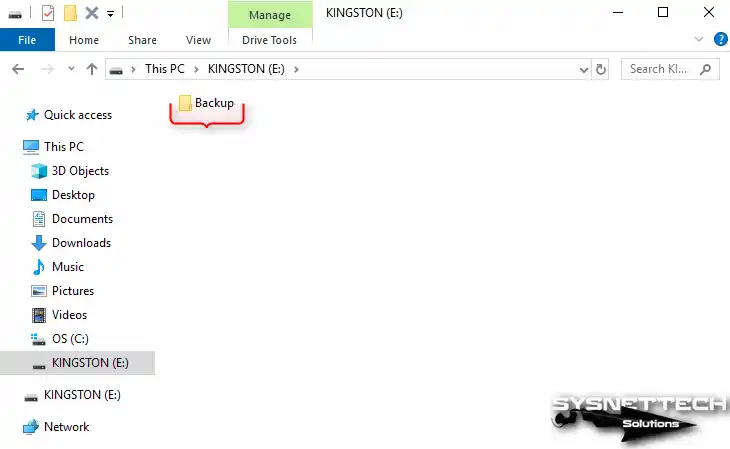
After inserting your USB memory into your PC, create a folder named Backup as an example.
Step 2
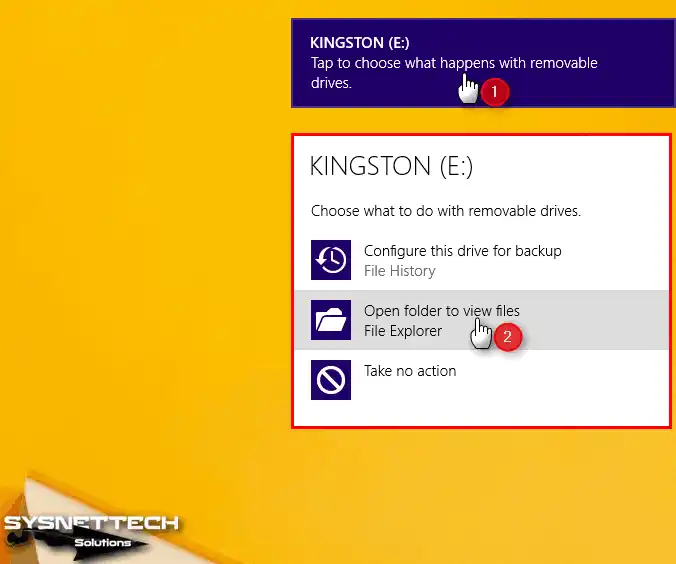
To connect your USB to your VM, click VM / Removable Devices / Name of your USB / Connect from the tool menu.

Step 3
When your flash memory is automatically mounted to your virtual system, you can view the contents of your disk and transfer your files quickly.
How to Delete the Virtual Machine
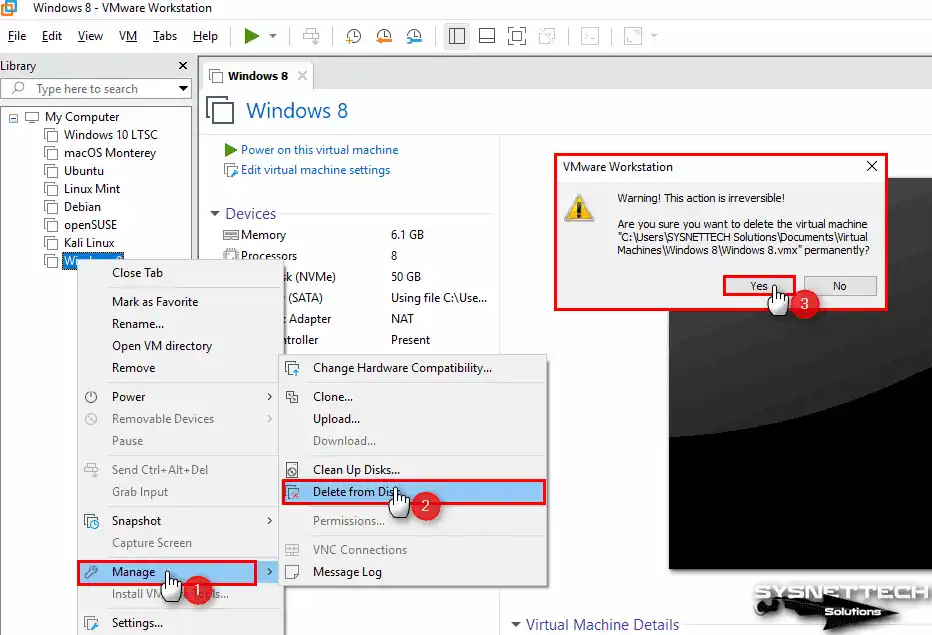
If you want to delete the Windows 8 or Windows 8.1 operating system that you created using the Workstation Pro software, right-click on your VM from the left panel of the program and click Manage / Delete From Disk.
In this action, an irreversible warning window opens. Click Yes to confirm that you have completely deleted your VM from your host disk.
Video
Installing Old Versions
You can install and run Windows 8.x versions on your host computer using 12, 14, 15, and 16 versions of Workstation Pro.
| Workstation Pro | YouTube Video | Slide |
|---|---|---|
| 12 Pro | Watch | View |
| 14 Pro | Watch | – |
| 15 Pro | Watch | View |
| 16 Pro | Watch | View |
| 17 Pro (YENİ) | Watch | – |
Conclusion
As a result, you can quickly install Windows 8 or 8.1 with VMware Workstation 17 Pro. In addition, thanks to this process, you can use older versions alongside your current system.
Also, as you can see, all these steps are very easy. With the screenshots I shared for each install stage, you can finish your work without any trouble. Plus, you can change the settings to make them more advanced.
In addition, do not forget VMware Tools. Thanks to this, you will be able to install the drivers of your virtual system. On the other hand, you will both improve usability and make it more compatible with your host.

Be the first to share your comment