
In this article, I will tell you how to install VMware Workstation 17 Pro on Windows 10 & 11 PC. Thus, you will now be able to create and run more professional virtual machines on your Host PC.
I will also explain all the stages of creating a virtual system on your computer. In fact, even though the steps I have described here are aimed at beginners, you will be able to use Workstation Pro without any problems.
How to Install and Run VMware Workstation Pro on Windows 10
VMware Workstation works well and fast on different operating systems. Also, this strong software gives us high performance. It is a big advantage that it works easily on many platforms.
This great program lets you install different virtual operating systems on your computer. In other words, you can easily run another OS on your PC. Also, if you are a software developer, this tool will help you a lot. So, it lets you test your app on other computers.
If you are a network administrator, VMware Pro plays an active role in facilitating your work. At the same time, it helps us not only in terms of costs.
In short, I am talking about simplifying your workload. For example, if you need to set up a new FTP server, you do not need to buy an additional server or PC. You can create a file server by running a Windows or Linux system of your choice virtually.
Workstation Pro also comes to our aid for more advanced tasks. For example, you can create a virtual Microsoft Server 2025, 2019, 2016, or 2012 machine. So, you can start preparing for Microsoft’s exams on your host PC.
What are the System Requirements for VMware on Windows 10 or 11?
For Workstation Pro 17 to work on Windows 10 or 11, your computer needs to have at least these specifications:
- A 64-bit processor is recommended. Ideally, it has four or more powerful cores.
- 16 GB of RAM is enough. But we recommend 32 GB or more for superior performance.
- 4 GB of disk space is primary. A recommended SSD enhances performance.
- The Windows operating system provides versatile functionality.
- A valid license for VMware Workstation is essential. Ensure it’s the latest version for the largest utility.
What’s New in VMware Workstation 17 Pro
VMware happily launched the 17 Pro and Player versions on the exciting date of November 17, 2022. They also released Fusion 13 Pro/Player 17 for happy Mac users.
- Workstation 17 Pro introduces Virtual Trusted Platform Module 2.0. This enables virtual machines to install Windows 11 or other TPM-requiring OS.
- Excited developers cleverly made the new OpenGL 4.3 version to get smooth and beautiful images in virtual machines.
- They added Full and Fast options to encrypt virtual machines.
- They added WDDM (Windows Display Driver Model) version 1.2 support for guest systems running with Workstation Pro.
- They impressively included support for exciting new operating systems. These include Microsoft Windows 11 and the highly anticipated MS Server 2022. They’ve also integrated compatibility with the latest RHEL 9, Debian 11.x, and Ubuntu 22.04.
- They also added a feature where some VMs can start independently when the host computer turns on.
How to Find Out Intel or AMD Virtualization Feature
First, check if the processor in your physical PC (the one you can touch) has a feature called virtualization. You can do this in two ways:
- Suppose you have an Intel or AMD-branded processor. You can check the VTx feature by checking the model number on the manufacturer’s web page.
- You must learn control over the virtualization feature. You have two options for this task:
- Intel (R) Processor Identification Utility
- AMD-V with RVI Hyper-V Compatibility Utility
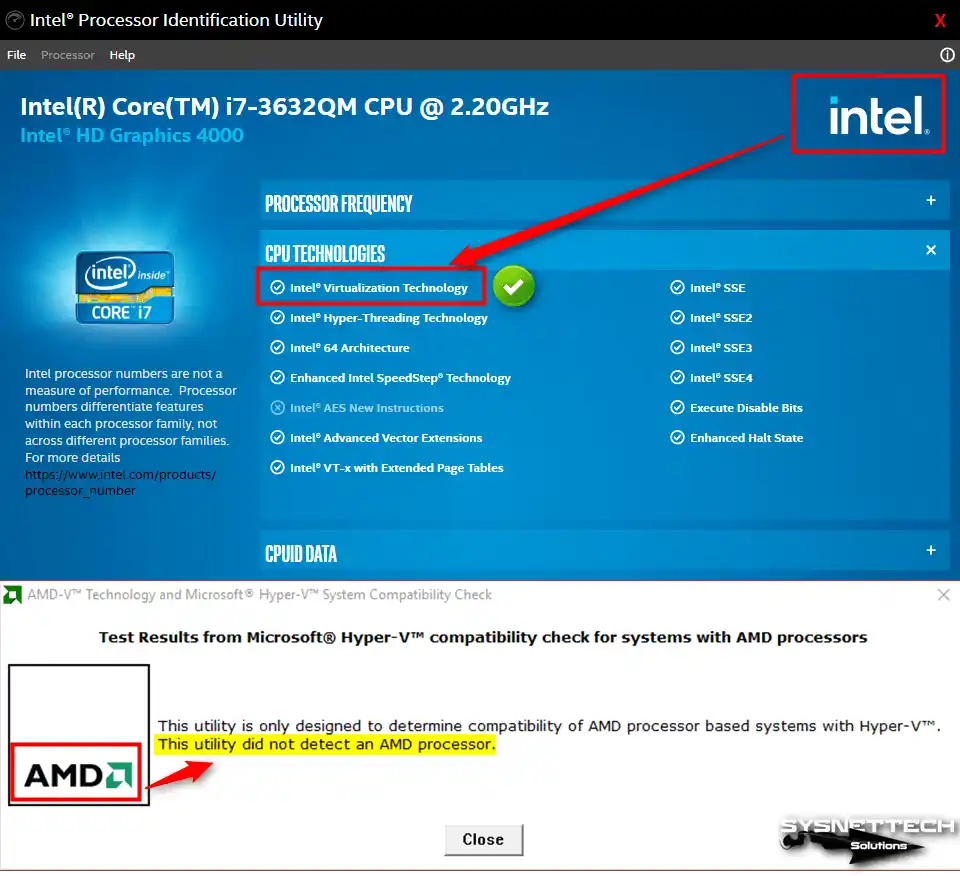
Use the Intel Processor Identification Utility to check if your Intel CPU supports VTx. Look in the CPU TECHNOLOGIES section to confirm it. You’ll find the Intel Virtualization Technology feature there.
Using AMD software on an Intel CPU results in a stern warning. You will see it when attempting. It will unequivocally state that this tool did not find an AMD processor.
How to Install the VMware Virtual Machine Software
You can install VMware Pro on your regular computer or laptop. Or, you can set it up inside a virtual computer. This way, you can smoothly try out version 17 without messing up what you already have.
To install the step-by-step VMware virtual appliance program on Windows PC, just do these steps:
Step 1
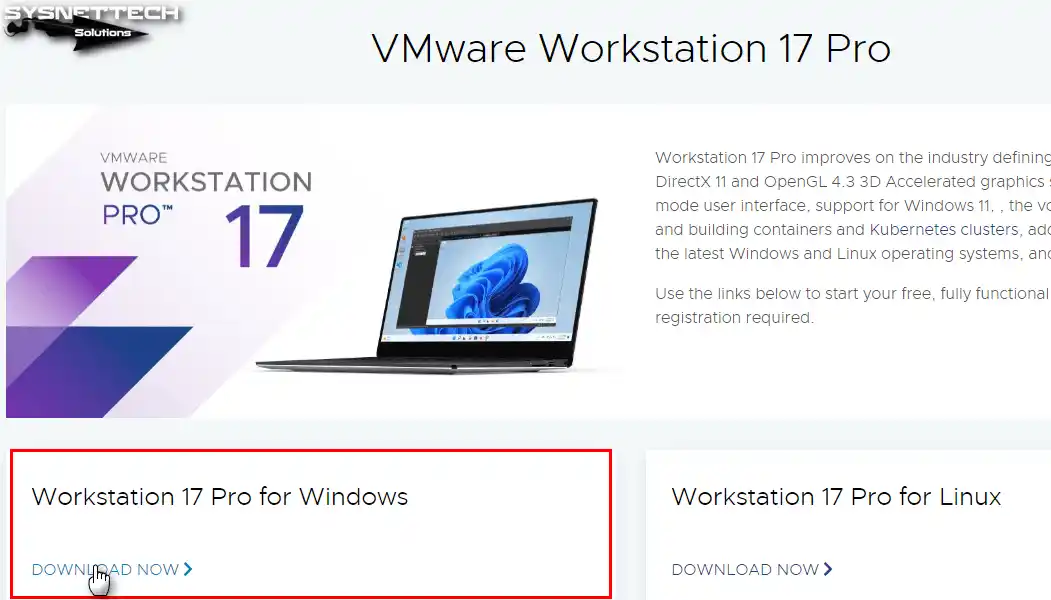
After ensuring your CPU can do virtualization, get Workstation Pro. Then, in the section for Windows systems, click Download Now.
Step 2
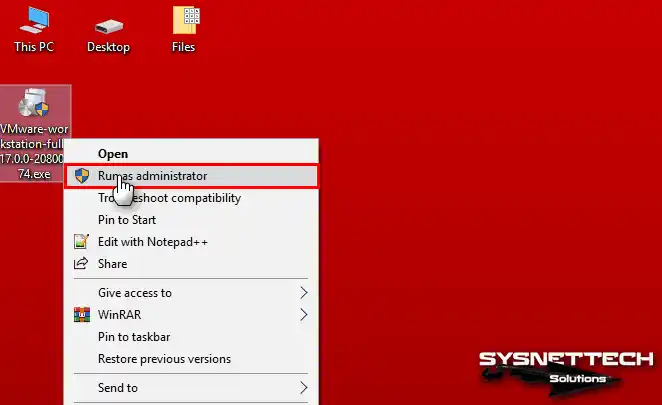
After efficiently downloading the setup file, right-click and select Run as administrator.
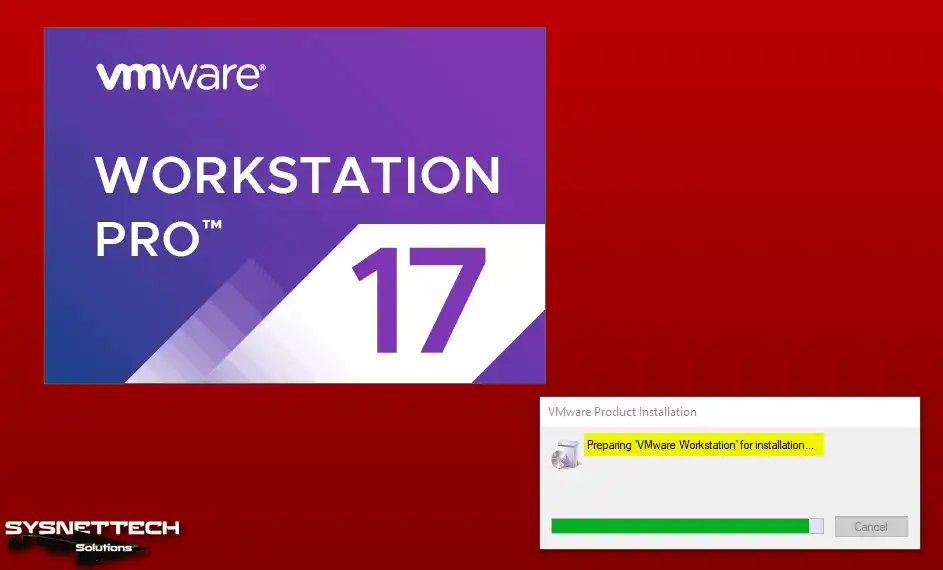
Step 3
Please wait while it gets the necessary files to install the newest version of VMware Pro.
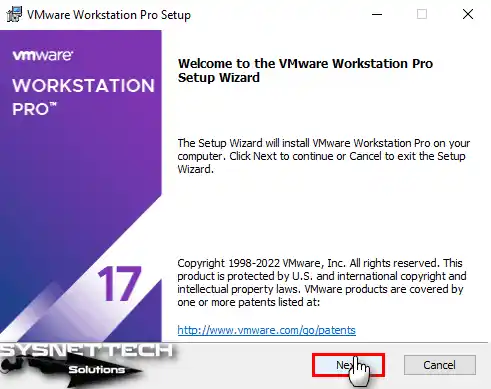
Step 4
To keep installing Workstation Pro, click the Next button in the Setup window.
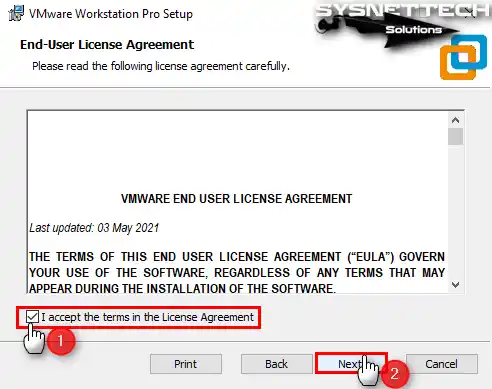
Step 5
You must agree to the license agreement to ensure a hassle-free Workstation software setup. After accepting it, hit the Next button in the End-User License Agreement window.
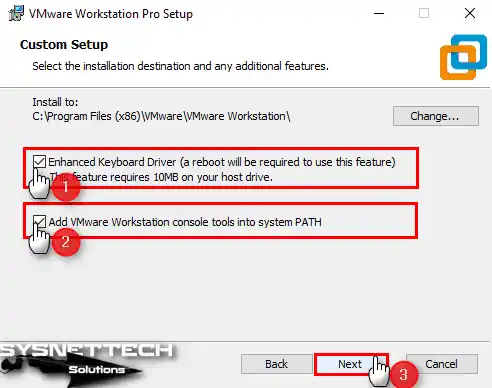
Step 6
Installing the Enhanced Keyboard Driver when using a virtual machine in the program is a good idea. Check the confirm box and click Next to install the advanced option.
Step 7
Ensure a smooth user experience by enabling automatic updates at startup. Also, opt to take part in the customer experience program willingly.
In the User Experience Settings window, easily enable product updates. Also, opt for participation in the Improvement Program.
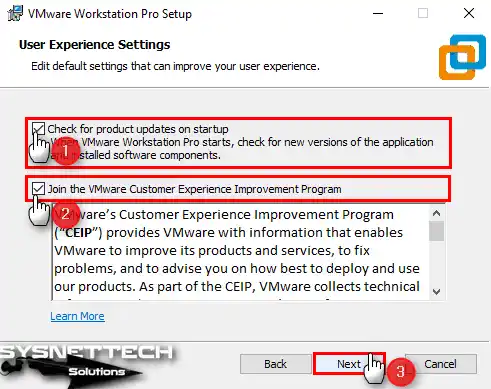
Step 8
To put shortcuts on your Windows desktop and start the menu, check both options in the Shortcuts window and click the Next button.
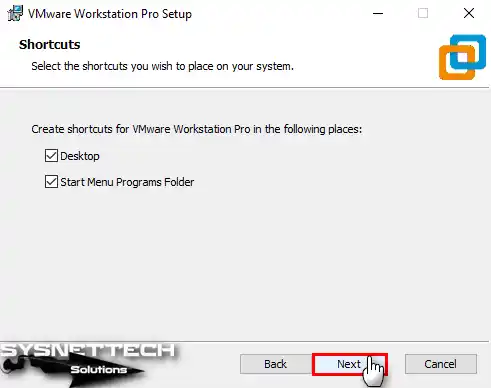
Step 9
Next, click the Install button to build the virtual OS program on Windows 11 & 10.
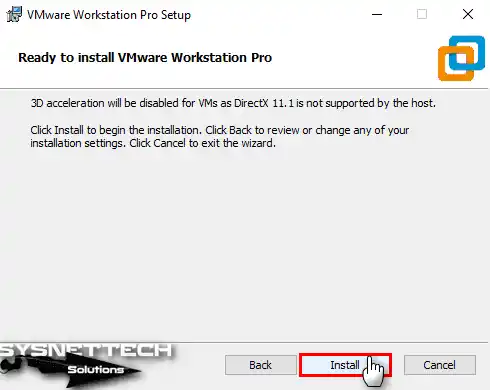
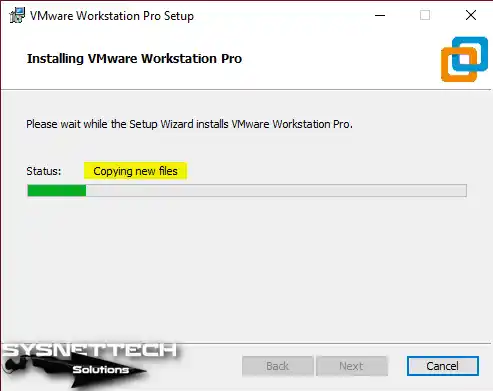
Step 10
Wait as the program copies the files it needs onto your system for Workstation Pro and sets up the system settings.
Step 11
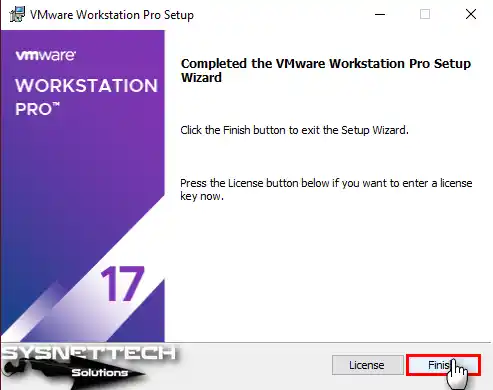
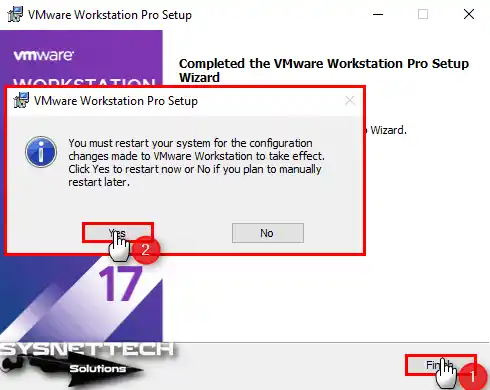
Once you’ve completed the intricate steps, click the Finish button precisely.
Step 12
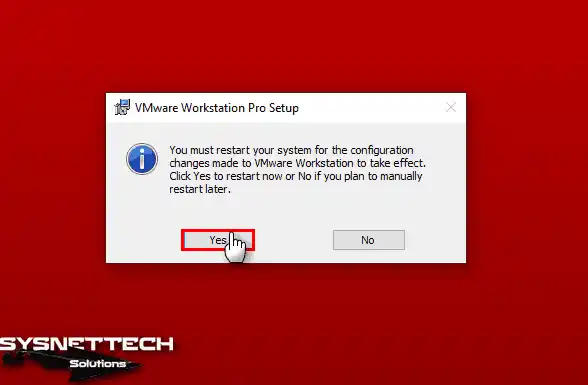
Click the Yes button to renew your computer for the beneficial changes.
How to Activate VMware Workstation Trial
Step 1
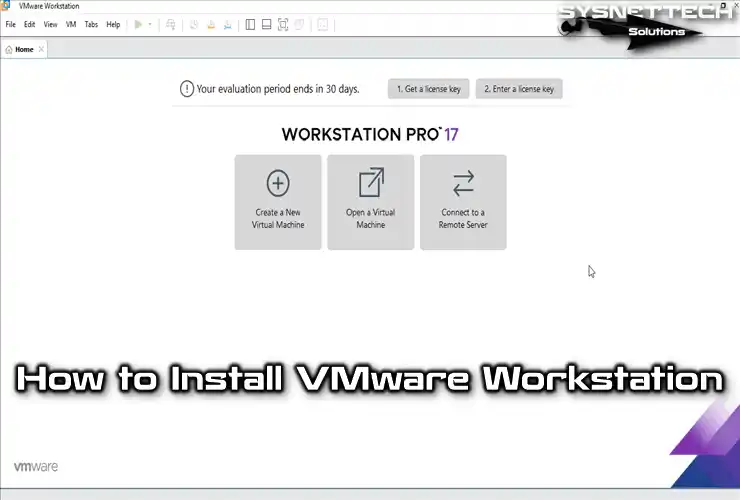
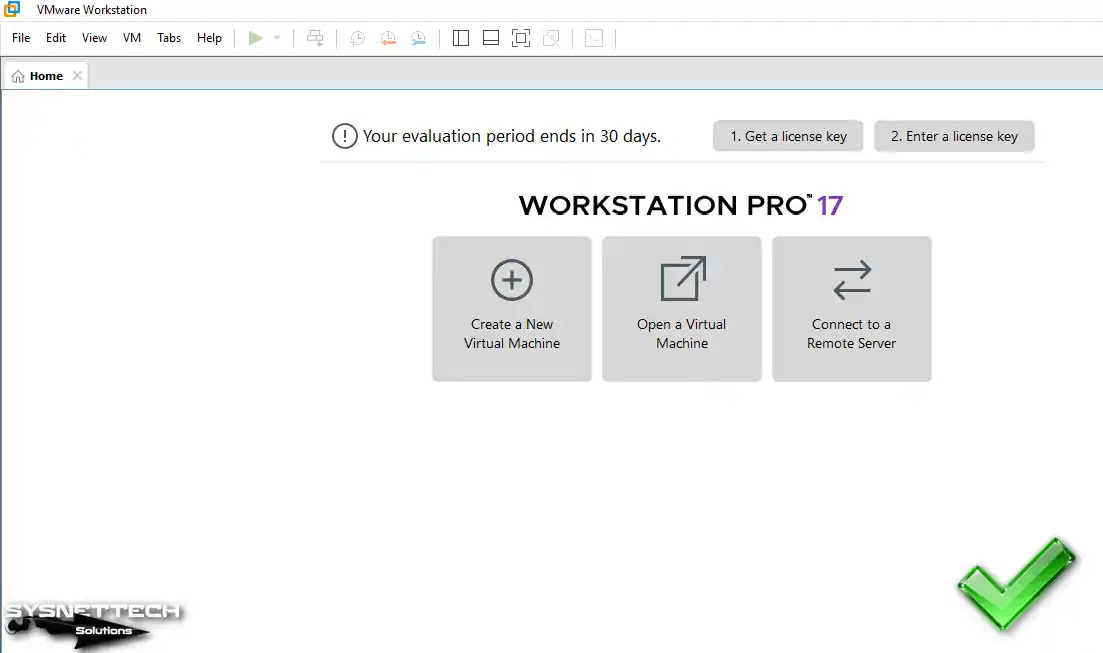
Once the PC restarts, promptly double-click the VMware shortcut to open it.
If you have purchased VMware software, enter the license key in the space provided below. Or, if you want to enjoy a free trial for 30 days, select the option and continue.

Step 2
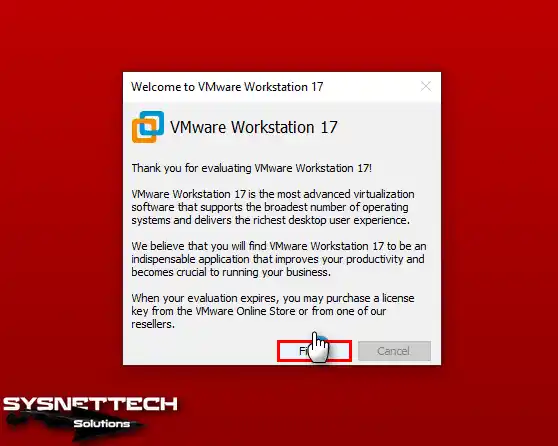
This window informs you that you can buy the program from the Online Store after the trial period. Thus, click Finish to close the thank you window after activating the evaluation version of the app.
Step 3
Once you have successfully installed VMware Pro, you can find its edition by going to Help and selecting About.
How to Uninstall VMware Workstation on Windows 10
If you decide to uninstall VMware software from your PC, please know that it will remove all VMs and configurations you have installed. If you only want to remove the app for a specific reason, back up your installed virtual OSs beforehand.
There are two simple ways to remove Workstation:
- You can uninstall it using Add and Remove Programs on Windows 11 & 10.
- You can uninstall it via the Setup file using the Command Prompt.
Step 1
For a fast view, press Windows Key + R. Open Run, execute control appwiz.cpl for Programs.
control appwiz.cpl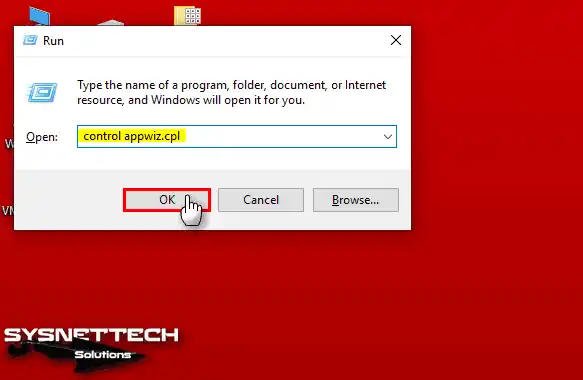
Step 2
Open the Setup Wizard by double-clicking on Workstation in the program removal window, and click Next in this step.

Step 3
You can now remove Workstation Pro from your system by clicking the Remove button. In this window, you can also repair VMware errors.
NOTE: Another way to uninstall virtual machine software is to use the Command Prompt. You must have the setup file with the .exe extension that you downloaded to your computer to do this. Open CMD or PowerShell from the file’s location and execute the command below in the terminal to start the wizard.
VMware-workstation-full-17.0.0-20800274.exe /clean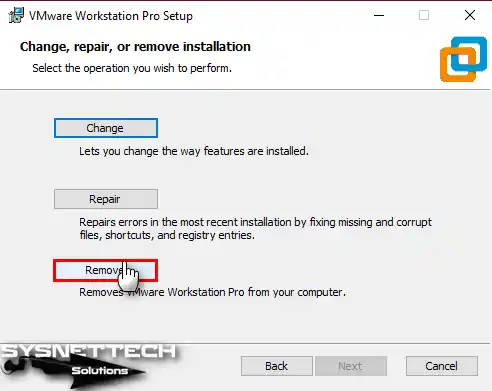
Step 4
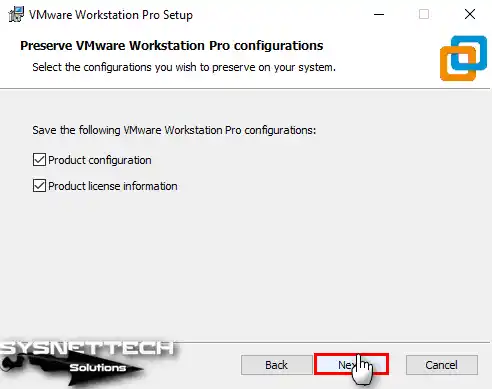
The default selection includes the Product Configuration and Product License Information options. Click Next to confirm the deletion of these configuration settings.
Step 5
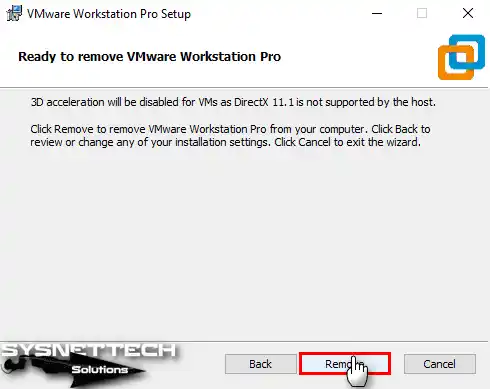
Click the Remove button in the Ready to Remove window to start the removal process.
Step 6
After you install VMware, your OS gets config files and network drivers. It’s important to delete these files as part of the process. After deleting them, restart your PC to make the changes work correctly.
Video
Frequently Asked Questions (FAQ) About VMware Workstation 17
- Is VMware Workstation compatible with Windows 10 or 11?
- Is VMware Workstation 17 free?
- Is VMware for Windows 10 or 11 free?
Installing VMware Old Versions
| Workstation Version | YouTube Video | Slide |
|---|---|---|
| 12 Pro | Watch | View |
| 14 Pro | Watch | View |
| 15 Pro | Watch | View |
| 16 Pro | Watch | View |
| 17 Pro (NEW) | Watch | – |
Conclusion
In summary, by installing VMware Workstation 17 Pro on a Windows PC, you will gain many advantages. Plus, you can run three or even five operating systems at the same time without any problems. Of course, this varies depending on the hardware power of your host PC.
So, you can manage different computer setups easily on your PC. Also, you can test apps or try various kinds of networks.
In short, you can do all these jobs easily with VMware Workstation Pro. Also, it is very flexible and helps us manage virtual machines without trouble.

1 Reader Comment
Nope. Complete BS. Link for “download” takes one to the Broadcom stupidly complicated “account manager” which purposefully HIDES any mention of Workstation or Fusion.