
SSH (Secure Shell) provides secure management of network devices. By using SSH, you establish a secure connection to a network device that you access, and your data is sent in encrypted form.

How to Enable SSH in a Cisco Router with Packet Tracer
SSH is a much safer protocol than the Telnet protocol and uses TCP port 22 by default. The port number may vary.
There are two versions of the SSH protocol. These are Version 1 and Version 2.
SSH V1 exploits several patented encryption algorithms and is vulnerable to a well-known vulnerability that could allow an attacker to enter data into the communication flow.
SSH V2, this release has an advanced key exchange algorithm that is not vulnerable to the same abuse and includes more powerful and comprehensive features:
• Encryption such as 3DES and AES.
• Use voice encryption Message Verification Code (MAC) algorithms for integrity checking.
• Support for public-key certificates.
We recommend that you use SSH V2 as far as possible to manage network devices remotely.
To enable SSH in the actual scenario, make sure that the file name of your Cisco IOS software is k9 (crypto).
The truth is, many older systems still use Telnet. If you want to see the security difference for yourself in the simulator, first try setting up a Telnet connection step by step.
Then, use Wireshark to look at the traffic from both protocols. This will show you clearly how they are different. When you see the difference with your own eyes, you will understand why SSH is so much better.
1. Create the Topology and Connect to the Router
Step 1
First, run Packet Tracer and then create a network topology, as shown in the image below.
Add one more router to the work area. We need it because after we set things up, we will create SSH connections between the routers.
After manually entering PC1’s IP settings, a question might arise: Is there a way to do this automatically? Of course there is.
When you learn how to turn on a DHCP server in your network, your work gets much easier. This saves you a lot of time, especially when you have many devices. I always set up DHCP first in every simulation.

Step 2
Open the CLI prompt by clicking on the SYSNETTECH Router and press Enter to skip the initial configuration.
In the simulator, clicking on the router to open the CLI command prompt will do the job. But in the real world, your first contact with a device is different.
This means you need to connect using a console cable. Being in a server room, plugging your laptop into the console port of a router—that is a great experience. Even if you only try this basic step in the simulator, it is worth doing.

2. Enable SSH on your Cisco Router
To enable SSH on the Router, perform the following commands in order.
Router>enable
Router#conf t
Enter configuration commands, one per line. End with CNTL/Z.
Router(config)#hostname SYSNETTECH
SYSNETTECH(config)#interface gigabitethernet 0/0
SYSNETTECH(config-if)#ip address 192.168.1.1 255.255.255.0
SYSNETTECH(config-if)#no shutdown
%LINK-5-CHANGED: Interface GigabitEthernet0/0, changed state to up
%LINEPROTO-5-UPDOWN: Line protocol on Interface GigabitEthernet0/0, changed state to up
SYSNETTECH(config-if)#exit
SYSNETTECH(config)#ip domain name sysnettechsolutions.com
SYSNETTECH(config)#crypto key generate rsa
The name for the keys will be: SYSNETTECH.sysnettechsolutions.com
Choose the size of the key modulus in the range of 360 to 2048 for your
General Purpose Keys. Choosing a key modulus greater than 512 may take
a few minutes.
How many bits in the modulus [512]: 1024
% Generating 1024 bit RSA keys, keys will be non-exportable...[OK]
SYSNETTECH(config)#ip ssh version 2
*Mar 1 0:6:12.698: %SSH-5-ENABLED: SSH 1.99 has been enabled
SYSNETTECH(config)#ip ssh time-out 10
SYSNETTECH(config)#ip ssh authentication-retries 3
SYSNETTECH(config)#line vty 0 4
SYSNETTECH(config-line)#login local
SYSNETTECH(config-line)#privilege level 15
SYSNETTECH(config-line)#transport input ssh
SYSNETTECH(config-line)#exit
SYSNETTECH(config)#username cisco privilege 15 password cisco123
SYSNETTECH(config)#end
SYSNETTECH#wr
Building configuration...
[OK]
SYSNETTECH#

3. Assign IP Addresses to PCs
Step 1
Configure the IP settings of PC1 as follows.

Step 2
To quickly configure the R1’s interface, double-click on it, click the Config tab in the window that opens, and then configure the Port Status option of the GigabitEthernet0/0 interface to On, then assign the IP address.

4. Establish an SSH Connection to the Router
Step 1
To test whether SSH is running, open the PC1 prompt and establish a connection using the command below.
ssh -l cisco 192.168.1.1
-l : Login anlamına gelmektedir.
cisco : Router'a bağlantı yapmak için kullanılacak kullanıcı adı.
192.168.1.1 : Router'ın IP adresi.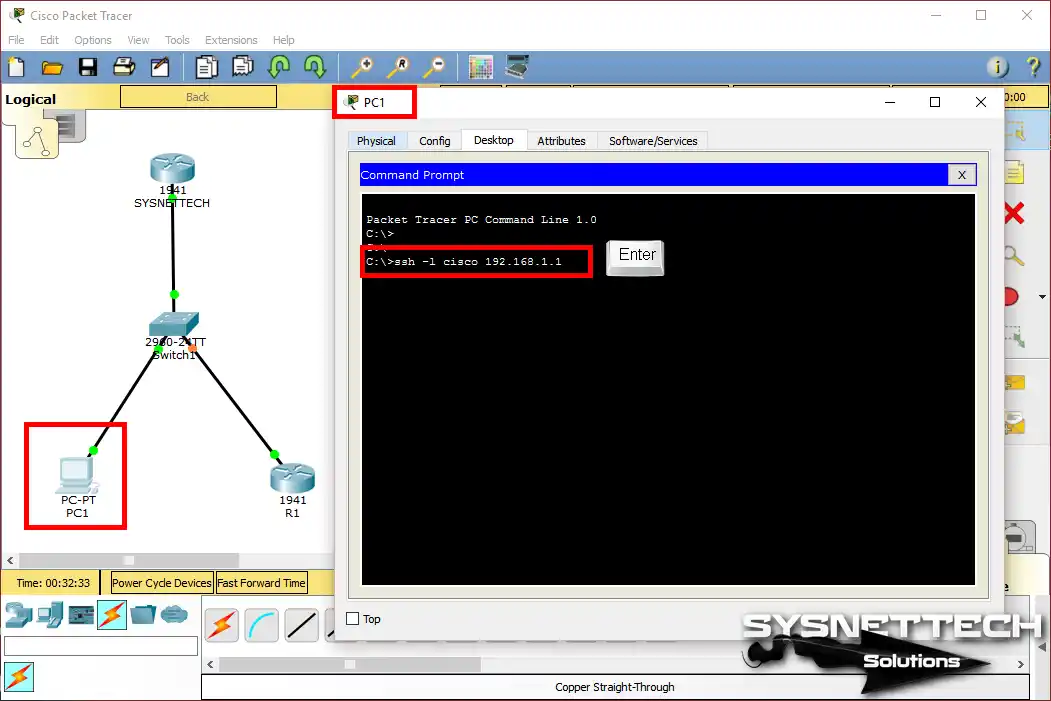
Step 2
Enter the username and password you created, and as soon as you press Enter, the connection will be established, as shown in the image below.

Step 3
In the PC1 Command Prompt, execute the show ssh command. Then you can check the version of the SSH protocol being used for the connection.

5. Connect from Router to Router via SSH
Step 1
In this step, execute the following command to make SSH from Router to Router.
ssh -l cisco 192.168.1.1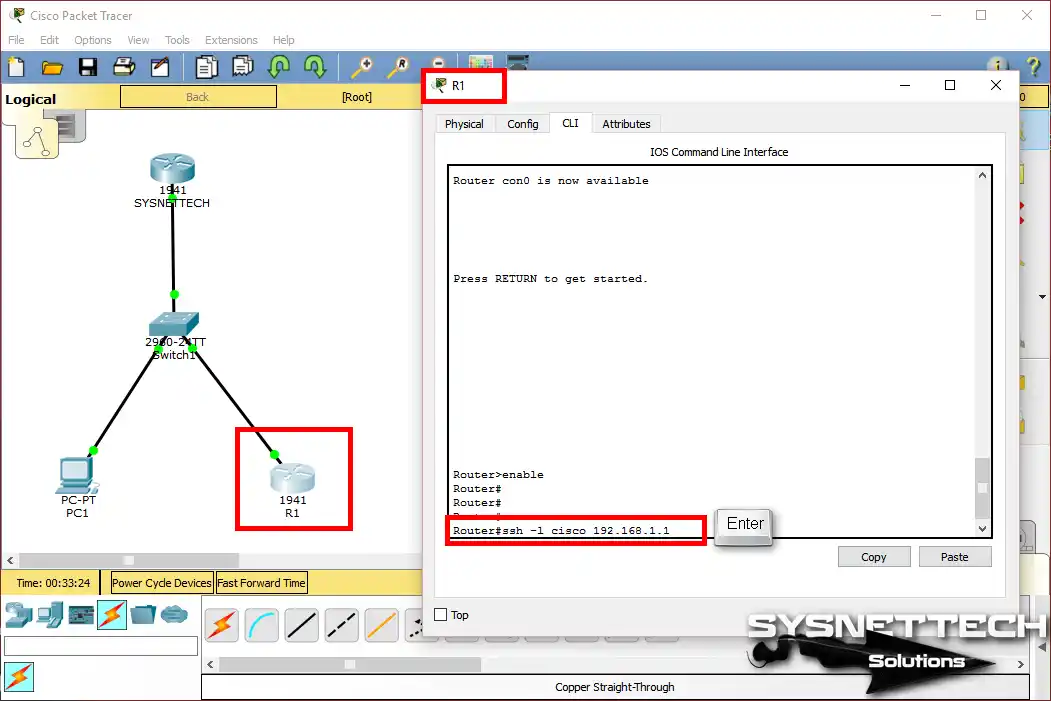
Step 2
In the same way, enter the user account information you created on the Cisco Router and press Enter.

Step 3
As you can see in the image below, a successful SSH connection is made.

Show Commands for SSH Connection
- Running Config
- SSH Connections
- IP SSH Info
SYSNETTECH#show running-config
Building configuration...

Current configuration : 799 bytes
!
version 15.1
no service timestamps log datetime msec
no service timestamps debug datetime msec
no service password-encryption
!
hostname SYSNETTECH
!
no ip cef
no ipv6 cef
!
username cisco privilege 15 password 0 cisco123
!
license udi pid CISCO1941/K9 sn FTX152488GK
!
ip ssh version 2
ip ssh time-out 10
ip domain-name sysnettechsolutions.com
!
spanning-tree mode pvst
!
interface GigabitEthernet0/0
ip address 192.168.1.1 255.255.255.0
duplex auto
speed auto
!
interface GigabitEthernet0/1
no ip address
duplex auto
speed auto
shutdown
!
interface Vlan1
no ip address
shutdown
!
ip classless
!
ip flow-export version 9
!
line con 0
!
line aux 0
!
line vty 0 4
login local
transport input ssh
privilege level 15
!
end
SYSNETTECH#
SYSNETTECH#show ssh
Connection Version Mode Encryption Hmac State Username
133 1.99 IN aes128-cbc hmac-sha1 Session Started cisco
133 1.99 OUT aes128-cbc hmac-sha1 Session Started cisco
133 1.99 IN aes128-cbc hmac-sha1 Session Started cisco
133 1.99 OUT aes128-cbc hmac-sha1 Session Started cisco
%No SSHv1 server connections running.
SYSNETTECH#
SYSNETTECH#show ip ssh
SSH Enabled - version 2.0
Authentication timeout: 10 secs; Authentication retries: 3
SYSNETTECH#
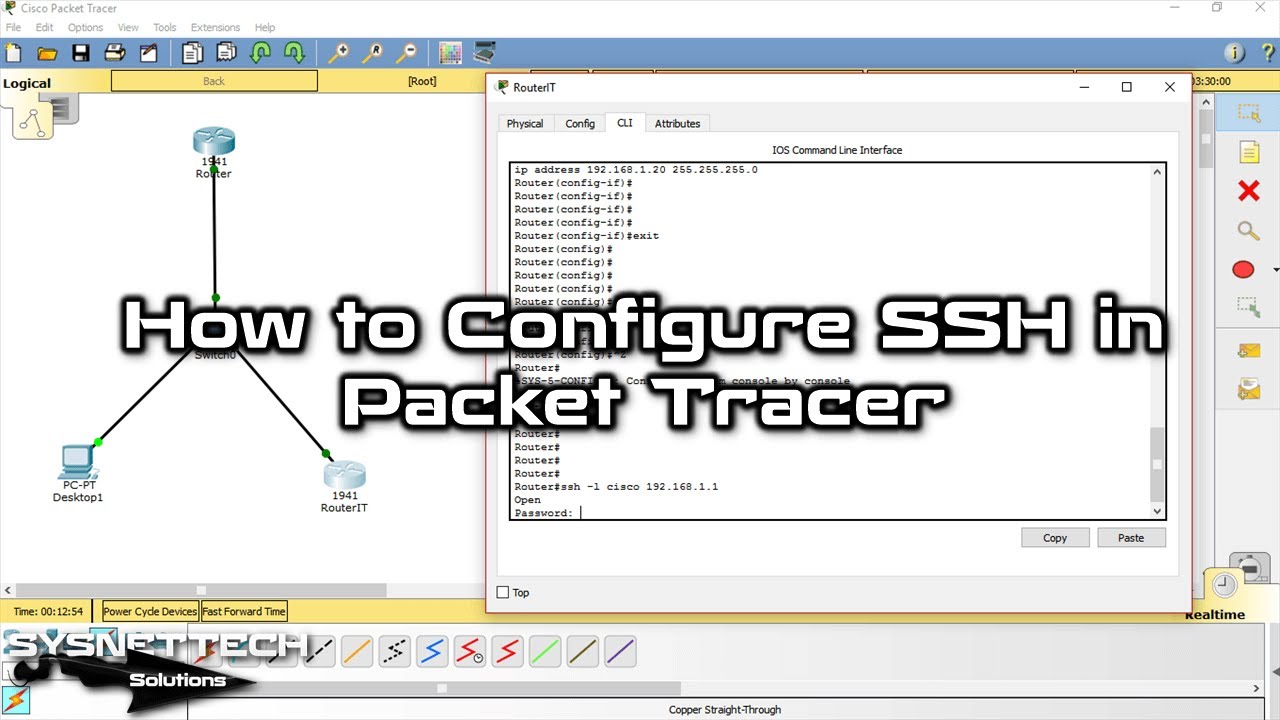
Video
With the simulator, you can watch the video below to enable SSH on the Router and connect from the PC. Also, subscribe to our YouTube channel to support us!
FAQ about SSH on Cisco Router
Why should I bother with SSH when Telnet exists?
The ‘crypto key generate rsa’ command gets stuck when generating a key in Packet Tracer. What am I missing?
I set up SSH access to the router but cannot connect from the PC. What could be the reason?
What happens if I do not set privilege level to 15? Is this trick needed for beginners?
What is the practical difference between SSH V1 and V2? Will using V1 in Packet Tracer cause problems?
When doing this encrypted jump from router to router, why did I feel like I was connecting to myself again?
Conclusion
In this article, after examining how to enable SSH, we connected to SSH from the PC to the router and router to the router to verify the connection.
In the actual scenario, to configure SSH on Routers, make sure the IOS image has k9 (crypto).
Also, building a network from the beginning can sometimes be hard, especially if you are new to the program’s screen. To be honest, I picked the wrong cables a few times when I first started.
I suggest you first look at our step-by-step guide on making a simple network with Packet Tracer. Tips on adding devices and connecting cables will help you work much faster.

4 People Shared Their Experience
Terrific article
Très riche article
Muy bien, me sirvió!!!
Hello!
Can you please tell me how to connect Macbook terminal to the cisco packet tracer using SSH