
If the IOS image of your Router is corrupted for some reason, or if you want to install a newer version, you can do so easily with Rommon Mode. This mode can be expressed as a disaster recovery area.
How to Recover Cisco IOS with Rommon Mode from TFTP Server
You can also use other ways to back up or bring back your IOS image with the Packet Tracer simulator.
However, if the IOS software is corrupted or missing, you can turn on your device in Rommon monitor and recover the IOS software after setting up the TFTP server information.
What is Rommon Mode?
Rommon Mode or Rommon monitor is a Bootstrap program. Bootstrap starts the Router hardware and then boots the IOS software. This mode is enabled each time the router is restarted or turned off and on again.
If your router is turned on in Rommon, it means that there is a problem with the IOS software. So, we need to restore your robust or new IOS software using the CLI prompt.
On a router that usually works, users cannot see the Rommon monitor. When the IOS image is distorted, the device automatically turns on this mode and can then be manually restarted by the user.
The utility that performs all these operations is called Rommon. It can be compared to the POST system of a computer running at boot.
Rommon is also known as ROM Monitor Mode, Boot Software, Boot Image, and Boot Helper.
How to Use Rommon Mode on Router
In this article, we will restore deleted iOS software from the TFTP Server using ROM Monitor.
Step 1
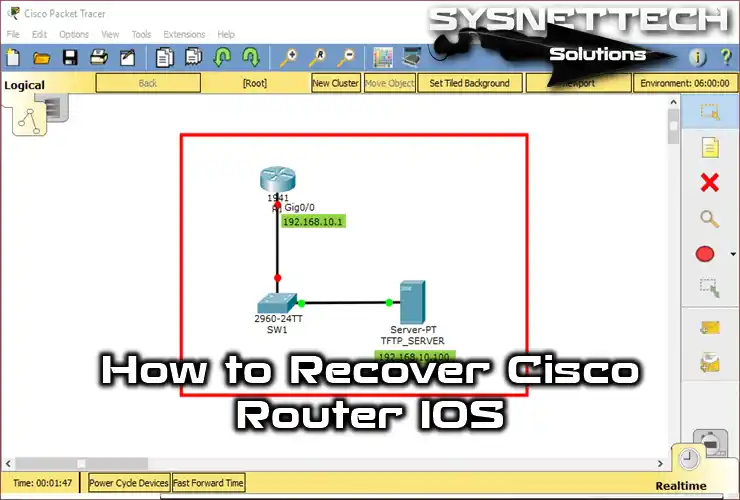
After opening your Packet Tracer software, create a simple network topology as follows. And add one TFTP server to the workspace.
Adding devices and cabling can sometimes be confusing. If you want to learn how to set up a basic network layout in Packet Tracer from scratch, we have a guide ready. You can check this source to cut down on cabling mistakes.

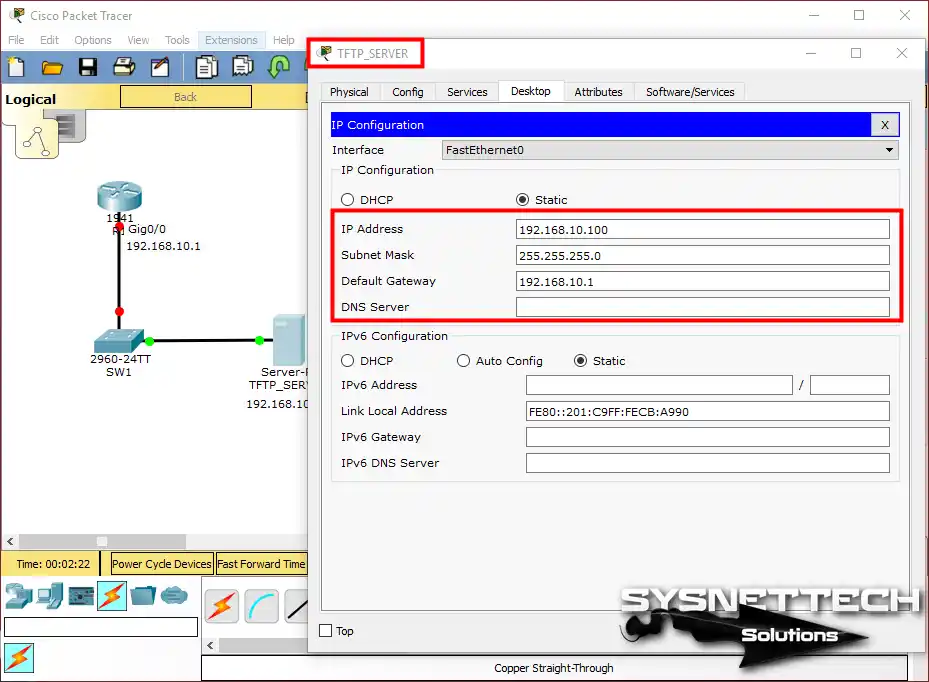
Step 2
Configure the TCP/IP settings of the TFTP Server.
Step 3
In the Packet Tracer, click on TFTP Server, and from the pop-up window, click on the Services tab and then on TFTP. If there are files in the server, delete them to avoid confusion.

Step 4
Open the Cisco Router CLI tab and configure the GigabitEthernet 0/0 interface as follows.
Router> en
Router#conf t
Enter configuration commands, one per line. End with CNTL/Z.
Router(config)#hostname R1
R1(config)#
R1(config)#interface gigabitethernet 0/0
R1(config-if)#ip address 192.168.10.1 255.255.255.0
R1(config-if)#no shutdown
R1(config-if)#
%LINK-5-CHANGED: Interface GigabitEthernet0/0, changed state to up
%LINEPROTO-5-UPDOWN: Line protocol on Interface GigabitEthernet0/0, changed state to up
R1(config-if)#exit
R1(config)#

Step 5
Before uploading the IOS software to the TFTP server, browse the files on the Router with the show flash: command.

Step 6
To upload IOS, follow the instructions below. Be sure to include the full name of the IOS software in the Source Filename section.
R1# copy tftp: flash
Source filename []? c1900-universalk9-mz.SPA.151-4.M4.bin
Address or name of remote host []? 192.168.10.100
Destination filename [c1900-universalk9-mz.SPA.151-4.M4.bin]?

Writing c1900-universalk9-mz.SPA.151-4.M4.bin...

Step 7
IOS software successfully backed up to the TFTP server.
You have backed up your iOS to TFTP with success. But how do you handle this move in different cases? I suggest checking the guide I made earlier on backing up an IOS image to TFTP. It makes things much simpler, especially in case of flash file system faults.

Step 8
When you check the TFTP server in the Packet Tracer workspace, you can see the file you copied.

Step 9
After this step, we will explore how to recover IOS through Rommon.
First, to delete the IOS software from the Router, execute the delete flash: command and type in the full name of the file, then press Enter to confirm.
R1# delete flash:
Delete filename []? c1900-universalk9-mz.SPA.151-4.M4.bin
Delete flash:/c1900-universalk9-mz.SPA.151-4.M4.bin? [confirm]

Step 10
After deleting the IOS, use the config-register 0x2100 command to turn on the device in Rommon. Then restart the router with the Reload command.
R1(config)# config-register 0x2100

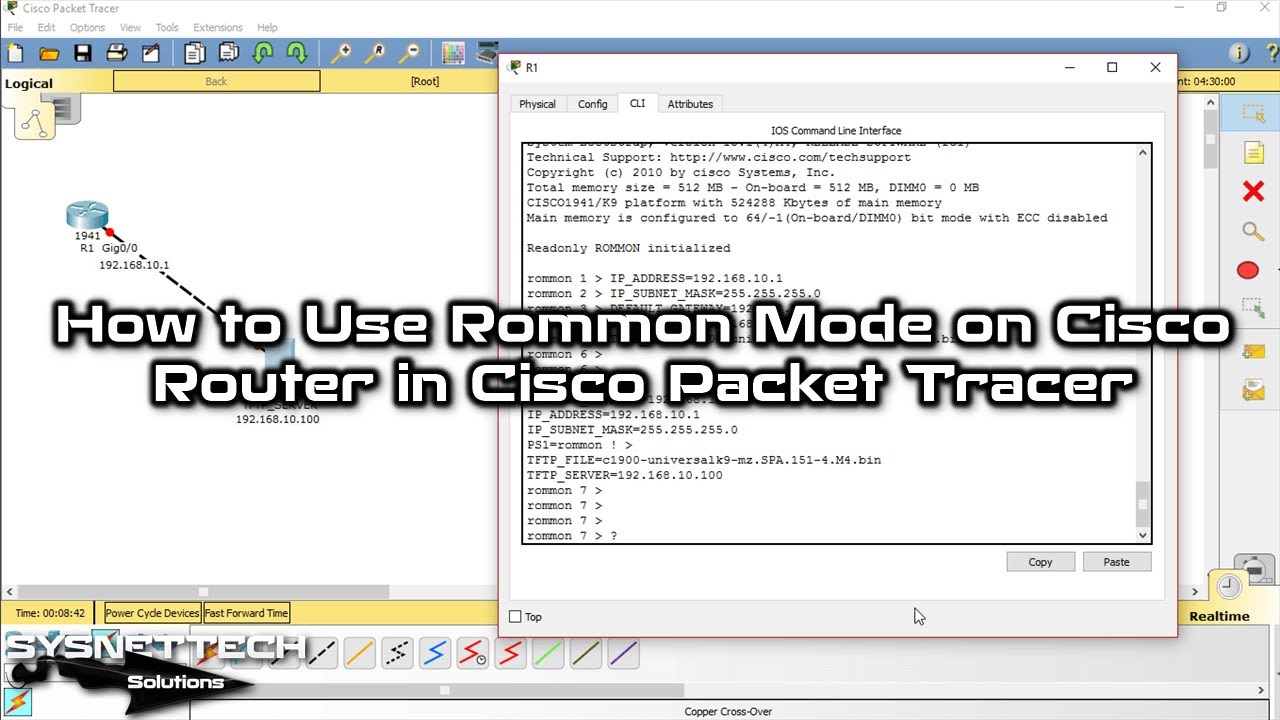
Step 11
As you can see in the image below, the Router is now in ROM Recovery.

Step 12
You must configure the Rommon mode of the router. Set the TCP/IP information first, and then type the IP address of the TFTP server on your network.
Finally, type the full name of the file you want to copy from the TFTP server.
rommon 1 > IP_ADDRESS=192.168.10.1
rommon 2 > IP_SUBNET_MASK=255.255.255.0
rommon 3 > DEFAULT_GATEWAY=192.168.10.1
rommon 4 > TFTP_SERVER=192.168.10.100
rommon 5 > TFTP_FILE=c1900-universalk9-mz.SPA.151-4.M4.bin

Step 13
After you set the Common settings, use the tftpdnld command to upload the backed-up IOS software to the Router.
rommon 6 > tftpdnld

IP_ADDRESS: 192.168.10.1
IP_SUBNET_MASK: 255.255.255.0
DEFAULT_GATEWAY: 192.168.10.1
TFTP_SERVER: 192.168.10.100
TFTP_FILE: c1900-universalk9-mz.SPA.151-4.M4.bin
Invoke this command for disaster recovery only.
WARNING: all existing data in all partitions on flash will be lost!

Do you wish to continue? y/n: [n]:

Step 14
Press Y (Yes) to confirm.

Step 15
After successfully copying the iOS to the device, you must configure the Router to open it from Flash.

Step 16
In standard mode, execute the config-register 0x2102 command and then restart the device with the reset command.
rommon 2 > confreg 0x2102
rommon 3 > reset

Step 17
The Cisco Router restarts.

Step 18
Bootstrap has successfully installed IOS!
Now, you can check the files with the show flash: command on the router.

Video
To restore the IOS software of a Cisco Router on the network from TFTP, you can watch the video below and also subscribe to our YouTube channel to support us!
FAQ About Cisco Router Rommon Mode
My device suddenly dropped to the Rommon Mode screen while booting normally. Is the IOS really dead, or is there a way out?
I keep getting a timeout error when sending files via TFTP. What should I check the connection against?
I loaded the IOS but the device is still stuck in this recovery mode. What do I need to do?
What should I watch out for when doing this on a real Cisco device, as opposed to Packet Tracer?
I messed up the config register settings. What do values other than 0x2102 do?
I cannot load the new IOS because there is no space left in Flash memory. What path can I follow without deleting the old image?
Conclusion
In this article, we have examined how to quickly restore the IOS problems that occur in the Routers from Rommon mode. In real scenarios, you may need TFTP software, such as SolarWinds.

4 People Shared Their Experience
Very thanks, this is the useful article.
Thank you for your comment.
Thank you for this good article but I think we must use this command for transfer the iOS from flash to tftp .
Command is —> Copy flash: tftp:
This so comprehensible. I was so indulged in the information presented on this website. This a lot for the good work.