
In today’s article, we will examine integrating a physical disk into a virtual machine with VMware Workstation. You will also learn step-by-step how to set up a new virtual machine for vSphere ESXi.
However, we will use a physical hard disk to increase performance whether you’re new to VM Workstation installations or optimizing your virtual environment. This guide will help you integrate the HDD into your VMware virtual machine. Let’s start!
How to Install Physical Disk to Virtual Machine
When you create virtual machines using the VMware Workstation virtualization program, you typically create a new disk for the machine.
When configuring a new virtual machine, you can also use a physical hard disk. Using a portable disk on VMware software will give you more performance. If you have an external HDD, you can use this HDD for the VM.
For example, in this article, we will add the 320 GB HDD mounted with the USB 3.0 HDD box to the VM. On VM Workstation, you can use the physical HDD in two ways. These;
- Using entire disk
- Using individual partitions
If you have more than one partition on the hard disk you want to add to the VM, continue with option 2. If you will use the drive completely for the VM, you can continue with option 1.
We recommend that you use the entire drive for machine performance. Using physical HDD on VMware may be necessary in some situations. For example, using a full HDD for ESXi will save you time and performance.
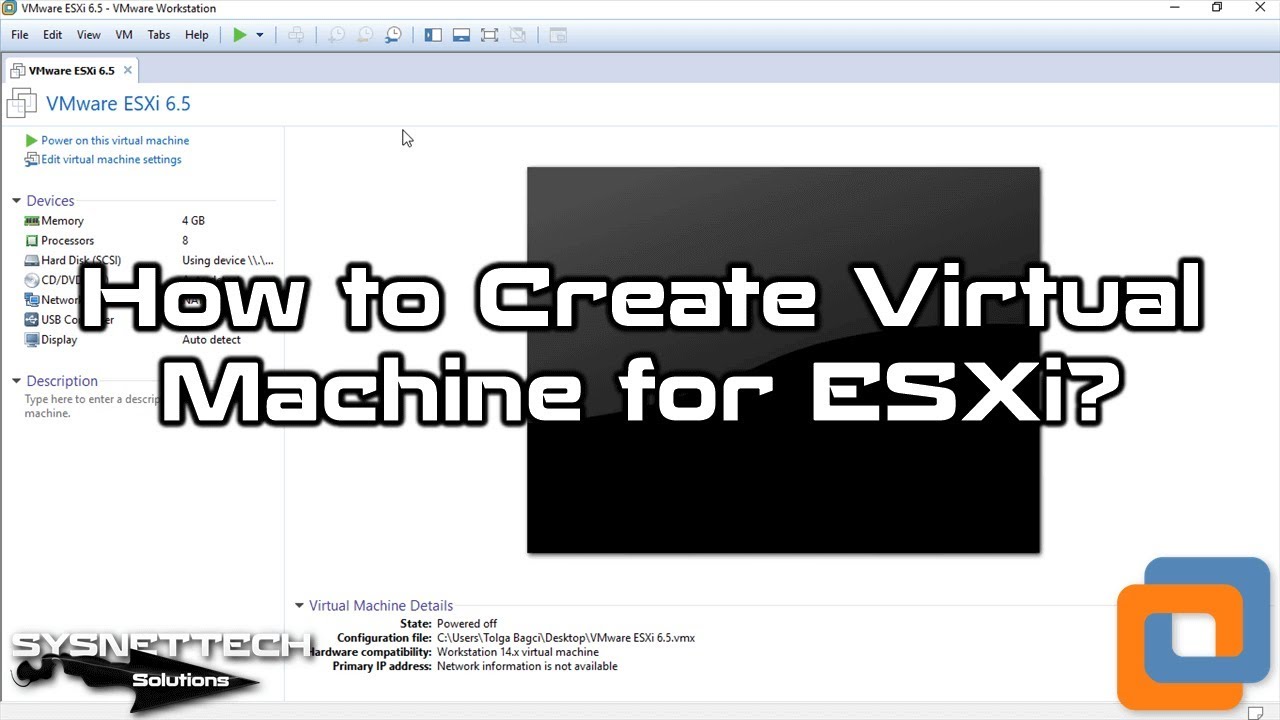
In this article, we will create/prepare a virtual machine for ESXi.
Adding Physical Disk for Virtual Machine in VMware Program
Follow the instructions below to create a new VM for ESXi 6.5 using a physical HDD on VMware Workstation 14 Pro.
If you have not done a VM Workstation setup before, check the VMware Workstation Setup on Windows 10.
Step 1
While we create a new VM with VMware Workstation, you can see the external drive we will add to the VM from the following image.

Step 2
Open VM Workstation 14/15 and click Create a new machine. In the VM Wizard window, select Custom (Advanced) and click on the Next button.

Step 3
In the VM hardware compatibility window, select Workstation 14.x and click Next.

Step 4
Please select the I will install the operating system later option and click the Next button.

Step 5
In the following article, we will prepare this VM for ESXi as we will install VM ESXi. Select VMware ESXi in the operating system window, select VMware ESXi 6.5 and later in the Version section, and then click Next.

Step 6
As an example, you can back up the VM location to your desktop. If you want to back up to a physical HDD, the software will give you the error “The physical disk is already in use.”
Therefore, you will need to back up the VM to a different location. Click Next to continue.

Step 7
The minimum processor requirement for VMware ESXi is at least 2 Core. Keep these values high depending on your processor type. After setting the processor hardware for the VM, click on the Next button.

Step 8
Set the 4096 (4 GB) RAM value and click on the Next button.

Step 9
Select NAT as the Network Type and click on the Next button. If you do not know how NAT connectivity works on a VM, check out the NAT Connection.

Step 10
Select Paravirtualized SCSI and click Next.

Step 11
Select the SCSI option and click on the Next button.

Step 12
We are the most crucial step in adding the HDD to the VM. As you can see in the image below, select Use a physical disk (for advanced users) and click on the Next button.

Step 13
Open Disk Management on Windows 10 and find the number assigned to the physical disk.

Step 14
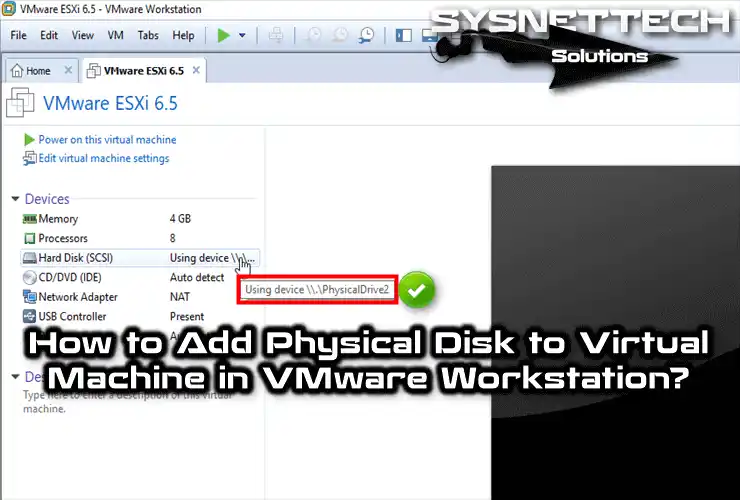
In the Select a Physical Disk window, select PhysicalDrive2 from Device, Use the entire disk from Usage, and click Next.

Step 15
In the Specify Disk File window, click the Next button.

Step 16
Configure the processor configuration of the VM’s hardware options as follows. Ensure that the Virtualize Intel VT-x/EPT or AMD-V/RVI option is selected.

Step 17
Click on the Finish button to close the window.

Step 18
You can see from the screen below that the VM we have prepared for VM ESXi 6.5 uses a physical disk.

Step 19
Also, go to the location of the VM and check its disk configuration by opening the .vmdk file with Notepad.

Video
To add an external hard disk to the virtual machine, you can watch the following video and subscribe to our YouTube channel to support us!
Conclusion
As a result, integrating a physical hard disk with VMware Workstation increases performance. You can also set up a new virtual machine for vSphere ESXi by following the steps in this article.
In fact, this approach optimizes VM performance. Additionally, it provides practical information on integrating physical disks into VMware Workstation. Thank you for following our instructions to improve your Guest system setup.

Be the first to share your comment