Wireshark gives Ubuntu users a deep view into network packets through a clear GUI. You add the official PPA, update your package list, and install the tool in one apt command. During setup, you choose if normal users can capture traffic for safer daily use. Once it is running, you select an interface and watch live data flow for slow links or odd requests. This turns raw network noise into a searchable stream for fast root cause fixes. As a result, you spot security holes and misconfigs straight from your own desktop.
This guide will teach you how to install Wireshark on both older and newer versions of the Linux / Ubuntu operating system. Plus, it will give you a thorough, step-by-step walkthrough of the whole process.
We’ll guide you through the installation using both the command line and a graphical user interface. By the end, your Ubuntu PC will be all set to capture network traffic data for troubleshooting and security. Plus, you’ll be ready to analyze that traffic.
How to Set Up Wireshark on Ubuntu 23.10 & 24.04
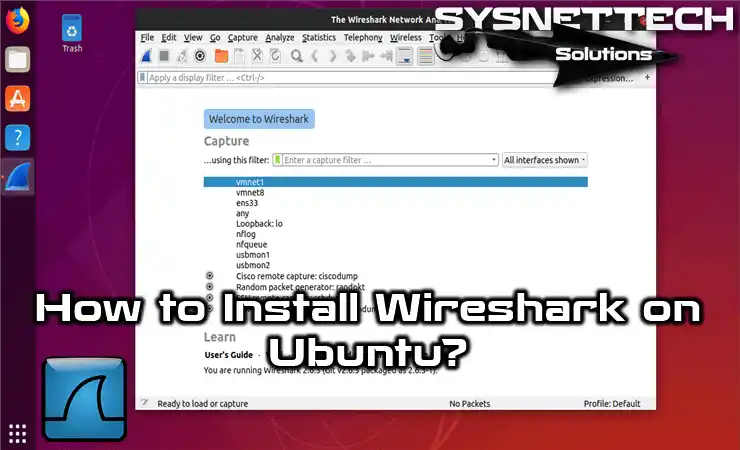
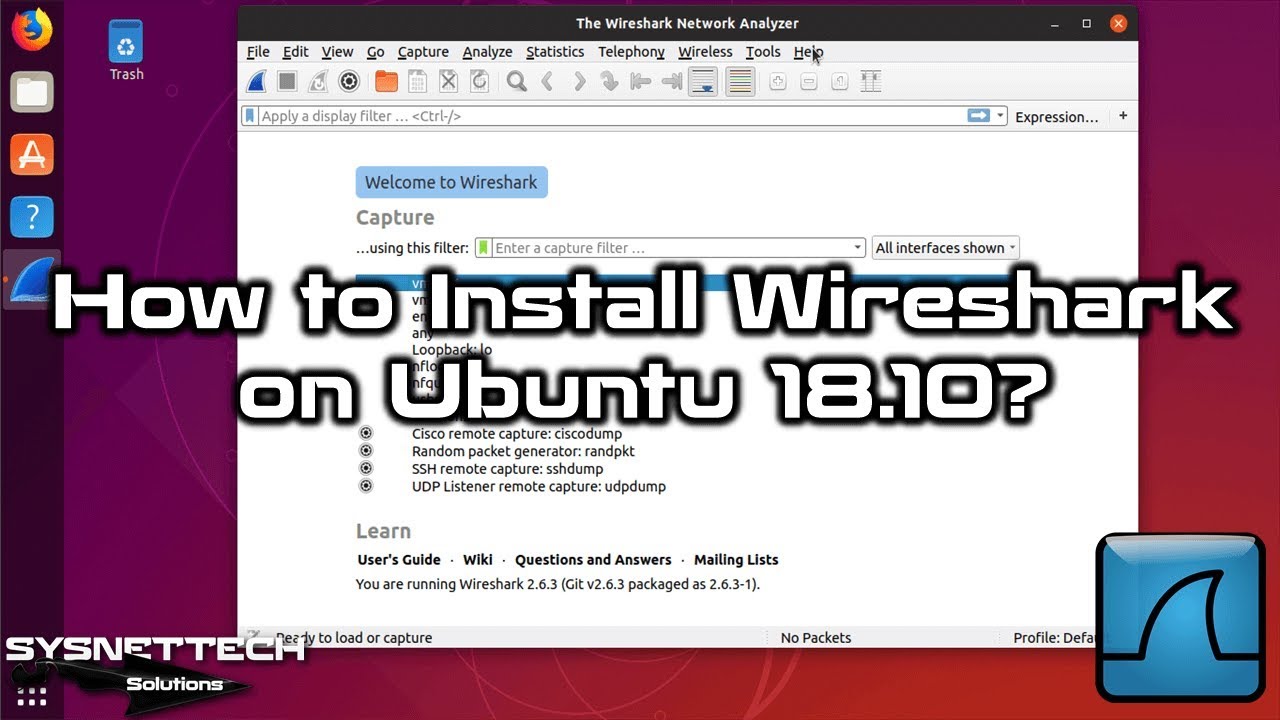
Wireshark is a GUI-based network packet analysis program that can run on Windows, Linux, and macOS systems. Wireshark instantly analyzes and records packets on the network. In addition, it has a terminal program called “tshark” and contains the same features as the GUI.
The first thing you need to do before installation is to configure the Official Wireshark Repository.
Since it is available in the Repository, its installation is straightforward. Follow the steps below to install the network analysis program step by step.
Steps:
Step 1
To add Wireshark to the Repository, open Terminal and perform the following command, then press Enter.
sudo add-apt-repository ppa:wireshark-dev/stable
Step 2
To update the package list, execute sudo apt-get update.
sudo apt-get update
Step 3
Starting Wireshark installation From the terminal, run the “sudo apt-get install wireshark” command.
sudo apt-get install wireshark
This update action only renews the list of available items. You’ll need to follow another way for parts of the system. You should also make sure to learn how to keep your Ubuntu system current with safety fixes and new tools.
Step 4
Press Y to allow the installation of dependent packages for Wireshark, and then press Enter.
Step 5
If you want to allow non-superusers to perform packet analysis on the network, press Yes. We recommend that you do not enable non-superusers to perform packet analysis on a secure computer.
Step 6
After you have successfully installed Wireshark, you can check the version of the program in Help / About.
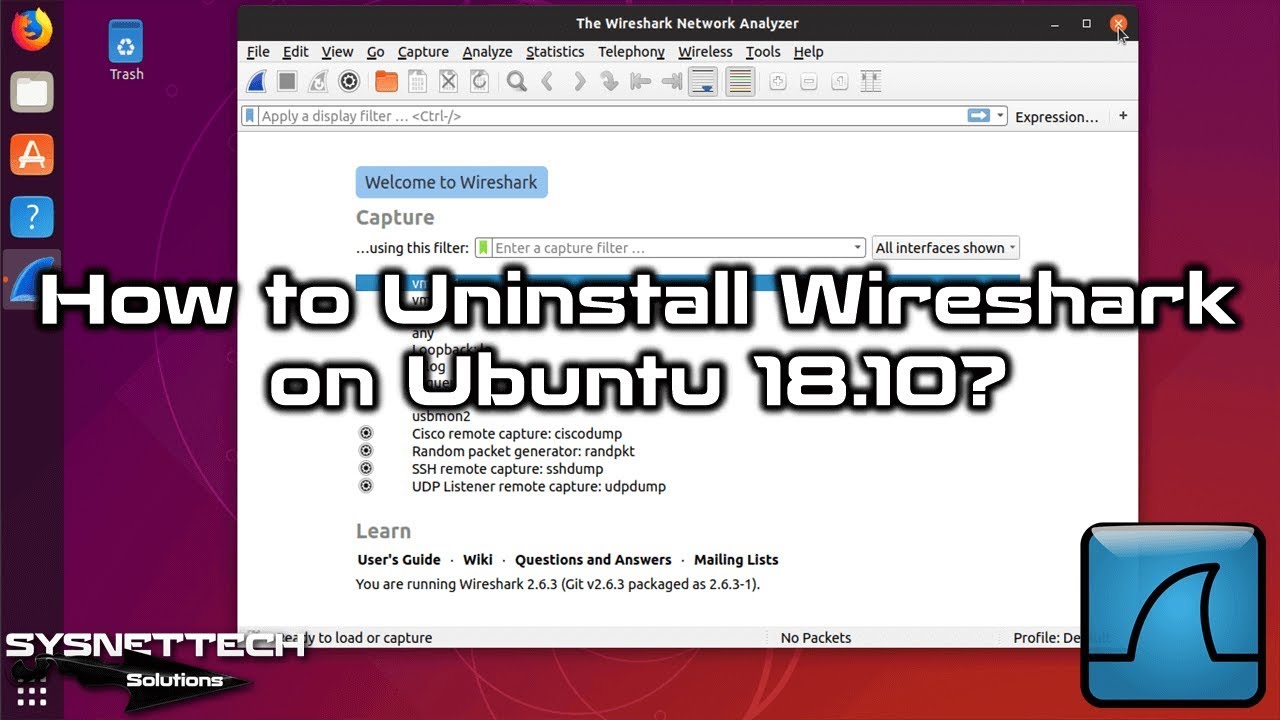
Press Y to confirm Wireshark removal, and then press Enter.
Step 4
Check again the location where Wireshark is installed. If there is a file for Wireshark, delete it with the sudo rm -rf command.
sudo rm -rf /etc/wireshark/
You have put Wireshark on your computer with success. But what if you need to set up a safe link to far-away computers? You will need another tool for protected and basic remote computer talks. The good news is that installing SecureCRT on Ubuntu is just as simple as putting on Wireshark.
Why do I absolutely have to add a PPA when installing Wireshark on Ubuntu?
Of course Wireshark exists in Ubuntu’s own repos. But it usually offers quite an old version. However, new protocol support and security patches are vital in network analysis.
Adding the official Wireshark PPA brings you the latest stable version. You handle this job in seconds with the ‘sudo add-apt-repository ppa:wireshark-dev/stable’ command.
After that, it is enough to refresh your package list with ‘sudo apt update’. This way your system recognizes the freshest tools.
This method is also the key to getting future updates automatically. You can save hours with a single warning that comes from the terminal.
If you do not add the PPA, you are left with a much older interface. I personally always follow this path for stability in live network capture.
How should I answer the ‘Non-superusers’ question that appears during installation?
This screen confuses many people. The system is asking you: ‘Should non-root users be able to capture packets?’
For security, the answer to this question should definitely be No. That means you should not press the ‘Yes’ option.
Because giving this permission allows an ordinary account on your computer to listen to all network traffic. A malicious piece of software could abuse the same rights.
If you need to do analysis with your daily user, it is enough to open the program with the ‘sudo wireshark’ command from the terminal. This puts you under protection with one extra click.
In professional setups, this authorization is usually kept off. I suggest my clients say ‘Yes’ only on isolated lab machines.
Do not forget, raw access to the network card is a serious privilege. Leaving this responsibility only to the root account is the cleanest way.
How do I know that Wireshark is working without problems?
You think the setup is done, but the real test starts now. When you first open the program, you should be able to see the ethernet or wifi cards in your interface list.
If you face an empty list, you may need to log out and log in. Sometimes being added to groups becomes active with a restart.
The clearest proof that it is working is the About section in the Help menu. Here you clearly see the version number along with build info.
Let us also do a practical test. Double-click any interface and start watching the colorful packets flowing right away.
If those famous green, blue, and black lines are scrolling by, congratulations. It means you now have your finger on the pulse of the network.
If you cannot capture anything, first check the ‘Capture Filters’ section. Sometimes a simple filter blocks all the fun.
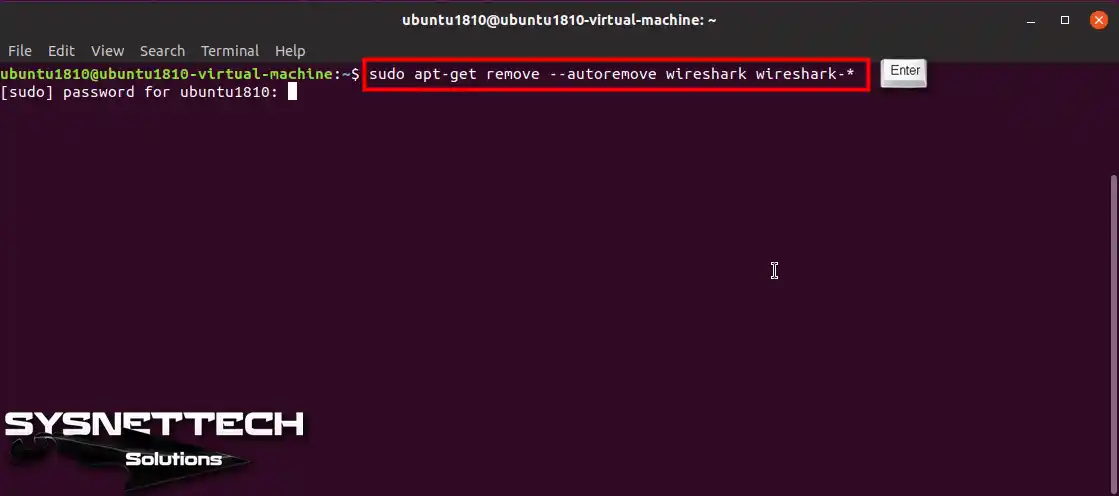
How do I clean Wireshark from Ubuntu without leaving a trace?
Removing a tool can be more critical than installing it. Especially if you want no leftover files on the system.
Open the terminal and start directly with the command ‘sudo apt-get remove –autoremove wireshark wireshark-*’. This move takes out the main program and all packages dependent on it.
What about the config files? They keep sitting under ‘/etc/wireshark/’. So check the locations with ‘whereis wireshark’.
If this folder is still there, you must do manual cleanup by saying ‘sudo rm -rf /etc/wireshark/’. Otherwise, when you reinstall, your old profiles may show up.
This method is standard and safe for programs installed from Ubuntu repos. You do not need to use anything outside the package manager.
In the end, you go on your way with a spotless system. As if you never installed a packet analysis software.
Can I use Wireshark only from the terminal without the graphical interface?
Absolutely yes. What is more, it offers a much cooler experience than you think.
There is a command line beast called TShark that comes with the Wireshark package. Whatever the graphical interface does, this buddy does the same on the black screen.
It is a lifesaver in server setups or when connected remotely via SSH. Typing ‘tshark -i eth0’ is enough for you to start dumping packets on the screen right away.
What is more, its filtering skills are no different from the GUI. For example, you can focus only on web traffic by saying tshark -i wlan0 -Y ‘http’.
Honestly, when I am sweating at the keyboard in the server room, I always turn to TShark. It is light and does not eat up system resources.
You can analyze thousands of packets and export them as CSV without needing the graphical interface. It is a priceless gem for automation scripts.
Is there any difference in installation between Ubuntu versions?
Do not be afraid, the steps are exactly the same. Whether you use Mantic Minotaur or Noble Numbat.
Ubuntu’s package management logic does not change at its core. ‘apt’ commands do not leave you halfway on either version.
You may face only one difference. That is whether the PPA supports the new Ubuntu version yet.
Luckily, the Wireshark development team is quite fast on this point. When a new Ubuntu comes out, the update arrives within a few days.
If the ‘add-apt-repository’ command gives you a ‘version not found’ error, do not panic. You can also download the .deb package from the official website and install it by hand.
In summary, the workflow does not change. Open the terminal, add the repo, update, and install. The rest comes by itself.
Conclusion
In this article, we have installed Wireshark, which allows you to perform network packet analysis on a Linux-based operating system. Thanks for following us!
They'll Thank You for Discovering This Guide!
Ready to do your loved ones a huge favor with just one click? Knowledge grows as it is shared.
Hi, I'm Tolga, a computer expert with 20 years of experience. I help fix computer issues with things like hardware, systems, networks, virtualization, servers, and operating systems. Check out my website for helpful info, and feel free to ask me anything. Keep yourself in the loop about the newest technologies!
1242 Articles
1 Reader Comment
Maria
How could i install an older version of Wireshark on linux? I would like to get Wireshark version 4.0.8


1 Reader Comment
How could i install an older version of Wireshark on linux? I would like to get Wireshark version 4.0.8