
In this article, I will show how to upgrade your Ubuntu 22.x version. Specifically, I will talk about the steps to get the newest copy, 25.04. Plus, I will also give the steps for this way if you only use the terminal box.
If you prefer a graphical interface instead of a terminal, I will also provide all the necessary steps. In short, let’s easily update Ubuntu to the latest version by covering both methods!

How to Update an Old Version of Ubuntu System to 25.05
Ubuntu 25.04 “Plucky Puffin” came out on April 17, 2025. This copy is a short-term one with 9 months of help.
Its main job is to give the newest tools to people fast. It also has better brain parts.
Big things in it are Linux Brain 6.14, which works with newer computer parts. Also, the screen looks better with GNOME 48.
Finally, with safety and speed fixes, Plucky Puffin cares more about new ideas than staying the same. So, it is perfect for makers or tech fans.
If you have an older Ubuntu version (24.10, 22.04, 22.10, or older), you may want to update. In addition, you can do this process using the terminal or the GUI.
Advanced users usually update with commands via the terminal. However, beginners can quickly complete the process using the GUI (Graphical User Interface).
If you are going to update via the GUI, you can use the Software Updater tool in System Settings. In addition, you can check for new versions or patches.
If you are on a system without a desktop environment installed, you will need to update via the terminal. Therefore, you must be familiar with Linux commands.
Finally, be sure to back up your projects and files before updating. In addition, we recommend that you take a full system backup with Timeshift.
How to Install the Latest Version of Ubuntu
To update your Linux computer, you must first update the existing packages. This step is also essential before upgrading the platform version.
You can switch to the new edition after all the packages have been updated. As a result, keeping your packages up to date ensures a smooth upgrade.
1. Update Repository Addresses & Packages
Step 1
On your old Ubuntu computer, press CTRL + ALT + T to open the terminal. Then, type “sudo apt update” to update the repository addresses.
sudo apt update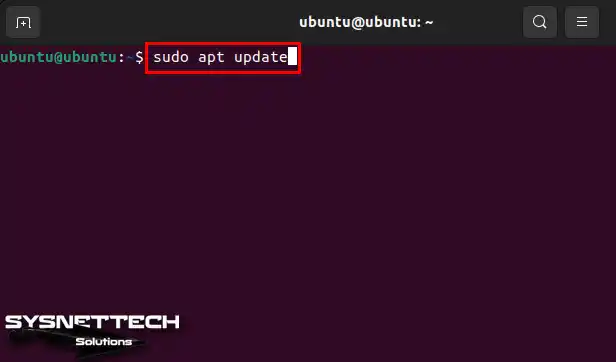
Step 2
You have checked for new versions of packages on your system. Now, execute the command “sudo apt dist-upgrade” in the terminal to upgrade to the latest versions.
sudo apt dist-upgrade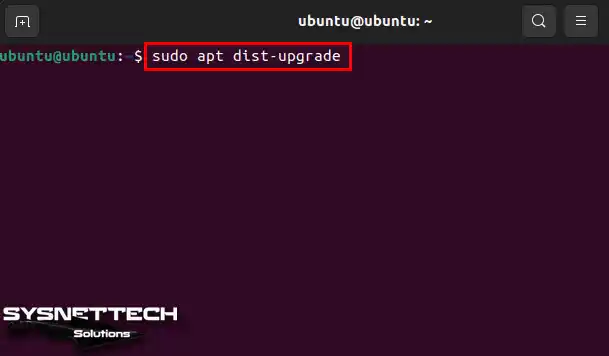
Step 3
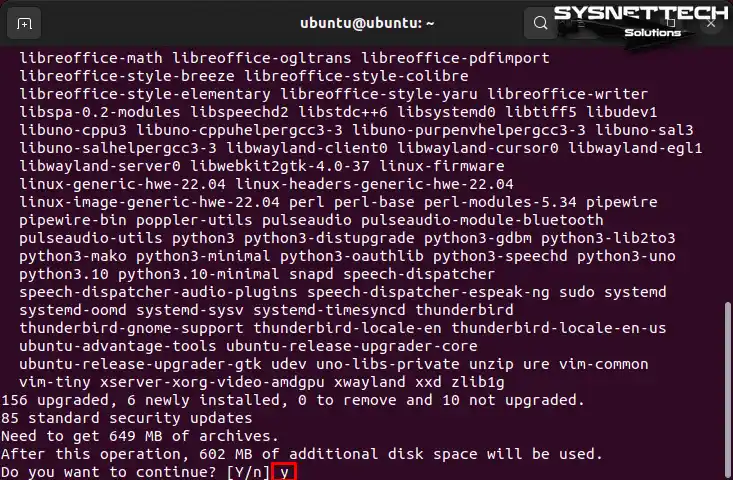
After checking the new packages and the ones to be upgraded, confirm the process. Also, you need to press “Y” and then “Enter” to continue the process. Plus, this step starts the upgrade process.
Step 4
Downloading new things takes time, depending on your internet speed. Also, once the update process is complete, run the “sudo reboot” command in the terminal.
sudo reboot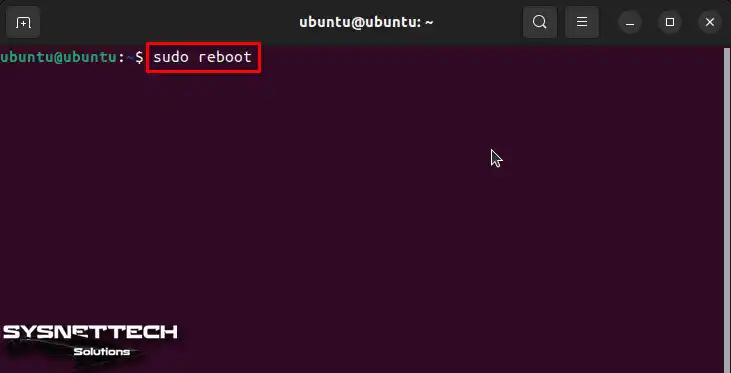
2. Check for the New Version of Ubuntu & Upgrade
Step 1
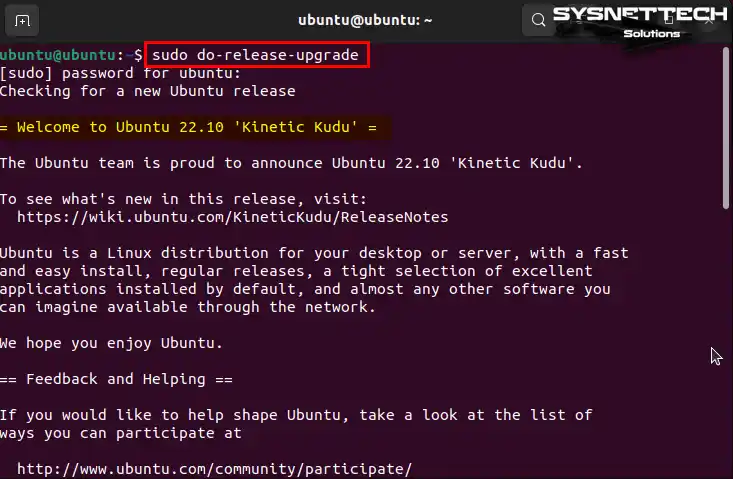
After restarting your Ubuntu system, open the terminal. Then, type “sudo do-release-upgrade” to check for a new system version.
sudo do-release-upgradeNOTE: To upgrade from LTS to NON-LTS, open the console. Type “sudo nano /etc/update-manager/release-upgrades” and press Enter. Change “prompt=lts” to “prompt=normal” in the file, then save and close it.
Step 2
After checking out the new edition of OS, take note of the resources from which you can get help. Additionally, press Y on the relevant screen and then press Enter.

Step 3
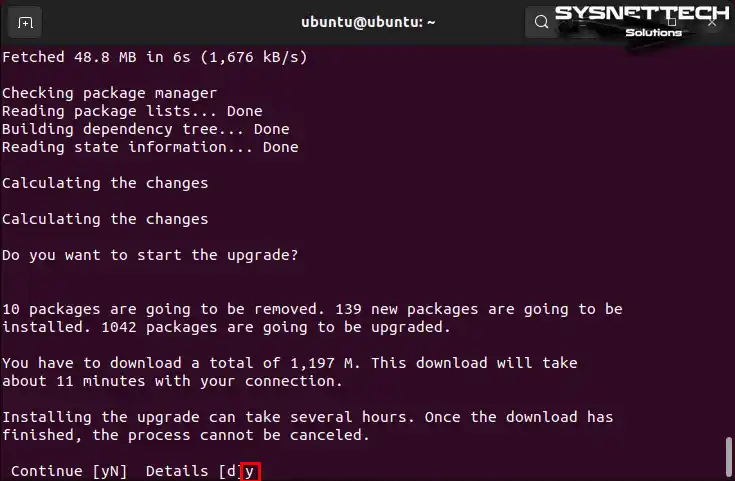
After the Ubuntu 25.04 repo list is prepared, start the update process. To do this, press Y, and the installation process will begin at this stage.
Moreover, depending on your Internet connection speed, the update may take about 40 minutes. As a result, do not turn off your PC and wait for the process to complete.
Step 4
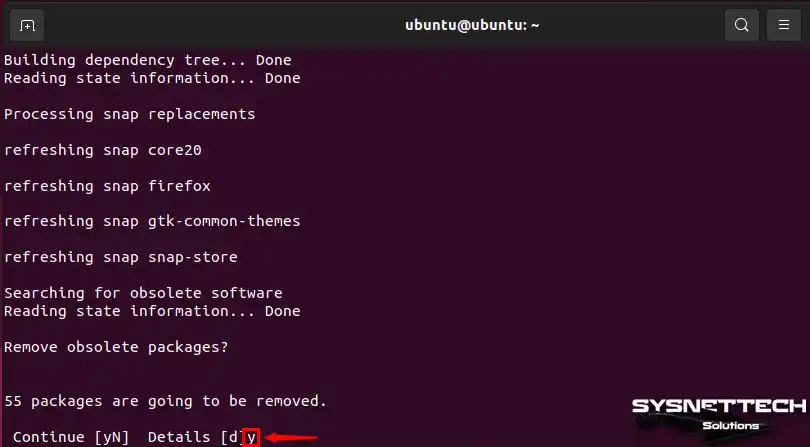
When the Ubuntu update process is complete, you need to clean up residual packages. To do this, confirm the warning on the relevant screen by pressing Y. In this way, you can improve the performance of your system by cleaning up unnecessary files.
Step 5
You have removed extra packages from your Ubuntu OS. Now, restart your PC after installing the new edition.

Step 6
After restarting your system, open the console again. This time, execute the “lsb_release -a” command to see the new version you installed.
lsb_release -a
name -a
name -r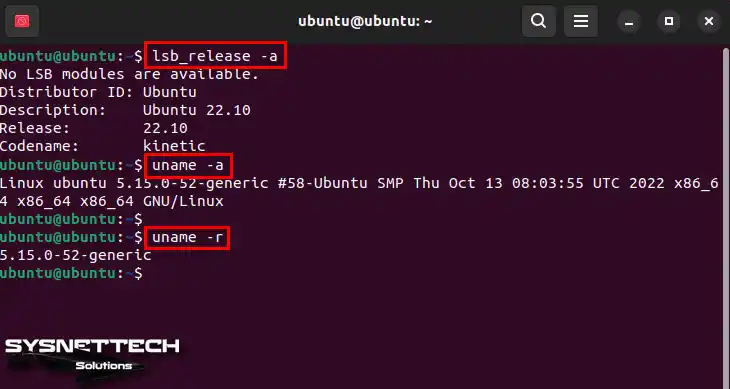
Video
How to Upgrade Ubuntu using the GUI
To upgrade Ubuntu, you don’t need to use only the terminal to install the new release. Instead, you can also use the graphical user interface (GUI).
This method is more suitable, especially for users who are not familiar with Linux commands. In addition, upgrading using the GUI is more straightforward and more user-friendly.
1. Use the Software Updater
Step 1
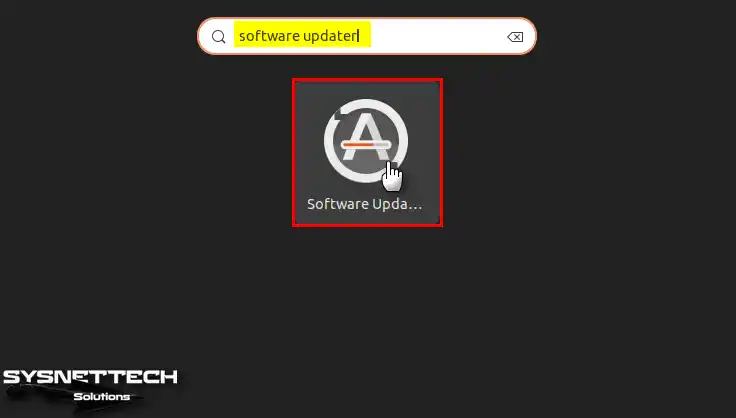
When you open the Ubuntu start menu, find the Software Updater application in the search box and open it.
Step 2
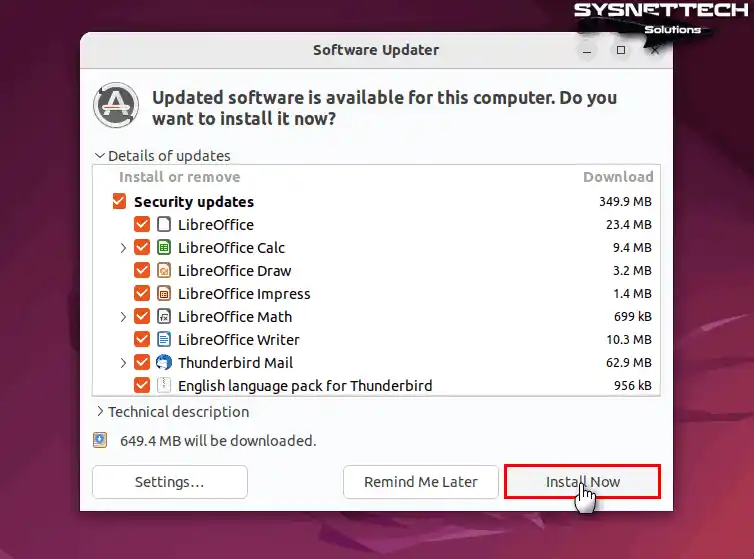
Click the Install Now button to update existing applications and system software on your system.
Step 3
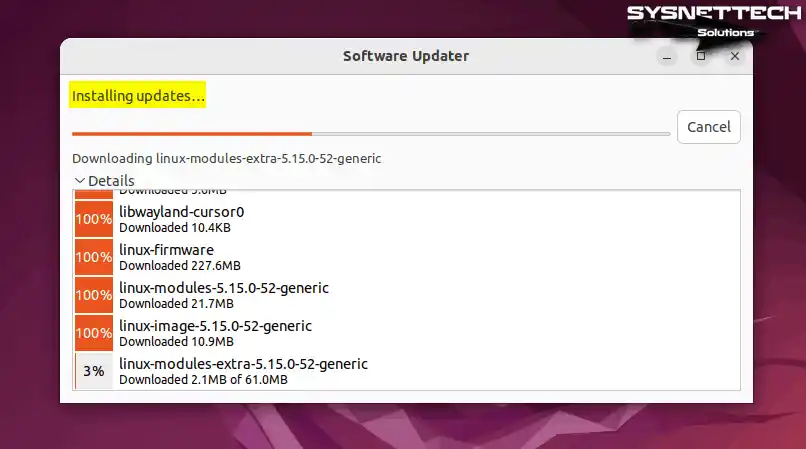
Linux kernels or modules will be downloaded from the Internet and installed. Since this process will take time according to your Internet speed, do not do any other operations on your PC and wait.
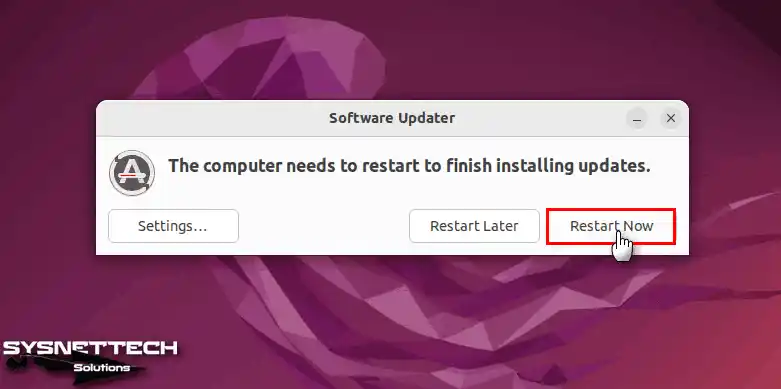
Step 4
Restart your computer after Software Updater downloads and installs the updates for your system.
2. Upgrade Using the Graphical User Interface
Step 1
After restarting your computer, you need to check for new releases of Ubuntu. At this stage, you will need to use the terminal.
First, open the console and then type the command “sudo do-release-upgrade -f DistUpgradeViewGtk3” and press Enter.
sudo do-release-upgrade -f DistUpgradeViewGtk3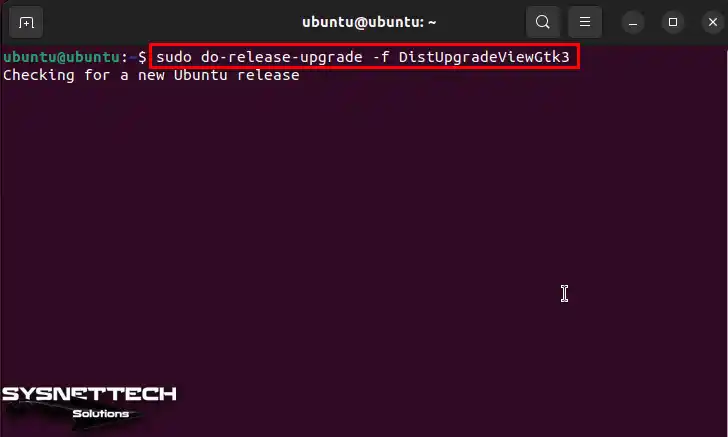
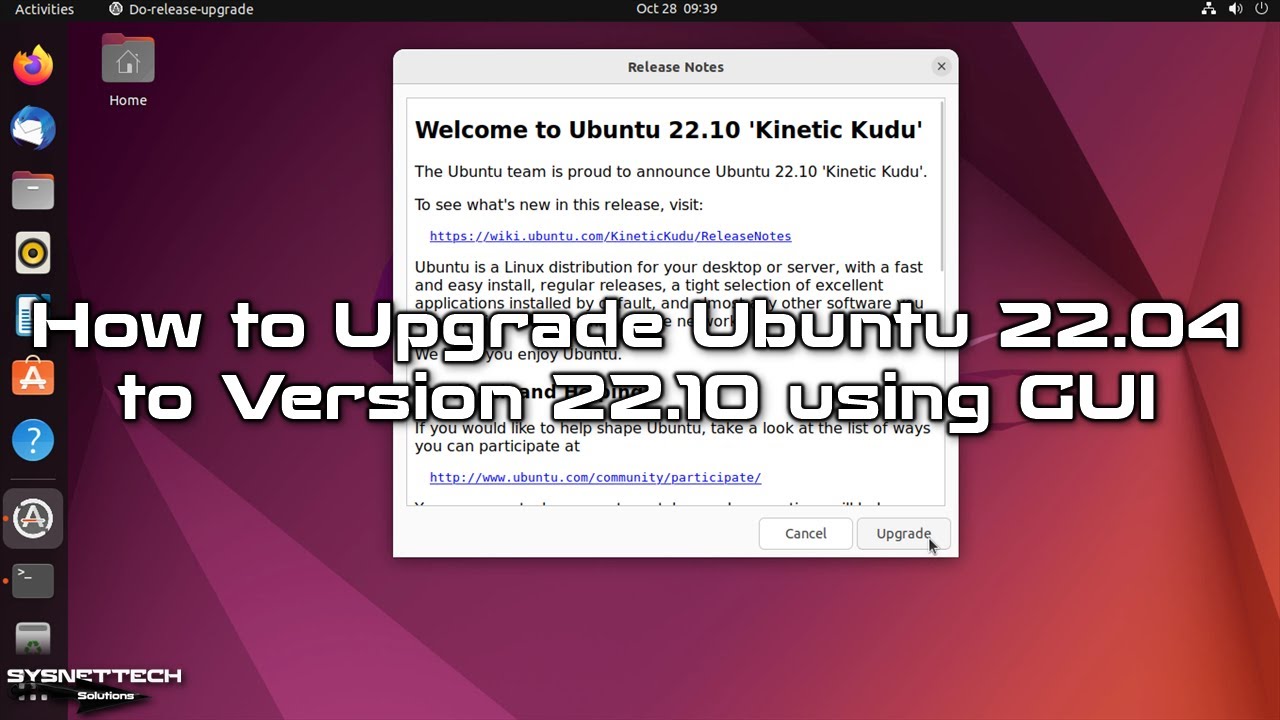
Step 2
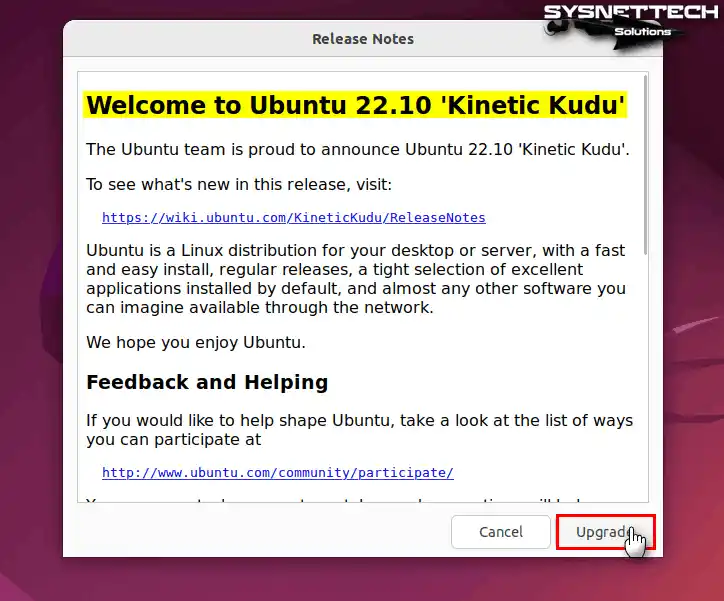
When the Release Notes window opens, you can see that the new release is 25.04.
Now, click the Upgrade button to upgrade your Ubuntu system to this version.
Step 3
You will see the first step in the Distribution Upgrade box. First, it will get your Ubuntu system ready for this job.
Then, the helper will get the needed new parts and put them on easily.
Wait while installing Ubuntu on your computer, and do not do anything that will force your platform.

Step 4
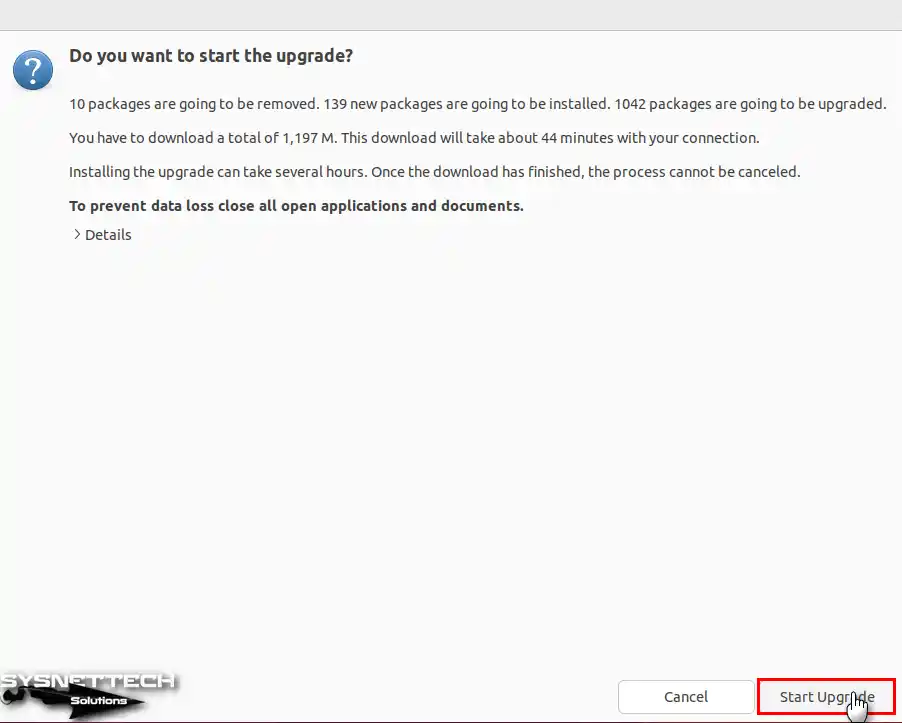
In the installation of the new release of the Linux distribution, 1042 packages will be updated, and 139 new packages will be installed. To start this process, click the Start Upgrade button and continue.
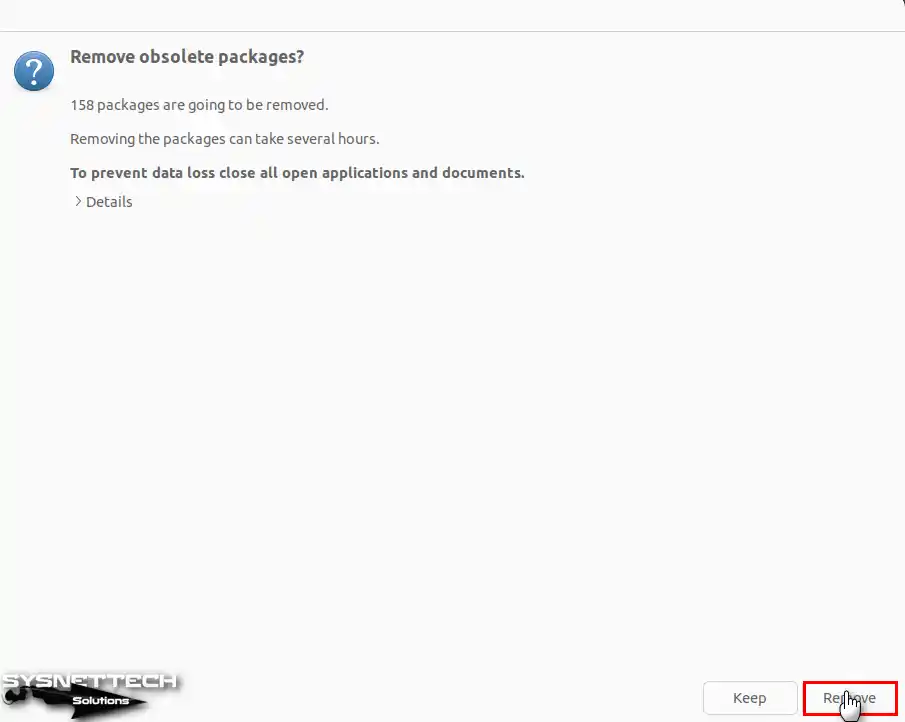
Step 5
After installing Ubuntu’s new packages, click Remove to remove old packages.
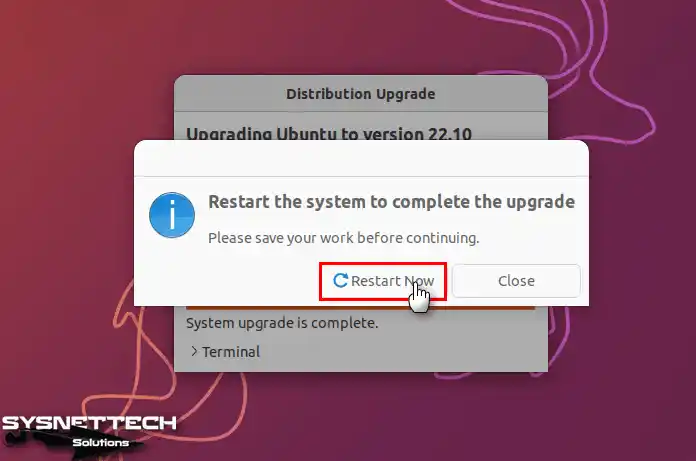
Step 6
After you finish the update job, you must turn off and on your computer. This way, you will make sure all the new changes work.
Step 7
To check the new version you installed, open Settings. Then, click About on the left panel.
Now, you can look at your computer’s hardware details and system number.

Video
Installing Old Versions
| Ubuntu Version | YouTube Video | Slide |
|---|---|---|
| From 21.10 to 22.04 LTS | Watch / Watch | View |
| From 22.04 LTS to 22.10 (NEW) | Watch / Watch | – |
Frequently Asked Questions (FAQ)
- Why should I upgrade to Ubuntu?
- When should I upgrade?
- How can I check which version I am currently using?
- What is the difference between the regular version and the LTS version?
- How do I update using the command line?
Conclusion
In conclusion, you can use a terminal or a GUI to upgrade your Ubuntu system. Also, whether you are a beginner or an experienced user, do not forget to back up your files.
In short, the upgrade process is essential, so I recommend that you follow the steps I have provided carefully. As a result, you can successfully update your OS.
Thus, you will benefit from the features and improvements that come with the new version. Finally, always remember to keep your system up to date for security and performance!

Be the first to share your comment