SecureCRT gives Ubuntu users a robust terminal client for SSH and Telnet sessions. You download the tar bundle from VanDyke's site and extract it straight into /usr/share. Then, you edit the .desktop file to fix the Exec and Icon paths for a working launch shortcut. A quick chmod makes that shortcut executable, so you can click to run the app. This setup wraps a pro-grade remote tool in a simple GUI for your daily admin tasks. As a result, you manage routers and servers from one tabbed window with session saving built in.
Are you searching for a strong and dependable terminal emulator to make your SSH or Telnet sessions better? You’re lucky to have SecureCRT, the well-known software created by Vandyke.
SecureCRT has lots of cool features and an easy-to-use interface. It makes managing and accessing remote servers and devices a breeze.
In this guide, we’ll walk through the easy steps to install SecureCRT on your Ubuntu system. Whether you’re an experienced system administrator or a beginner, you can get this terminal up and running by just following our steps in the article.
How to Setup SecureCRT on Ubuntu 23.10 & 24.04
If you are a system and network administrator, follow the steps below to install SecureCRT, one of the programs you need to install after installing the Linux system.
When you connect to far-away computers with SecureCRT, you may need to look at your network data. This is where Wireshark comes in to check network information. I really suggest using these two together to fix connection issues that happen during secure sessions.
Steps:
Step 1
First, you need to download SecureCRT for Linux. To do this, visit the Vandyke website and download version 8.5.1 or later to your computer.
Step 2
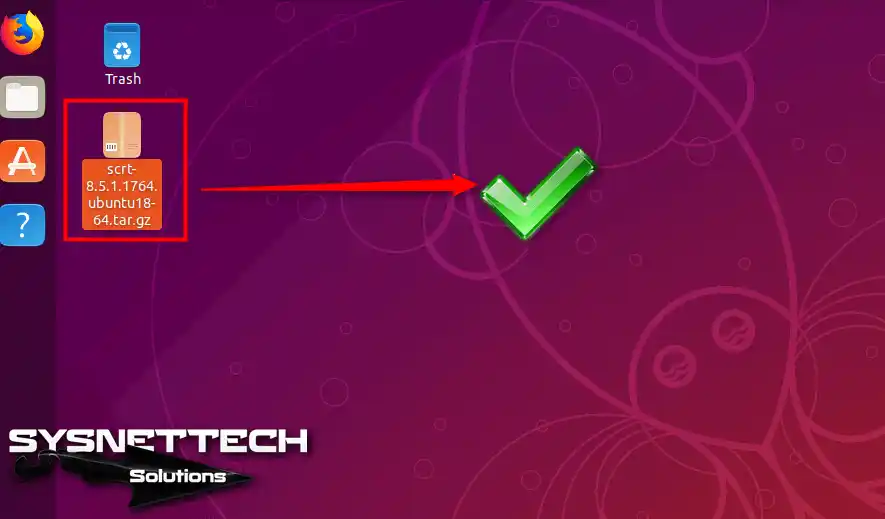
After downloading SecureCRT for Linux, move the tar.gz file to your desktop.
Step 3
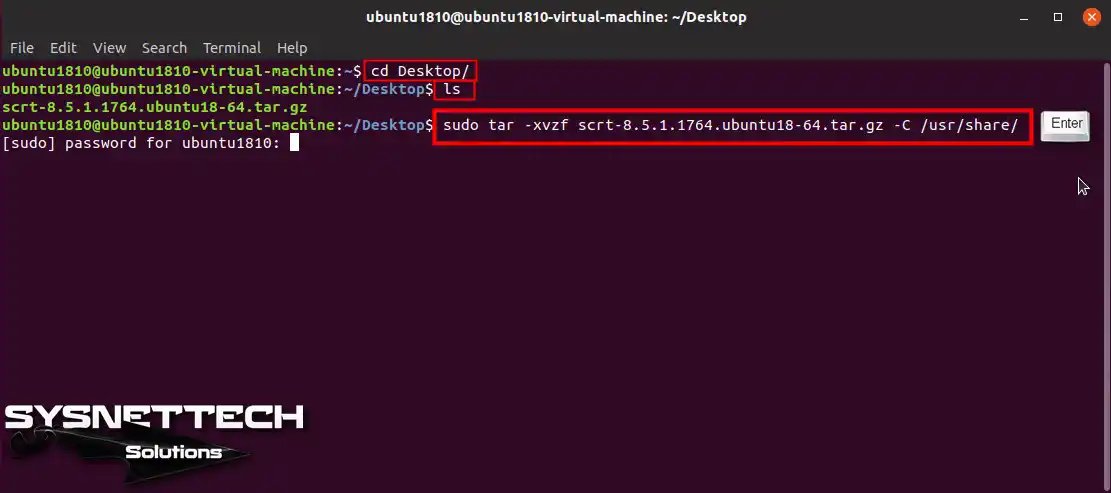
Open the terminal by pressing CTRL + Alt + T. Switch to the desktop location in the terminal and extract the SecureCRT.tar.gz file to /usr/share/.
cd Desktop
ls
sudo tar -xvzf scrt-8.5.1.1764.ubuntu18-64.tar.gz -C /usr/share/
Step 4
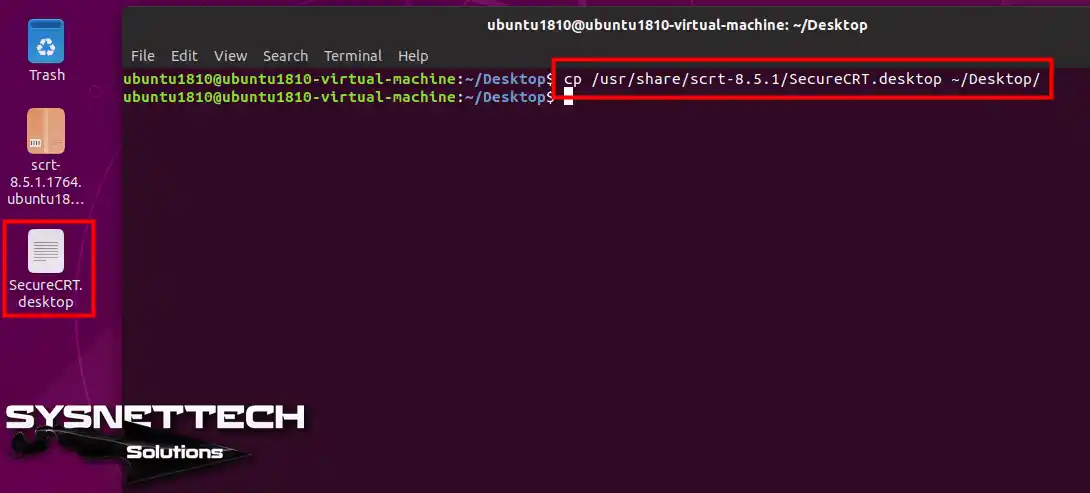
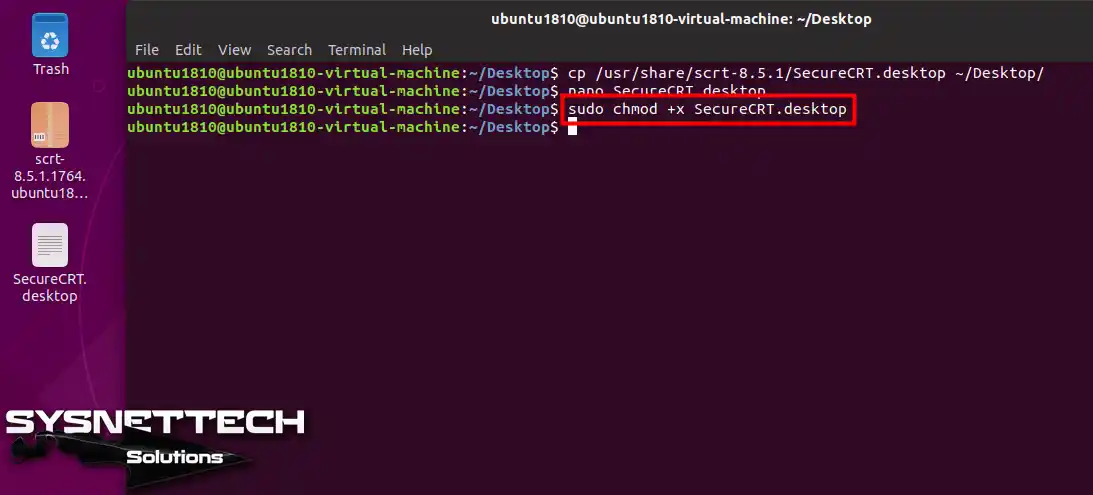
After extracting SecureCRT.tar.gz to /usr/share/, execute cp /usr/share/scrt-8.5.1/SecureCRT.desktop ~/Desktop/ in terminal to create the SecureCRT shortcut to the desktop.
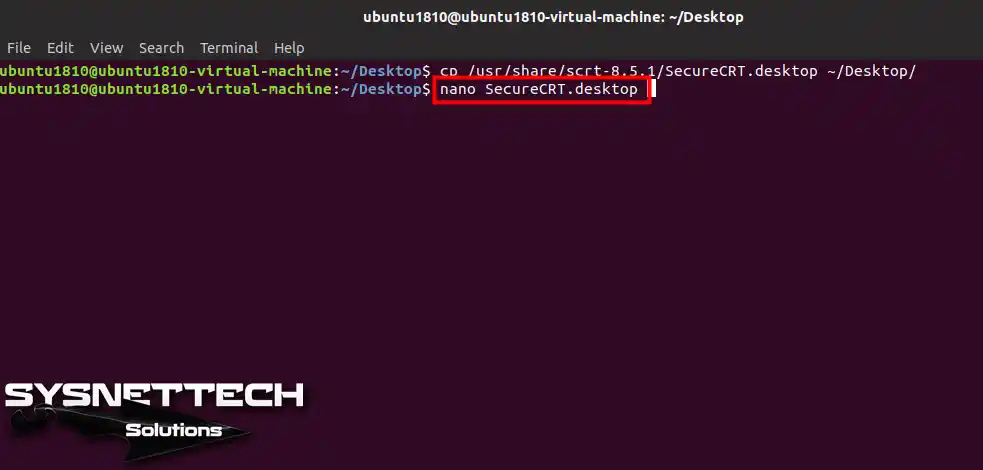
To edit the SecureCRT.desktop shortcut, execute the nano SecureCRT.desktop command at the terminal.
nano SecureCRT.desktop
Step 6
After installing SecureCRT, you must edit the SecureCRT.desktop file to make the desktop shortcut workable. Configure Exec and Icon in SecureCRT.desktop as follows.
To make the SecureCRT desktop shortcut executable, execute sudo chmod +x SecureCRT.desktop in the terminal.
sudo chmod +x SecureCRT.desktop
Step 8
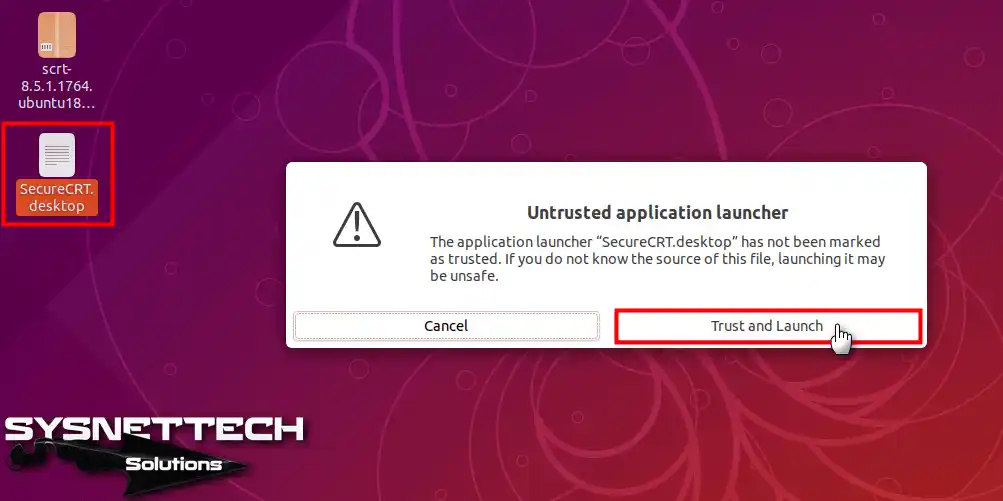
To run SecureCRT, double-click on the desktop shortcut and click Trust and Launch in the Untrusted Application Launcher window.
Step 9
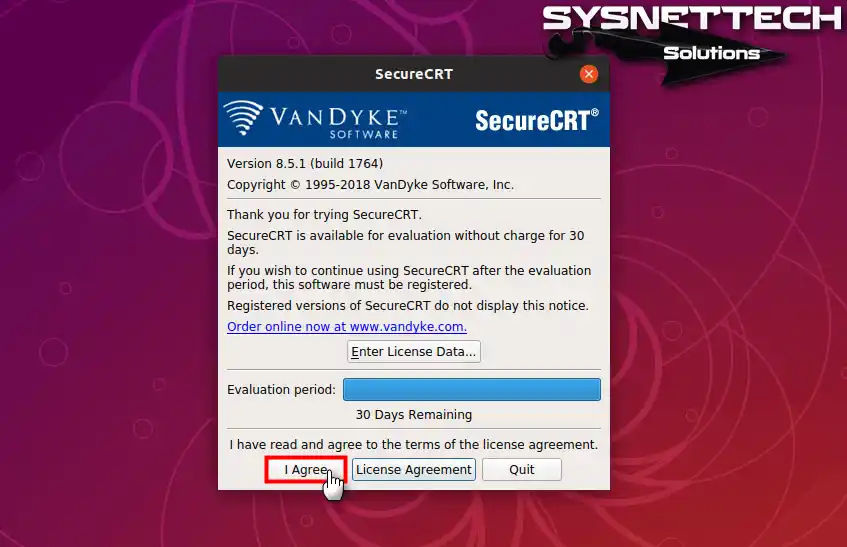
After starting SecureCRT, click the I Agree button to accept the 30-day free trial period.
Step 10
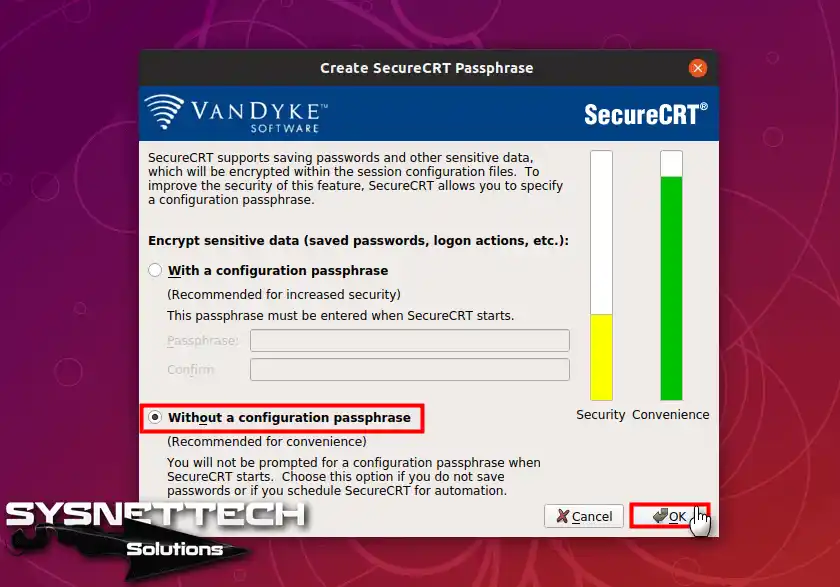
To access the configurations you have made in the Create SecureCRT Passphrase window via a password, you must select With a Configuration Passphrase and then configure an access password.
If your Ubuntu computer is not using any other user, you can select Without a configuration passphrase and click OK.
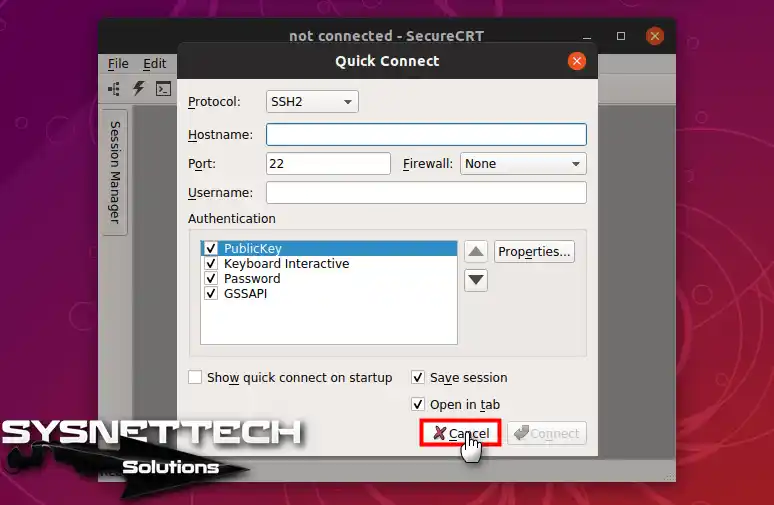
Step 11
Click the Cancel button in the Quick Connect window.
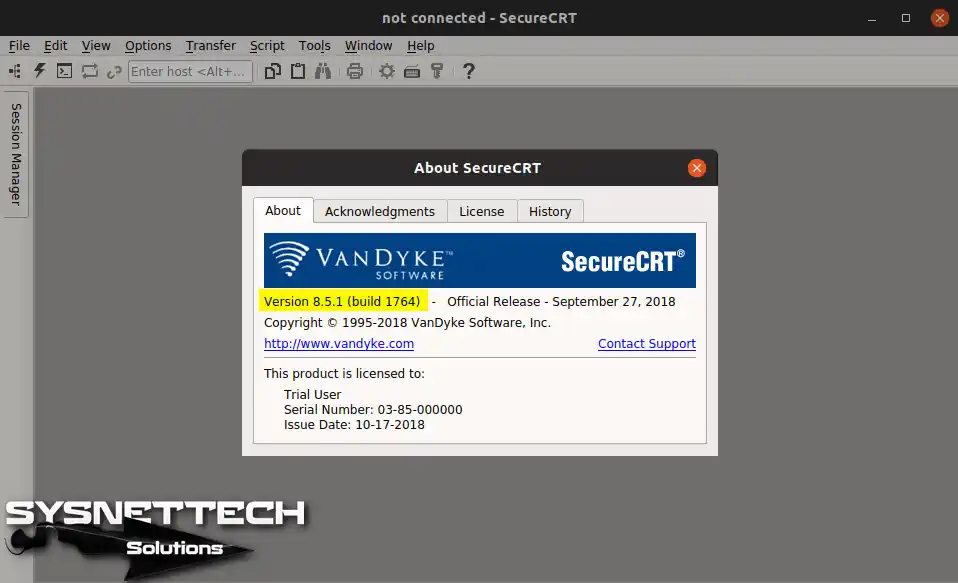
Step 12
After you have completed the installation, you can check the version of the program in Help / About.
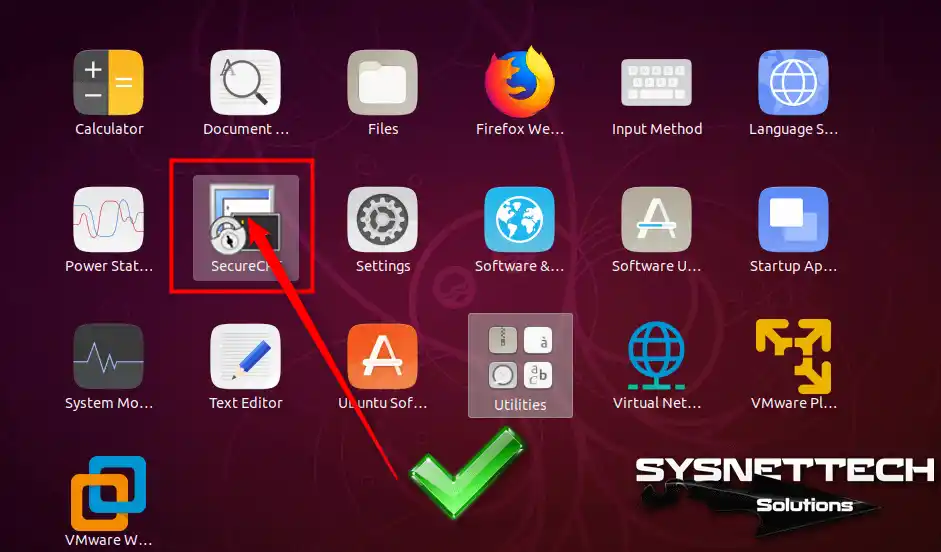
Step 13
To create a SecureCRT start menu shortcut, you can use sudo cp ~/Desktop/SecureCRT.desktop /usr/share/applications/ in the terminal.
The desktop shortcut does not work. What exactly should I change in the SecureCRT.desktop file?
This often happens to beginners. When you open the file with ‘nano’ in the terminal, the ‘Exec’ and ‘Icon’ lines you see are empty or point to the wrong path. These lines are like address signs that lead to the core of the application.
You should update the ‘Exec’ line like this: ‘Exec=/usr/share/scrt-8.5.1/SecureCRT’. This command tells which executable file to trigger when the icon is clicked.
The ‘Icon’ line right below it is also a must for visual identity. Edit it as ‘Icon=/usr/share/scrt-8.5.1/securecrt_64.webp’. After saving and exiting with ‘Ctrl+X’, the job is not done. You must run the ‘sudo chmod +x SecureCRT.desktop’ command in the terminal.
This command gives run permission to the file. Otherwise, Ubuntu blocks the script for security reasons. As a final check, right-click the file and make sure the ‘Allow Launching’ option is checked. This way the blue screen nightmare ends.
Do I have to extract this software under /usr/share/? Can’t I install it in my home directory?
Technically, it is possible to install it in your home directory. However, for professionals who want to go to the heart of the system, this is not preferred. The ‘/usr/share/’ location is accepted as standard for applications with shared architecture.
Honestly, extracting the software here lets not only you but also other user accounts on the computer see SecureCRT. The desktop environment scans this directory when searching for the app in the start menu.
However, if you extract it to a location like ‘~/Downloads’ or ‘~/Documents’, the launcher integration breaks. You have to run it manually from the terminal every time. What is more, since the ‘Icon’ path in your desktop shortcut becomes invalid, you see a blank piece of paper instead of an icon.
For system-wide access, apply the ‘tar -xvzf’ command in the guide exactly. This way you do not run into path problems when working integrated with other network tools like GNS3.
The SecureCRT icon does not appear in the start menu. What should I do?
It is annoying to have a shortcut on the desktop but not see the program in the activities menu. The reason is quite simple. The ‘.desktop’ file has not yet been introduced to the system’s application database.
Step 13 in the guide comes into play exactly at this point. You need to take the working shortcut on the desktop and copy it to the ‘/usr/share/applications/’ folder. The moment you type ‘sudo cp ~/Desktop/SecureCRT.desktop /usr/share/applications/’ in the terminal, the problem is solved at its root.
The icon should appear automatically within a few seconds after copying. If there is a rare delay, press ‘Alt+F2’, type ‘r’, and restart the GNOME shell. The trick is file permissions.
Make sure the file on the desktop is executable. Otherwise, the launcher you copied also stays useless. With these two simple moves, your professional workflow is not interrupted.
What is the Configuration Passphrase? Will I have trouble if I skip it?
This screen greets you on the first launch, and many people panic and click the ‘Without’ option. I think this decision depends fully on your usage scenario. If you do not set a password, your SSH session passwords are stored unencrypted on the disk.
Putting a master password here locks all your connection info with an extra layer. If only you use your Ubuntu machine and you trust the physical access security, choosing ‘Without a configuration passphrase’ saves time.
Because you do not need to enter an extra password every time you log in. On the other hand, if the computer is shared or is a portable device, definitely create a password. To avoid regret later, you can change this setting via ‘Options > Global Options > Configuration Passphrase’.
Do not forget that when you add a password from scratch, old saved passwords get encrypted. Skipping this step creates a serious security gap.
Does SecureCRT lock fully when the 30-day trial ends?
The software has a paid license model and yes, it stops working at the end of the trial period. VanDyke Software products are quite strict on this point. When the time ends, the program does not open and you face a ‘License expired’ warning.
So if you see this tool as critical for your work, you must buy a professional license. Luckily, during the trial, all features of the program are fully open. You can test advanced features like session saving, script support, and color schemes.
If you have no budget, Ubuntu’s built-in terminal or open source alternatives like Tilix may be enough. But none of them have the key mapping and session manager comfort that SecureCRT provides. Before making a purchase decision, definitely try the GNS3 integration.
The version in the download link is old. Does it cause problems on newer versions of Ubuntu?
The 8.5.1 version mentioned in the article seems to be built for Ubuntu 18.04. Despite this, it works perfectly on modern 23.10 or 24.04 versions. The reason is that the Linux kernel is quite generous with backward compatibility.
Still, as long as you are not using a much older distribution, you will not get dependency errors. If the program throws a ‘libssl’ or ‘libcrypto’ error when opening, you may need to install extra packages like ‘sudo apt install libssl1.1’ from the terminal.
In the end, if it asks for a library not in Ubuntu repos, check the latest Linux version on VanDyke’s official site. You are likely to find a newer package on the website in the format ‘scrt-9.x.x.ubuntu22-64.tar.gz’.
The setup steps stay exactly the same. You only change the numbers in folder names and file paths according to the current version.
Conclusion
In this article, we have examined how to build SecureCRT and created desktop/start menu shortcuts.
You can configure the network projects you create with GNS3 on your Linux computer with SecureCRT. Thanks for following us!
They'll Thank You for Discovering This Guide!
Ready to do your loved ones a huge favor with just one click? Knowledge grows as it is shared.
Hi, I'm Tolga, a computer expert with 20 years of experience. I help fix computer issues with things like hardware, systems, networks, virtualization, servers, and operating systems. Check out my website for helpful info, and feel free to ask me anything. Keep yourself in the loop about the newest technologies!


1 Reader Comment
Do not work. SecureCRT never run.