
We know that virtualization is essential for developers and IT. That’s why VMware is a popular tool for virtual machines. With it, you can run many operating systems on one PC.
In this guide, we will install VMware Guest Tools on a Windows 8.1 virtual PC. By installing fundamental drivers, you can increase the performance of your virtual environment.
For example, you can improve graphics and mouse sensibility. You can also enable file sharing between the host and the guest OS.
How to Set Up VMware Tools on Windows 8.1 Virtual Machine
VMware Tools allows you to move files between the host and the virtual machine using copy-paste. Plus, it also allows you to use your virtual computer in full-screen mode.
You also make mouse movements more straightforward. These features simplify your virtual setup, helping you improve your work on Windows 8.1 OS.
If you installed Windows 8.1 on a virtual machine with VMware, the first thing you need to do is install the drivers. After making sure that everything is working correctly, I recommend you follow the steps below.
How to Install Windows 8.1 Virtual PC Tools
If you are using a virtual environment in Windows 8.1, you need to set up the necessary drivers. Also, you are required to set up Guest Tools to improve the performance of your PC.
Now, do the steps below to add the VMware helper tools.
1. Test Full Screen Mode
Step 1
After installing the system on VMware, you will see that the VM is not full-screen. This is because the add-on software is not installed on the VM.

Step 2
You can change the screen resolution of your Windows 8 VM with the View / Fit Guest Now option. However, when you examine the image below, you will see that the Fit Guest Now option is inactive.
After installing the VMware add-on tools, you will be able to see this option active.

2. Open VM Tools
Step 1
Installing the VM driver software on Windows 8 or 8.1 is really easy. Moreover, you can complete the process in a short time by following the necessary steps.
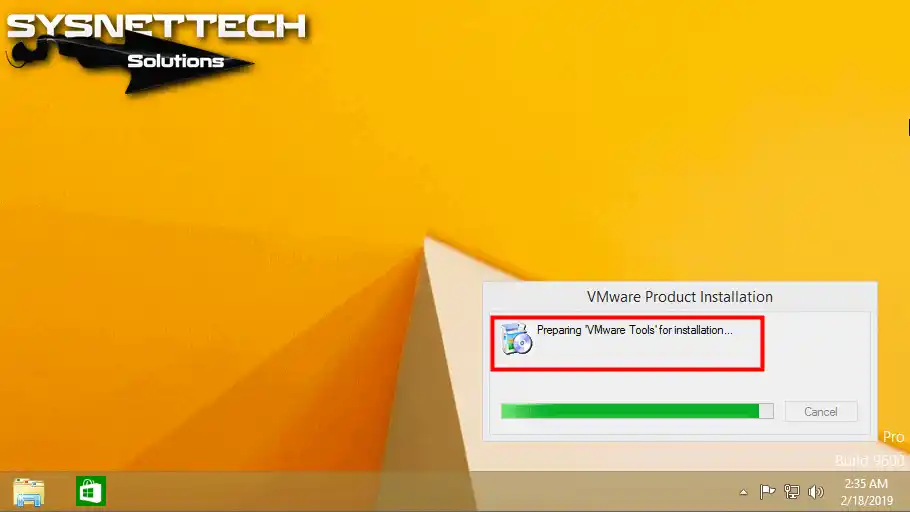
To do this, first click on the VM menu. Then, select the Install VMware Tools option.

Step 2
After mounting the VM toolkit image file to the system, select Run setup64.exe.

Step 3
In the Windows 8 VM, a User Account Control window may appear. Therefore, click Yes in that window to continue the setup.

Step 4
Wait while VMware sets up the virtual hardware drivers.
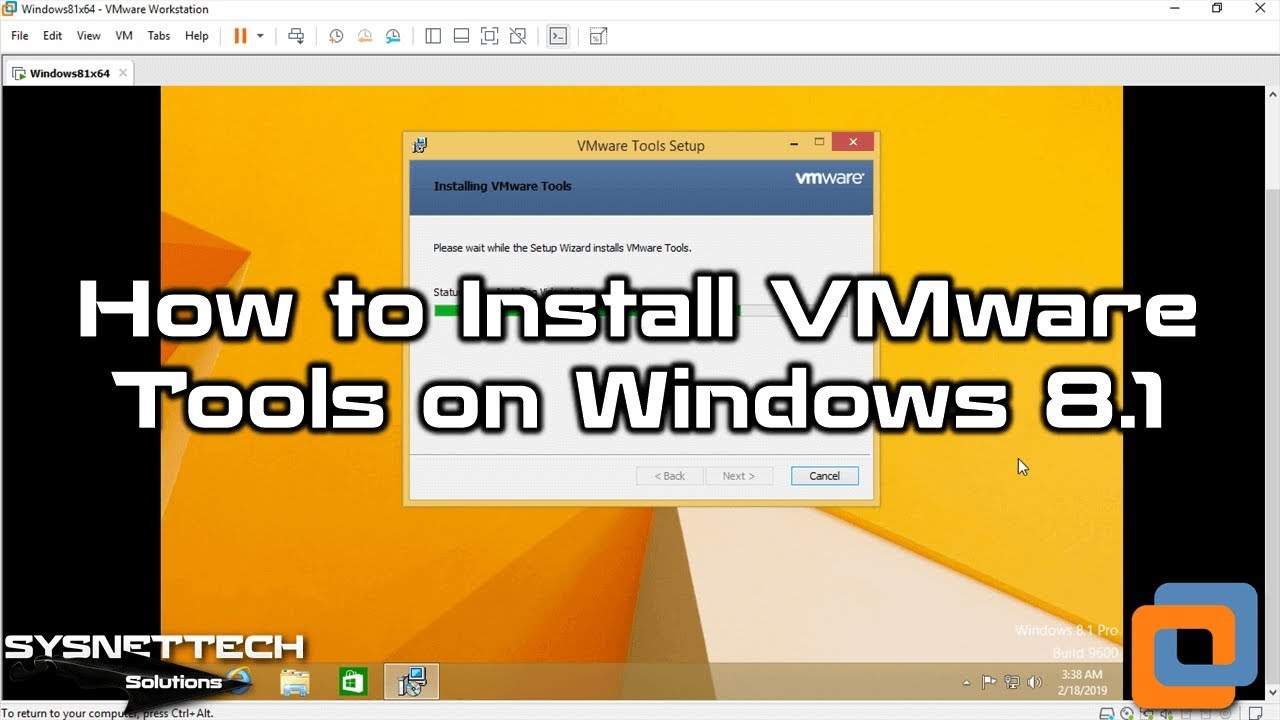
Step 5
Now, click Next on the VM Tools installation screen.

3. Enable Use with Other VMware Products
Step 1
In the Choose Setup Type window, you need to choose a suitable setup type. Plus, I recommend you choose the Complete option to install all these components. Therefore, continue the installation by clicking Next.

Step 2
Click Install to start installing Windows 8 VM tools.

Step 3
Wait while the wizard installs the Windows 8 drives.

Step 4
Once the wizard installs the drivers for the guest OS, click Finish.

Step 5
In Microsoft Win8, restart your guest PC for the changes to take effect.

4. Make Windows 8 VM Full Screen
Step 1
After restarting your guest machine, you should check the screen resolution. Now, to do this quickly, go to the “View” menu.
Then, click on the “Fit Guest Now” option. Finally, make sure that your screen size changes automatically.

Step 2
You can now use Windows 8.1 VM in full resolution!

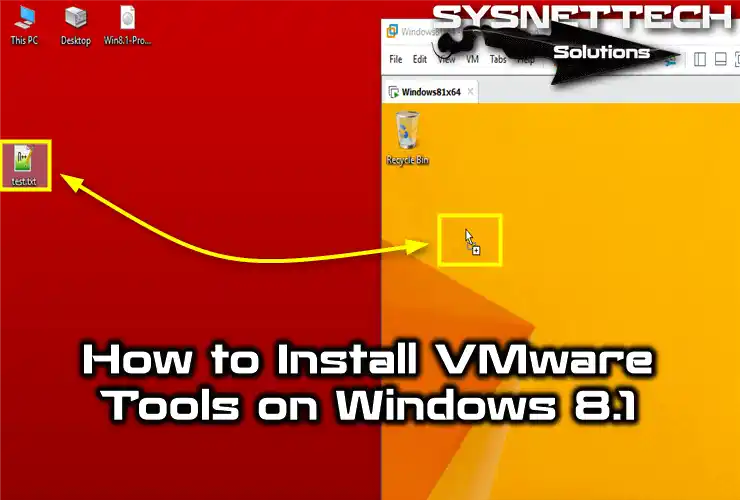
5. Try Transferring Files Between Your VM and Your Host
Sharing files between your host PC and your simulated machine is very easy. You can also send your files using the drag-and-drop method.

Video
It is very easy to add the machine extension on Windows 8. To do this, watch the video we made for you. If you wish, do not forget to subscribe to our YouTube channel for more tactics and updates!
Frequently Asked Questions (FAQ)
- Why should I install VMware Tools on Windows 8.1?
- How do I start the installation process?
- What if I encounter problems during installation?
- How can I verify that VM Tools is installed correctly?
- Can I upgrade the Workstation Tools?
Conclusion
In conclusion, I recommend installing driver tools on Windows 8 systems. It helps improve your virtual setup. So, you will boost performance and give you full-screen support.
Along with these, you will get extra features like easy file sharing. Thanks to these improvements, you will make your virtual setup work better.
If you are working with VMware, you may need a little more help. So, you can virtualize your VM work better for an older Windows type. Our “Installing VMware Tools on Windows 7” guide will help you with this. You can add the needed drivers by making your virtual machine work better.
After Guest Tools is OK on your Windows 8.1 computer, your virtual PC will now work its best. Ready to make another good VM? See our guide for installing Windows 10 on VMware. It shows how to build a strong, new virtual machine from the start. Begin your next virtual project now!

1 Reader Comment
Thank you very much