
You do not need to give your credit or debit card details to try the professional tools of Adobe Photoshop 2022 on your Mac.
On your Apple computer with macOS Monterey 12, you can quickly start a fully legal 7-day free trial.
You want to try Adobe Photoshop 2022 on your Mac, but you don’t want to share your credit card information? Then, here’s a step-by-step guide on how to start a legal 7-day trial without entering your card details on macOS Monterey 12.
Before you start, make sure your system is fully ready. If your operating system is old or not working well, you may first need to get a clean copy of macOS Monterey 12.
To be clear, wiping your disk and starting fresh solves most compatibility problems completely. After installing, Photoshop will run much more smoothly.
How To Install Adobe Photoshop 2022 on macOS Monterey 12 Legally without Credit & Debit Card
Photoshop is the best and most advanced photo editing program developed by Adobe company. And it is used by amateurs and professionals alike. You can create creative projects using this software, which can work in harmony with both Windows and macOS systems.
Although some users do not prefer Photoshop because it is a paid program, it is mainly preferred by professional users. Users who only aim to create or edit amateur images may prefer the open-source GIMP software.
If you do not like Photoshop, there are other options. Some users are used to editors made for Windows. There are special layers that let you run Windows software on Macs. From my experience, I can say there is almost no loss in performance.
Using Adobe Photoshop, you can add text to your photos, design a magazine cover, and create or edit various images depending on your imagination.
Adobe Photoshop CC is the Creative Cloud version of Photoshop and was developed for professional use. The CC version is often used by designers, web developers, photographers, and video editors.
How to Download and Install Photoshop
You were not obliged to add a credit/debit card when you tried to download older versions of Photoshop to your computers. However, Adobe has obliged you to add a credit/debit card for newer versions.
You can download and install Photoshop on your Mac via Creative Cloud with a 7-day trial period without adding a card. We recommend that you purchase a subscription by logging into your Adobe account again after the trial period.
Step 1
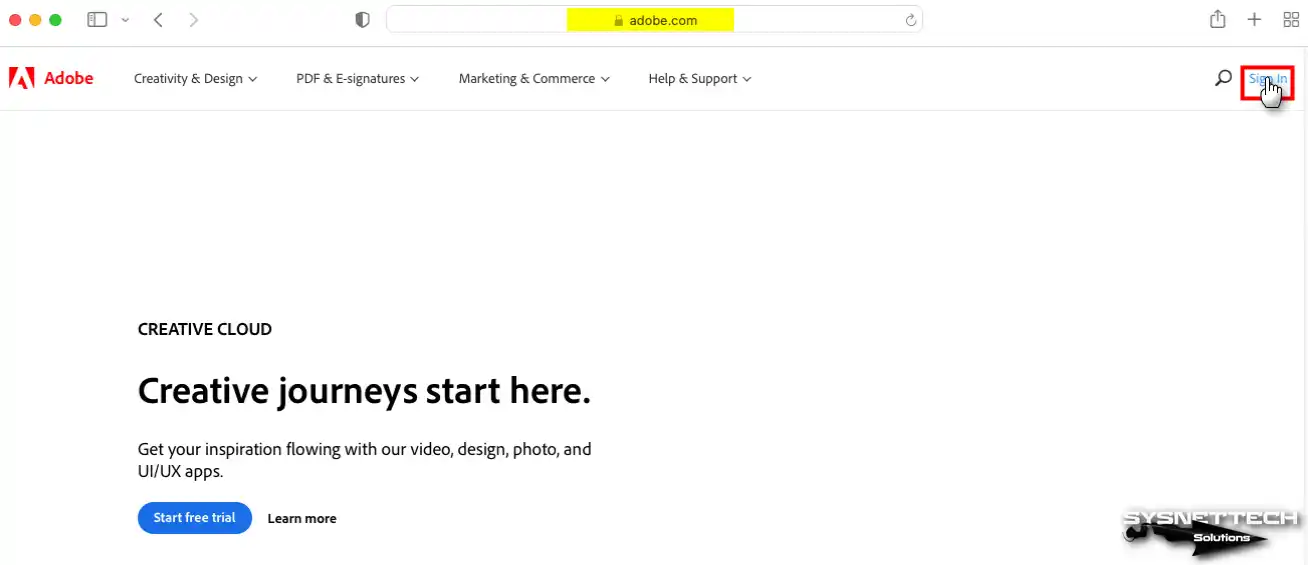
Visit the Adobe website and create a new account. If you do not have one, click Sign In.
Step 2
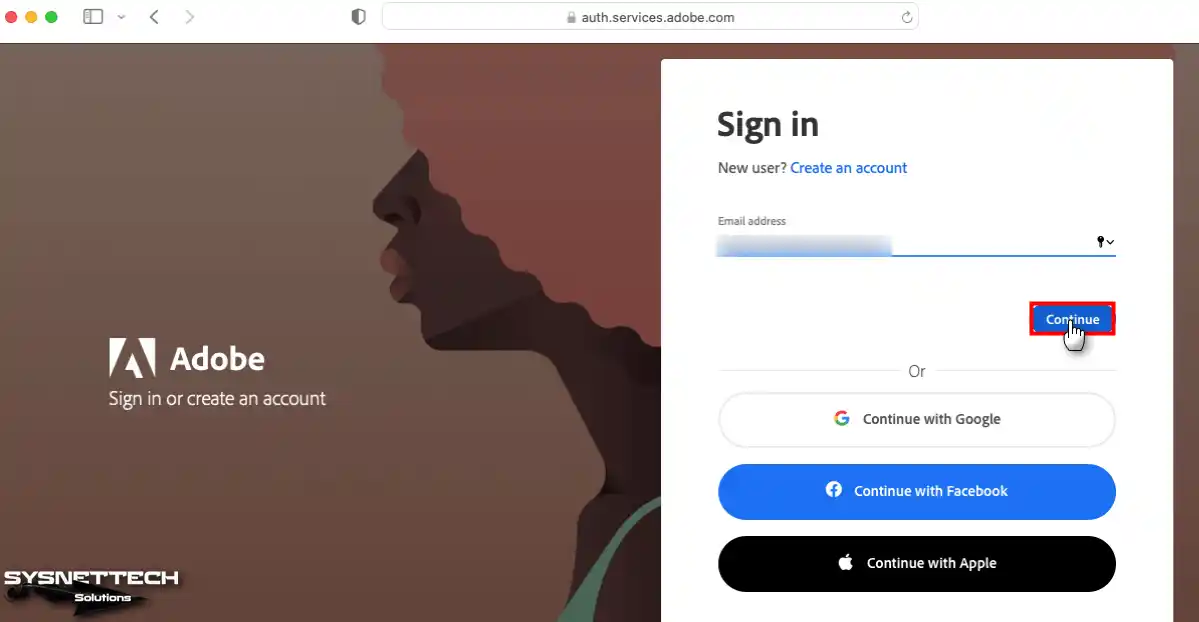
Type the e-mail address that you registered on Adobe and click Continue.
Step 3
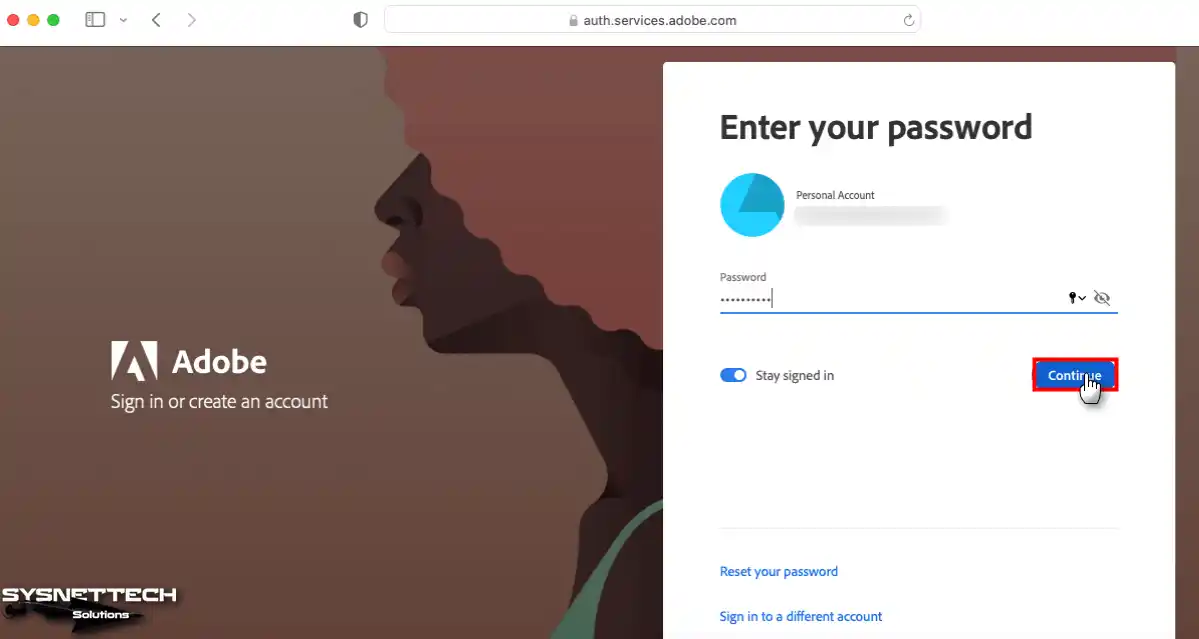
To complete login for your account, type your password and click Continue again.
Step 4
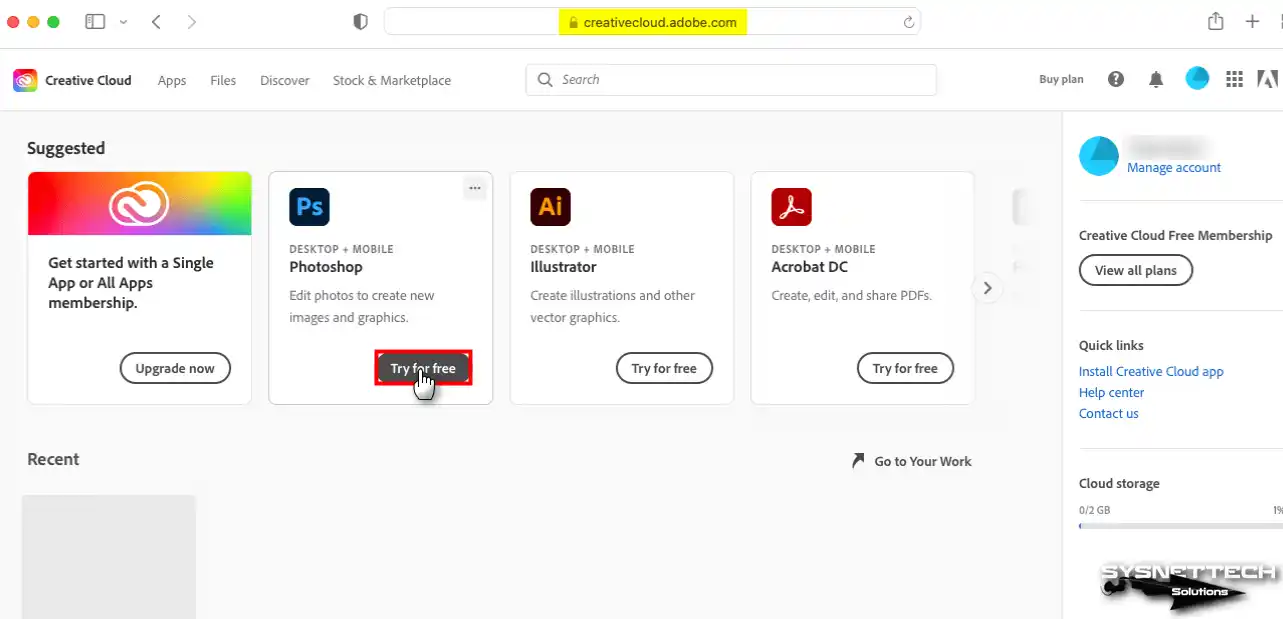
After successfully logging in to Adobe, go to creativecloud.adobe.com in your Safari browser and click the Try for free button on Photoshop from the programs listed on the homepage.
Step 5
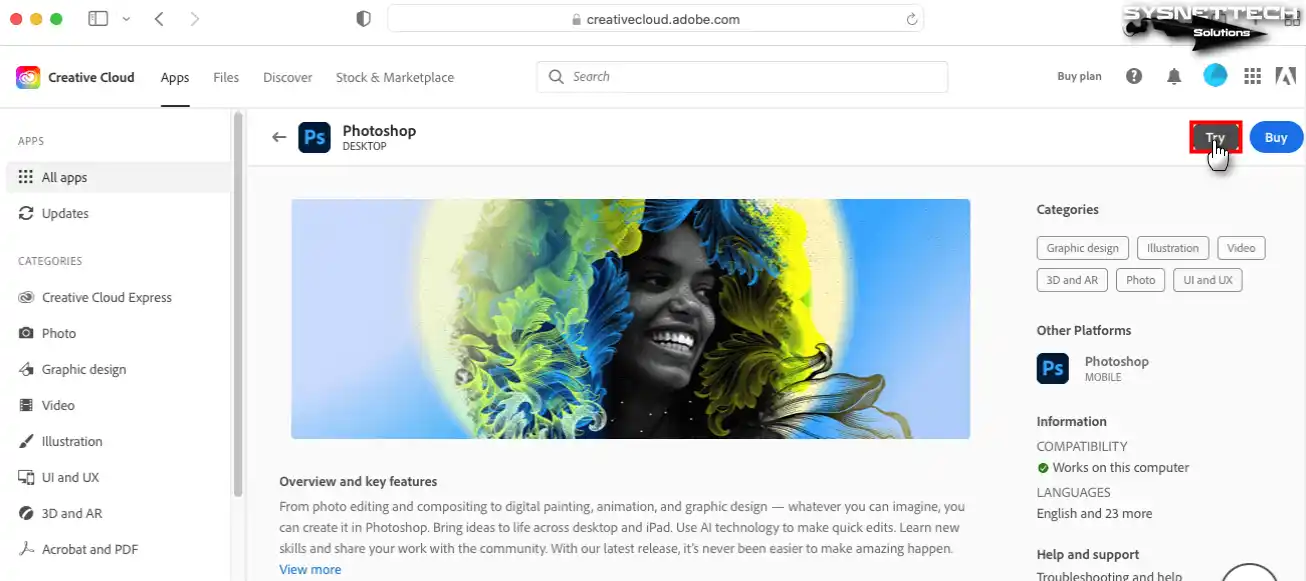
Click Try again on the page containing information about Photoshop.
Step 6
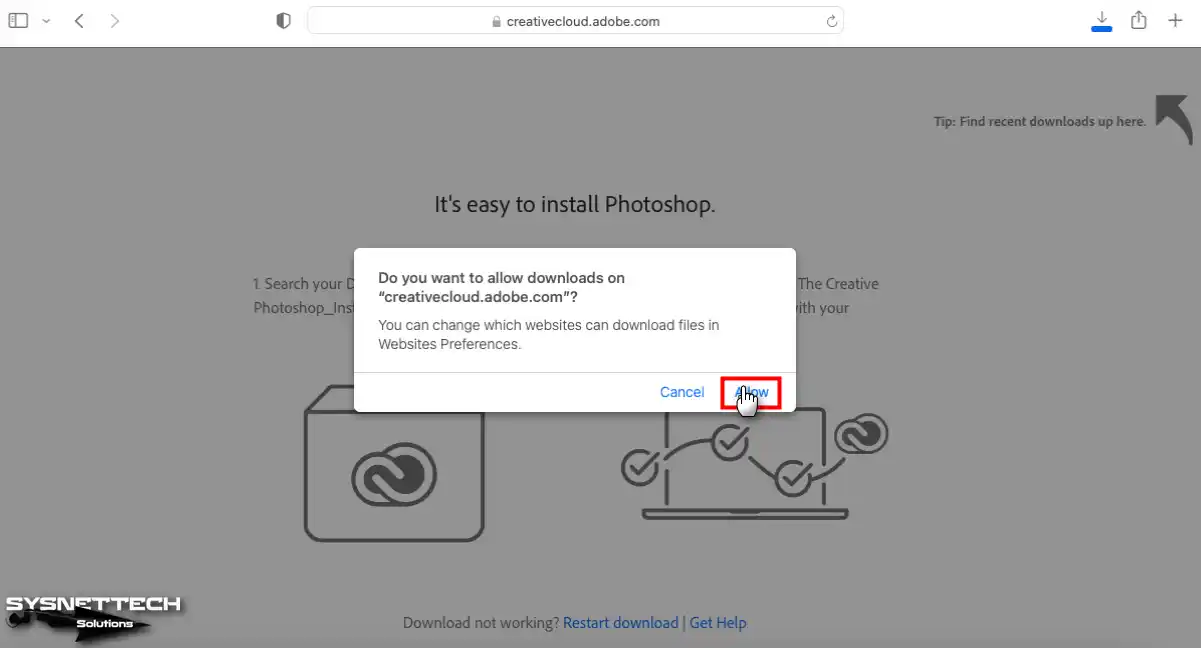
When you start the Photoshop download, confirm the download in your browser.
Step 7
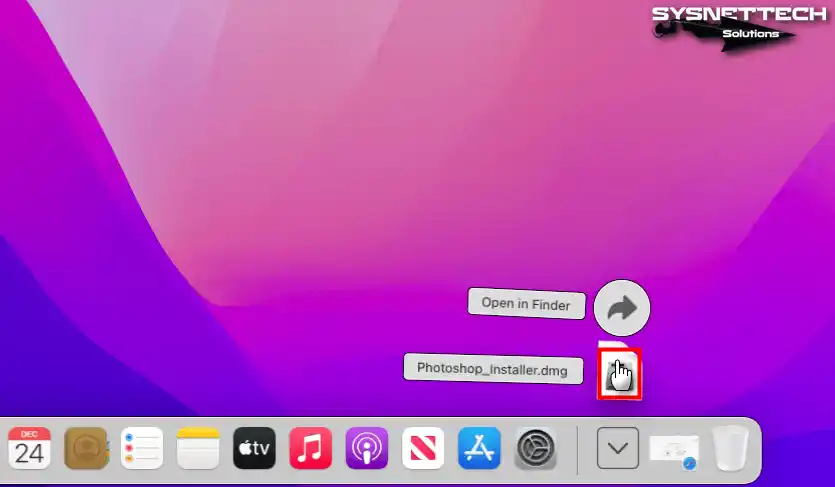
After downloading the Photoshop_Installer.dmg file to your Mac, click the Downloads folder on the Dock and run it.
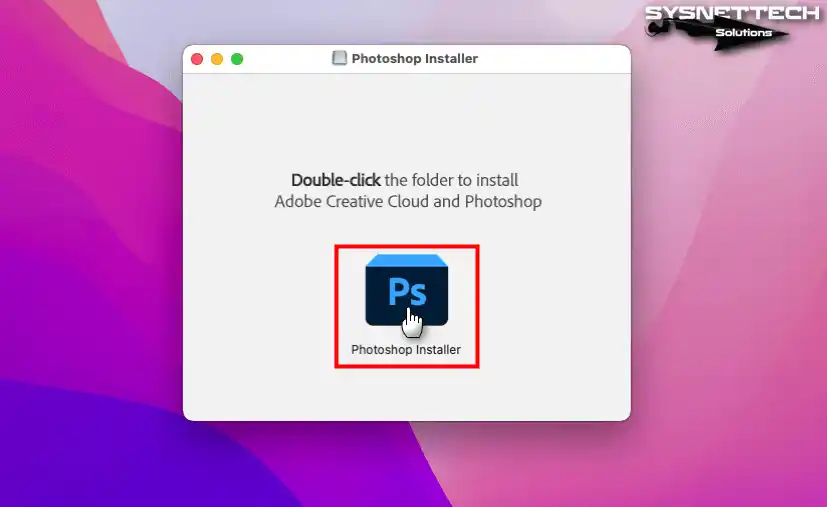
Step 8
After the Installer is mounted on your system, double-click the logo to install Adobe Creative Cloud and Photoshop.
Step 9
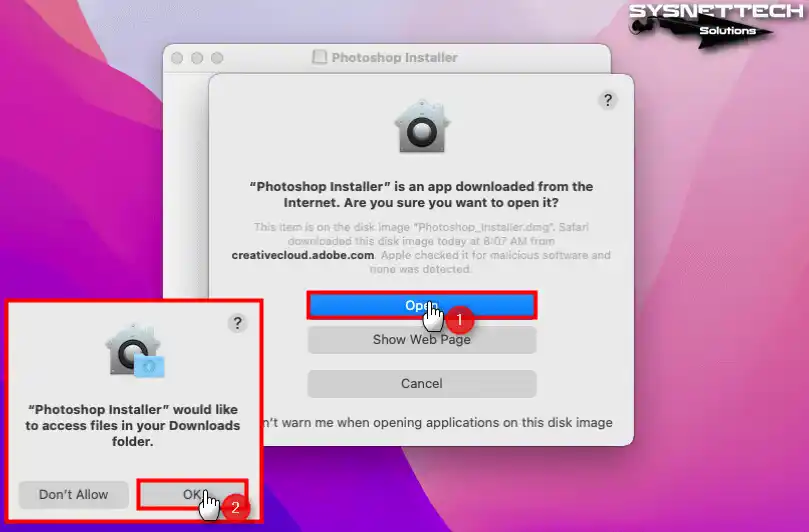
When you encounter the following warning on your macOS system because you downloaded the program you are trying to install from the Internet, confirm to run the program because you downloaded it from a secure website.
Step 10
Click Continue to authenticate your Adobe account in the Creative Cloud application, then type your MacOS user password to confirm that the Installer will make changes to your system and click OK.

Step 11
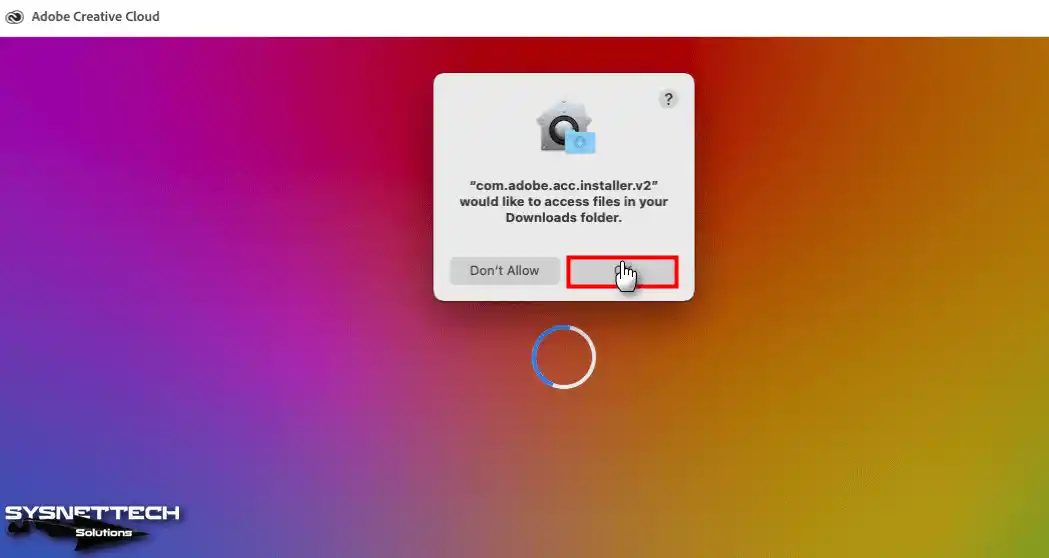
Click OK again to confirm the permission to access the Downloads folder.
Step 12
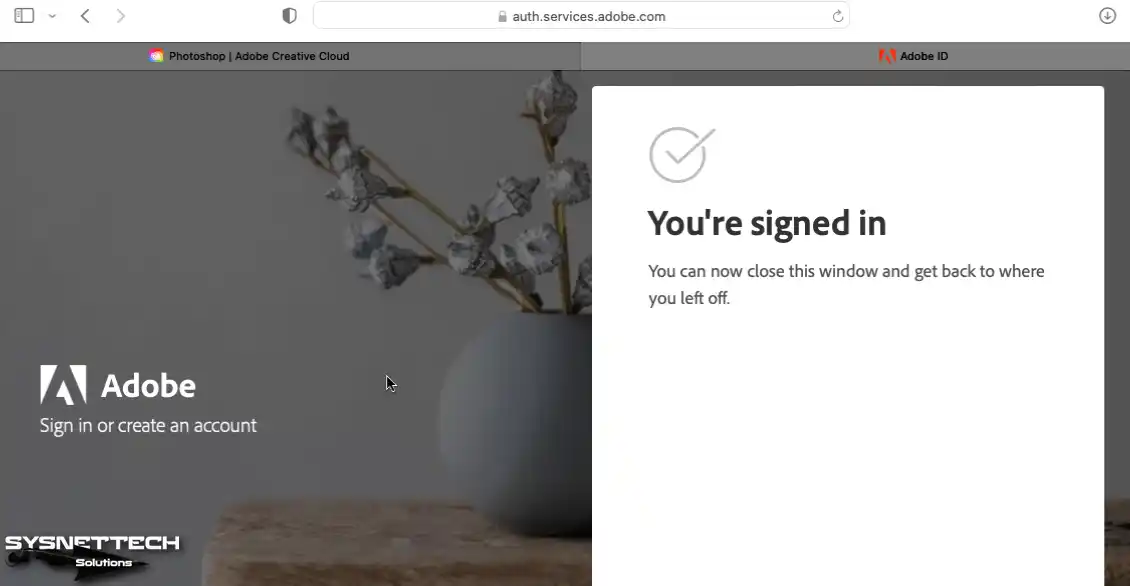
Go back to your Safari browser and authenticate.

Step 13
After authenticating the Creative Cloud app, you will be automatically redirected to where you left off.
Step 14
Check the Adobe Genuine Service (AGS) option and click Start Installing to check the originality of the Photoshop application periodically.

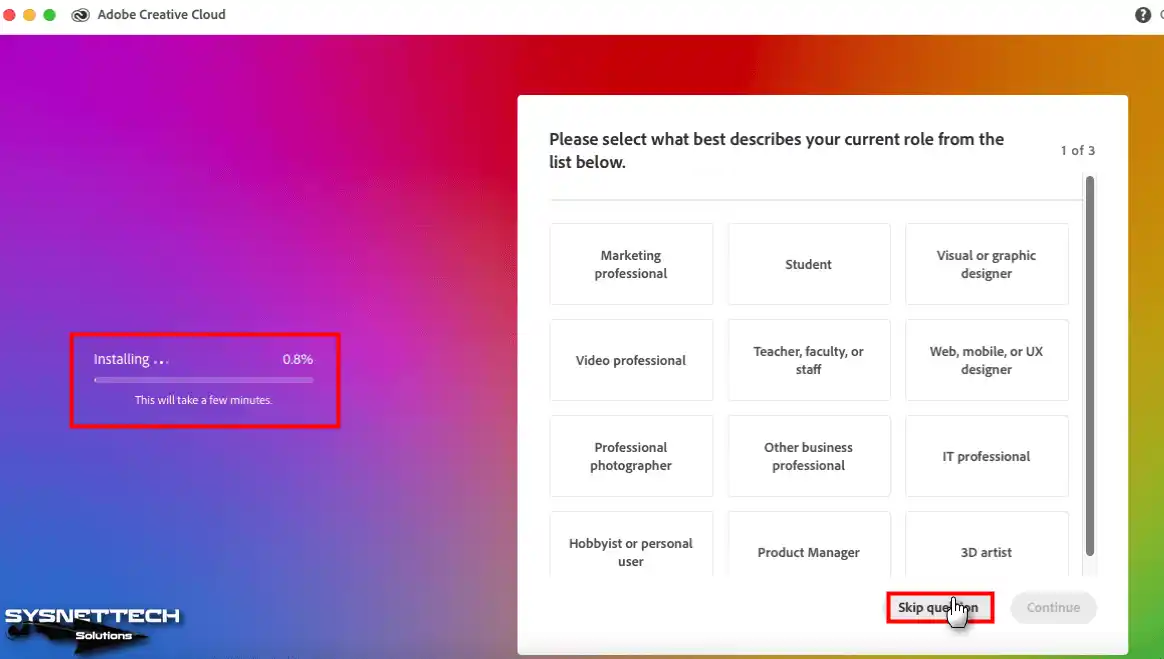
Step 15
After the installation process starts, Creative Cloud will be installed first, followed by Photoshop. In addition, you can specify the purpose for which you will use the program by answering the questions asked on this screen.
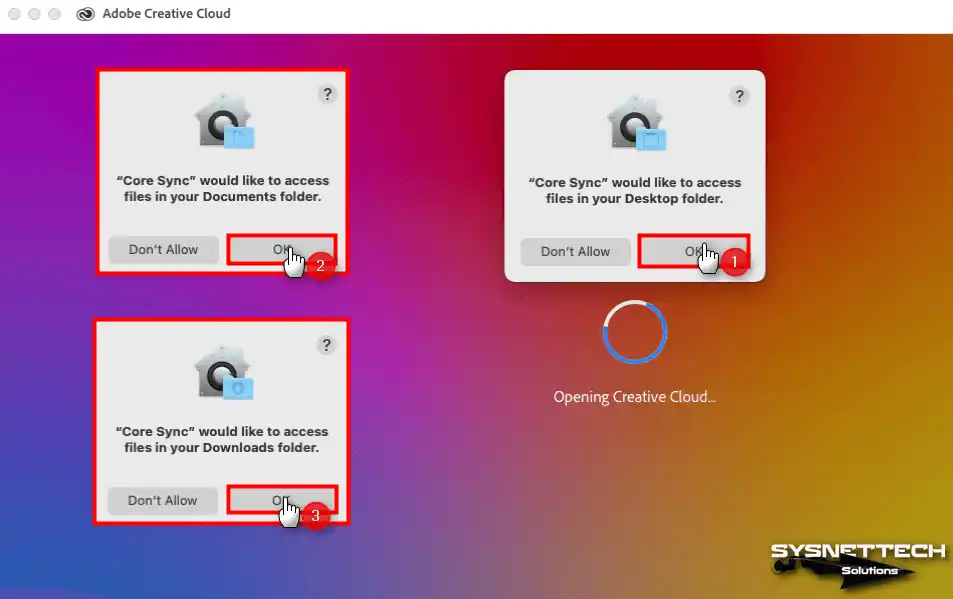
Step 16
Confirm the permission to access the Desktop, Documents, and Downloads folder while Creative Cloud opens.
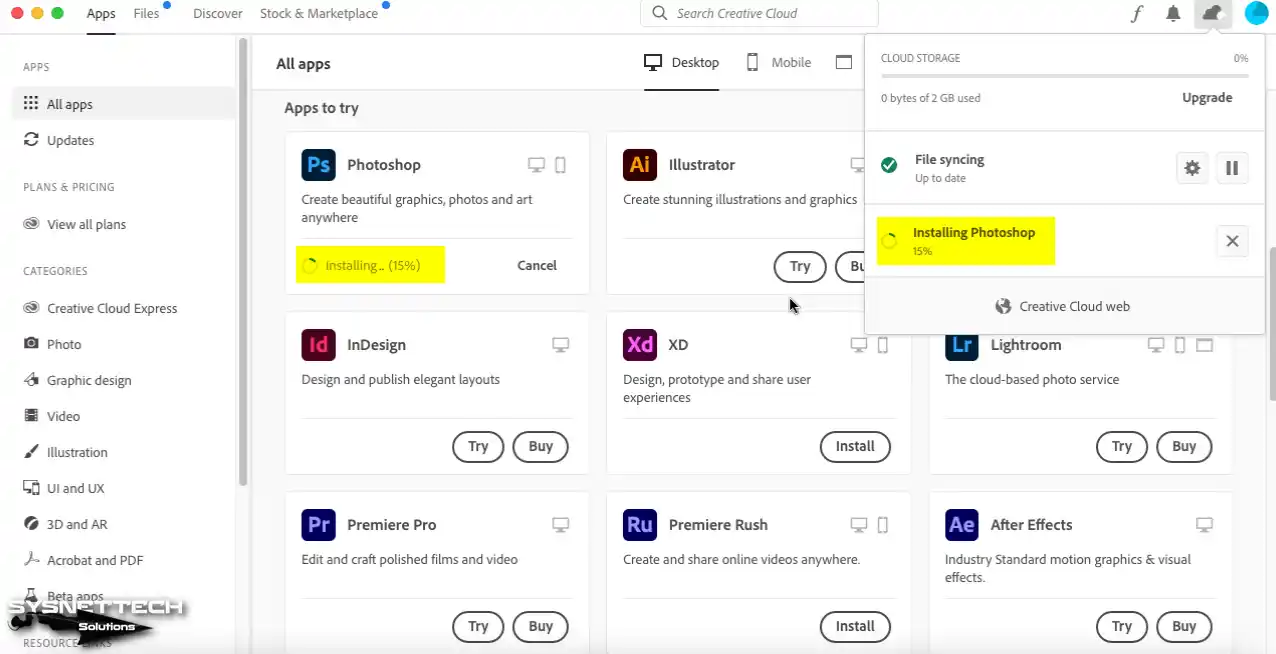
Step 17
The Photoshop program will start downloading automatically by Creative Cloud.
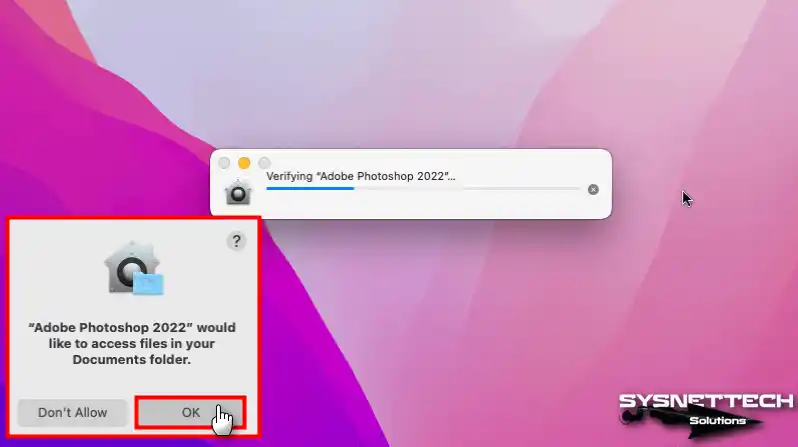
Step 18
After the download is complete, wait while Adobe Photoshop 2022 verifies.
Step 19
Wait while Adobe Photoshop 2022 opens.

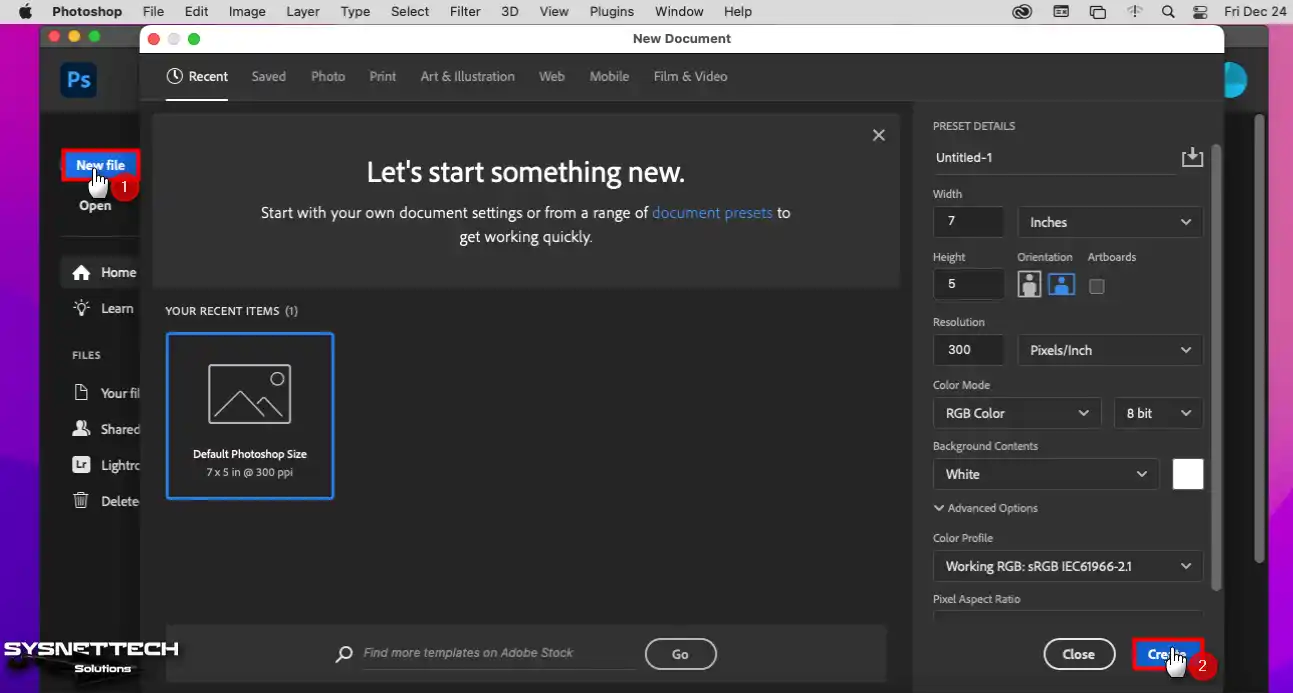
Step 20
After running Photoshop, create a new project and test the program.
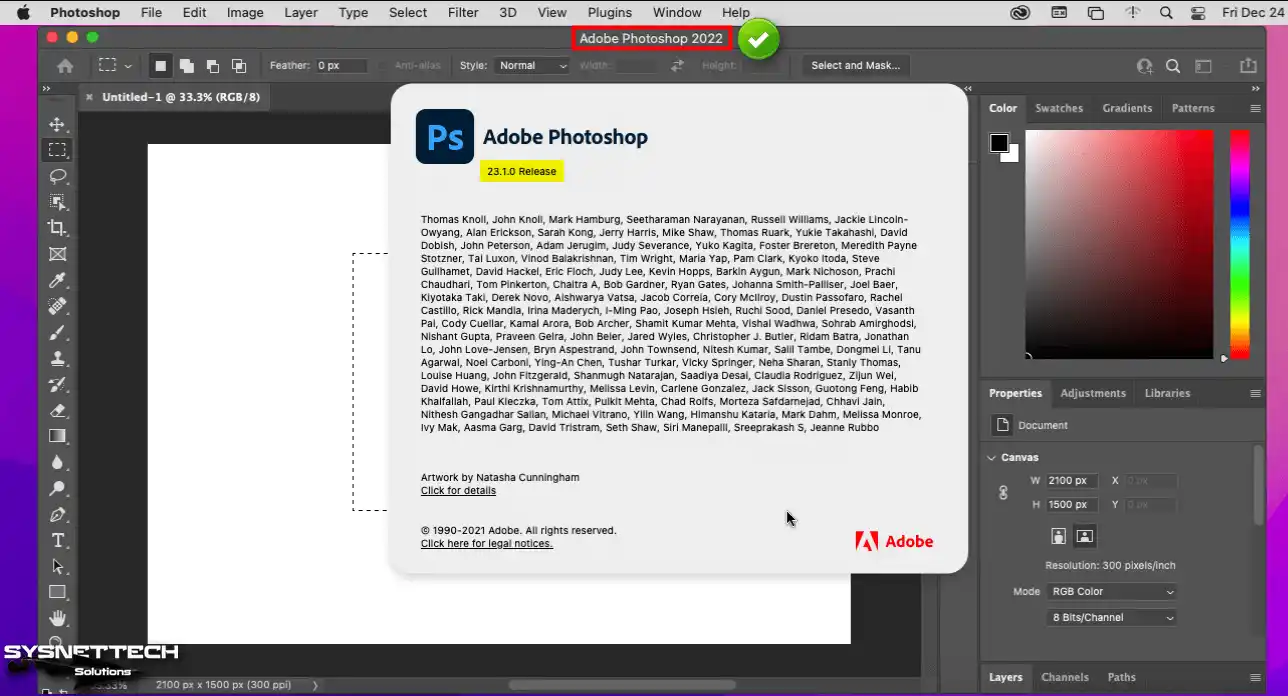
Step 21
After installing Photoshop on macOS, when you check its version, you can see that you have installed the most recent version on your computer.
How to Uninstall Adobe Photoshop from macOS PC
If you do not plan to purchase Photoshop after the trial period, we recommend that you uninstall it so that it does not take up space on your computer’s disk.
Steps:
Step 1
Open Applications in Finder and click on the Photoshop folder.
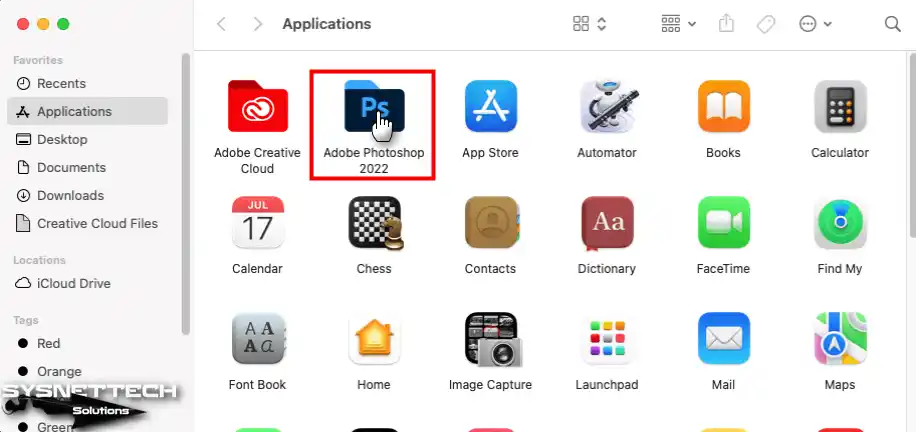
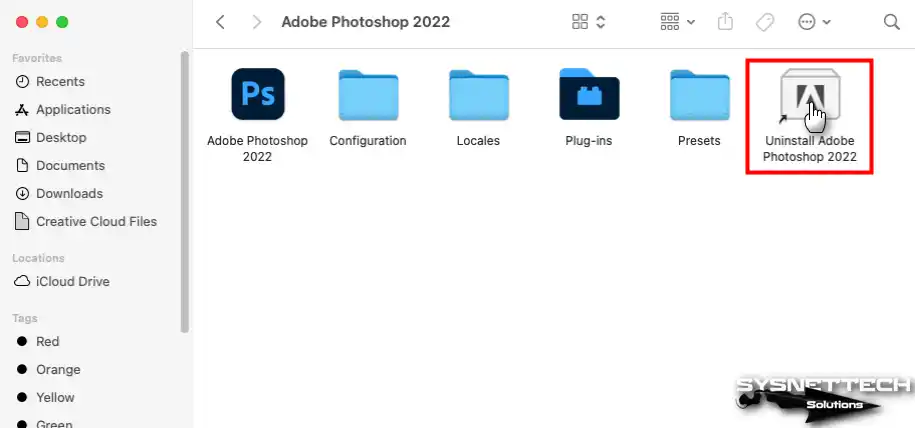
Step 2
Click the Uninstall Adobe Photoshop 2022 shortcut in the folder you viewed.
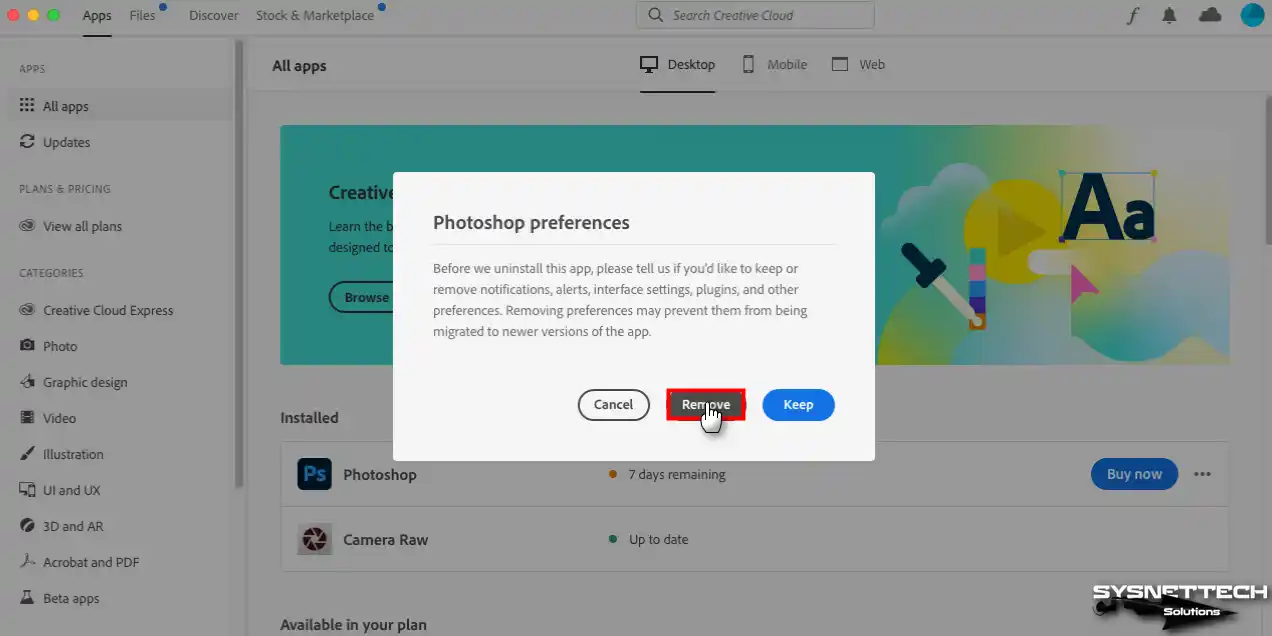
Step 3
Before uninstalling, click Remove to prominent notifications, alerts, interface settings, add-ons, and other preferences you have created from your computer.
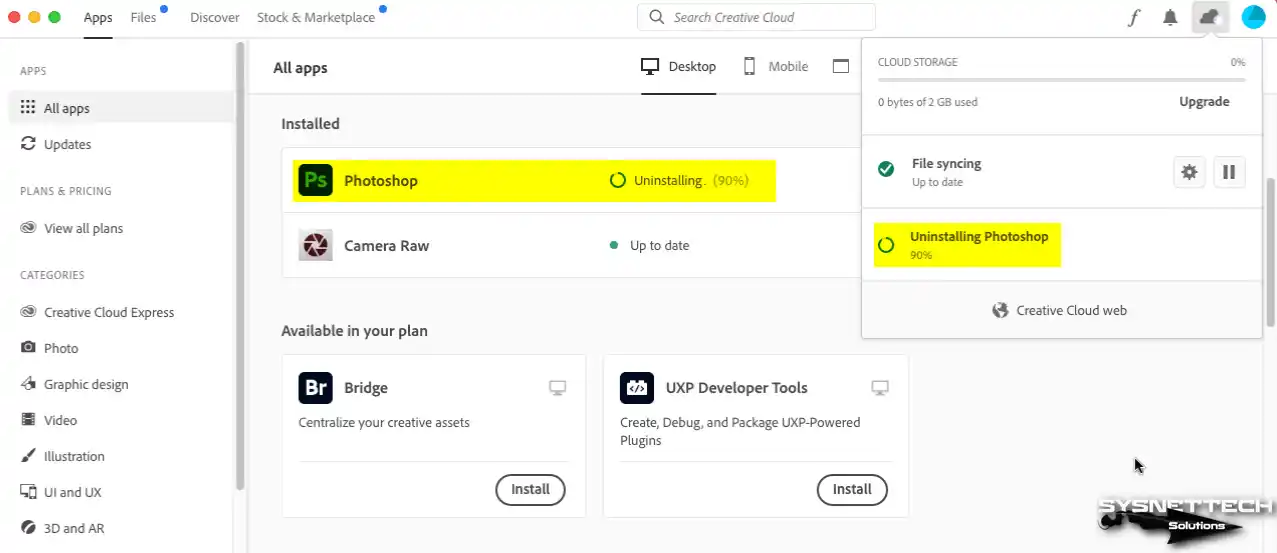
Step 4
Wait while removing Photoshop from your Mac.
How to Uninstall Creative Cloud
We do not recommend uninstalling the Creative Cloud app if you have other purchased Adobe products. However, we recommend deleting it only if you have it installed for Photoshop.
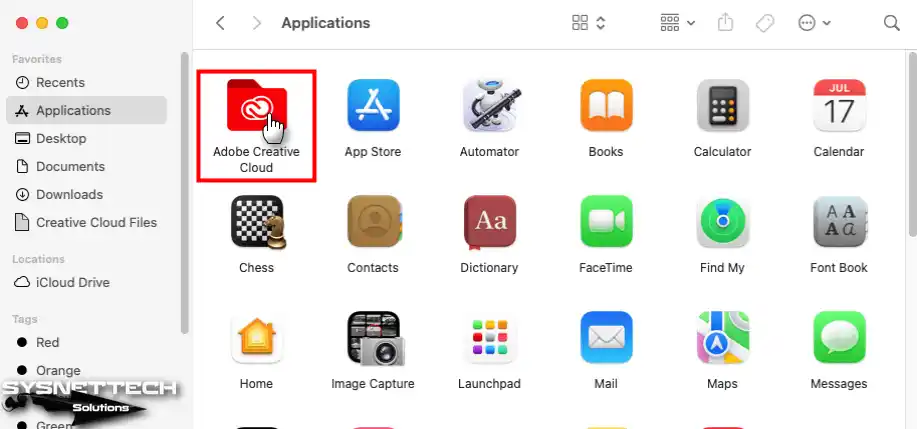
Step 1
Likewise, open Applications and click Adobe Creative Cloud.
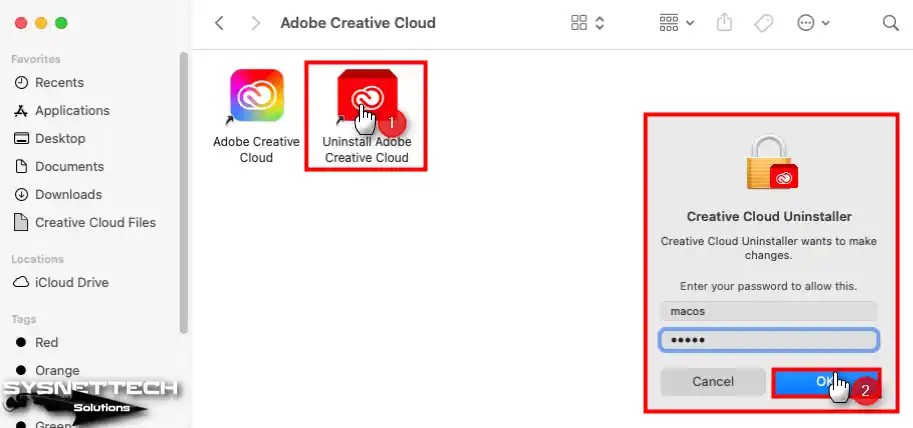
Step 2
After opening the folder, click the Uninstall Adobe Creative Cloud shortcut and click OK after typing your macOS user password.
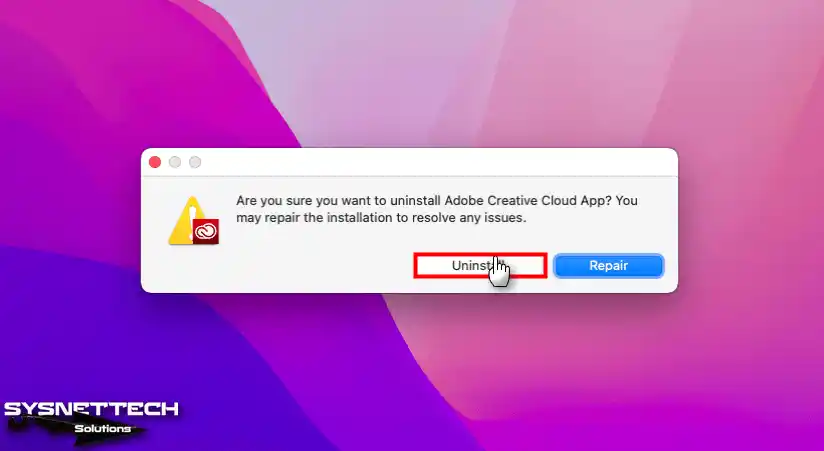
Step 3
Click the Uninstall button and continue.
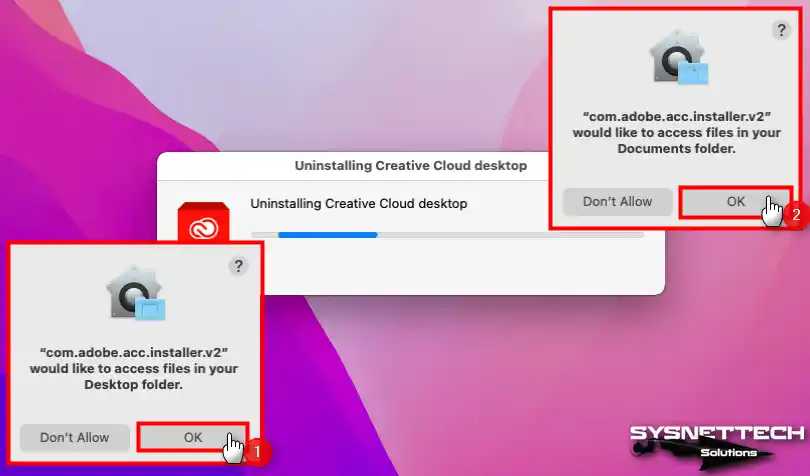
Step 4
Confirm access permissions while uninstalling Creative Cloud from your Mac.
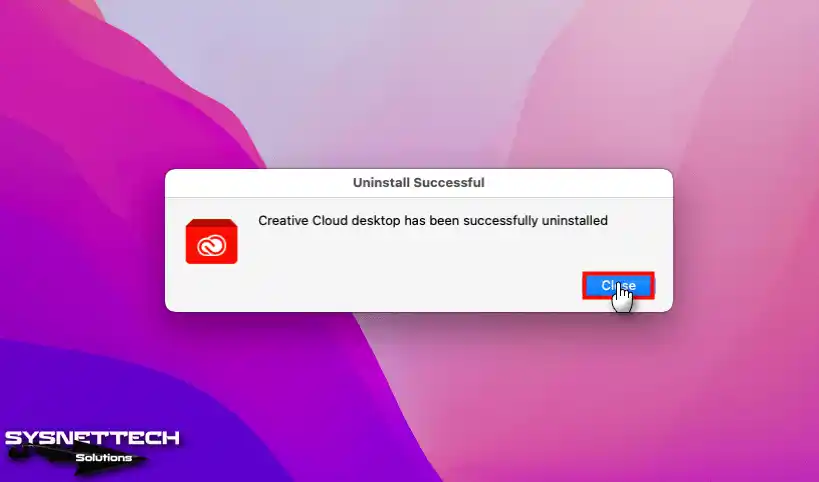
Step 5
Click Close after the Creative Cloud application has been successfully uninstalled from your system.
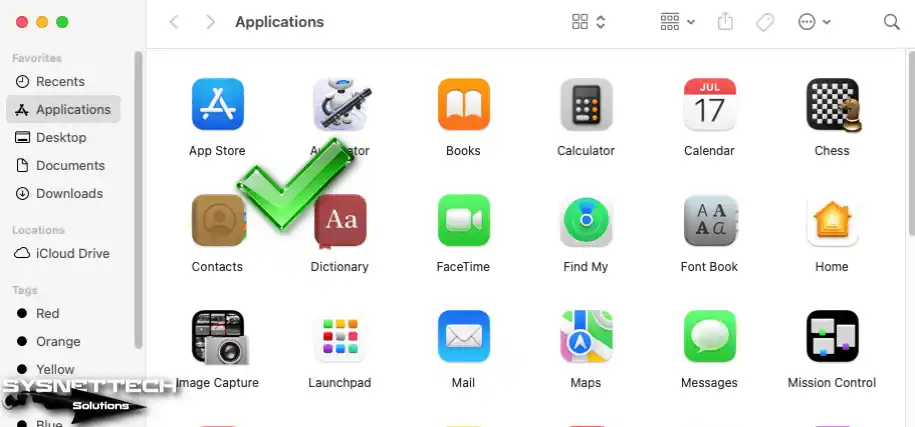
Step 6
When you view the Applications again, you can see that the program has been successfully uninstalled.
Video

FAQ About Photoshop Free Trial on Mac
Is it really legal to install Photoshop on Mac without entering card info?
What happens to my project files on Mac when my trial ends?
Will deleting the Creative Cloud app break my other Adobe programs?
What should I do if my Mac shows an ‘Unidentified Developer’ warning?
I tried Photoshop, but it runs very slow on Mac. What could be the reason?
Do I have to check the Adobe Genuine Service (AGS) box during installation?
Conclusion
In conclusion, I recommend you install Adobe Photoshop, old or new versions, on your Mac with macOS. Also, you can explore this powerful photo editing tool without making any financial commitment. So, by using the 7-day trial period, you can experience the complex editing capabilities of the software.
Moreover, you can also see the seamless integration with other Adobe applications. Whether you are an amateur or a professional, I believe you will improve yourself in no time. You can also evaluate whether the software meets your creative needs.
If your free trial is over and the subscription costs too much for you, do not worry. There is another option. By installing Wine on a Mac, you can run many free editors made for Windows.
Looking at it this way, it becomes clearer; you can get your work done without paying license fees. Of course, you might still miss Photoshop’s professional layer structure.
Over time, if you decide not to continue the subscription, consider the cancellation process. Plus, manage the trial period wisely. Make conscious choices about your software subscriptions. In conclusion, embrace digital creativity with Photoshop!

2 People Shared Their Experience
May 2019, don’t appears “Download trial” just “try now” … works like that?
Yes, you are right. I checked and the “Download Trial” option is not available. They want a Credit Card to download PhotoShop and activate the trial period.