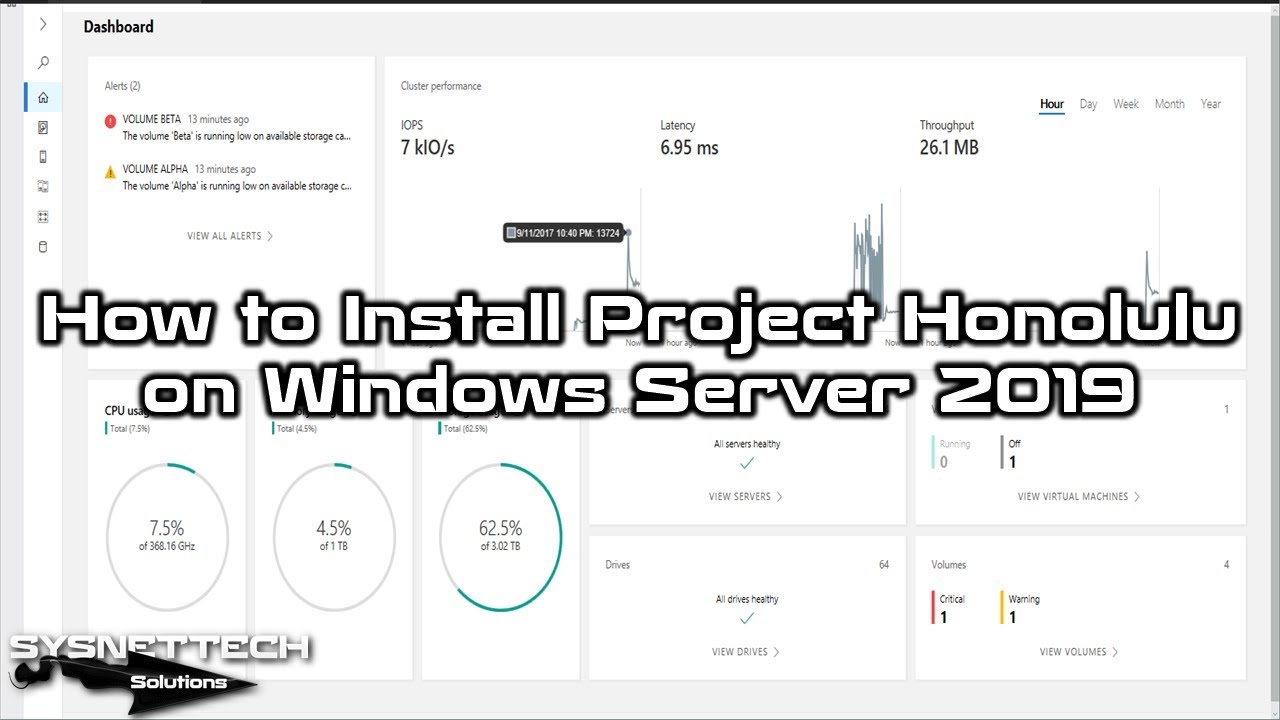
How to Install Microsoft Project Honolulu on Windows Server

Quick Insight

You install Project Honolulu by running its MSI file on a Windows Server and keeping the default HTTPS port. The wizard adds a desktop shortcut and sets the trusted host options for you. You then open the shortcut sign, skip the browser cert warning, and log in with your admin account. Inside the web panel, you pick a server from the list and enter your credentials once more. The overview screen then shows live hardware usage and lets you manage roles from one place. So you control every server through a browser without writing a single PowerShell line.

This article will guide you through each stage of installing Project Honolulu, a web tool for managing servers. Our primary focus is on using it to work the Server 2019 server efficiently and efficiently.

We’ll cover everything, from installing the Honolulu to setting it up and using it. By the end, you’ll know how to use it to handle your servers through a web-based approach.
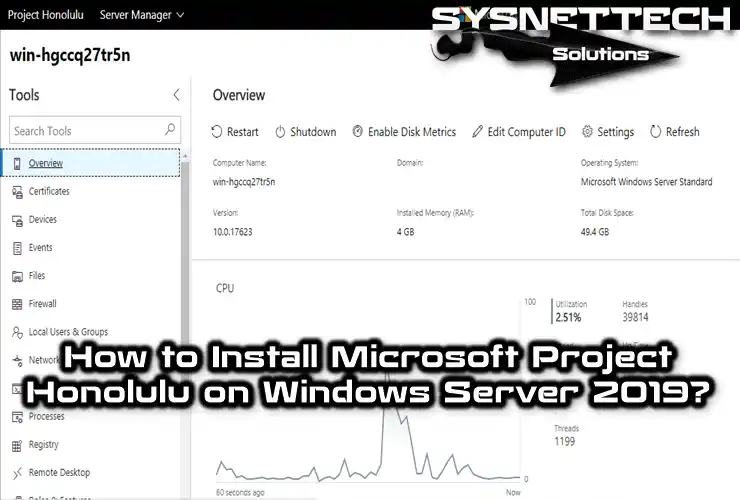
Installing Microsoft Project Honolulu

How to Use Project Honolulu on Windows Server 2016, 2019, 2022

Microsoft Project Honolulu is a super helpful tool for IT administrators. It brings together all the essential things on Windows Server and other infrastructure products into one place. Thus, it makes it easy to manage everything using just one interface.

The Honolulu Project is a tool you use on your web browser to control things. It has an easy-to-use panel and simple tools. It makes managing servers and other important stuff easy, even if you need to learn a lot about PowerShell or other fancy skills. So, whether you’re a pro or just starting in IT, Project Honolulu is here to help you. To sum it up, it makes your work easier, so you can get more done in less time.

Microsoft’s Honolulu project helps you manage servers online. It quickly tells you how servers are using resources. You can also control all the essential tools through a web browser.

To learn more about Microsoft’s tool, check out the article titled “What is Microsoft Honolulu?“.

Before you begin setting it up, make sure to put Windows Server 2019 on your server. You can find out how to do it by reading these articles:

  • Installing Windows Server 2019 on VMware
  • Installing Windows Server 2019 on VirtualBox

Next, you have to get the Honolulu app on your computer. To do this, go to this address and download the Honolulu software.

How to Install Microsoft Honolulu Project Step-by-Step

After you’ve installed Server 2019, go ahead and download the Honolulu application. When the download finishes, follow these steps to install it step-by-step.

Step 1

Run the file with the .msi extension by double-clicking it to start the installation. Then, agree to the rules in the Honolulu installation window and click the Next button.

Accepting Microsoft Project Honolulu License Agreement

Step 2

If you use Microsoft products like this software, choose “Use Microsoft Update” and click Next.

Confirming Using Windows Update for System Updates

Step 3

Choose both options below while you’re installing the Microsoft Server tool.

  • Option 1: Allow Project “Honolulu” to modify this machine’s trusted host settings
  • Option 2: Create a desktop shortcut to launch Project “Honolulu.”

Allowing the Honolulu Project to Make Changes to the Host

Step 4

If you’re testing things, you can keep its port number as it is (443). But don’t worry, you can change it later if you want.

Then, kick off the installation by clicking the “Install Honolulu Project” button.
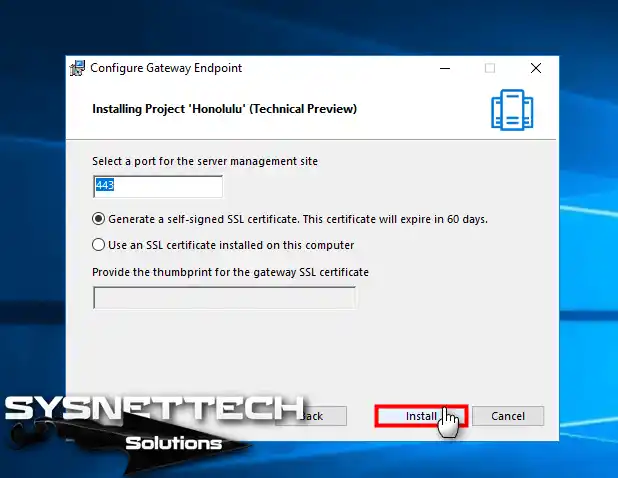
Port Number of Honolulu Software

Step 5

Wait for a bit as Project Honolulu installs on Windows Server 2016, 2019, or 2022.

Services are Starting for Installation

Step 6

After installing it in a short time, click on Finish to exit the window.
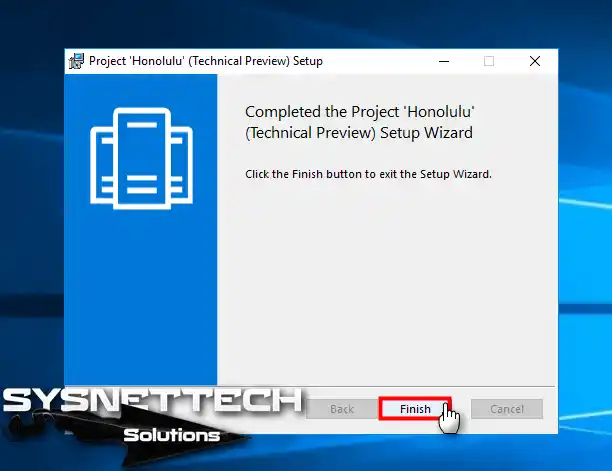
Closing the Project Honolulu Setup Wizard

Step 7

Now, you need to launch this excellent Microsoft interface tool. When you check the desktop location, you will see its shortcut. Now, launch the Server control software by clicking on this shortcut.
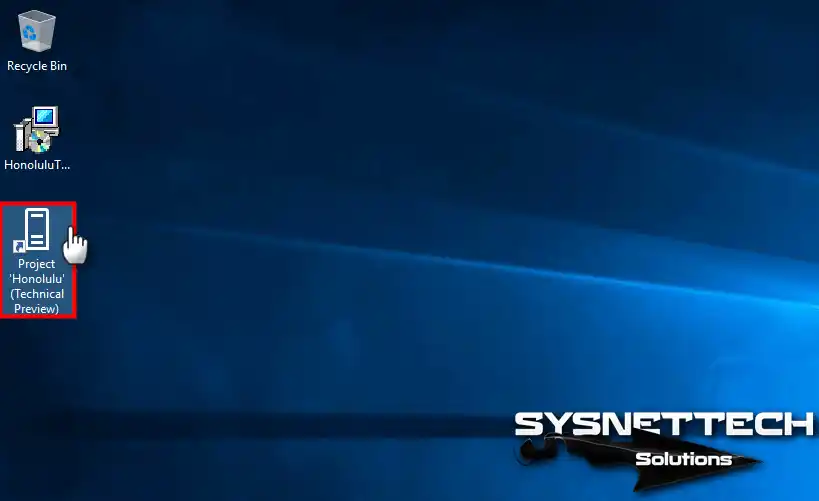
Running the App with the Honolulu Shortcut

How to Connect to the Honolulu Project

Step 1

If you only have Internet Explorer on Server 2019, you’ll notice it’s not supported. Thus, we suggest using Google Chrome instead.

Skip the Honolulu login certificate error. After that, type your admin username and password in the login window. Then, if you are sure of the information you entered, click the Login button.

Connecting to the Server Using a Web Browser

Step 2

Once you’re in the Honolulu project, pick a server from All Connections. Click on it to connect to that server.
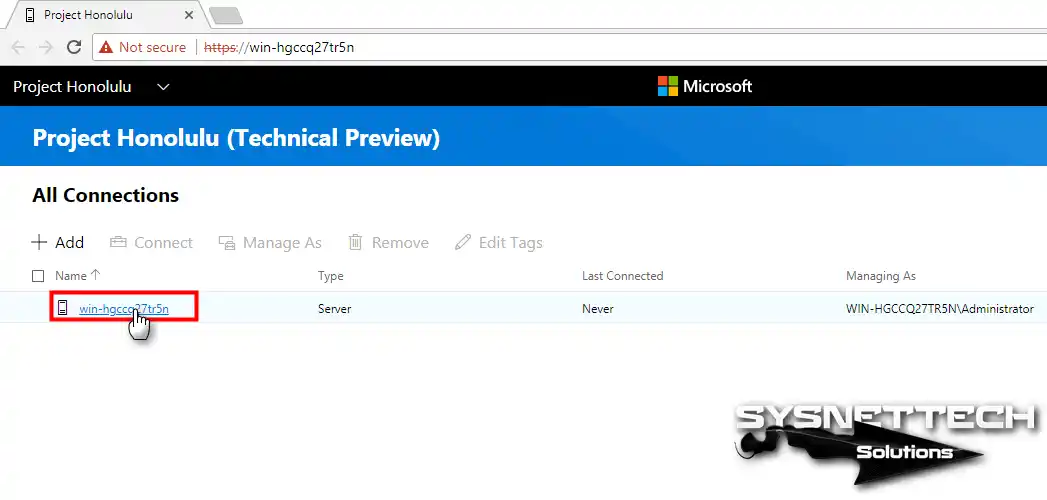
Choosing the Host Machine

Step 3

When you connect to the Server 2019 server using Honolulu, you’ll have to prove it’s you. Just type in your management user details and click the Login button to keep going.

Entering Windows Server Credentials

Step 4

Keep the “Specify your credentials” window open. Next, enter your username again and click the Continue button.

Specify your credentials

Step 5

Lastly, after you verify your identity one more time, you’ll be connected to the web app.
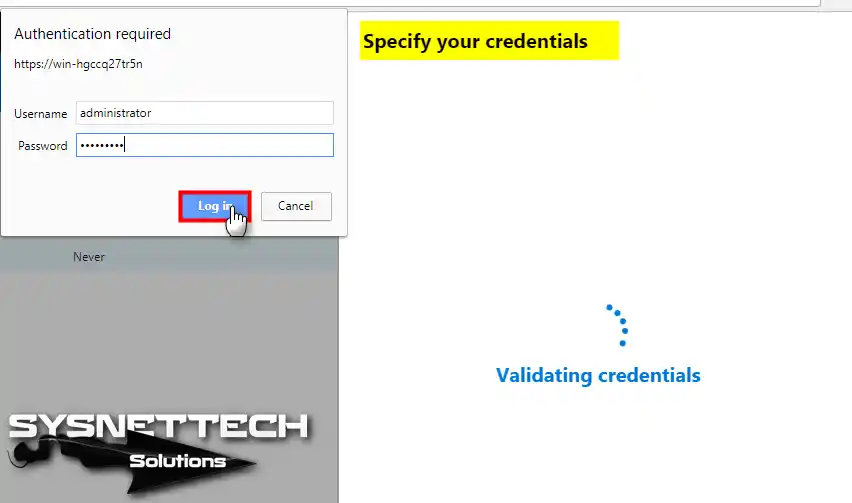
Validating credentials

Step 6

You have successfully installed Microsoft Project Honolulu on Windows Server 2016, 2019, or 2022. Now, on this screen, you can see the hardware resources used by the host machine in the Overview section.

Honolulu Server Manager

Video

Video Thumbnail
Watch on YouTube

Project Honolulu FAQ

What is Project Honolulu, and what does it do?

Actually, Honolulu lets you manage your servers from a web browser. It provides a panel designed for IT admins. You do key tasks on one screen without the PowerShell mess.
First of all, you see resource use in real time. You control hardware, storage, and network settings with simple tools. Whether you are a pro or just starting out, it speeds up your work.
In short, it ends scattered admin tools. It helps you do more work in less time.

Is Project Honolulu the same as Windows Admin Center?

Of course, it is the same thing. Microsoft used this name while developing the Honolulu project. Then it released the product as Windows Admin Center.
Besides, when you run a setup today, you will find Windows Admin Center. If you see the Honolulu name in old docs, do not be surprised. Both offer the same web-based admin experience. So you can safely think of it as the same product line.

Is Project Honolulu free to use, or does it need a license?

Best of all, the tool is free. Microsoft offers Windows Admin Center with no license fee. So you pay nothing extra when you download and install it.
However, the servers you manage still need their own licenses. For example, if you use Windows Server 2019, you must have a license for that operating system. Honolulu is just an admin interface, and it does not change your server license.

How do you change port 443 during setup?

Actually, by default, the setup wizard gives you port 443. If you are in a test phase, you can leave this port as is. Do not worry; you can change it later.
To change it, type a different value in the port number field on the setup screen. That way, you avoid a conflict. For instance, you can pick a free port like 8443.
Here is the trick: if you change the port, remember to add the new port to the end of the address when you access it from the browser. Otherwise, you cannot connect.

How do you get past the SSL certificate warning in the web interface?

Believe it or not, your browser shows a certificate error on your first login to Honolulu. This is completely normal. That is because the tool has a self-signed certificate.
Also, click the ‘Advanced’ option to get past the warning. Then use the ‘Continue’ link. That way, you reach the login screen.
Still, if this warning bothers you, you can install a valid SSL certificate later. But in test environments, you can skip this step with no risk.

Does it work with Internet Explorer?

In fact, Internet Explorer does not open this interface. More importantly, if you use IE on Server 2019, Honolulu does not work.
Instead, I suggest you use Google Chrome. Modern browsers run this interface without problems. You can choose Chrome, Edge, or Firefox.
After all, old browsers have security flaws. With a current browser, you get a faster and safer experience.

Can you install Project Honolulu on Windows 10 or 11 instead of a server?

Plus, you can install it on Windows 10 and 11. In fact, Microsoft made this tool to manage both servers and client PCs.
What’s more, when you install it on Windows 10 or 11, you manage both your servers and your PCs with the same interface. This flexibility lets you control your whole infrastructure from one panel.
Therefore, even if you do not have a server license, you can install it on your own PC and start testing.

Why does setup need the ‘Trusted Hosts’ setting?

For example, the Trusted Hosts setting lets Honolulu form a secure connection to target machines. If you do not check this option during setup, you may not reach remote servers.
In particular, this setting is vital in workgroup environments. Otherwise, you will run into authentication errors.
In the end, checking this box does not create extra security risk. It only lets your admin tool find authorized servers.

How do you add servers that are not domain members (Workgroup)?

First of all, there are a few tips for adding Workgroup servers. Next, create a local admin account on the target server. Register this account in Honolulu.
Also, you may need to set up the Trusted Hosts setting by hand. Automatic authentication does not work like it does in a domain environment.
Finally, during the connection, use the ‘Other’ option and enter the server IP and credentials. As a result, you also start managing your workgroup server.

How do you fix the access error you get when you connect to a target server?

To be clear, access errors usually come from authentication or firewall issues. First, check your username and password. Pay attention to case sensitivity.
Still, if the details are correct, make sure the WinRM ports are open on the target server’s firewall. You need ports 5985 and 5986 for this.
On top of that, check remote admin permissions on the target machine. Putting the user in the local admin group often fixes the problem. If you still cannot connect, add the IP to the Trusted Hosts list.

Conclusion

As a result, you will now be able to manage Windows servers via the web. So, using this is one of the simple and effective ways to manage your servers remotely.

It lets you handle your servers with its easy-to-use design and robust features. It’s super handy, especially if you’re managing machines from different places.

WinRM is not your only choice for remote server management. Setting up an SSH server on Windows is a great alternative. In fact, an SSH connection is often easier and more practical to use.

We’ve walked you through installing Honolulu in this article. If you have any questions or views, feel free to reach out. Thanks for reading!

They'll Thank You for Discovering This Guide!

Ready to do your loved ones a huge favor with just one click? Knowledge grows as it is shared.

Be the first to share your comment