
In this article, we will examine how to set up the Chrome browser developed by Google, which allows you to visit websites on the Internet faster, safer, and easier on the Linux / Ubuntu 23.10 & 24.04 operating systems.

How to Set Up Google Chrome Web Browser Latest Version on Ubuntu
Google Chrome is the most used and preferred fast web browser in the world market. You can use this web browser on Windows operating systems developed by Microsoft, as well as on Linux distributions.
If you’re new to the world of Linux, you probably have a lot of questions. Setting up the system itself can be just as daunting as installing Chrome at first. To be clear, the right ISO image and a USB drive will more than suffice. The guide I’ve prepared specifically for you, titled “Setting Up an Ubuntu Environment from Scratch“, explains every step in great detail.
Chrome is an application that is faster and safer compared to other web browsers, and it is also easy for users to use. Therefore, it is widely preferred by both home users and software developers.
Since the use of Google services with the Chrome browser is more specific, users can open their Gmail accounts in this browser and synchronize them with all their devices.
System Requirements
| Platform | Requirements |
|---|---|
| Windows | a) Windows 7, Windows 8, Windows 8.1, Windows 10, or higher b) Intel Pentium 4 processor or higher (SSE3 enabled) |
| Linux | a) 64-bit Ubuntu 18.04+, Debian 10+, openSUSE 15.2+, or Fedora Linux 32+ b) Intel Pentium 4 or a newer processor with SSE3 support |
| Mac | OS X El Capitan 10.11 or later |
| Android | Android Marshmallow 6.0 or later |
There are two methods to install Google Chrome on Linux.
- Downloading and Installing Browser GUI via Google
- Downloading and Installing the Browser with Terminal
In this article, we will explain both methods for installing the Chrome browser.
You’ve seen the list of hardware requirements for Chrome. Does your computer meet these requirements? The quickest way to find out is by running a few terminal commands. The truth is, checking Ubuntu’s system specifications is much simpler than you might think. For a comprehensive guide on how to do this, I’ll direct you to the relevant guide.
How to Install Chrome using the GUI (User Interface)
If you are not familiar with Linux commands, the simplest method to install the Chrome browser is to use the user interface. You can download the deb package to your computer by visiting the developer’s website from the user interface and easily install the web browser on your computer.
Step 1
Open the Mozilla Firefox browser installed on your computer, type Chrome download in the Google search box, and press Enter. View the usually top-ranked website listed on the Google search page or visit https://www.google.com/chrome/ to go directly to the download page.
Click the Download Chrome button to download the web browser developed by Google.

Step 2
If you are using a Fedora/openSUSE operating system, you need to choose the second option to download the RPM package. If you are going to download the web browser for the Ubuntu distribution, select the 64-bit .deb (For Debian/Ubuntu) option and click the Accept and Install button.

Step 3
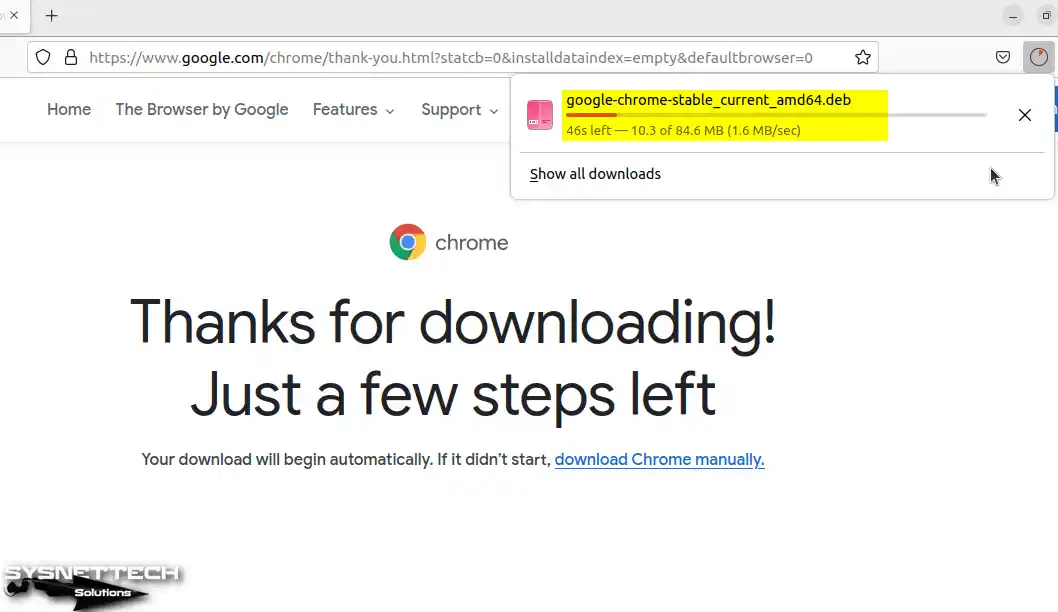
The Google Chrome 64-bit.deb file will start downloading automatically. If the save file window opens, select the download location and click the Save File button.
Step 4
After downloading the .deb package, go to Downloads and double-click on the Chrome.deb file to start the installation. If the installation fails to start, right-click on the .deb package and then click Open With Other Application.
When the Select Application window opens, select the Software Install application and click Select.

Step 5
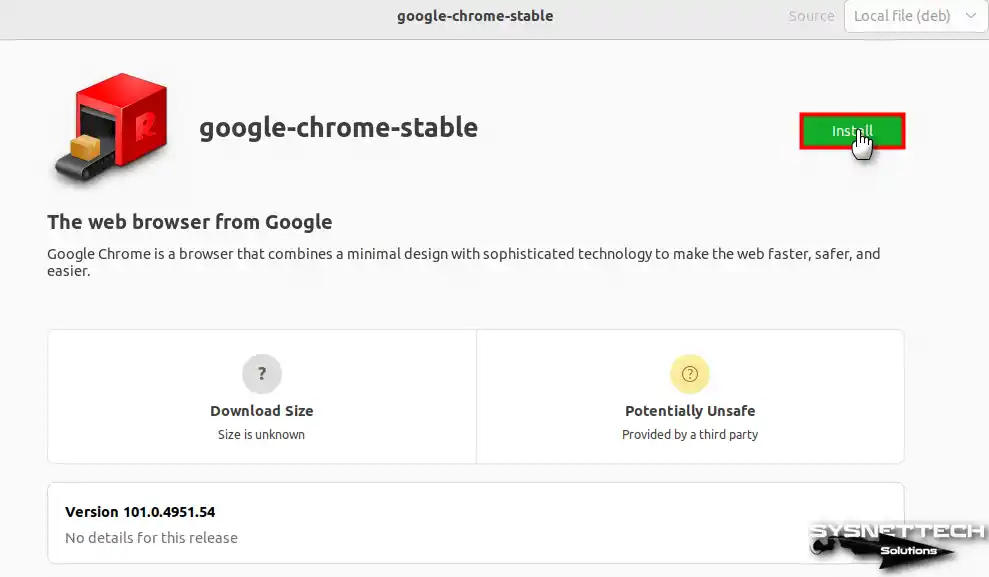
Click the Install button in the Google Chrome Stable installation window. In this step, if a window opens asking you to enter your account password, type your root password and click the Authenticate button.
Step 6
After installing Google Chrome on Ubuntu, open the start menu, find the program by typing “chrome” in the search box, and run it.

Step 7
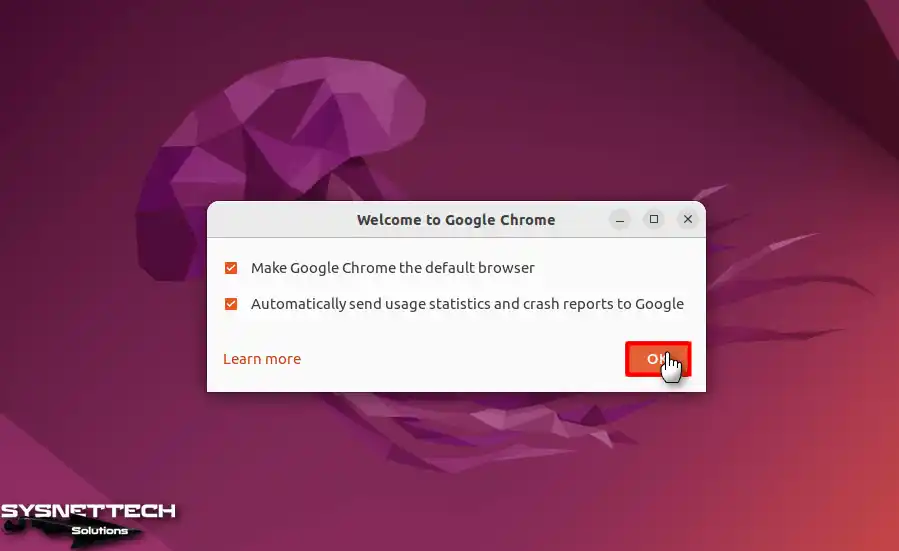
To make Chrome the default browser and automatically send usage statistics to Google, tick both options and click the OK button.
Step 8
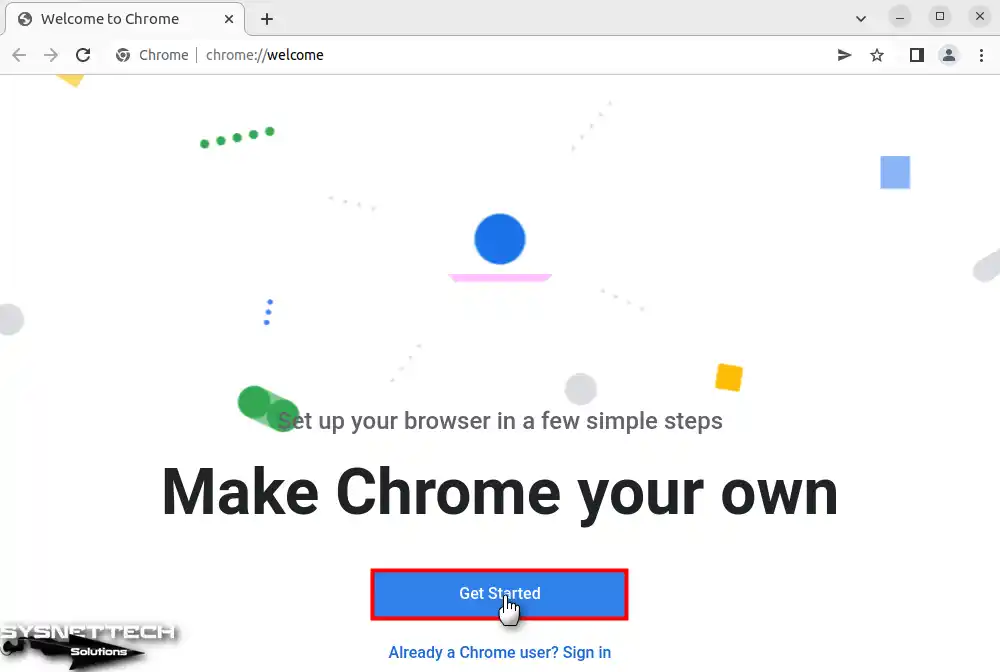
On the Welcome to Chrome homepage, you need to make a few simple settings. Click the Get Started button to customize your browser.
Step 9
If you prefer to add your favorite Google applications to your browser’s bookmarks, tick the listed applications and click Next.

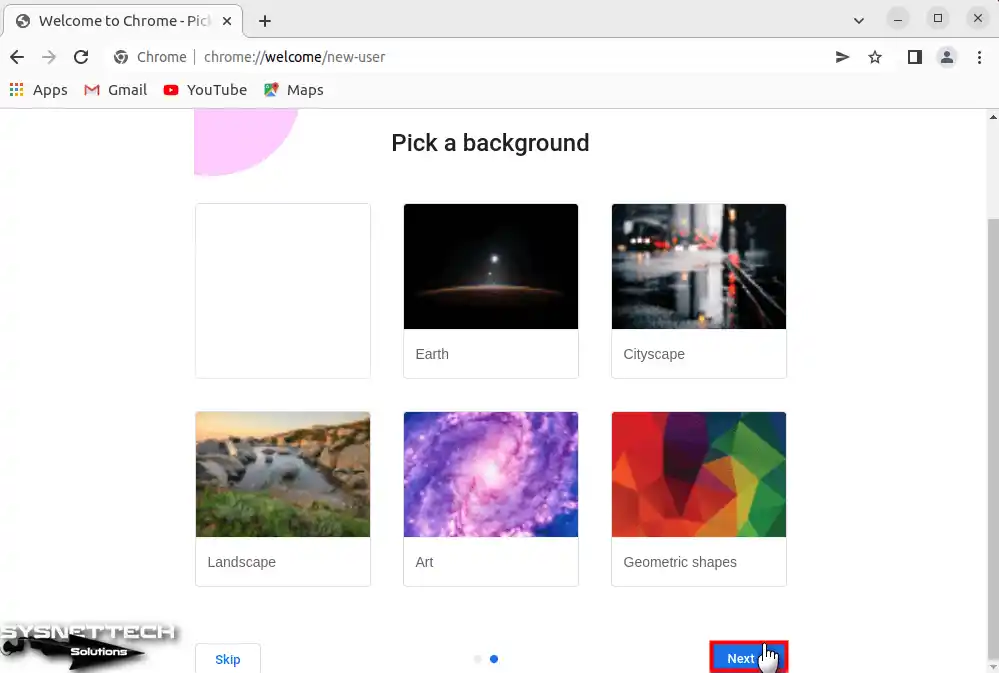
Step 10
You can change the background of your Google browser by selecting one of the listed images or adding a personal photo of your choice.
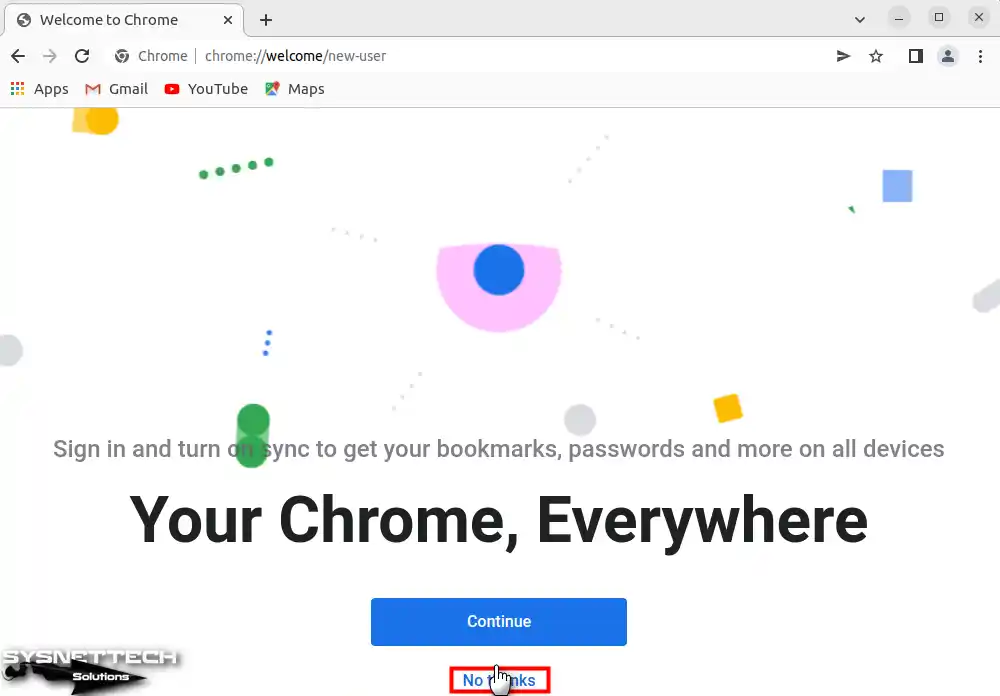
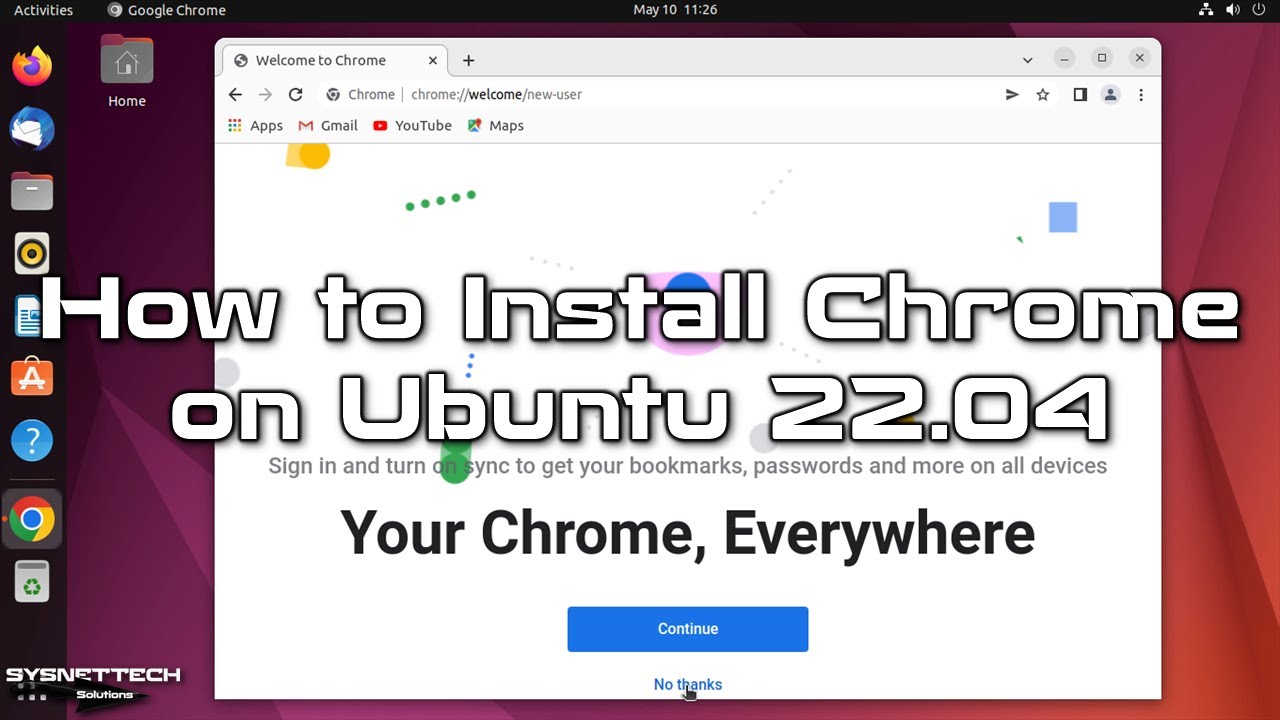
Step 11
If you want to sync your bookmarks, passwords, and saved website logins across all your devices, you need to open your Gmail account in your browser. If you plan to log in later, click No Thanks on this screen and continue.
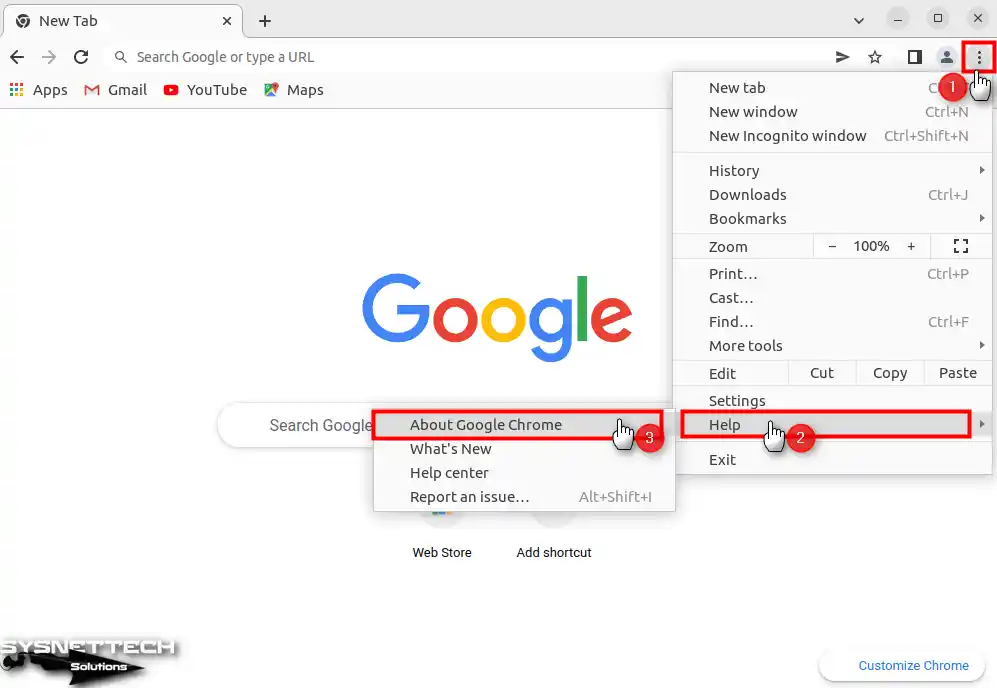
Step 12
To check the version of the Google browser, click on the three vertical dots and click Help / About from the options that appear.
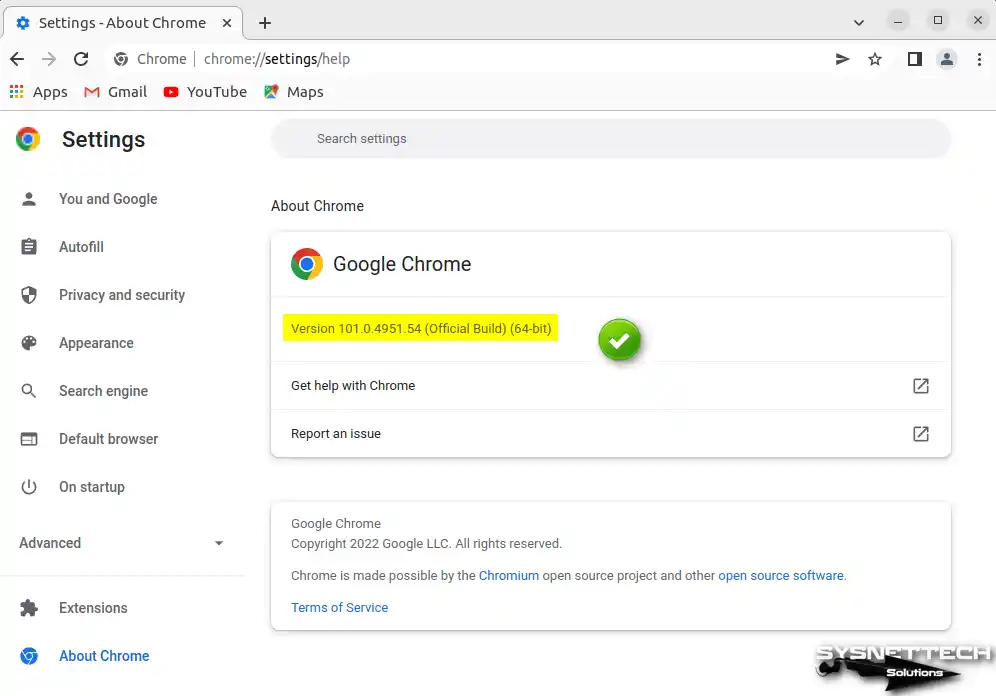
Step 13
You can check that you have installed the latest version of the browser in the Version section of the About Chrome window.
How to Uninstall Google Chrome from an Ubuntu PC
When you want to uninstall the Chrome browser from your Linux computer, you can do this using the Software Center, or you can quickly uninstall using the terminal.
Step 1
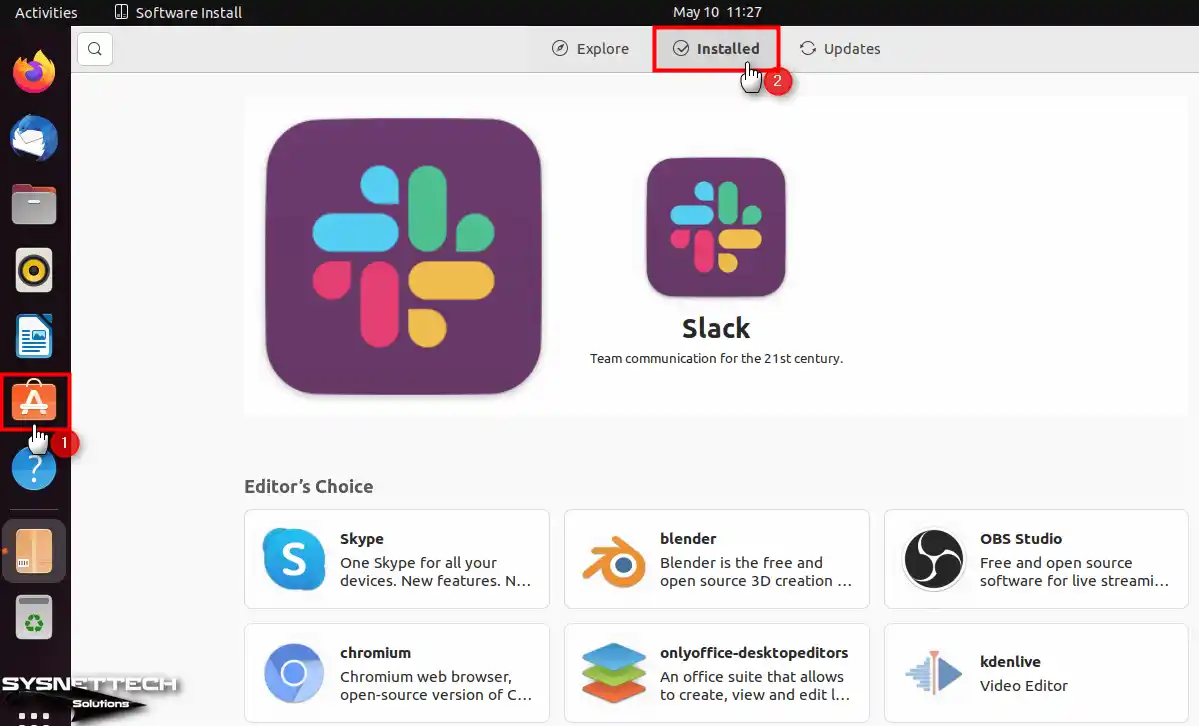
On your Ubuntu system, click Software Install from the software listed in the left sidebar and click Installed Applications in the application interface that opens.
Step 2
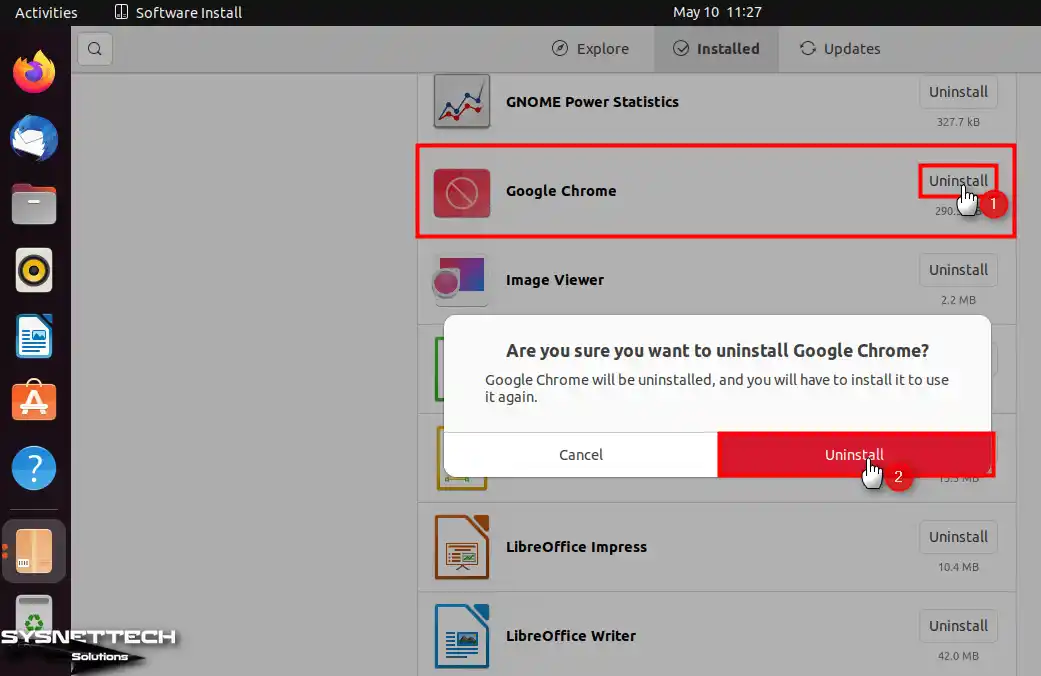
Check the list of applications installed on your computer and find the Chrome browser. Click the Uninstall button next to the application and confirm the operation.
Step 3
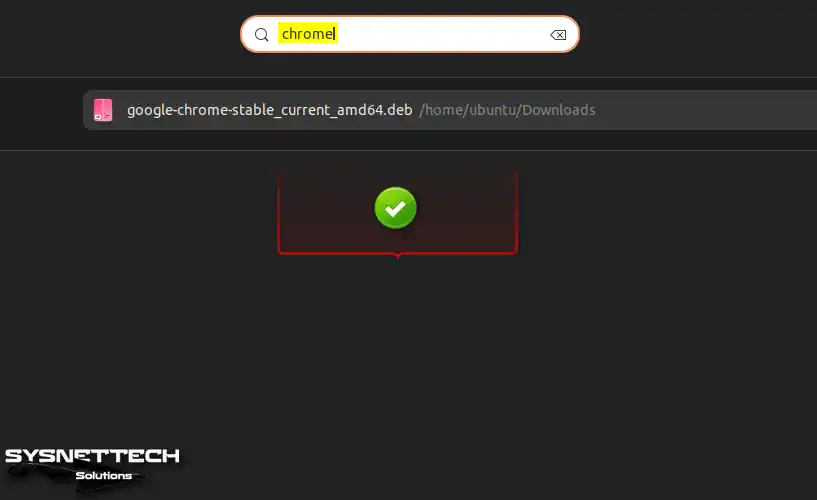
You can see that the browser is not installed on your system when you search for “Chrome” again in the start menu.
How to Install Chrome using Terminal
In order to make the installation of programs faster in Linux distributions, the necessary commands are usually used via the terminal. Users with basic Linux knowledge can quickly install a web browser or 3rd party software on their computers using this method.
During install, you may sometimes face permission issues when asked for the root password. Things can get especially hard if you have forgotten the password. There is one key thing to remember: it is possible to fix this issue without panic. If you run into problems with root access in Ubuntu, I have made a full recovery guide for you.
Step 1
Quickly open the terminal by pressing CTRL + ALT + T together and execute the “cd ~/Downloads” command to go to the location where you will download the program. Next, you need to type the website address using the wget command to download the Chrome.deb package from the Google server.
cd ~/Downloads
wget https://dl.google.com/linux/direct/google-chrome-stable_current_amd64.deb
If you are using the Ubuntu 32-bit system, you need to use the command below to download the browser’s x86-supported deb package.
wget https://dl.google.com/linux/direct/google-chrome-stable_current_i386.deb
Step 2
After downloading the deb package, execute the command “sudo dpkg i- google-chrome-stable_current_amd64.deb” in the terminal to start the installation.
sudo dpkg i- google-chrome-stable_current_amd64.deb
How to Uninstall Google Browser from Ubuntu PC with Terminal
You can use some commands in the terminal to quickly uninstall a program in Ubuntu or other Linux distributions.
Step 1
To uninstall the Google web browser you have installed on Ubuntu, execute the “sudo apt purge –auto-remove google-chrome-stable” command in the terminal and press Y and Enter to confirm the dependent packages to be removed.
sudo apt purge --auto-remove google-chrome-stable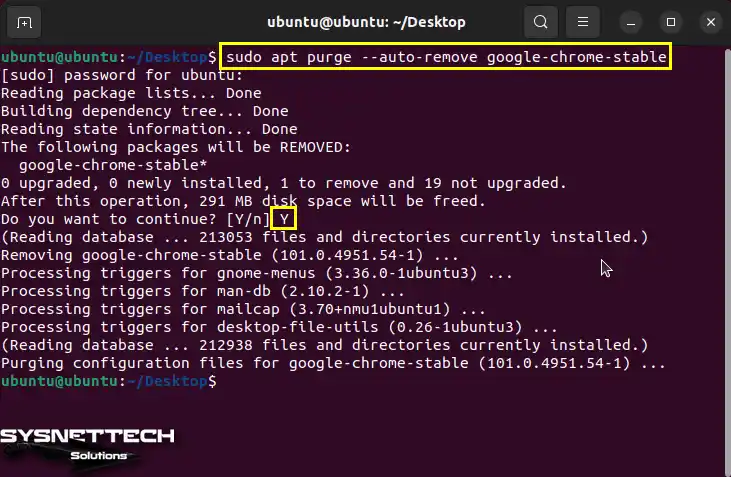
Video
Installing Old Versions
FAQ About Google Chrome on Ubuntu
I downloaded the .deb package for Ubuntu but I get a dependency error during installation. What should I do?
Is it smarter to install from the terminal or the graphical interface?
Does Google Chrome update itself automatically after installation?
I use 32-bit Ubuntu. How can I install Chrome?
Support for Ubuntu 23.10 has ended. Can I keep using Chrome on this version?
Conclusion
In conclusion, installing Google Chrome on Ubuntu is quite simple and easy. You can also choose between a graphical interface and a terminal method. In short, you can quickly install Chrome using the steps I have explained.
Once the repository is added, keeping your system current is very easy. Not just browser updates, but all system updates come through this way. In simple words, making a routine of regular updates is the base of security. Over time, you may want to adjust your update settings. For that, I suggest looking at my guide on setting up Ubuntu system updates.
In addition, Chrome is one of the fastest and most secure browsers. It also offers you seamless integration with Google services. Thanks to this integration, you can easily access your accounts. Plus, you can synchronize your data between different devices. You can increase your productivity by customizing your web browser. In short, it allows you to surf the Internet safely and efficiently.

Be the first to share your comment