
In today’s linked world, good network care is key. It keeps the talk smooth and the data moving well. One big tool for this is NAT (Network Address Translation).
Most of all, Dynamic NAT does a big job. It lets private IPs change to public ones on the fly. So, it uses things better and saves our few IP addresses.
Here, we will see how to set up Dynamic NAT on a Cisco router. We will use Packet Tracer to do this.
If you are new to networks or want to practice, this guide is for you. It gives clear steps and real tips. We will learn Dynamic NAT in a test space. Let’s begin!
Understanding Dynamic NAT Logic on Cisco Routers
Dynamic NAT changes private IPs into public ones. This lets devices on a home network talk to the web.
When a device goes online, the NAT router gives it a public IP address for a while. When it stops, the public IP is used again. This helps us use public IPs well.
It also keeps the inside network safe and private. In all, NAT lets many devices share a few public IPs easily.
To set up Dynamic NAT on your Router, first, make a group for the IP numbers from your ISP. Then, list the close networks on the Router that will use these public IPs.
When a computer from your network goes online, it will use a free IP address from the NAT group on the Router. Do these steps in Packet Tracer to understand NAT better.
How to Set Up Dynamic NAT on a Router in Packet Tracer
Steps:
Step 1
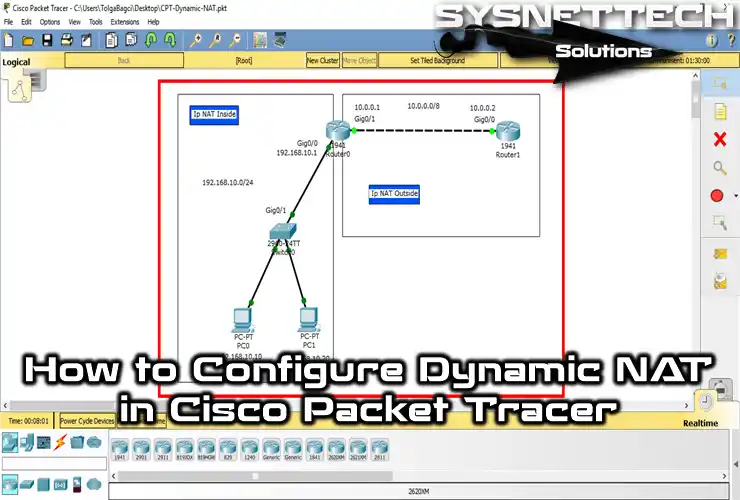
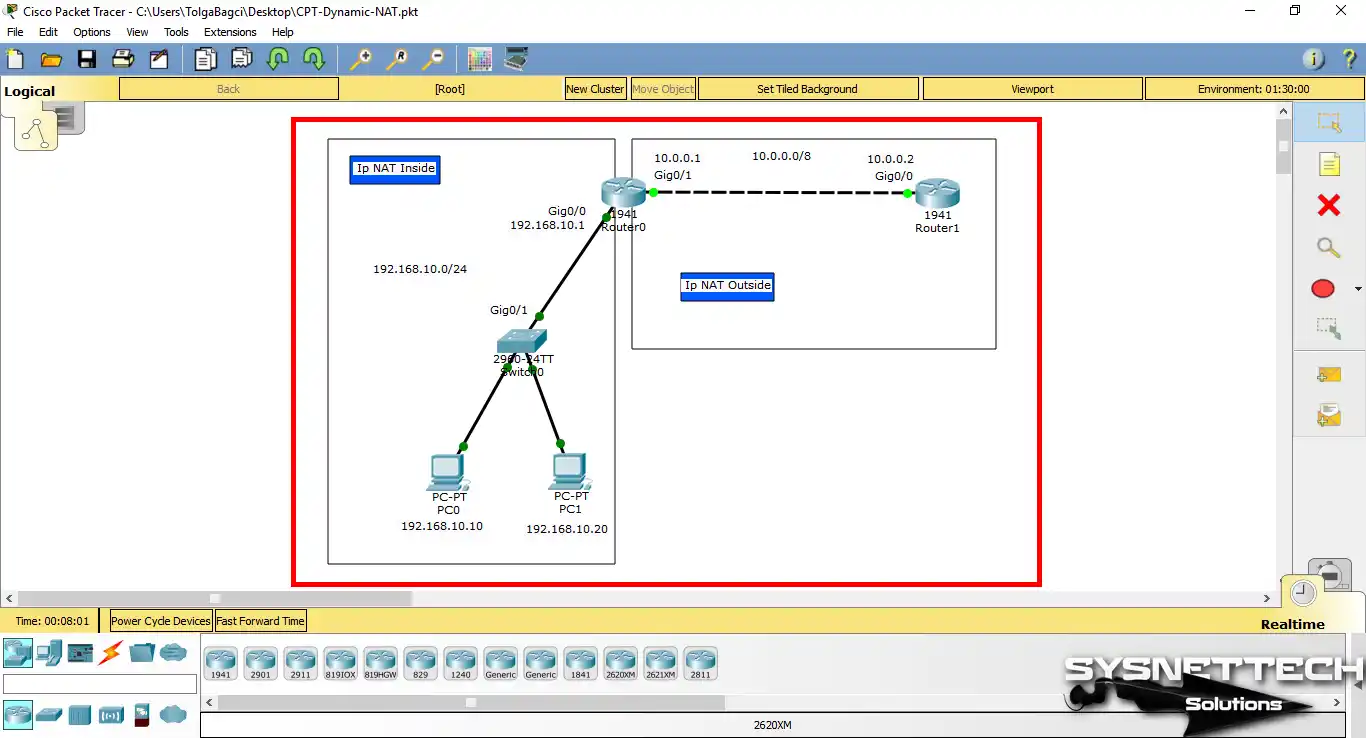
Open the Cisco network software and add two routers to the work environment, specifying INSIDE and OUTSIDE for NAT.
Step 2
After adding two computers to the network topology, configure their TCP/IP settings according to your IP block as follows.

Step 3
After opening the CLI prompt by clicking on the Router, first, assign the IP address to the GigabitEthernet and Serial interfaces. Then, perform the following commands to create a new NAT pool and define the access list and local network for this pool.
Router# conf t
Router(config)# interface gigabitethernet 0/0
Router(config-if)# ip address 192.168.10.1 255.255.255.0
Router(config-if)# ip nat inside
Router(config-if)# no shutdown
Router(config-if)# exit
Router(config)# interface gigabitethernet 0/1
Router(config-if)# ip address 10.0.0.1 255.0.0.0
Router(config-if)# ip nat outside
Router(config-if)# no shutdown
Router(config-if)# exit
Router(config)# ip nat pool DYNAMICNAT 10.0.0.5 10.0.0.10 netmask 255.0.0.0
Router(config)# ip access-list 1 permit 192.168.10.0 0.0.0.255
Router(config)# ip nat inside source list 1 pool DYNAMICNAT
Router(config)# end
Router# wr

Step 4
After configuring Dynamic NAT, test the connection from PC0 to Router1’s Serial interface (10.0.0.2).

Step 5
Likewise, if you Ping from PC1 to Cisco Router1, the process will be successful.

Step 6
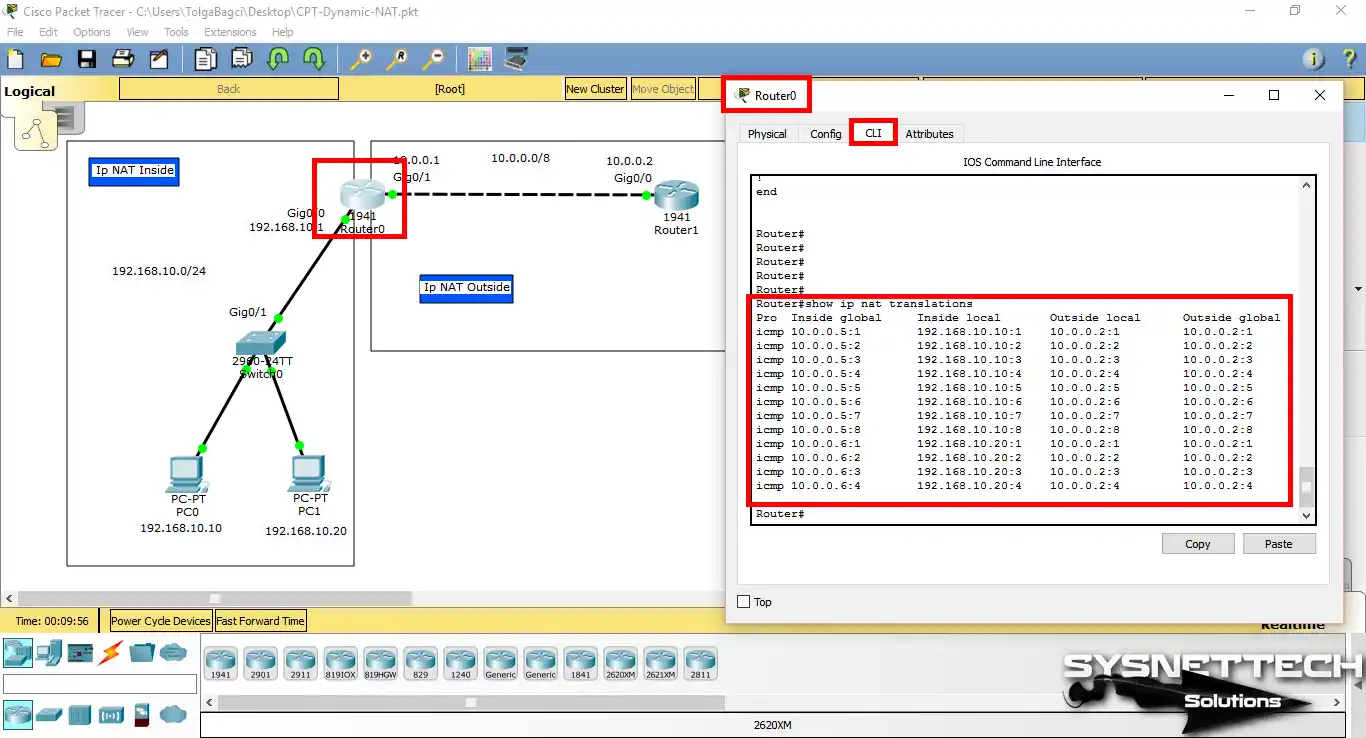
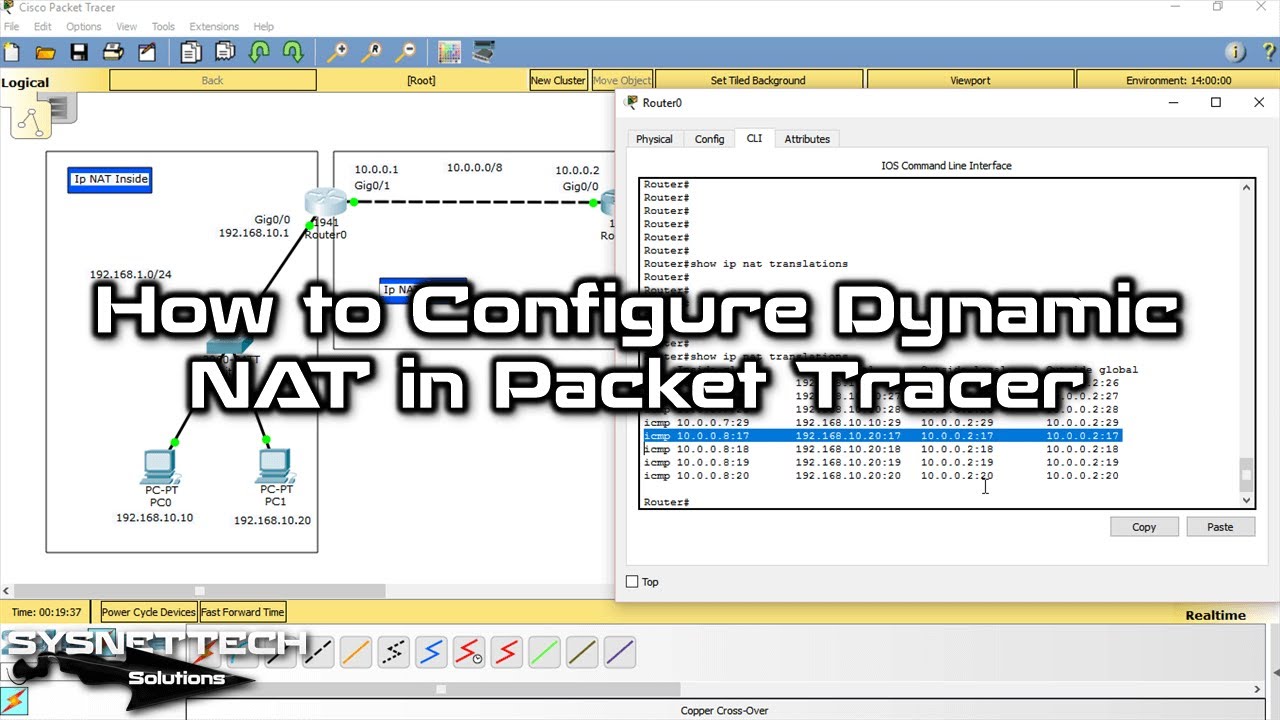
On Router0, you can examine the NAT records after pinging by executing the show ip nat translations command.
As we can see in the records, the 192.168.10.10 and 192.168.10.20 IP addresses have been translated into the global 10.0.0.5 and 10.0.0.6 IP addresses in the NAT pool.
CLI Show Commands for Dynamic NAT
- Router – NAT Translations
- Router – Running Config (NAT)
- Router – NAT Statistics
- Router – Running Config (Diğer)
Router# show ip nat translations
Pro  Inside global   Inside local    Outside local   Outside global
icmp 10.0.0.5:1      192.168.10.10:1 10.0.0.2:1      10.0.0.2:1
icmp 10.0.0.5:2      192.168.10.10:2 10.0.0.2:2      10.0.0.2:2
icmp 10.0.0.5:3      192.168.10.10:3 10.0.0.2:3      10.0.0.2:3
icmp 10.0.0.5:4      192.168.10.10:4 10.0.0.2:4      10.0.0.2:4
icmp 10.0.0.5:5      192.168.10.10:5 10.0.0.2:5      10.0.0.2:5
icmp 10.0.0.5:6      192.168.10.10:6 10.0.0.2:6      10.0.0.2:6
icmp 10.0.0.5:7      192.168.10.10:7 10.0.0.2:7      10.0.0.2:7
icmp 10.0.0.5:8      192.168.10.10:8 10.0.0.2:8      10.0.0.2:8
icmp 10.0.0.6:1      192.168.10.20:1 10.0.0.2:1      10.0.0.2:1
icmp 10.0.0.6:2      192.168.10.20:2 10.0.0.2:2      10.0.0.2:2
icmp 10.0.0.6:3      192.168.10.20:3 10.0.0.2:3      10.0.0.2:3
icmp 10.0.0.6:4      192.168.10.20:4 10.0.0.2:4      10.0.0.2:4
Router# show running-config
Building configuration...
Current configuration : 806 bytes
!
version 15.1
no service timestamps log datetime msec
no service timestamps debug datetime msec
no service password-encryption
!
hostname Router
!
ip cef
no ipv6 cef
!
license udi pid CISCO1941/K9 sn FTX1524A5WO
!
spanning-tree mode pvst
!
interface GigabitEthernet0/0
ip address 192.168.10.1 255.255.255.0
ip nat inside
duplex auto
speed auto
!
interface GigabitEthernet0/1
ip address 10.0.0.1 255.0.0.0
ip nat outside
duplex auto
speed auto
!
interface Vlan1
no ip address
shutdown
!
ip nat pool DYNAMICNAT 10.0.0.5 10.0.0.10 netmask 255.0.0.0
ip nat inside source list 1 pool DYNAMICNAT
ip classless
!
ip flow-export version 9
!
access-list 1 permit 192.168.10.0 0.0.0.255
!
line con 0
line aux 0
line vty 0 4
login
!
endRouter# show ip nat statistics
Total translations: 0 (0 static, 0 dynamic, 0 extended)
Outside Interfaces: GigabitEthernet0/1
Inside Interfaces: GigabitEthernet0/0
Hits: 9 Misses: 12
Expired translations: 12
Dynamic mappings:
-- Inside Source
access-list 1 pool DYNAMICNAT refCount 0
pool DYNAMICNAT: netmask 255.0.0.0
start 10.0.0.5 end 10.0.0.10
type generic, total addresses 6, allocated 0 (0%), misses 0
Router#Router# show running-config
Building configuration...
Current configuration : 613 bytes
!
version 15.1
no service timestamps log datetime msec
no service timestamps debug datetime msec
no service password-encryption
!
hostname Router
!
ip cef
no ipv6 cef
!
license udi pid CISCO1941/K9 sn FTX152407TL
!
spanning-tree mode pvst
!
interface GigabitEthernet0/0
ip address 10.0.0.2 255.0.0.0
duplex auto
speed auto
!
interface GigabitEthernet0/1
no ip address
duplex auto
speed auto
shutdown
!
interface Vlan1
no ip address
shutdown
!
ip classless
ip flow-export version 9
!
line con 0
line aux 0
line vty 0 4
login
!
endVideo
You can watch the video below to enable Dynamic NAT on the Router using the Cisco simulator. Also, subscribe to our YouTube channel to support us!
Conclusion
To end, learning Dynamic NAT on Cisco Routers is key. It helps with good network care and smart resource use. This guide shows how to put it in place simply. This method lets private networks talk to the web. Also, it boosts safety by hiding inside IP addresses.
By doing the steps in Packet Tracer, you can try Dynamic addressing. This real practice will get you ready for actual networking. We hope this guide gives helpful tips. Now, you can run your networks with sure skill. Good luck networking!
If you want to learn more about NAT, try Static NAT in Packet Tracer. Static method links a private IP to a public IP. This makes a direct link. It is excellent for running services on your own network, like a website.

Be the first to share your comment