
With Sysprep (System Preparation Tool), you can easily duplicate Windows systems.
Computers with the same hardware in an environment can save time by replicating and seamlessly modifying the SID numbers of user accounts with Sysprep.
How to Change SID Number using Sysprep
Configuring Sysprep in Windows 10 is relatively easy. In the previous article, we covered what Sysprep does. In this article, I’ll show you how to change the user SID.
This process allows you to transfer the cloned operating system to a computer with the same hardware. This allows for quick and seamless installation.
If you have many similar computers, set all the settings on one first. Then, use Sysprep to generalize the system and make an installation image.
You can then give this image to other computers. So, you can quickly install or copy your OS.
How to Change SID Number in Windows 10
First of all, check the SID numbers of the existing users, and then verify the action you have taken after changing the SID of a computer using Sysprep.
Step 1
Before using Sysprep, let’s look at the SID numbers of the user accounts in the operating system. This information will, of course, change after this step.
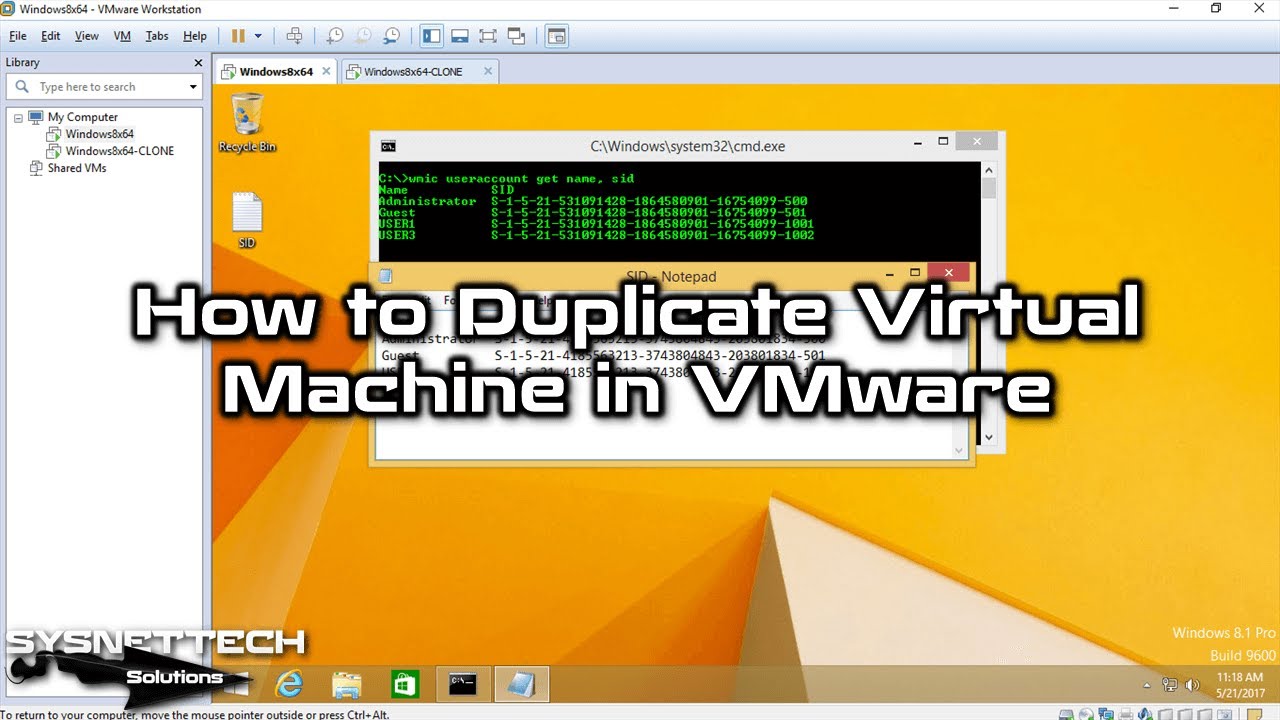
First, to find the user SID numbers, execute the following command at the CMD prompt.
wmic useraccount get name, sidPress Windows + R to open the Run.

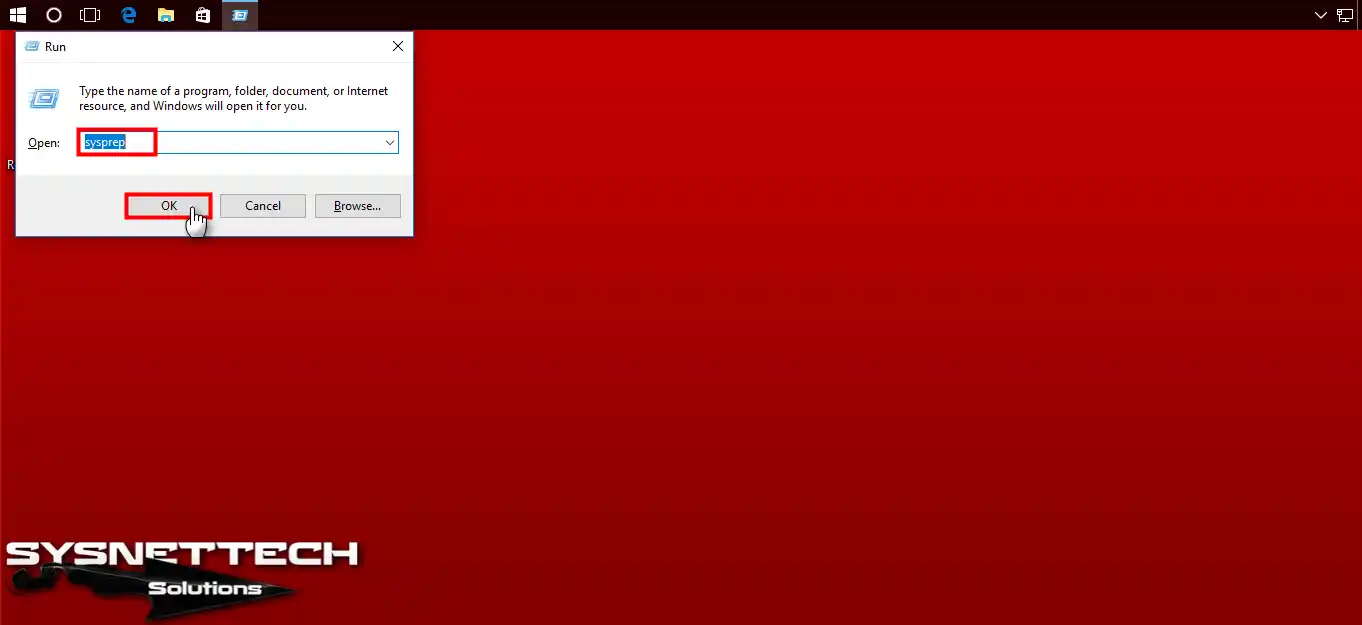
Step 2
In the Run window, type Sysprep and press OK.
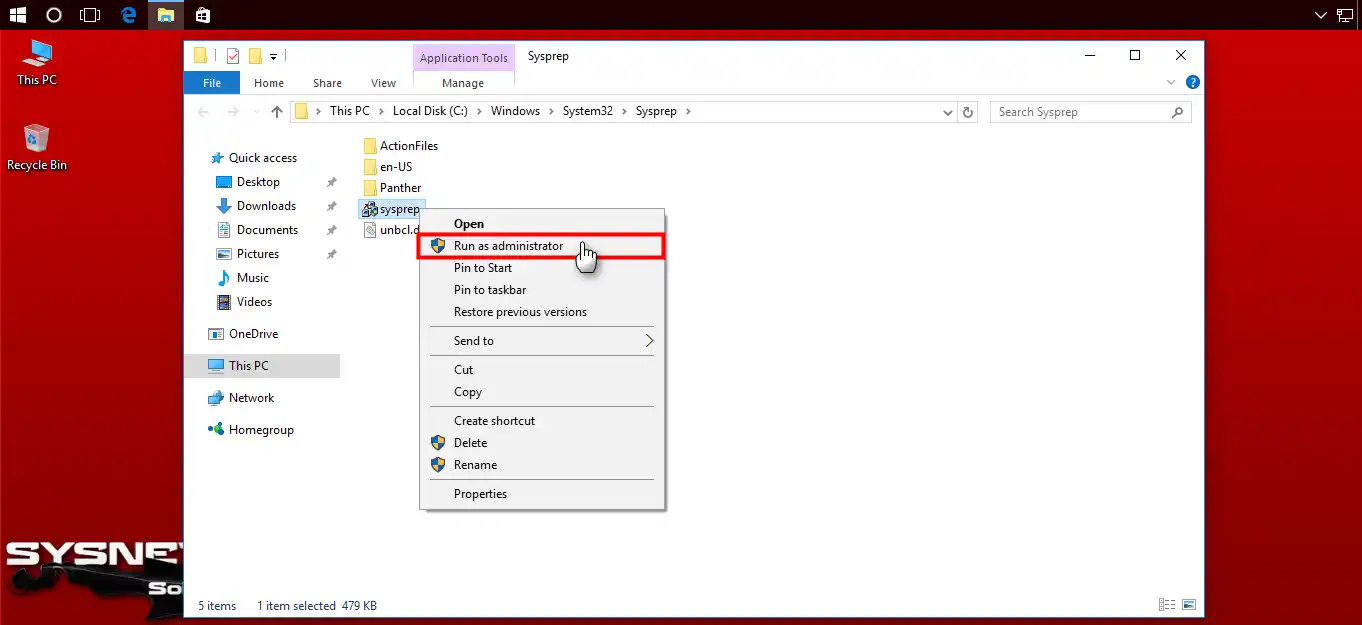
Step 3
Once you have opened the OS imaging tool location, run the program as an administrator.
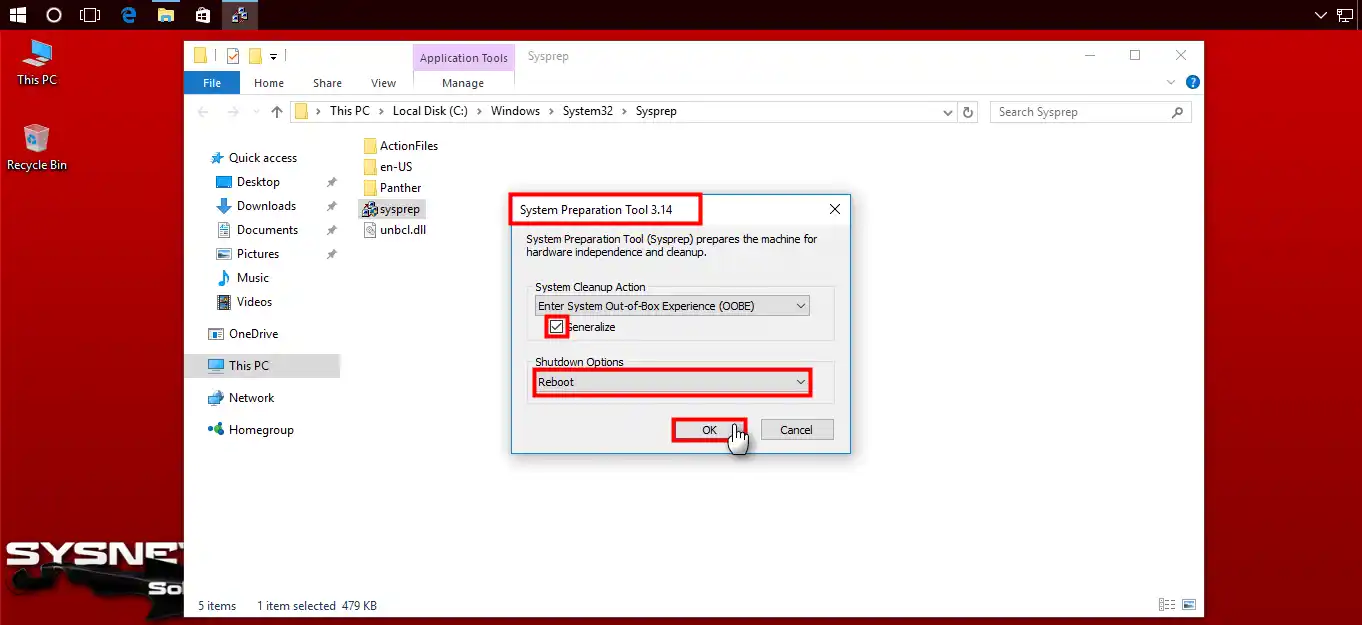
Step 4
Once you open Sysprep (System Preparation Tool), select the Generalize option.
Then, continue by setting the Shutdown Options setting to Reboot.
Step 5
I recommend waiting a short while while the Deployment Tool prepares your OS.

Step 6
After you finish the process, your Microsoft system will restart itself.

Step 7
Wait while preparing devices.

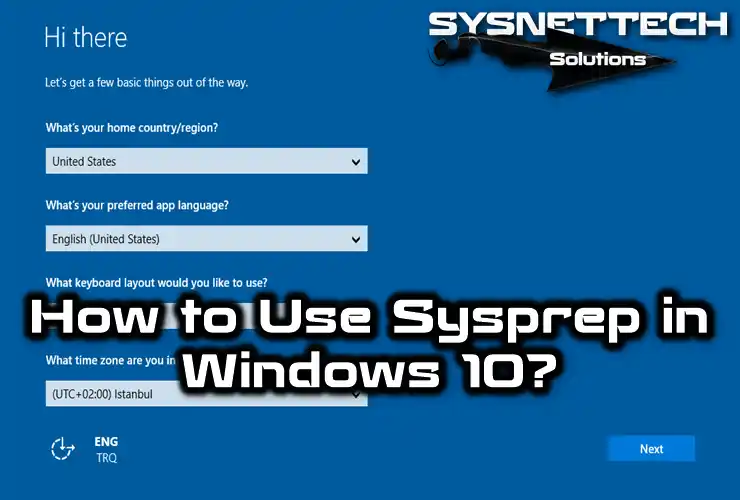
Step 8
After setting the Country, Language, Keyboard, and Time zone, press Next.

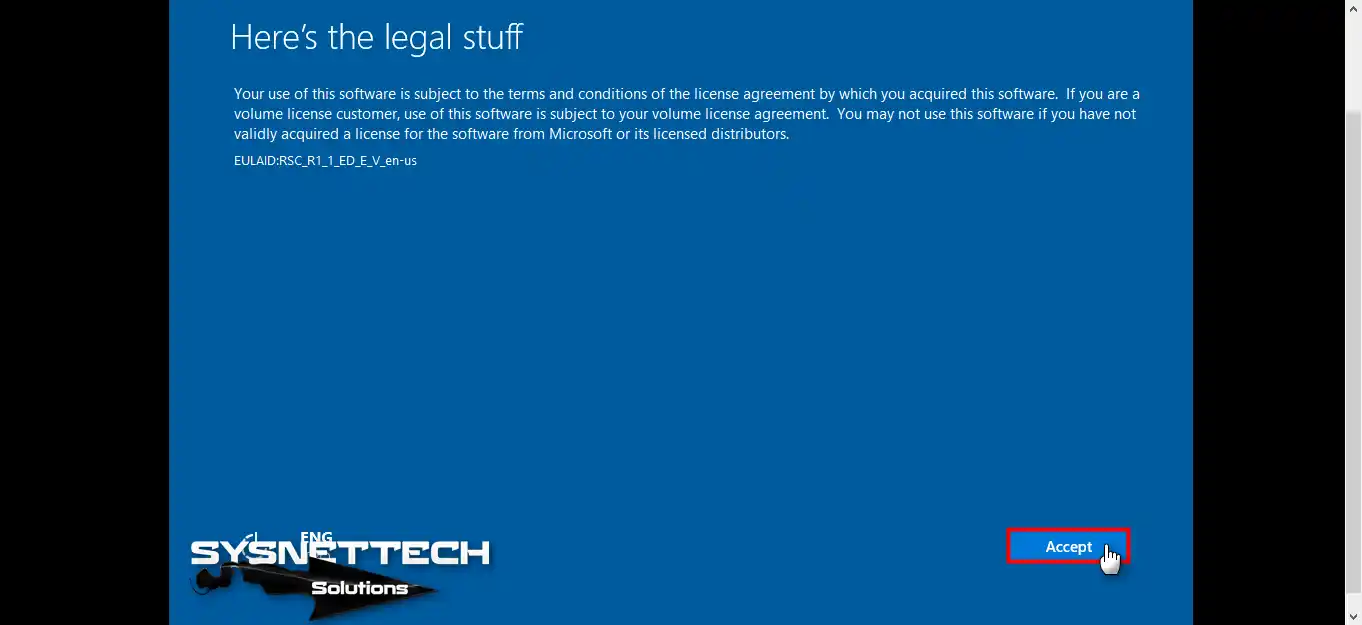
Step 9
The wizard gives us information about the license. Click on the Accept button to continue.
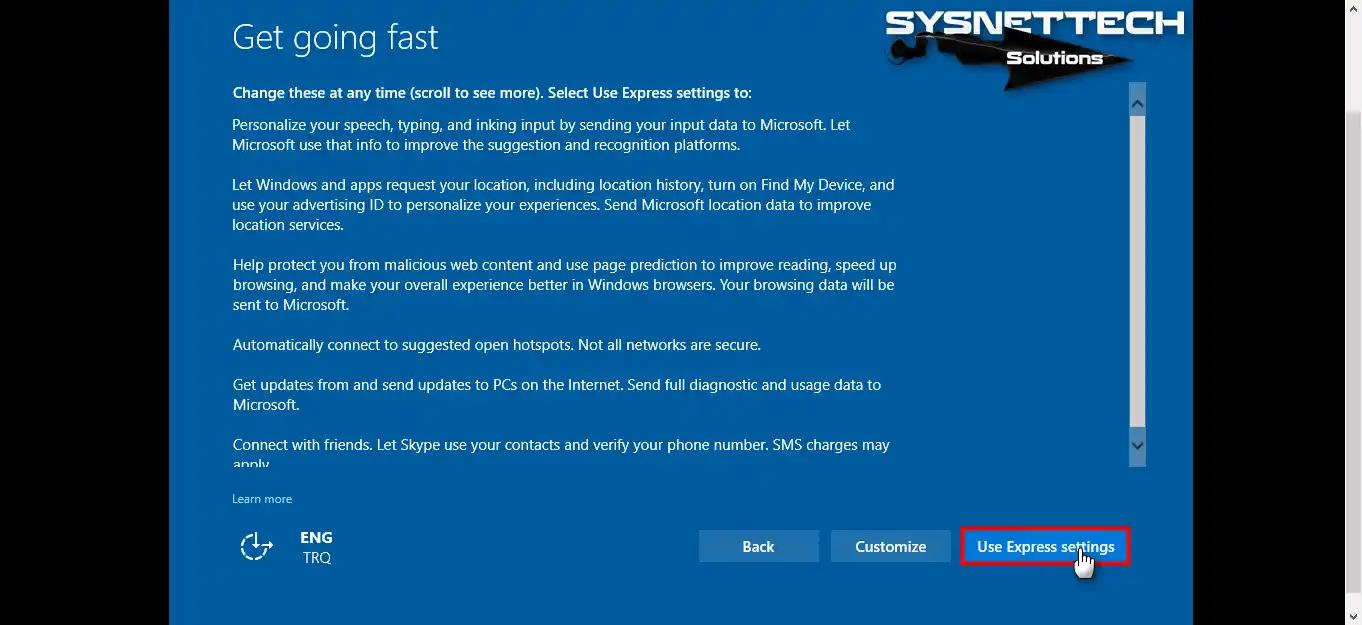
Step 10
Continue by selecting Use Express Settings.
Step 11
Wait while preparing the Windows platform.

Step 12
To open an account on a local domain, select the option below.
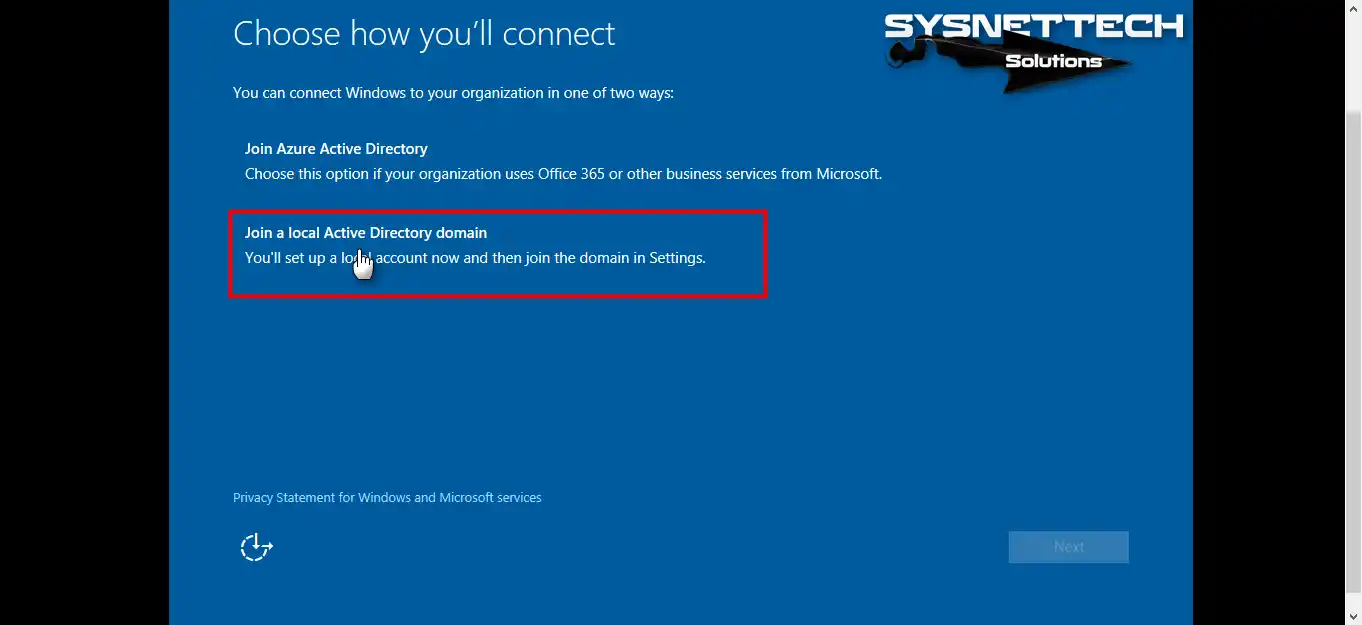
Step 13
In the Choose how you’ll connect window, click Next.

Step 14
Enter a new username for the system and click on the Next button.

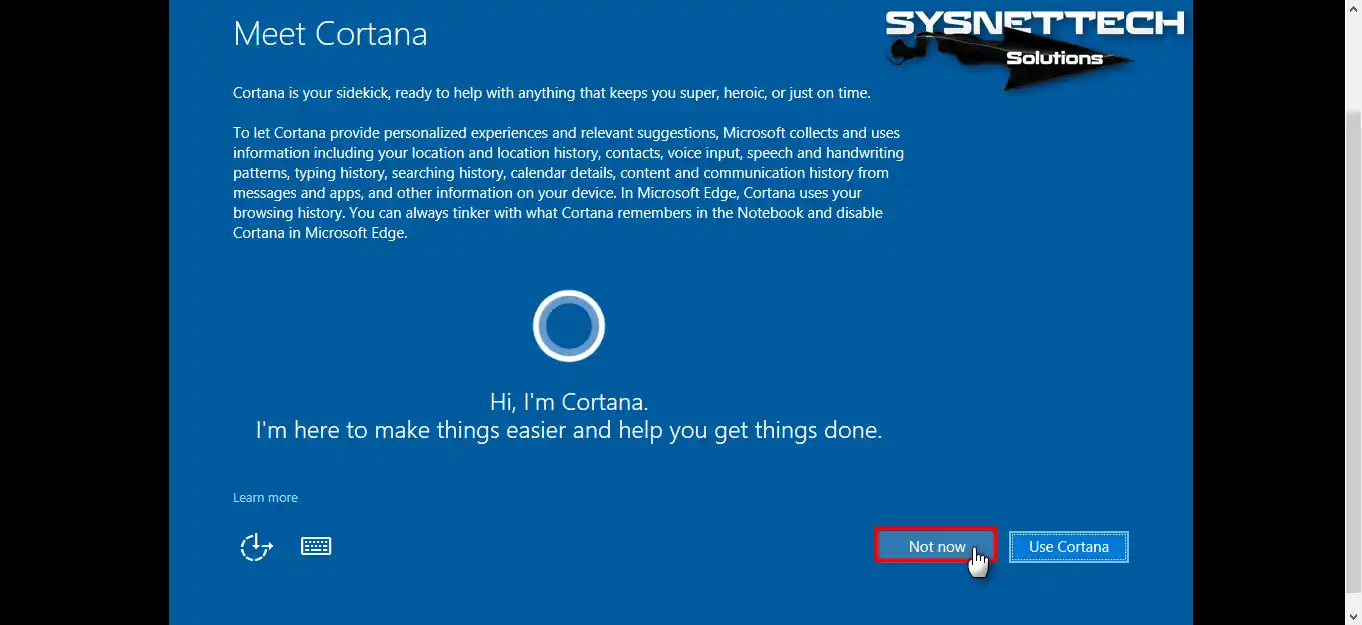
Step 15
If you want to accept the Cortana feature, click on the Use Cortana button. Continue by clicking the Not Now button to bypass the Windows Cortana feature.
Step 16
Now, you will see a welcome screen like you just installed a new OS.

Step 17
If you compare SID numbers after your computer is turned on, you can see that they are different.

Video
Conclusion
In this article, we’ve examined how to configure Sysprep. With this feature, after you create a Windows 10 custom image, you can deploy it to other computers. Thanks for following us!

Be the first to share your comment