
In this article, we will examine how to install a TFTP server using SolarWinds TFTP Server to transfer files on a Windows PC.
How to Configure a TFTP Server on a PC
TFTP (Trivial File Transfer Protocol) performs the file/data transfer operation. However, we can say that it is a non-secure protocol when compared with the FTP protocol.
In our previous article, we gave information about TFTP. In this article, we’ll build a TFTP server for PCs with SolarWinds.
As you know, the TFTP protocol structure is divided into two parts: Server and client. You can run a server by installing the 3rd software on a laptop or desktop computer that you are using.
Plus, you do not need a physical server for the server. You can install SolarWinds software on a simple computer and create a file server.
What is a TFTP Server?
It listens to the UDP 69 port on the network and provides file-based services to clients. Typically, it is used to install software on a Cisco or any branded Router. It is not recommended to use TFTP in an environment where your security is more important.
FTP or another protocol can be used instead of TFTP. You can also test this protocol by temporarily setting up a server on the local network to understand it better.
How to Set Up SolarWinds TFTP Server
First, download the SolarWinds Server by clicking the button below. Then, please create a new virtual machine using the VMware or VirtualBox virtualization program and install a clean Windows 10 on it.
After you have completed the necessary steps, follow the steps below to set up the file server.
Step 1
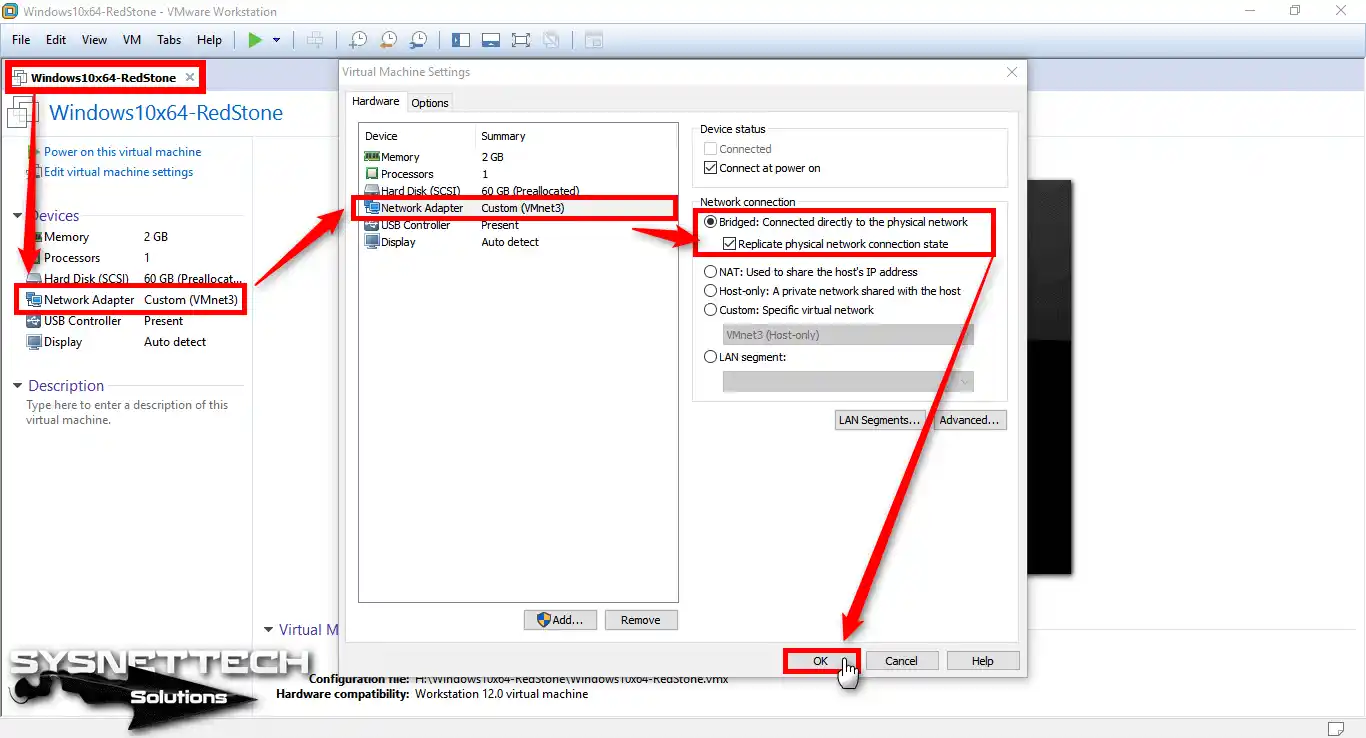
Configure the network settings for the VMware virtual machine as Bridged.
Step 2
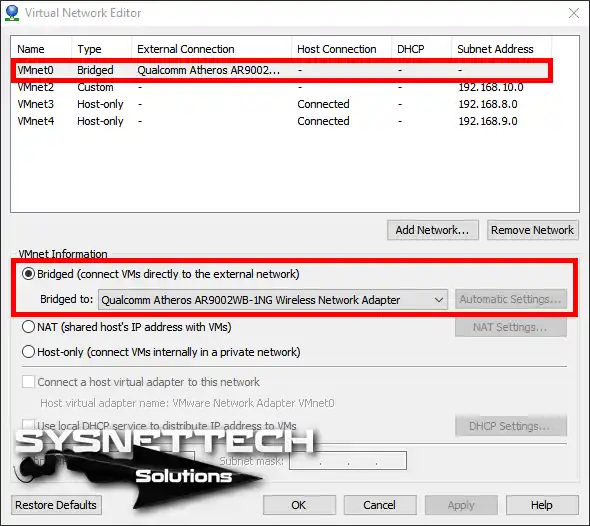
You can also configure VMnet0 as a bridge in VMware Virtual Network Editor.
Step 3
Run the Windows 10 virtual machine.

Step 4
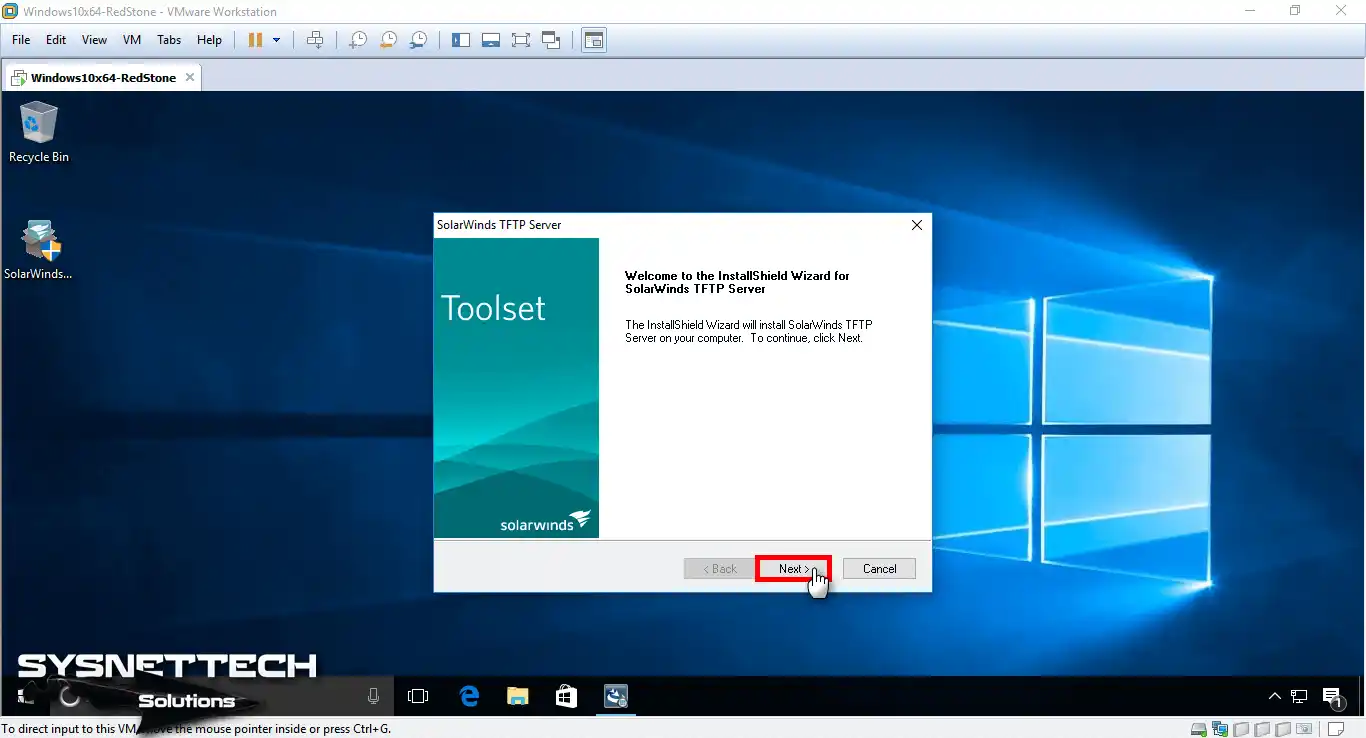
Copy the SolarWinds TFTP Server program that you downloaded on your computer to the Win10 virtual machine and run the installation file as an administrator.

Step 5
In the SolarWinds setup window, click the Next button.
Step 6
Accept the SolarWinds license agreement and click on the Next button.

Step 7
Click on the Next button again.

Step 8
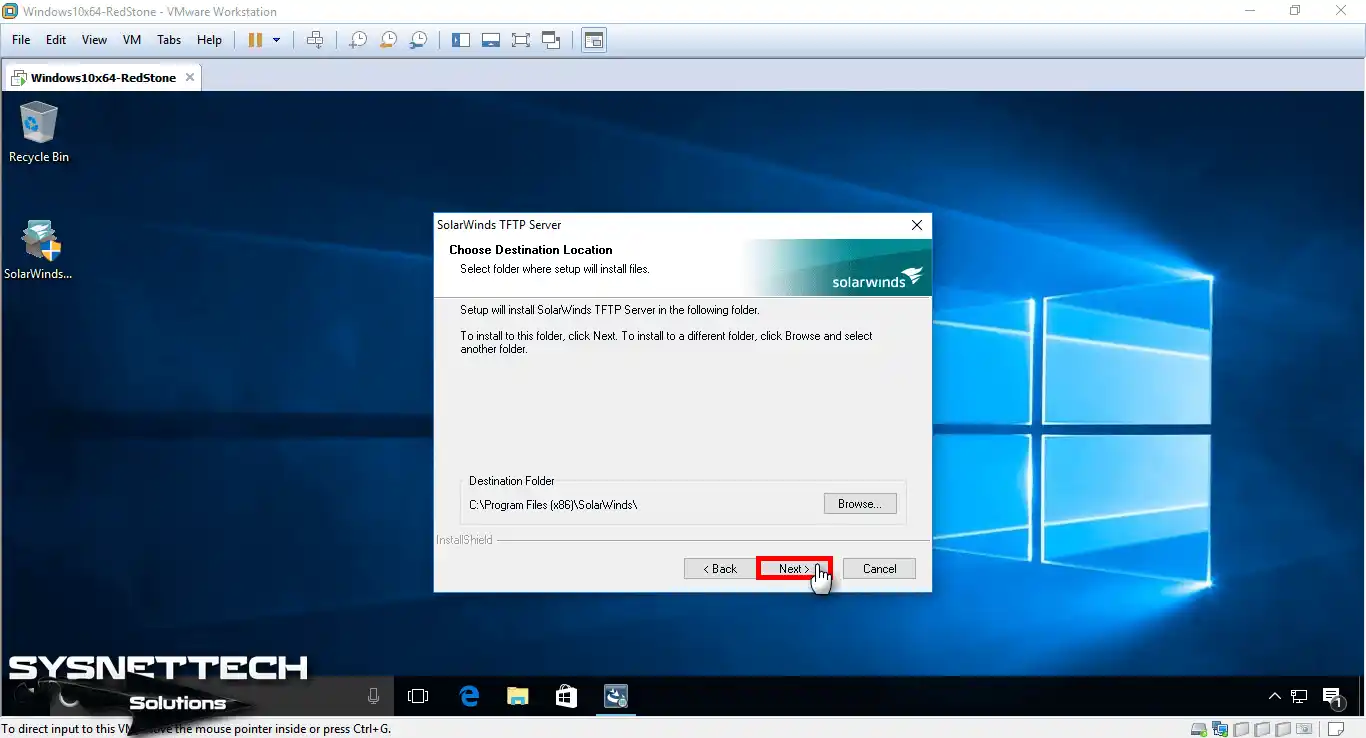
Leave the destination location as the default and click on Next.
Step 9
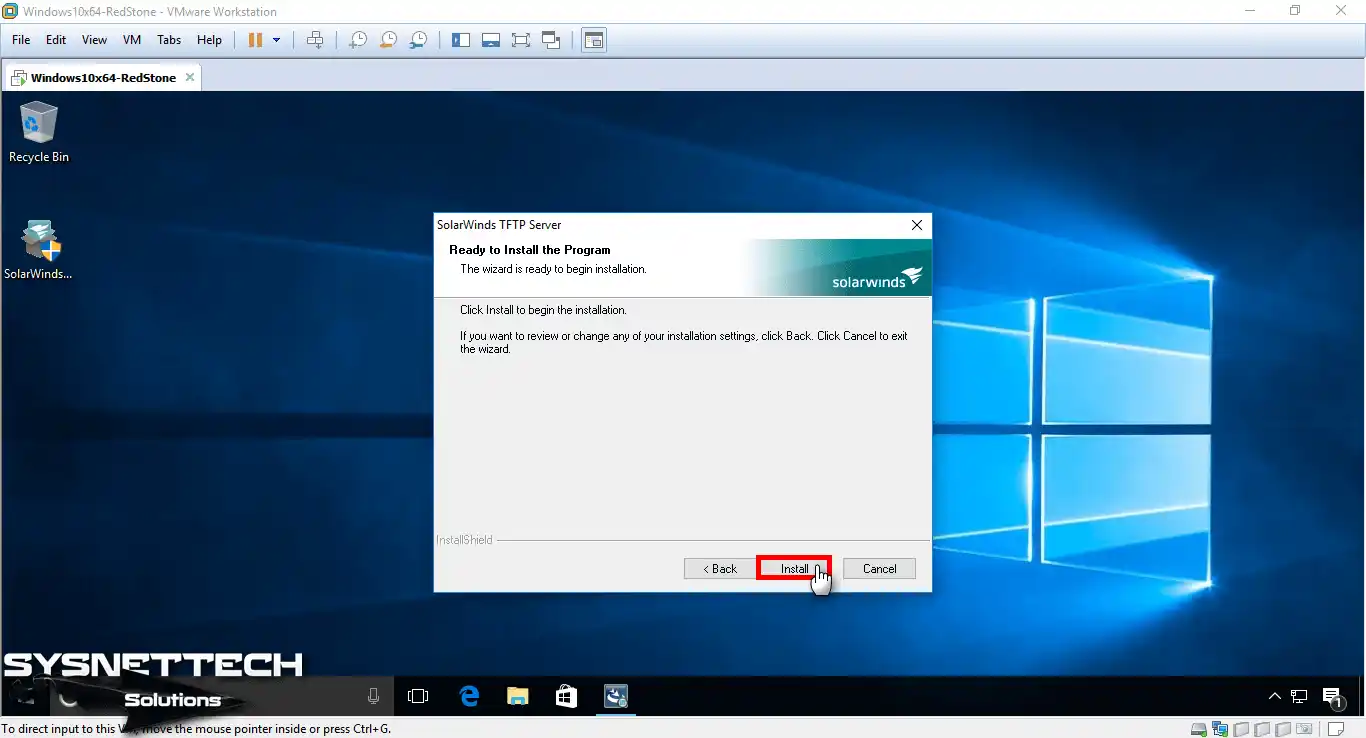
Click the Install button to install SolarWinds software.
Step 10
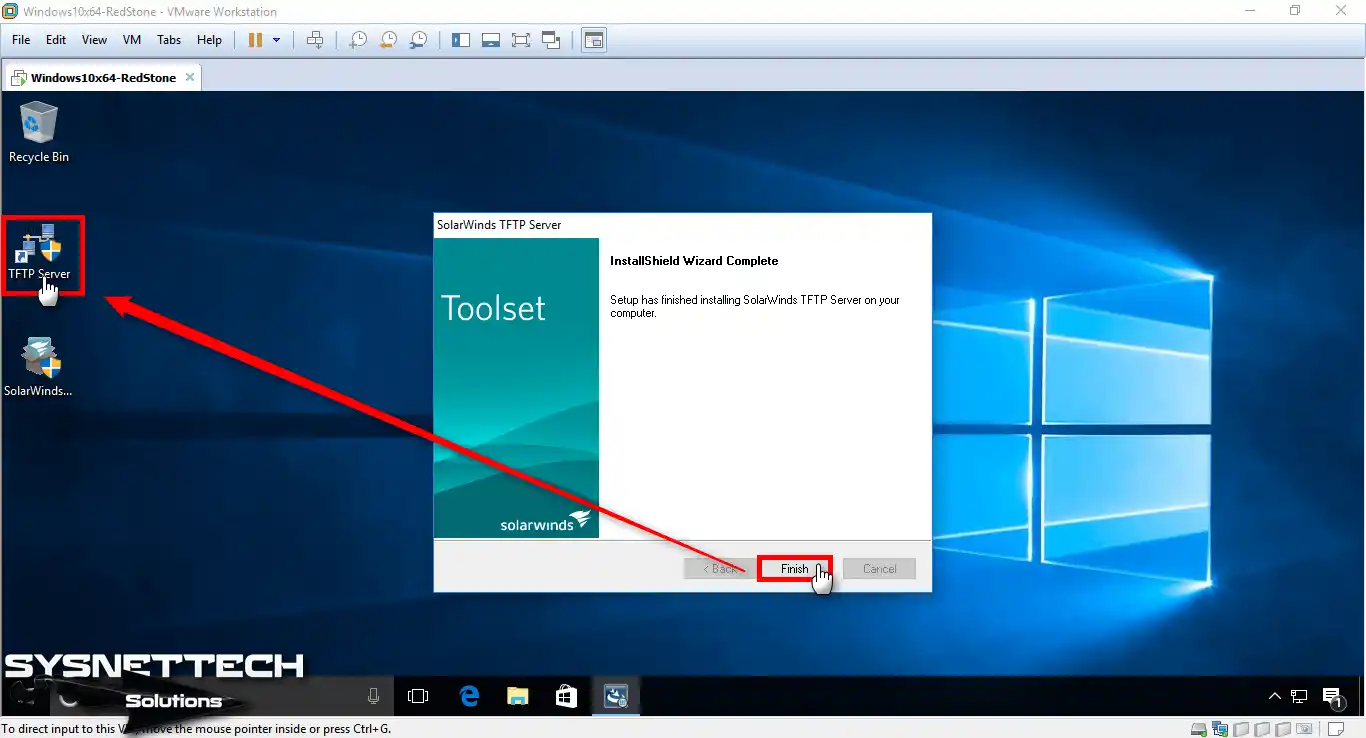
Click on the Finish button in the InstallShield window.
Step 11
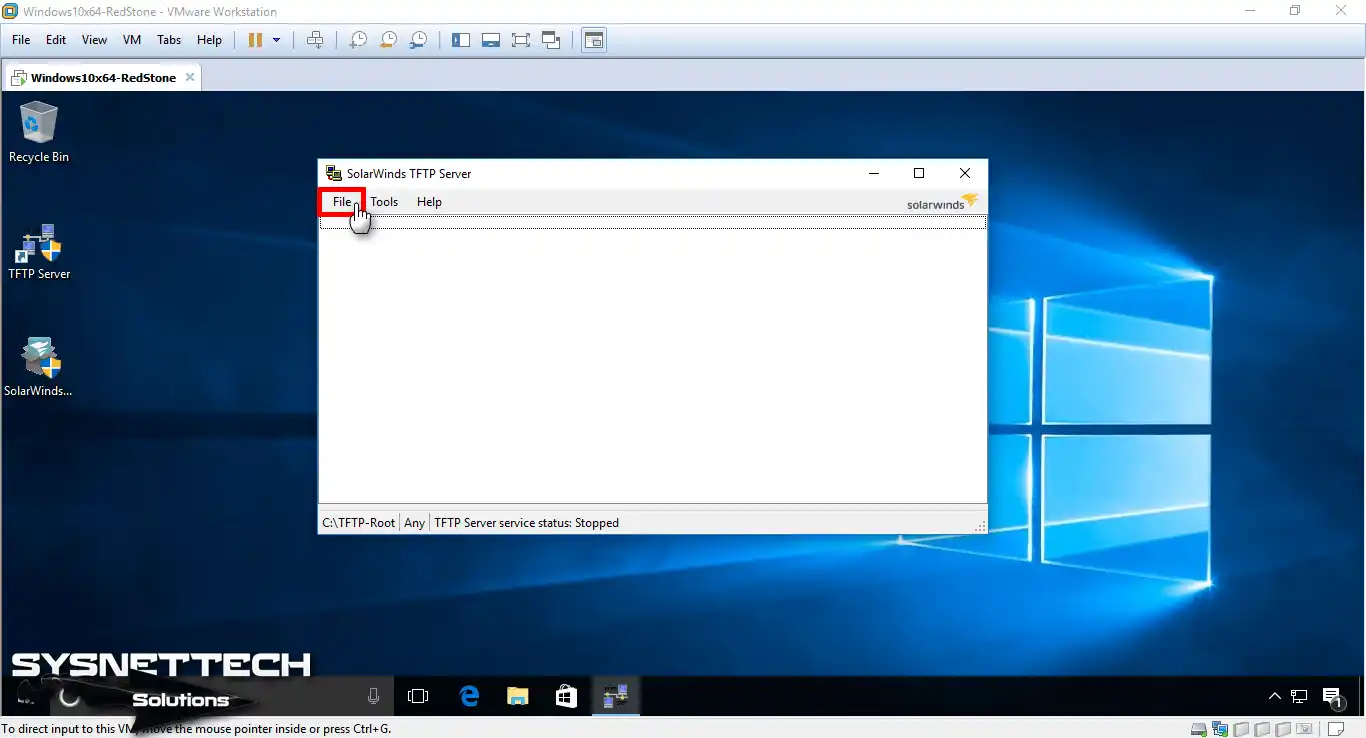
Open the SolarWinds program, and then click on the File menu.
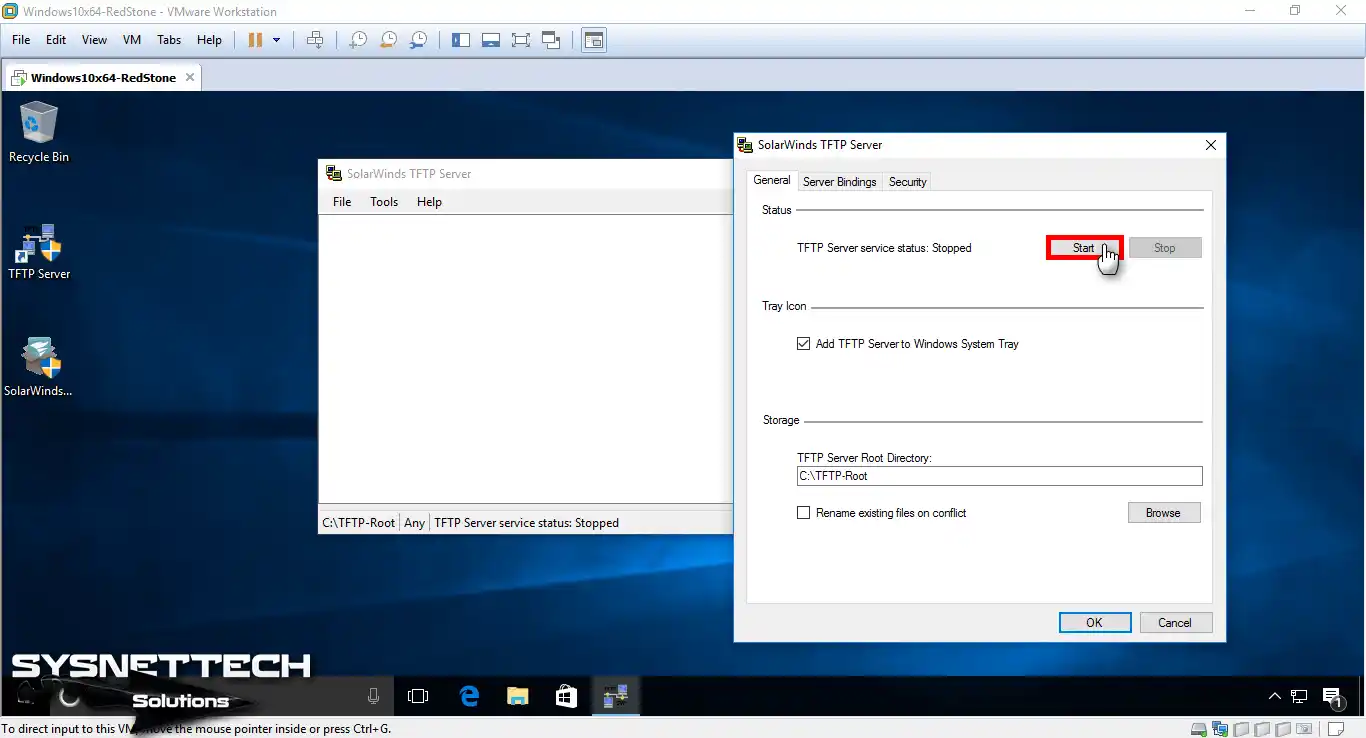
Step 12
As you can see, the service is not working right now. Click the Start button to start the TFTP service.
Step 13
You can change the server’s storage location.

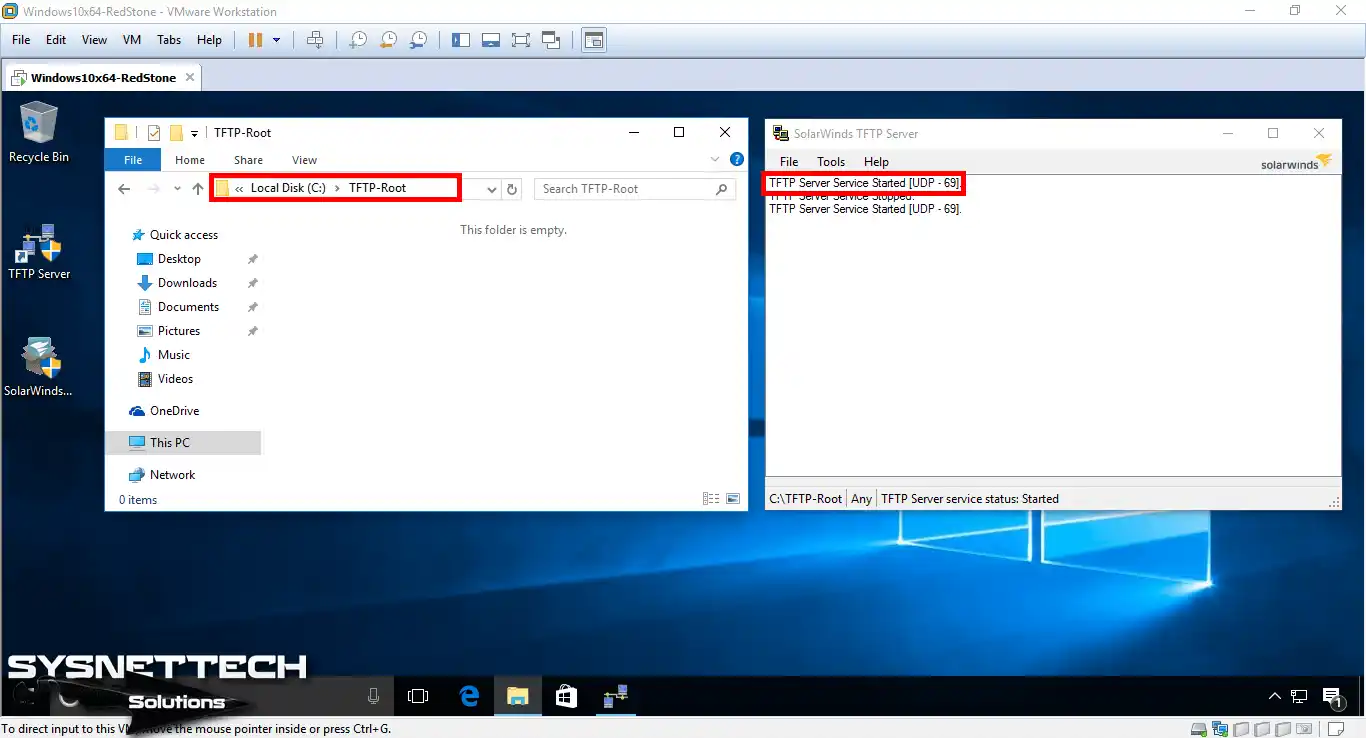
Step 14
After you start the service, the TFTP-Root folder is created on the C:\ drive.
Step 15
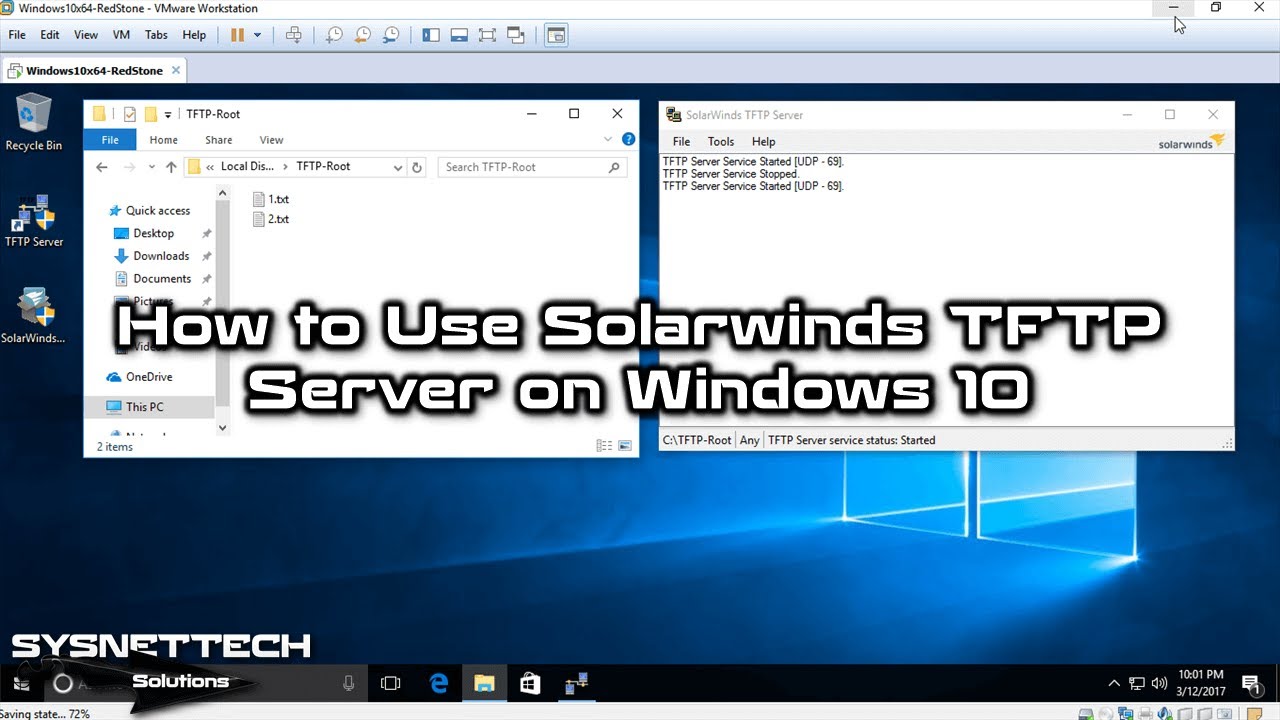
Create two text documents in the TFTP-Root folder.

Step 16
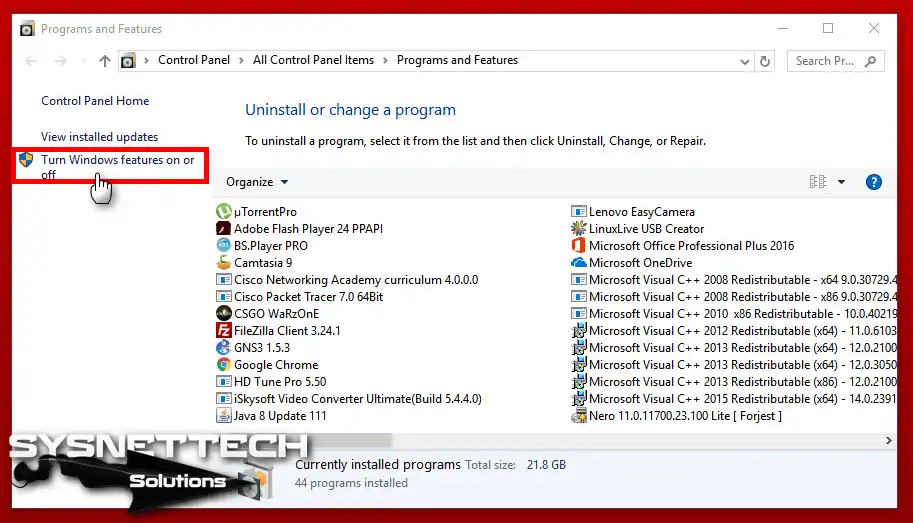
After installing the TFTP Server, you must configure your Host machine as a Client.
To enable the TFTP Client, go to Control Panel / All Control Panel and click “Turn on Windows Features on or off” in the Programs and Features window.
Step 17
There is more than one service in the window that opens. When you scroll down, you will see the TFTP Client service. After activating the TFTP Client service, click OK.

Step 18
Click the Close button in the Windows Features.
Also, like TFTP, Telnet is not seen as safe these days. However, it still works for switch setups on a local network. To turn on the Telnet service in Windows, just follow similar steps.

Step 19
After you press Windows Key + R on your Host, the Run window will open. In the Windows Run window, type CMD and press the Enter key.
At the CMD command prompt, execute the “TFTP” command. You can review whether the TFTP Client service is running.

Step 20
In this step, use the command “tftp -i 192.168.1.102 get 1.txt” at the CMD command prompt to transfer the text document that you created on the TFTP Server to the desktop location of the Host.
tftp -i 192.168.1.102 get 1.txt

Step 21
You have successfully copied 1.txt from the server!

Step 22
Open the 1.txt text document you transferred, write something inside, and save the file. If the text document is Read-Only, you can change it from the file properties.

Step 23
To send the text document that you have edited on your host computer to the server, follow the command “tftp -i 192.168.1.102 put 1.txt” at the CMD command prompt.
tftp -i 192.168.1.102 put 1.txt

Step 24
The file transfer was completed successfully.

Step 25
Open the file 1.txt in the TFTP-Root folder and check the change.

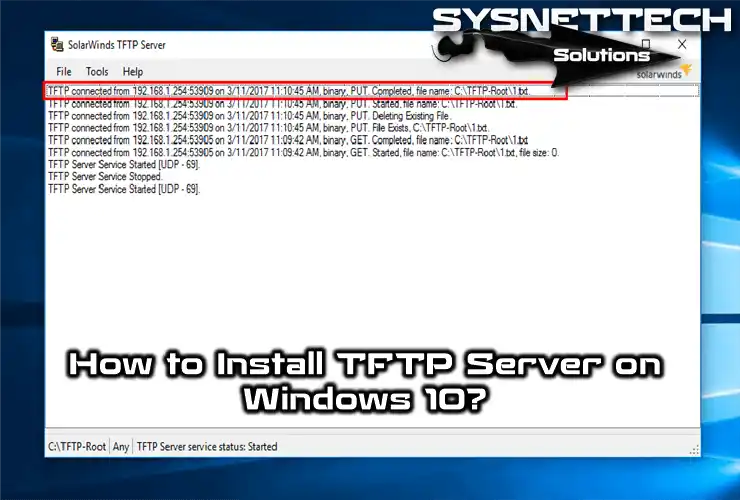
Step 26
After you have successfully configured the software, you can review the log files of the file transfer you made.

If you have safety worries, you should move to more modern protocols. For example, making a safe SSH connection over a coded channel is much more wise.
To be clear, leave TFTP only in closed test environments. Always prefer SSH or SFTP on your live systems. Setting up an SSH server on Windows 10 is just as easy as TFTP.
Video
Frequently Asked Questions About TFTP Server
Do I need real hardware to set up a server?
Why is this protocol unsafe? When should I use it?
Is a virtual machine a must when installing the SolarWinds software?
How do I activate the client feature on Windows 10?
Which commands should I use to get and send files?
Where can I view the log of my operations?
Conclusion
In this article, we have installed and configured SolarWinds software, the best program to use a TFTP Server in a network structure.
Finally, we’ve reviewed how to transfer a file to the server after installing the TFTP Client on the Host computer.

Be the first to share your comment