
Do you want a safe and dependable way to control your network devices, like routers and servers? SecureCRT is a program you should have. This article will guide you on how to install SecureCRT quickly on your Windows 10 or 11 computer. This software is a standard tool used to manage computer systems and networks. It offers a secure way to handle devices such as routers and servers.
You can ensure secure management of your devices with SecureCRT on your Windows 10 & 11. Since it is safe, it gives you peace of mind and allows you to focus on what matters most: your work. So, let’s dive in and get started!
How to Set Up SecureCRT on Windows 10 & 11
It is a Windows Terminal emulator that supports SSH1, SSH2, Telnet, Rlogin, Serial, TAPI, and RAW protocols developed by VanDyke Software.
It secures data for administrator user accounts when configuring a device. With this software, you can manage your network and maximize your information security.
It also supports SSH2, SSH1, Telnet, Serial, and Raw protocols on all platforms. On a Windows operating system, it supports only Telnet/TLS, RLogin, and TAPI protocols.
You can download and install it for Windows, Linux, and macOS systems. People who want to download it for Windows can visit this site and download it according to the platform features of their computer.
NOTE: I recommend that you purchase a license after 30 days of unrestricted use of this program.
How to Configure SecureCRT + Secure FX on a Windows 10 & 11 PC
There are two different versions of this software;
- You can download it as a single package.
- You can download it as a single package with CRT + FX versions.
In this article, we will use the CRT + FX installation package. Please follow the steps below to install this program step-by-step on your computer.
Step 1
Run the SecureCRT.exe installation file as an administrator.

Step 2
Extracting the MSI installation package.

Step 3
In the InstallShield Wizard window, click the Next button to start the installation.

Step 4
Accept the Vandyke license agreement and click the Next button.

Step 5
In the Profile Options window, choose what you like. So, go ahead and pick the Personal Profile option.

Step 6
Next, choose “Complete” in the Setup Type window.

Step 7
Check the following options for the application icons and click Next.
- Create a program group
- Add a desktop shortcut

Step 8
In this step, after confirming the installation settings and location, click the Install button.

Step 9
After completing the program’s installation, click Finish.

Step 10
Double-click the desktop shortcut to launch the secure terminal software.

Step 11
You can try out the program for free for 30 days. Just take a look at the license agreement and press the I Agree button if you’re okay with it.

Step 12
To set a password for security purposes, when you run the terminal software, select With a configuration passphrase, set a password, and click OK.
If you want to run it without prompting for a password, check the Without a configuration passphrase option and complete the setup.

Step 13
When you open the program for the first time, you’ll see the Quick Connect window like the one below.

Step 14
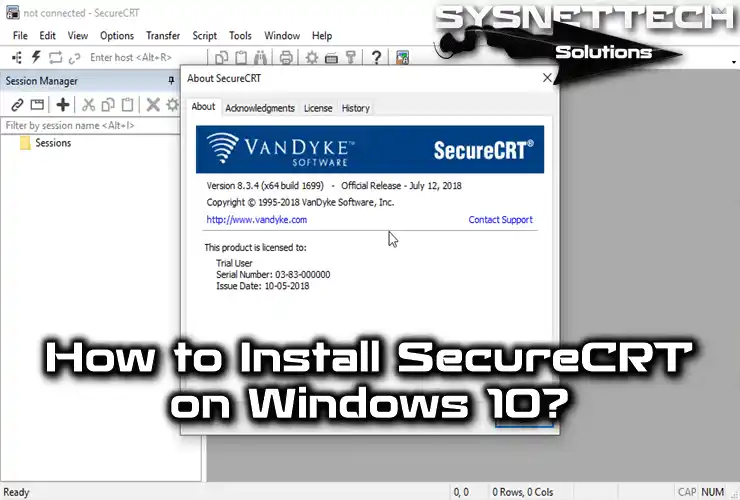
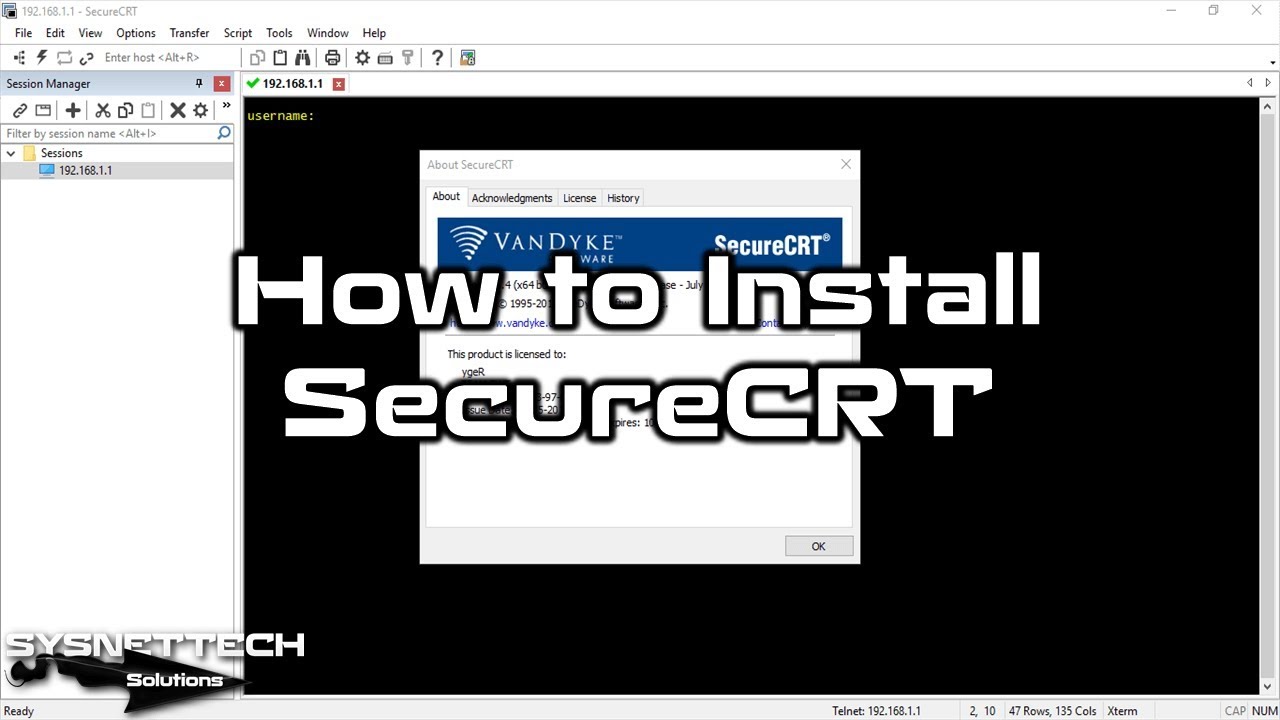
After completing the VanDyke installation, you can check the version of the program from the Help / About section.

How to Create a New Session to Connect to an ADSL Modem/Router
Using SecureCRT is pretty simple and easy. For example, you can configure a Telnet connection to connect to and configure your ADSL Modem.
Follow these steps to create a new session in the terminal emulator.
With this program, you can also connect and configure network devices such as Cisco Router and Cisco Switch used in GNS3.
Step 1
Start the SecureCRT terminal emulator program in Windows 10 & 11. After that, press New Session in the Session Manager.

Step 2
Look at the SecureCRT New Session Wizard window, especially the Protocol section. Here, choose Telnet and click Next.

Step 3
Configure the IP address, Port number, and Firewall settings of the device you want to connect to.

Step 4
Let’s say you only wanted to make a Telnet connection to the ADSL Modem. In this case, configure the SecureFX Protocol to None here.

Step 5
Type a name and description for the new session in SecureCRT and hit Finish.

Step 6
Double-click on the connection you created in the Sessions section.

Step 7
As you can see in the picture below, we connected to the ADSL Modem through the local network.

Video
Final Word
Nowadays, IT administrators pay serious attention to performance and security when configuring a network device. Therefore, they prefer SecureCRT and SecureFX programs over standard terminal programs.
By following our simple guide, you can install this software on your Windows 10 & 11 system. Thanks for following us!

Be the first to share your comment