
In this article, I will show you how to turn on Hyper-V on Windows 10. For this, I will quickly explain the setup steps using Command Prompt (CMD).
Hyper-V is a strong virtualization tool. It lets you create and manage virtual machines. This feature is handy for developers and IT experts. In this article, you will see all the needed commands and steps.
I will also explain what you need before setting up and give fixing tips. You will learn the best ways for better performance. Whether you build a virtual system or test an app, this guide will help you use Hyper-V well.
How to Enable and Disable Hyper-V using Command Prompt
Microsoft offers Client Hyper-V as a closed feature to Windows 8, 8.1, 10, and 11 OS users, allowing you to run effective virtual machines on your computer.
Windows 10 has many ways to enable Hyper-V. In our previous articles, we reviewed two ways of installation steps. These;
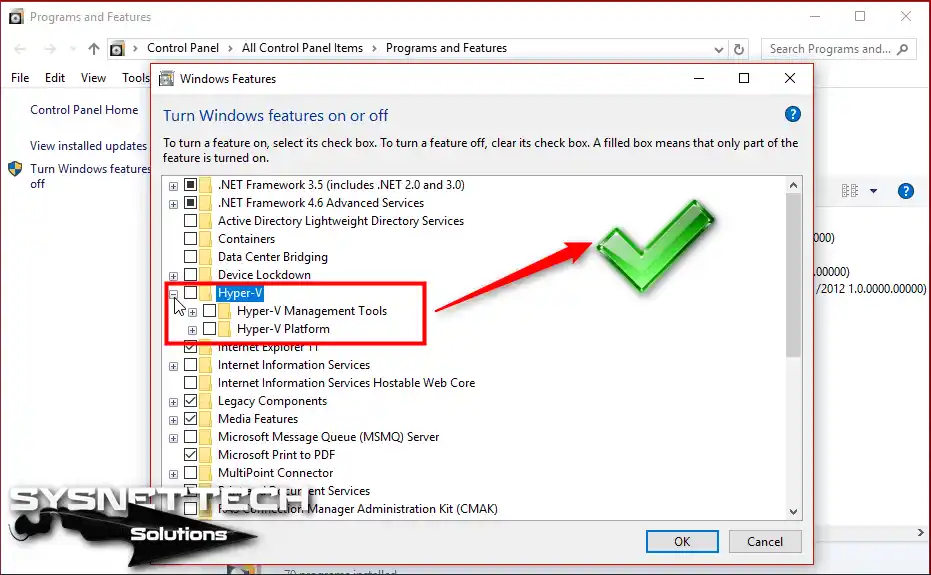
- Installing Hyper-V using the Turn Windows features on or off method.
- We are installing Hyper-V using the PowerShell command prompt method.
You can reach our articles about the installation methods mentioned above from the links below:
This article will examine the simple steps of turning Hyper-V on and off using the command prompt.
To enable Hyper-V with Command Prompt, execute the following command in the terminal:
dism.exe /Online /Enable-Feature /FeatureName:Microsoft-Hyper-V /AllTo disable Hyper-V with Command Prompt, execute the following
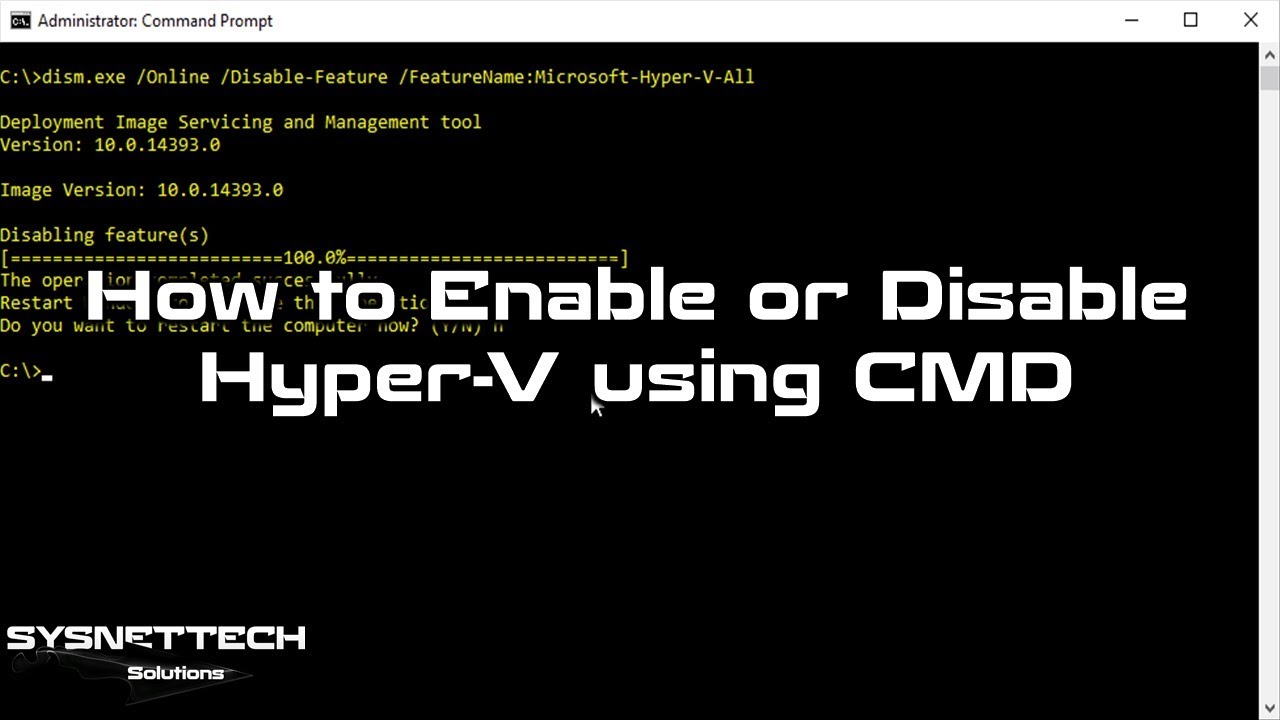
dism.exe /Online /Disable-Feature /FeatureName:Microsoft-Hyper-V-All
NOTE: Make sure that “Microsoft-Hyper-V-All” is combined at the command prompt.
Turning On Hyper-V from CMD
It will help if you run the command prompt as an administrator before enabling Hyper-V in the Windows 10 computer software. Follow the steps below to enable Hyper-V.
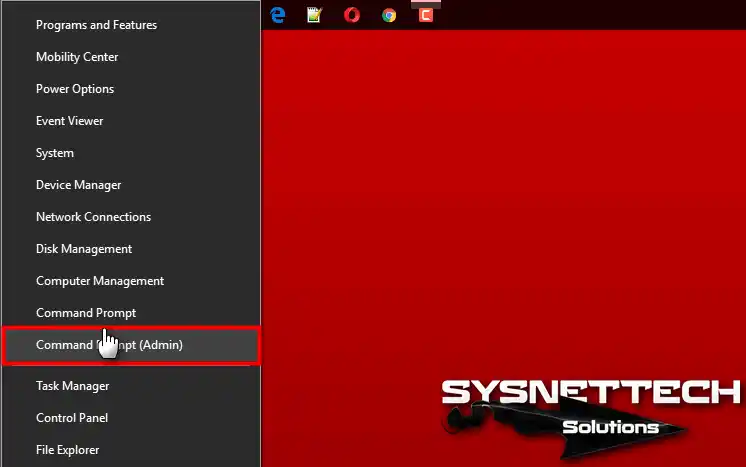
Step 1
Click the Right Key / Command Prompt (Admin) on the Start menu of your Windows 10 system.
Step 2
To activate Hyper-V, enter the command that follows at the command prompt.
dism.exe /Online /Enable-Feature /FeatureName:Microsoft-Hyper-V /All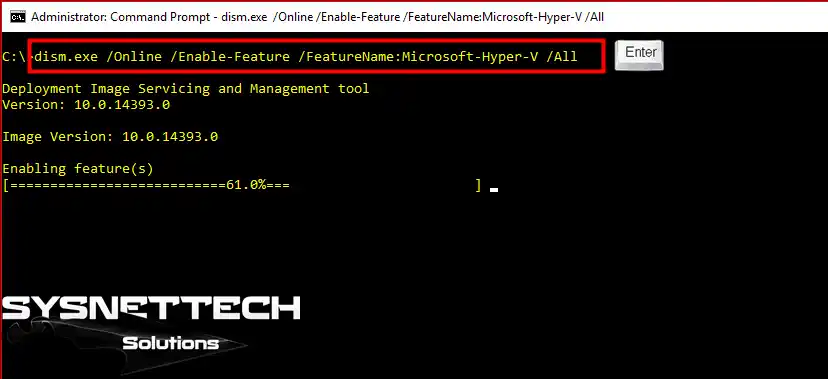
Step 3
After executing the command, press Y (Yes) to restart your computer. After your computer restarts, you will see Hyper-V Manager installed without problems.

Turning Off Hyper-V from CMD
After enabling Hyper-V, you must follow the actions below to remove this virtualization program from your computer quickly.
Step 1
To turn off Hyper-V with CMD, ensure the Microsoft-Hyper-V-All command is adjacent in the property name section before executing the command below.
dism.exe /Online /Disable-Feature /FeatureName:Microsoft-Hyper-V-All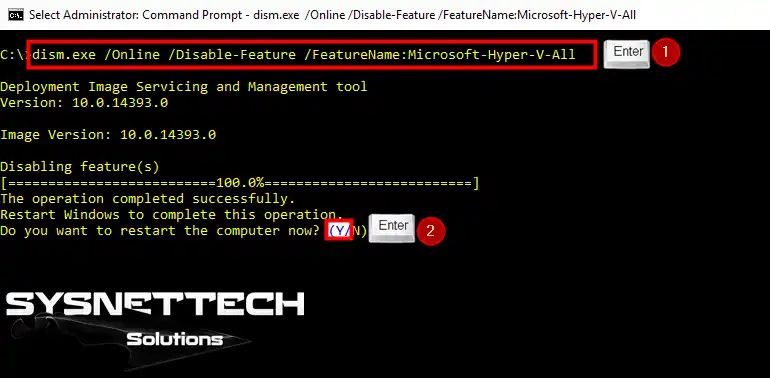
Step 2
You can confirm Hyper-removal V’s from your PC in the Turn Windows features on or off window.
Video
Watch our video to turn Hyper-V on or off on your Windows PC. This video will guide you step by step so you can set up Hyper-V for your needs.
Also, subscribe to our channel to stay updated on new tutorials. After all, you will be glad to support our content!
Conclusion
In short, turning on Hyper-V in Windows 10 is very easy. As you see, you can do this fast using the Command Prompt. This way, you can use the power of virtualization.
Whether you are building, testing, or learning, you can easily make virtual machines and control them for your needs. First, I suggest checking the right system requirements.
The correct setup is key to the best performance. After that, you can begin exploring Hyper-V’s features.

1 Reader Comment
Perfect solution.
My system reported a successful install of the Hyper-V ecosystem using the GUI, confirmed as present with all modules in Programs And Features, yet the Hyper-V Manager/Hypervisor was not present or active.
The DSIM command line added the Hypervisor, and it is now importing the VM’s exported from the previous host.
Blocker Cleared!