
This article will explore how PowerShell can enable Microsoft’s Hyper-V program, a popular tool for creating and managing virtual systems on Windows 10 or 11.

How to Install Hyper-V using PowerShell on a PC
Microsoft offers Hyper-V virtualization software as a free integrated feature with Windows 8.x/10/11 operating systems. This software allows users to run multiple virtual machines or servers on their host computer.
If you are planning to use Hyper-V Client software on your computer that supports the virtualization feature, the installation process is quite simple. For example, in our previous article, we installed and ran Microsoft virtualization software using the user interface (GUI) in Windows 10.
Under normal circumstances, one can install any program on a Windows operating system relatively fast and efficiently. Use command prompts such as CMD or PowerShell to speed up these processes.
Suppose you are a system admin of a company. In that case, you should know PowerShell, a great Microsoft tool. With this Microsoft tool, you can turn the Hyper-V on or off.
You can easily install Microsoft’s VM software on your computer if you have Win 10 Enterprise, Professional, or Education.
Before proceeding with the installation steps, you should remember that the Home version of Windows 10 does not support this software under normal circumstances, regardless of the build number. However, various installation methods are available even if you have a system with the Home version.
Run the PowerShell tool as an administrator for enabling or removing the program, and try one of the methods below:
- Enable: Enable-WindowsOptionalFeature -Online -FeatureName Microsoft-Hyper-V -All
- Disable: Disable-WindowsOptionalFeature -Online -FeatureName Microsoft-Hyper-V-All
Note: When removing HyperV, ensure that “Microsoft-Hyper-V-All” is contiguous in the terminal!
Enabling Hyper-V
Enabling Hyper-V may be simple, but it may take some work for novice users. The following photos will guide you through installing the required applications on your PC.
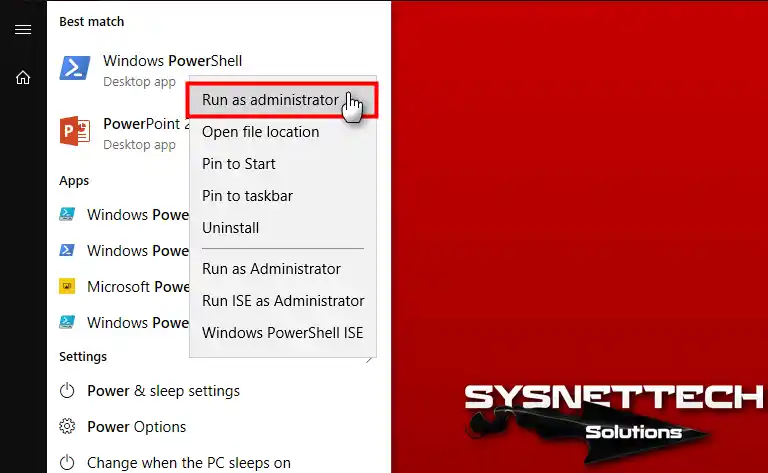
Step 1
Type “Windows PowerShell” or “PowerShell” into the Win Start menu’s search box to run PowerShell. Choose the desired terminal and click the context menu’s “Run as administrator” option.
Step 2
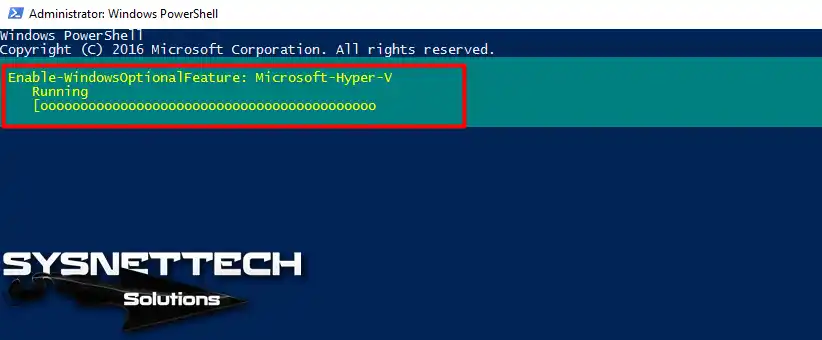
In the command prompt opened with administrator privileges, type or copy-paste the following command to enable Hyper-V:
Enable-WindowsOptionalFeature -Online -FeatureName Microsoft-Hyper-V -All

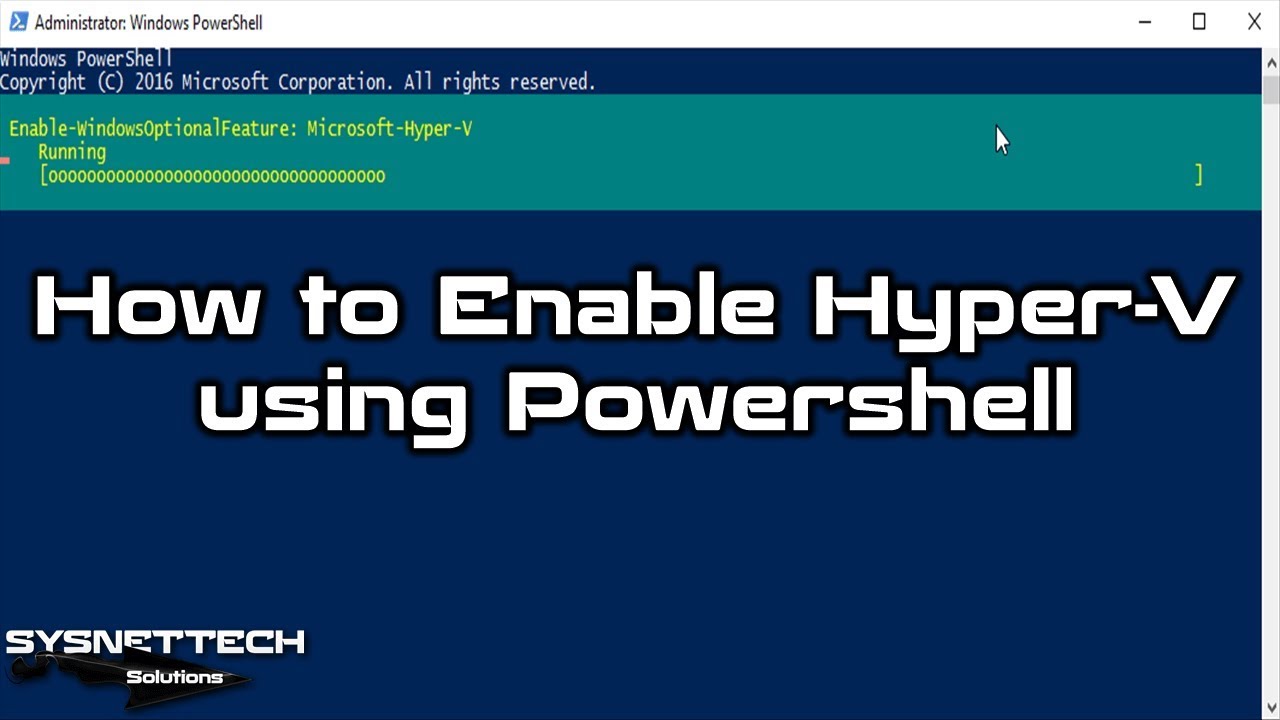
Step 3
Installing Microsoft’s Client Hyper-V application on your Win operating system is in progress. Please wait.
Step 4
After enabling the HyperV feature, press Y (Yes) to apply the changes. Then, restart your machine to complete the process.

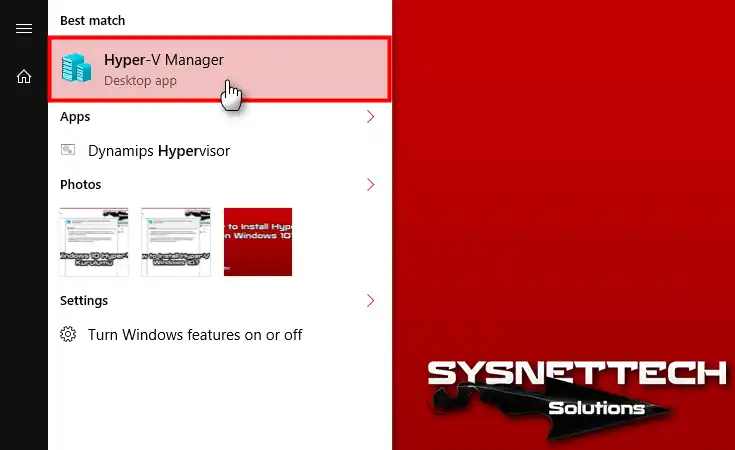
Step 5
After restarting your computer, find HyperV Manager in the search menu similarly and run it.
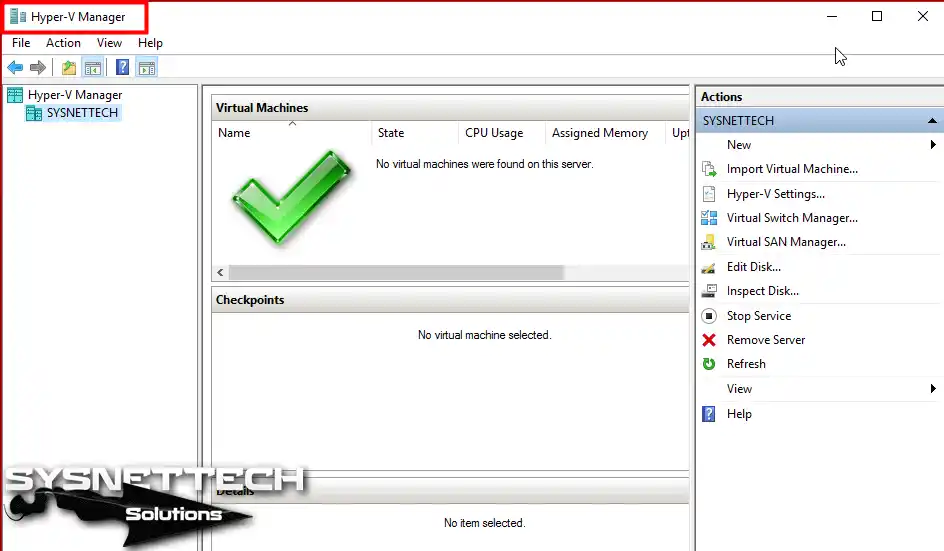
Step 6
The image below shows the first app interface you will encounter when running Hyper-V Manager.
Video
Conclusion
You can use a PowerShell terminal to configure Hyper-V quickly and many other features or programs on your system. You can now construct a new virtual machine on your PC and try installing whatever operating system you like now that you’ve enabled HyperV. You can also discover more about HyperV and its features by visiting Microsoft’s sites.

Be the first to share your comment