
This article will discuss changing the screen resolution for Linux-based Ubuntu or other derivatives running in Hyper-V virtualization software on Windows platforms.
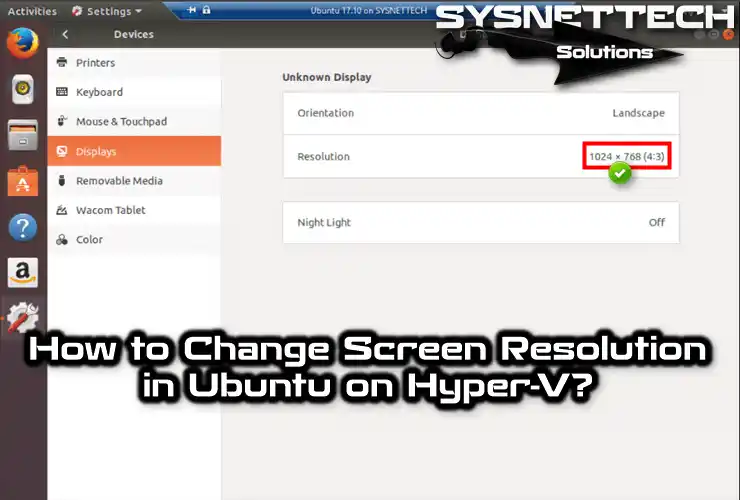
How to Fix Ubuntu Screen Resolution in Hyper-V
After installing Linux/Ubuntu with Hyper-V Manager, we encountered some errors when changing the screen resolution. When we want to adjust the display settings of Linux virtual machines such as Ubuntu, we click on the View / Fullscreen option. If the screen size still does not change after doing this, it will be necessary to apply some codes.
Microsoft maintains its support for Linux distribution installations. However, in some cases, we may have to manually resolve issues such as changing screen resolution.
In a recent post, we configured Microsoft’s Hyper-V software to install the Linux/Ubuntu operating system on a Windows 10 Desktop.o
This article will examine how to solve the full-screen problem by adjusting the display settings to the maximum level.
You can also browse our articles below to learn other installation methods for Hyper-V on compatible Windows systems.
- How to Install HyperV on a Windows PC
- How to Enable HyperV using Powershell
- How to Configure HyperV using CMD
Resolution Settings for Linux in Hyper-V
Under normal circumstances, increasing the screen resolution of a virtual computer is quite simple. For example, you can set the desired resolution in the Display section of the Ubuntu system settings.
We will use the terminal to troubleshoot the Linux virtual machine screen resolution. Follow these steps to get rid of the Ubuntu resolution issue.
Step 1
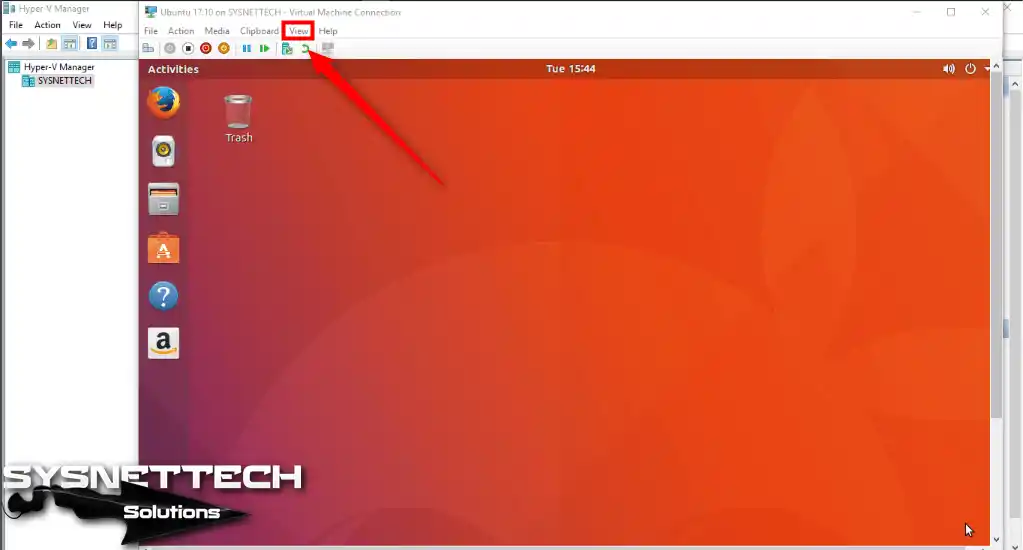
Run Ubuntu in Hyper-V and then try to switch the virtual machine to full-screen mode via View / Full Screen.
Step 2
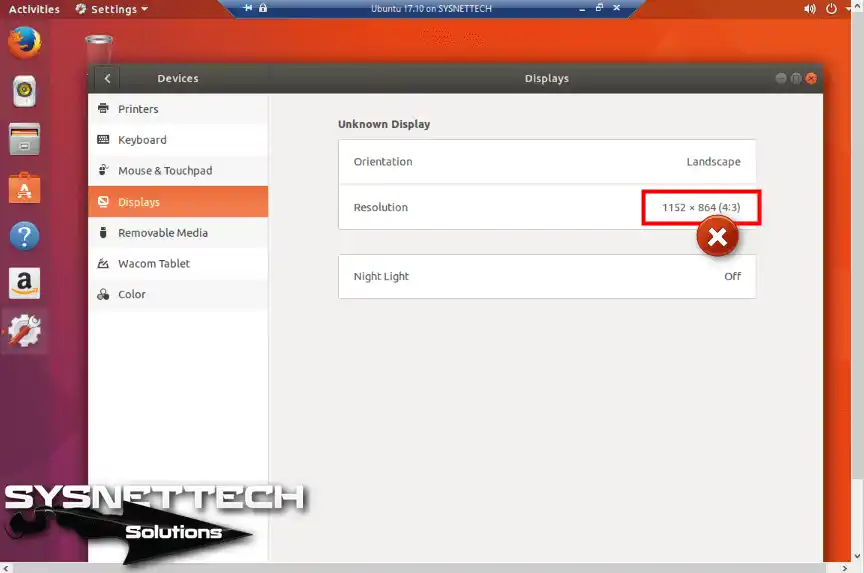
There is a problem with the guest machine screen size, as seen in the picture below.

Step 3
You can also see the virtual machine’s screen resolution in Ubuntu Settings. We’ll adjust the screen resolution to 1024×768 here.
Step 4
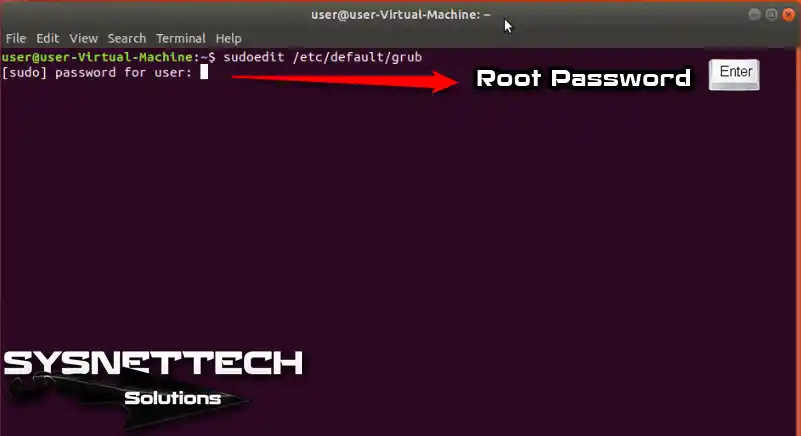
On the Ubuntu desktop, right-button/click Open Terminal. Since we will solve this problem with the command prompt, open the resolution configuration by following the command on the terminal.
user@user-Virtual-Machine:~$ sudoedit /etc/default/grub
Step 5
Type the root password of your Linux system and press Enter.
Step 6
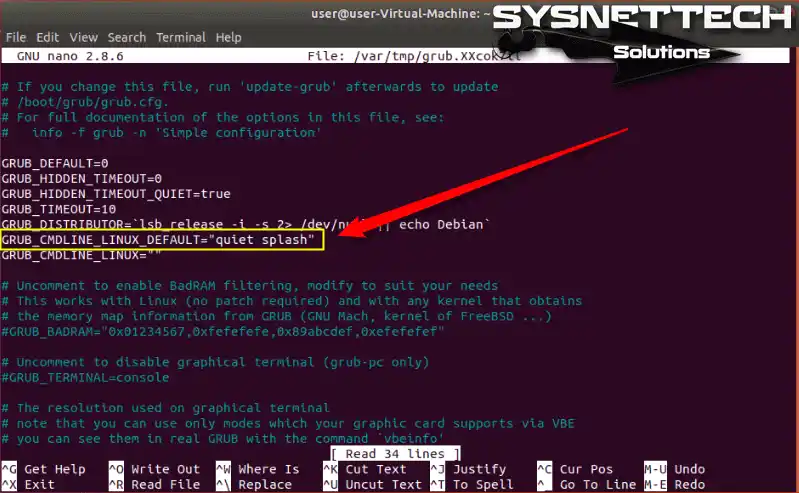
For resolution configuration, you must add code to GRUB_CMDLINE_LINUX_DEFAULT=”quiet splash” in the image below.
Use the arrow buttons to navigate the choice in the picture below.
Step 7
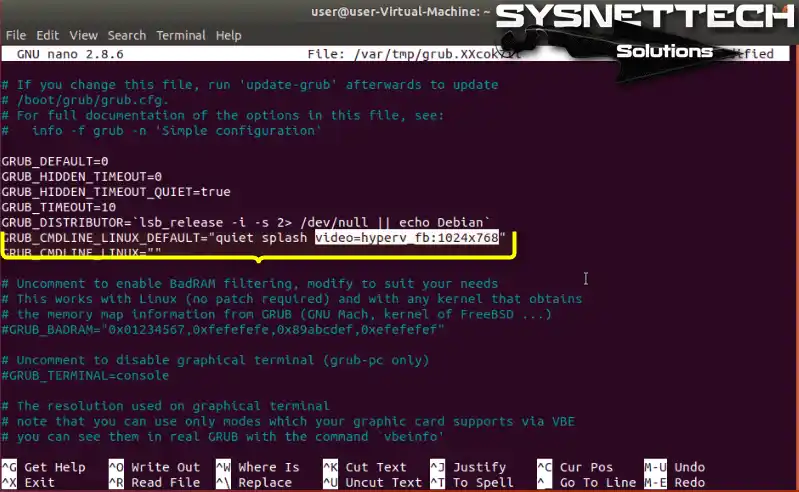
Add the “video=hyperv_fb:1024×768” command to the field in the following image. You can assign the desired value here to set a higher screen resolution.
Press Ctrl + X to save your settings.
Step 8
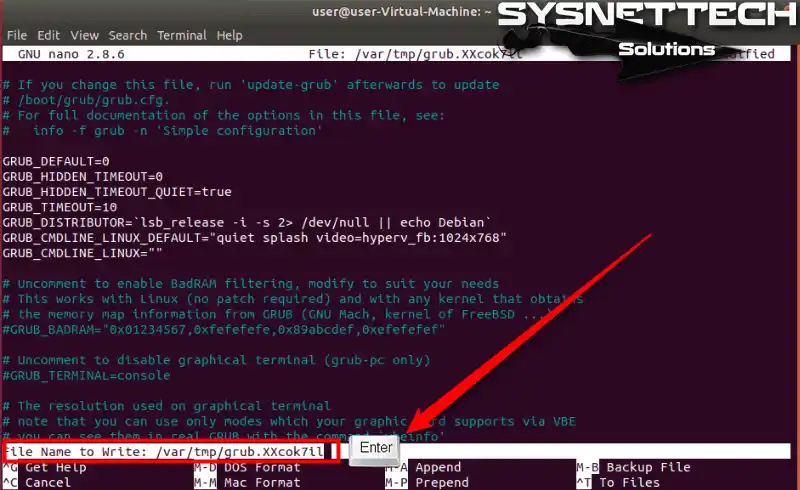
Press Y to accept the changes.

Step 9
Press Enter without changing the file name.
Step 10
After changing the screen resolution, update the GRUB settings using the following command to activate the settings.
user@user-Virtual-Machine:~$ sudo update-grub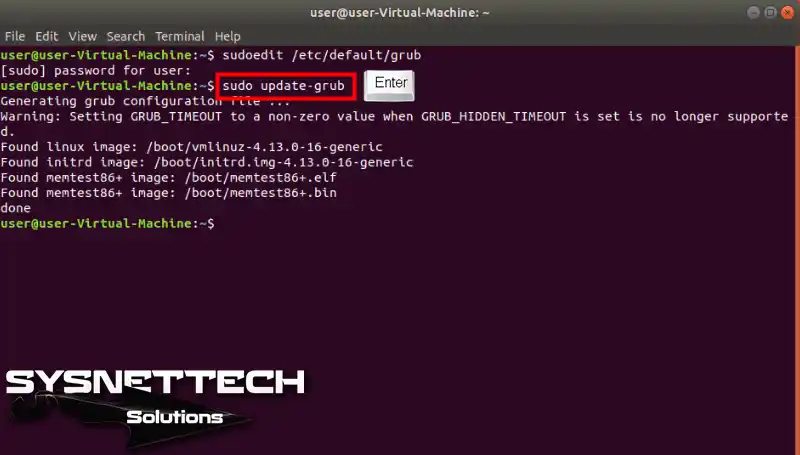
Step 11
Restart your Ubuntu virtual machine so the changes take effect.
user@user-Virtual-Machine:~$ sudo reboot

Step 12
Opening Ubuntu virtual machine.
Step 13
Open the Ubuntu virtual PC in full-screen mode to see the problem solved, as shown below.

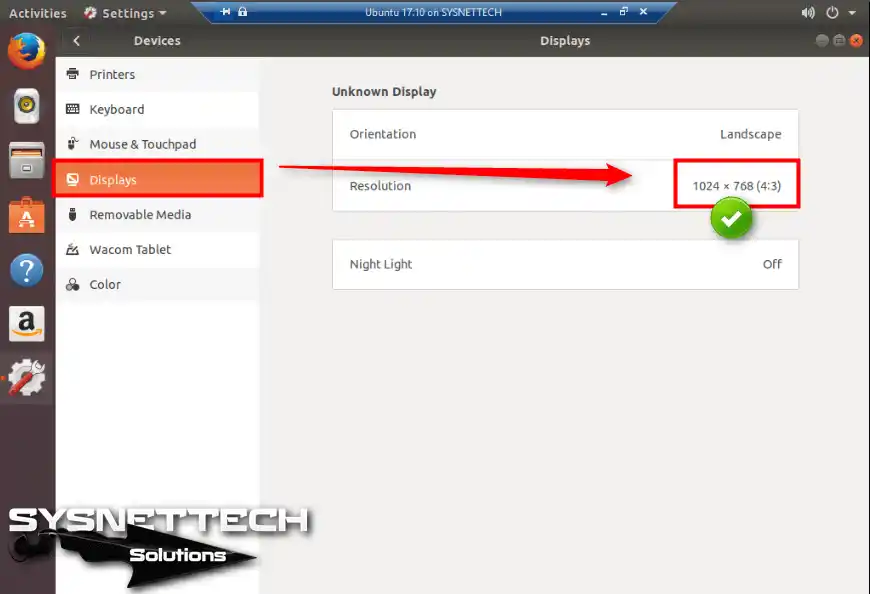
Step 14
Also, click Displays on the left panel in Settings to check the display settings and the resolution value.
Video
To help us, please subscribe to our YouTube channel and watch the video below to configure the Ubuntu screen size in Hyper-V.
Conclusion
In this article, we have reviewed how to change the screen resolution of the Ubuntu operating system on the HyperV virtualization program. Thanks for following us!

8 People Shared Their Experience
I followed your article and found that “1024*7468” does not work but “1024×768” does work in Ubuntu 1904. (Actually, I set it to 1680×1050 but that’s another story.)
I don’t know if earlier versions of Ubuntu supports “*” or “x” but perhaps the “*” (star) was a typo from your side? Anyways, great article (y)
No, not “*”, I think you saw it wrong. Your procedure is correct. This is the correct code: 1024×768.
Excellent solution thank you. Just made the change to Ubuntu 19.10
Awesome, Worked on Deepin 15.11 for me. There was another line there I had to comment out about the default resolution for unsupported adapters, but this got me to the right place.
Thanks
Thanks. I have followed the same steps in my Ubuntu VM on windows 10. I put ‘1900×1200’ . But when I got to ‘Screen Display’ the resolution still shows ‘1152×864’. Can you please tell me how can I fix my issue?
Great article. It worked perfectly for me, and was written in a way that made it super easy to follow. I upped my resolution to 1920×1080 with no issues. Thanks
nope. doesn’t work. resolution is still stuck at teeny tiny 1152×864
It doesn’t work for me. The resolution in the grub file is changed as is the Screen Display but the actual resolution is more than the 1400×1050 that I want and has never changed through several attempts.