
By changing the device names of your Router or Switch in your network topology, you can avoid complexity and have a more detailed network design.
How to Use the Hostname Command in Router
In a growing network, configuring the names of devices according to their location prevents both complexity and faster resolution of network errors that may occur.
For example, suppose your headquarters is named A, and you have branches in 2 different cities. When you define these cities as B and C, you can have a more organized structure by changing the name of the Router in center A to ARouter.
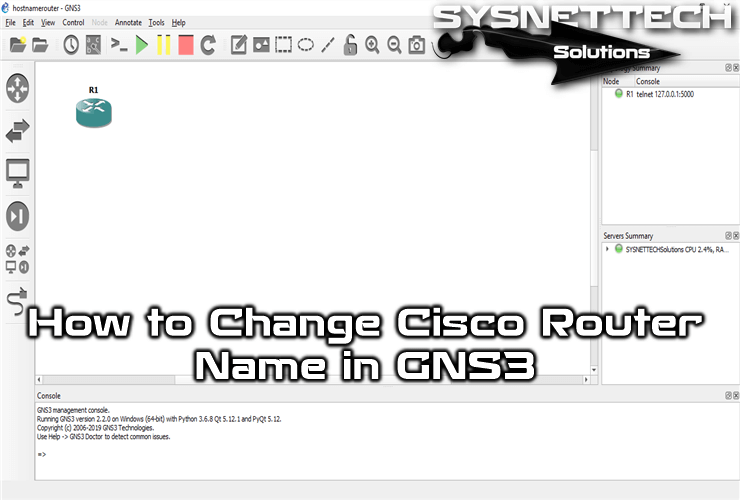
Now, to change the label of a Router on the network, open your GNS3 simulator, create a new project, and then add a Router to the workspace.
After running your Router in GNS3, double-click on it to open the CLI prompt.
At the CLI prompt, the Router’s title will default to R1#. When you add one or more devices to the working environment, the device’s name will be named R2, R3, and R4.
At the CLI prompt, execute the Configure Terminal command to switch to Global Configuration Mode, and then use the hostname + (name) command to rename the Router.
R1# configure terminal
R1(config)# hostname ?
R1(config)# hostname ARouter
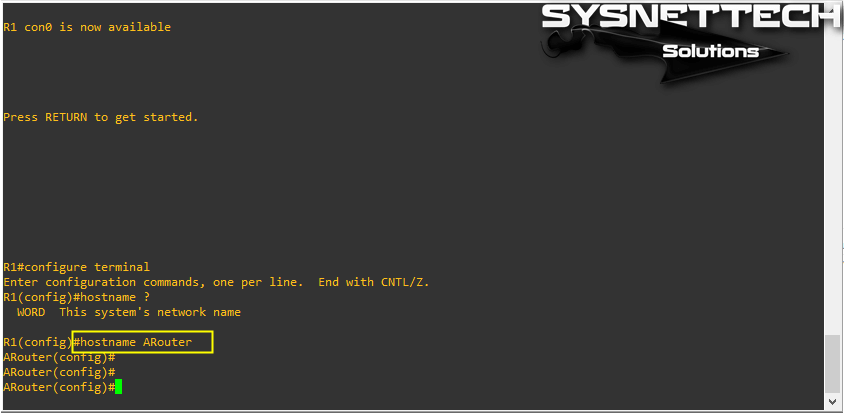
To learn how to use the hostname command in the CLI, use the ” ? ” character. Note that this command only works in config mode!
How to Change Cisco Router Hostname ⇒ Video
To rename a Router or Switch on GNS3, you can watch the video below and also subscribe to our YouTube channel to support us!
Conclusion
In this article, we have examined how to use the hostname command, which is the most accessible setting to configure on a network device but which causes trouble in a growing network. Thanks for following us!

Be the first to share your comment