
In this article, we will learn how to set IP addresses for Routers in GNS3. We will look at FastEthernet, GigabitEthernet, and Serial ports. Our guide will help you use a network simulator. This simulator makes it simple to see network setups.
First, we will talk about what you need for this process. Next, we will explain why subnetting is essential. You will learn how to make correct IP settings. This step helps you follow good rules in networking.
Also, we will give easy troubleshooting tips. These tips will help you fix problems during setup. In the end, your network will work well.
What Do I Need Before Assigning an IP to a Router Interface in GNS3?
Before you set IP addresses on your GNS3 Router, make sure everything is ready.
First, install the GNS3 emulator program on your computer. It works on Windows, macOS, and Linux. Next, get the latest version to use all features.
Then, set up a virtualization tool like VirtualBox or VMware. This lets you run network devices on a virtual machine. As a result, you get better speed and flexibility.
After that, you need Cisco IOS files. GNS3 does not include them because of license rules. So, you must get your own IOS files legally. Pick the correct version for the devices you want to use.
Also, you need basic networking knowledge. Learn IP addressing, subnetting, and routing rules. This will help you set network options.
Moreover, check if your computer fits GNS3’s system needs. A multi-core CPU, at least 8GB RAM, and enough disk space are best. This way, you can run bigger networks without problems.
Furthermore, make sure you have admin rights on your computer. This lets you install GNS3 and set up virtual machines without errors. You can also run network commands efficiently.
Lastly, learn the Cisco CLI. Knowing how to use it helps you set interfaces and IP addresses.
By following these steps, you are ready to set IP addresses on your GNS3 Routers.
How to Configure an IP Address on a Cisco Router
After configuring an IP address to a Router or Switch, you must turn on the corresponding port with the “no shutdown” command.
To assign the IP address and subnet mask, the “Interface + Port No” command is used to switch to the corresponding port.
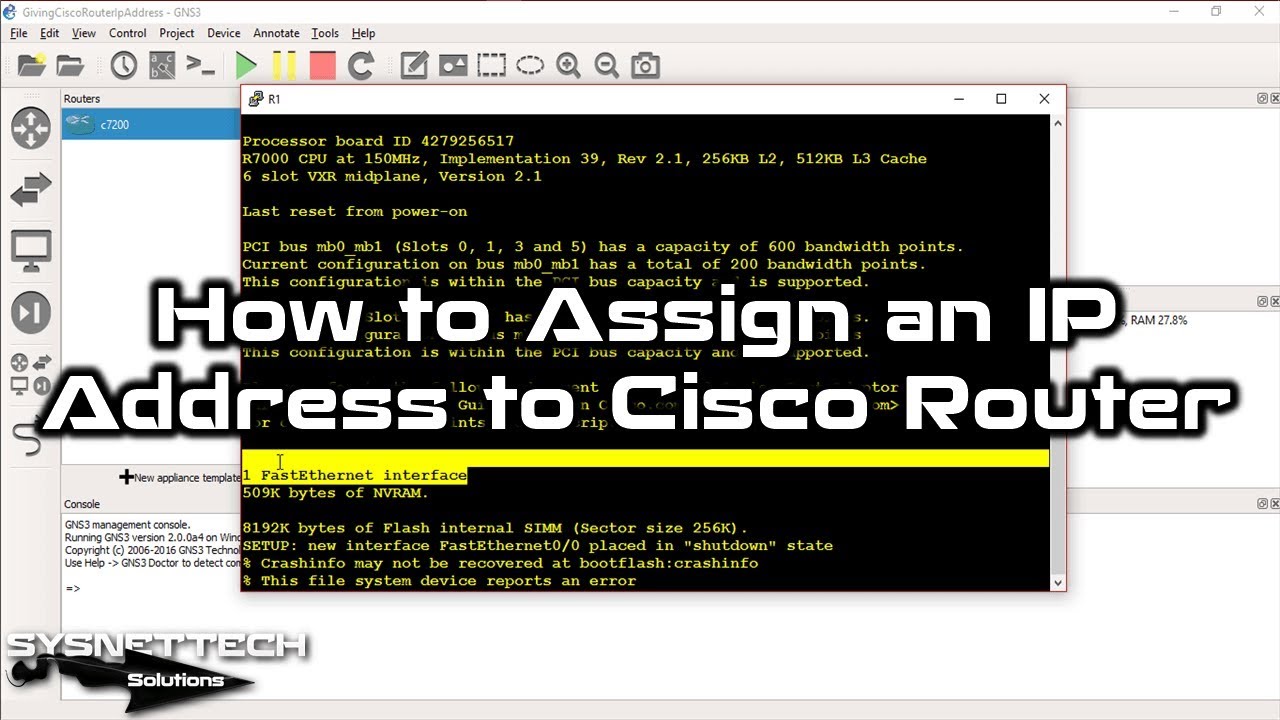
Now open the CLI prompt for a Router that you added to GNS3 and follow the instructions below to configure the FastEthernet0/0 interface, for example.
R1# conf t
R1(config)# interface fastethernet 0/0
R1(config-if)# ip address 192.168.1.100 255.255.255.0
R1(config-if)# no shutdown
The basic logic of the above command: [ip address “IP ADDRESS” “SUBNET MASK”]
If you want to display other commands under the IP address command, execute the “ip address ?” command.
Depending on your network topology, the port numbers of the Router’s interfaces may vary.

How to Change Router IP Address ⇒ Video
You can watch the video below to assign an IP to the interfaces of Cisco Routers on your network or change existing addresses, and you can also subscribe to our YouTube channel to support us!
Conclusion
In short, giving an IP address to a Cisco device is very important. This is a fundamental step for network links and communication. It also builds the base for routing and subnetting.
It even makes network security setup easier. Learning this process gives enormous benefits. It makes network setup faster and makes fixing problems simple.
It also improves your skills to make performance better. We will learn more in future articles. We will look at different setups and commands.
Knowing Cisco’s CLI in detail is very valuable. You will learn advanced rules and the best ways. This knowledge helps you get the most from your devices.
Each new topic will grow your basic knowledge. In the end, you will solve complex network problems. These skills are key in today’s tech world. So, keep developing your Cisco skills.
Changing the Router’s name in GNS3 is also essential. Doing this lets you spot devices in your network easily. So, I suggest reading our guide called Changing the Cisco Router Hostname in GNS3.

Be the first to share your comment