
In this article, I will show you how to set up VMware Tools on macOS Monterey or later Tahoe releases. First, I will cover the correct use of the Darwin.iso file.
This guide is helpful for various VMware users. People using Workstation Pro, Player, Fusion, or ESXi can use it too. As a result of this process, you will be able to install drivers on your VMs without any problems.
Installing the guest tools helps your computer a lot. For example, you will significantly improve your graphics performance. On the other hand, you can make your mouse movements much smoother. In addition, your file sharing will also be seamless.
Next, get the file you need to install the virtual machine drivers. If you want, our guide also shows the uninstall process. In the end, your Mac VM will work great.
Maximizing Virtual Machine Performance with VMware Tools on a macOS
VMware Tools helps you get more out of your virtual machine. For example, you can use full-screen mode without any issues. You can also transfer files using drag-and-drop. So, you need it for Workstation, Fusion, or ESXi.
Usually, you would use the tools menu in your macOS virtual PC. That is, you would click the “Install VMware Tools” option there. This way, you use the ISO file within the software. That is, you start installing the necessary drivers for your VM.
But you must use a special trick for Mac OS X. So, I say to use VMware Unlocker. Especially, using the darwin.iso it brings is better. In short, this lets you add the guest drivers correctly.
A different case is when you keep updating your program. Then, you will have an updated ISO file. Therefore, you will notice that the option in the tools menu has also changed. For example, you will find “Update VMware Tools” and not “Install.”
Sometimes, you want newer machine drivers. However, your main software may not be up to date. Here, I think you should add the VM tools yourself.
To install it yourself, you first need the Darwin.iso. In fact, this file is inside the Fusion program. Specifically, it is for installing Mac OS X drivers.
However, we can also use this file on Windows or Linux. So, if you have a macOS machine, you will need this file.
Why VMware Tools?
Installing the VMware guest utilities package on your macOS computer gives you many good things. For one, you can turn on Full Screen mode right away.
Also, your mouse pointer will work much better. Plus, you can set up the Shared Folders option. This allows you to transfer files between your other VMs much faster.
You can also give more graphics memory to your macOS machine. For example, you can increase the VRAM value from 3MB to 128MB.
As a result, your screen resolution will be sharper and work better. In other words, you can adjust it to the resolution of your host PC’s LCD panel.
How to Install VMware Tools on a macOS Virtual Machine
First, install macOS on VMware Workstation on the host PC. Then, after you know it runs fine, begin adding the drivers.
Now, before proceeding to the steps below, go to the Unlocker folder. There you will find the darwin.iso file. However, if you want to download the latest version, you can refer to our guide “Download VMware Tools“.
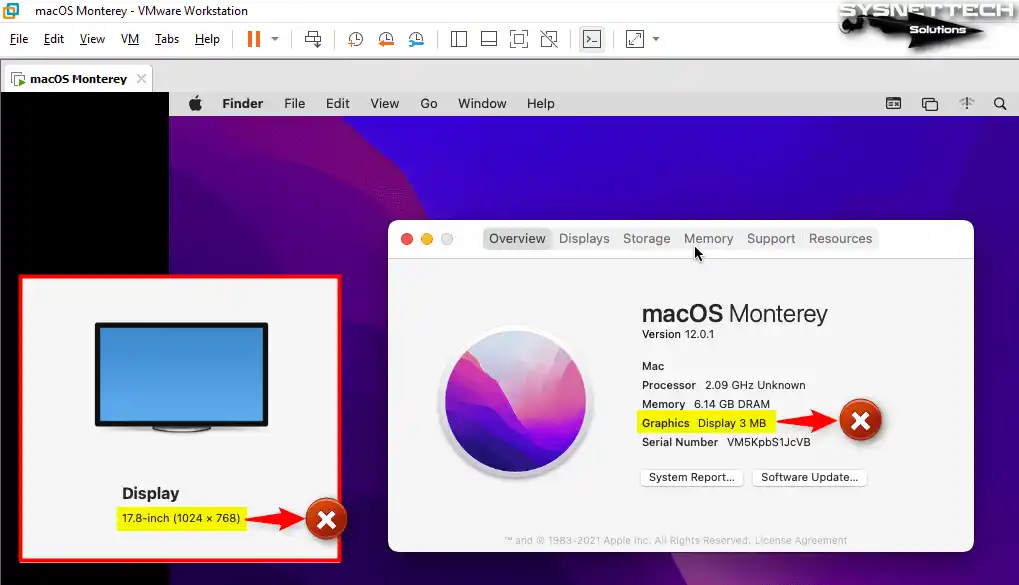
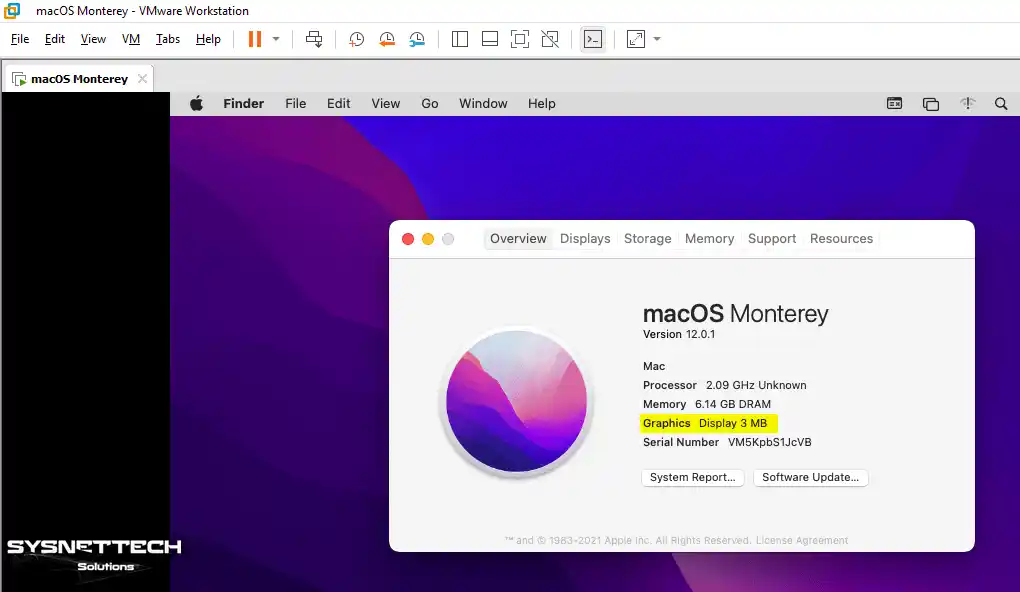
Before you begin, check your Mac virtual PC. For example, the graphics memory may only be 3 MB, as shown in the image below. Also, the screen resolution will be 1024×768.
Actually, this is normal before putting in the guest addition tools.
1. Add the Darwin ISO to the macOS VM
Step 1
Typically, you would install using the ISO within VMware Workstation Pro. Therefore, you need to click the VM / Install VMware Tools option.
However, you should use a more recent ISO for macOS drivers. So, do not click that option because you will manually add the ISO you downloaded.

Step 2
First, choose VM from the Tools menu to put in the Darwin.iso file. Then, click Removable Devices. Next, go into the CD/DVD (SATA) settings.
From here, click Settings to open the window where you can make adjustments to your VM.

Step 3
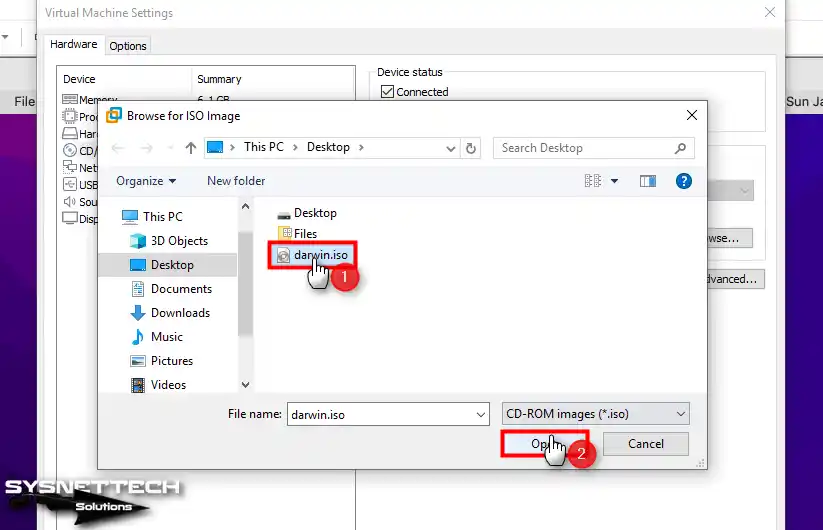
First, go to the connection tab of the CD/DVD device. From there, check the Use ISO Image File option. Then, you can use the Browse button to select the location of the Darwin ISO.

Step 4
Select the Darwin.iso file you saved to your PC and click the Open button.
2. Install VMware Tools on the macOS VM
Step 1
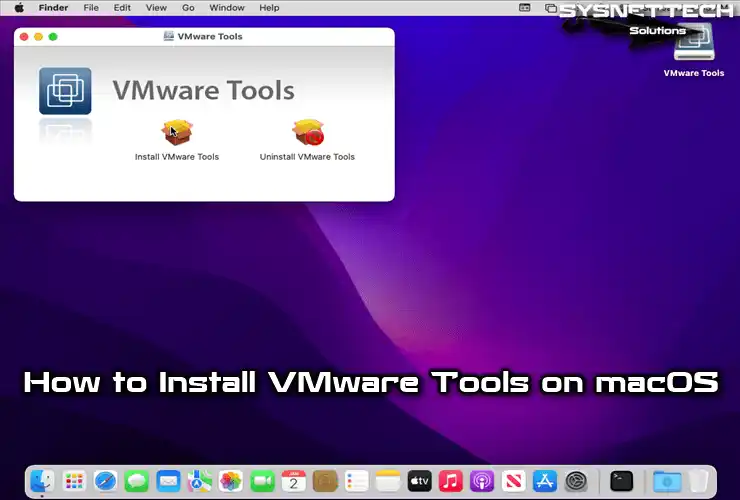
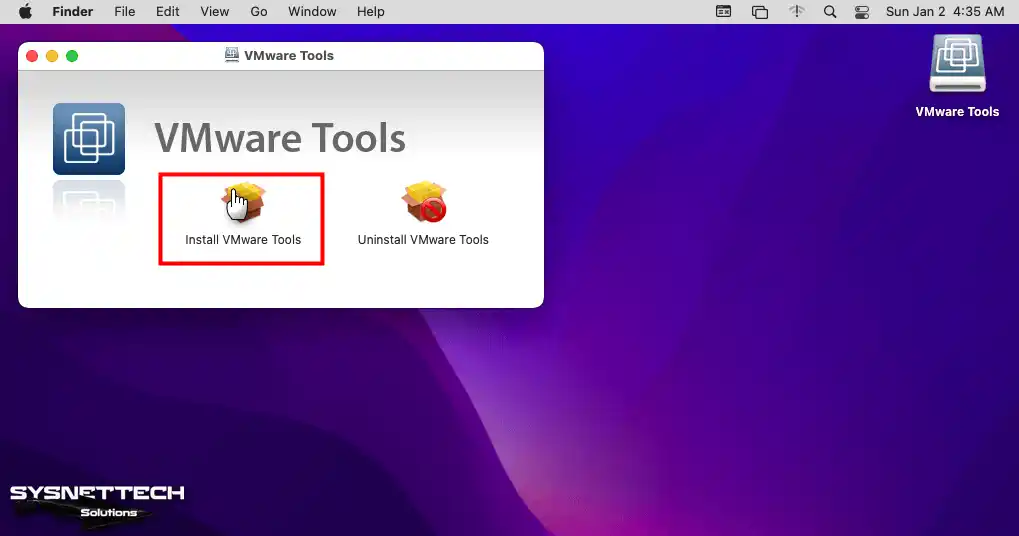
Once you have mounted the ISO file correctly, the install window will open by itself. After that, all you need to do is click “Install Tools.”
Step 2
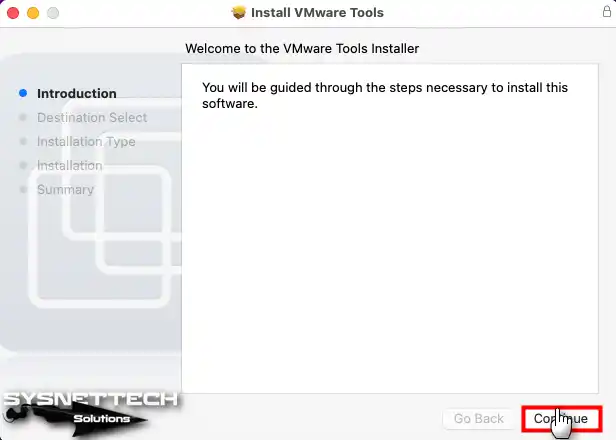
Click Continue in the Guest Tools Installer window.
Step 3
Do not change the location of the integration tools. So, go straight ahead and click Install.

3. Allow VMware Installer
Step 1
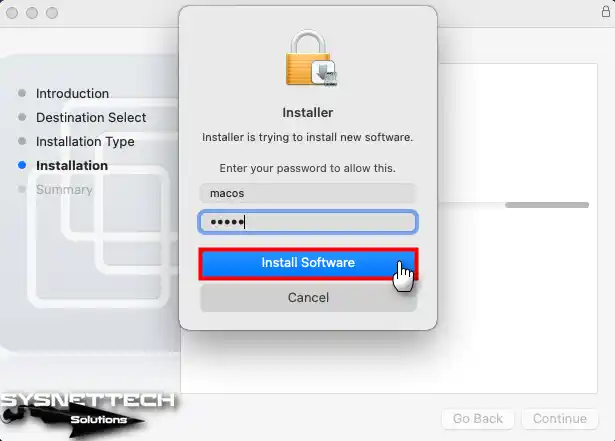
While setting up, it will ask for your password. So, type your Mac account password, then click Install Software.
Step 2
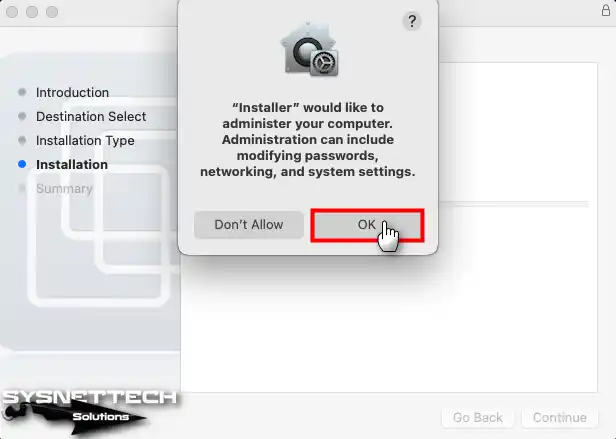
At this point, you must grant permission to the Installer. So, click OK to allow it to adjust system and network settings.
Step 3
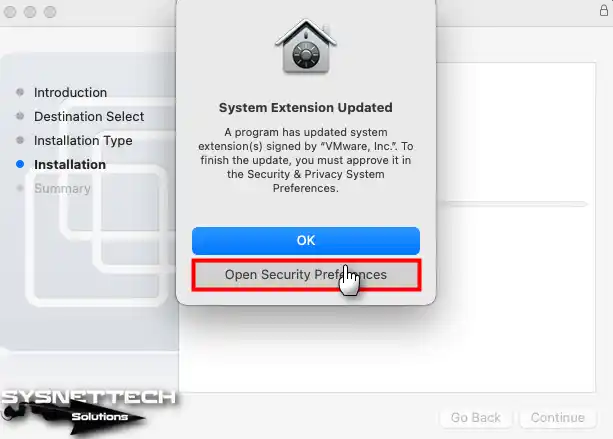
You have changed a VMware Inc system part. You must finish the change now. To do this, click Open Security Preferences.
Step 4
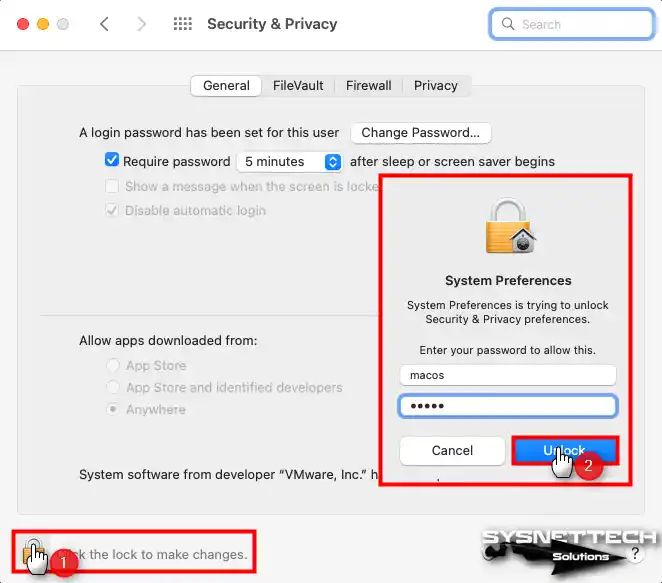
First, go to Security & Privacy. You must allow the software from VMware Inc., so click the Mac lock and type your password. Then, click Unlock to finish the install.
Step 5
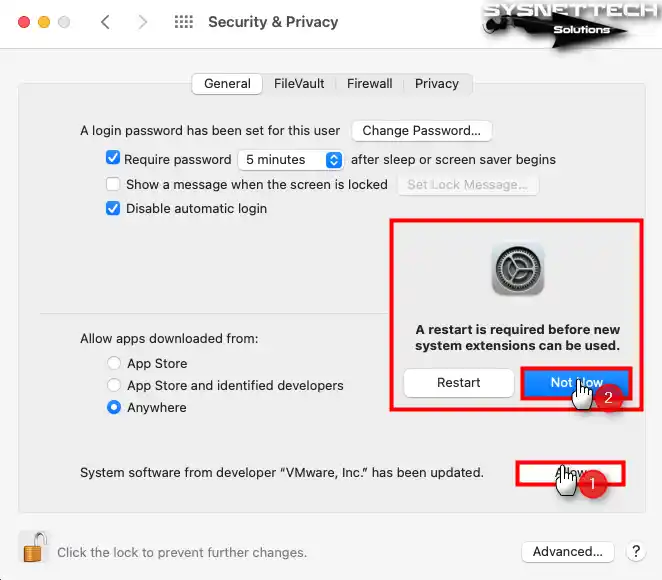
After you unlock macOS, you must say “yes” to the VMware program. To do this, you will see a window as soon as you click Allow.
From here, you can choose not to restart the system immediately. To use this option, simply click the Not Now button.
4. Complete the macOS Tools Installation
Step 1
After you set up Guest Tools on your macOS machine in Windows, you must restart your PC. This step is critical to finish the Darwin ISO install.

Step 2
Restart your macOS guest system. Then, look at the system details in the Finder’s “About This Mac” section.
Here, you will see that your virtual system has 128 MB of graphics memory. Plus, you will see the screen resolution now fits your main computer.

5. Verify macOS Guest Tools
Step 1
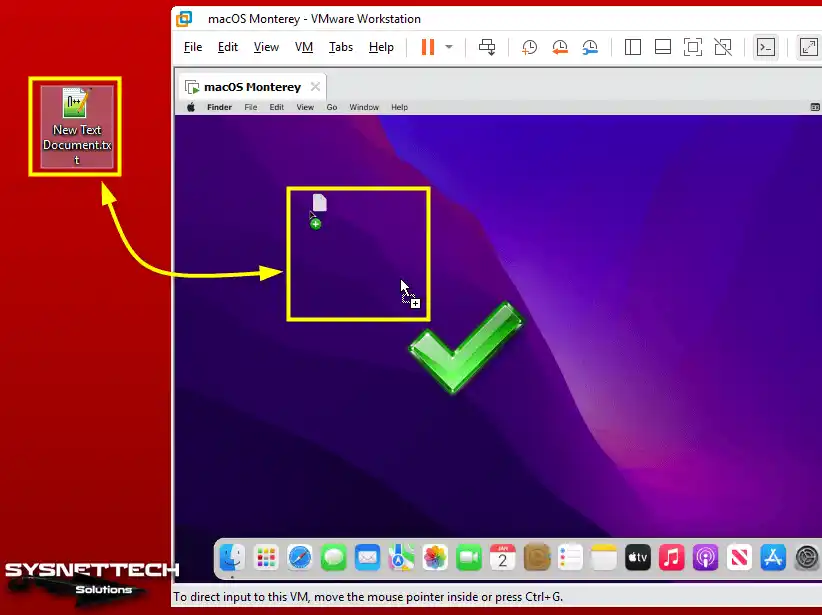
Your machine’s graphics memory & screen size are now OK. This lets you move files with drag-and-drop. So, you can move any files from your host to your machine.
If you can’t copy files to your macOS machine, first open Security & Privacy. Then, go to the Accessibility settings. Now, turn on the “vmware-tools-daemon” service and restart your PC.
Step 2
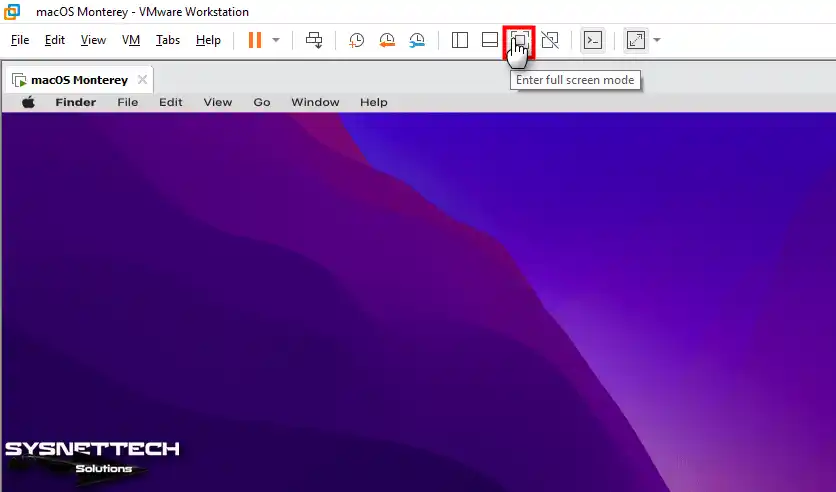
Would you like to use your macOS guest PC in full screen? First, carefully look at the Workstation tool menu. Click Enter full-screen mode as shown in the image below.
Step 3
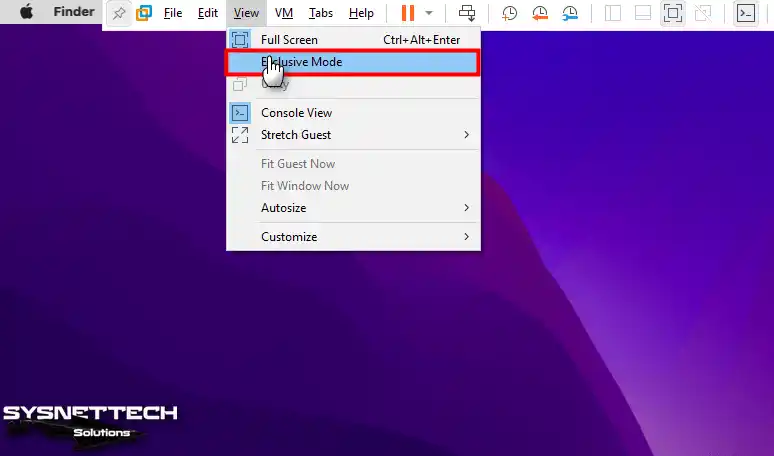
Do you want to hide the toolbar in full-screen mode? If so, click View > “Exclusive Mode”.
This way, you will hide the VMware toolbar. However, if you want to show it again, press the CTRL + Alt keys simultaneously.
Step 4
After turning on Exclusive Mode, you will see that the toolbar is gone. So, you will confirm that your macOS VM has switched to full screen.

How to Uninstall VMware Tools from a macOS VM
When you update VMware Fusion software, it will also update the Darwin.iso file automatically. I advise you to first install the system drivers in the virtual machine.
Later, you should update your macOS system on the Workstation. That is, you need to update your drivers with the newer Darwin ISO.
In this case, you can add the updated ISO file to your guest machine. Then, you can manually update VM Tools.
I advise removing VMware utilities from macOS first. Also, keep in mind that you should do this before starting the installation.
Steps:
Step 1
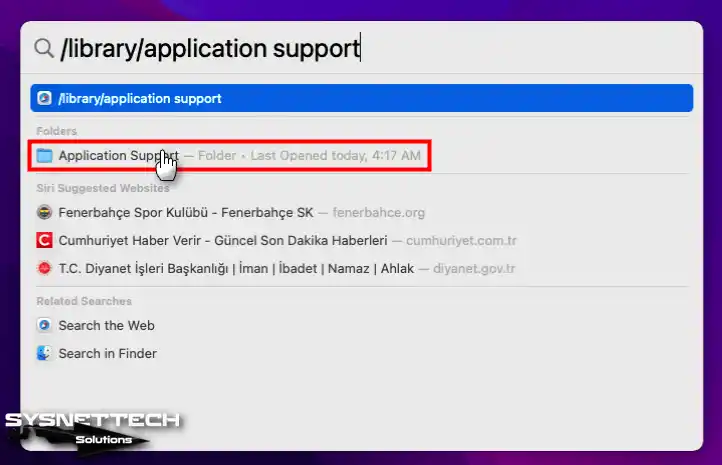
If you are not using a Mac, first press the Windows + Space keys together on your host keyboard in your VM. This will open Spotlight search.
First, open Spotlight Search and type in the search bar. Type “/library/application support” here. Find the Application Support folder under Folders and open it.
Step 2
Open the Application Support folder. Then, find and open the Tools folder inside it.

Step 3
First, click the “Uninstall VMware Tools” option. In the window that opens, click the “Uninstall” button again to confirm the deletion.

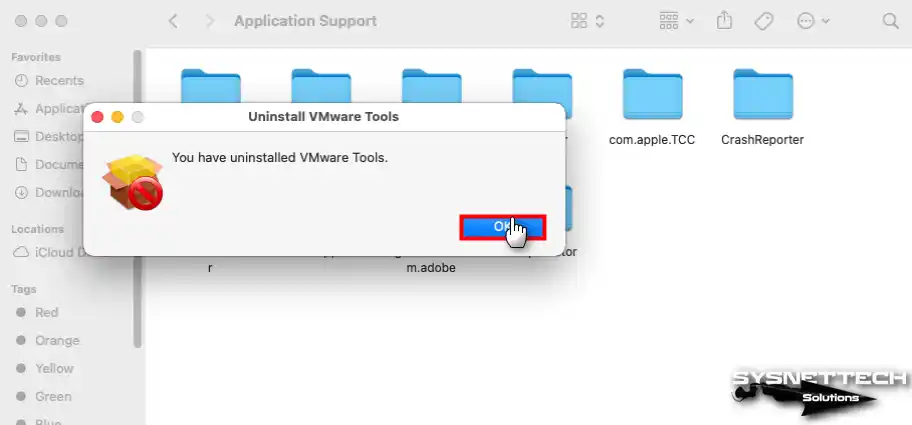
Step 4
You have successfully uninstalled it from your macOS guest PC! Now that you have completed the process, click OK to finish.
Step 5
To restart your macOS virtual machine, first click on the Apple logo. There, select the “Restart” option from the menu that appears. Finally, click on the same option again on the confirmation screen.

Step 6
When you restart your macOS virtual PC, the first thing you should do is check the system settings. For example, you may see that the graphics memory has dropped to 3 MB. Also, you might see that the screen resolution doesn’t allow full-screen.
First, make sure you have successfully uninstalled VM Tools. If you are going to reinstall the drivers, use the latest Darwin ISO. In short, you can reinstall the drivers for your virtual machine using this file.
Learn How to Install Guest Tools on Older Versions of macOS with Slides
Frequently Asked Questions (FAQ) About the macOS VM Extension Package
- Why do I need VM Tools on macOS running on a Windows PC?
- Do I need to install it after installing macOS?
- What should I do if my mouse pointer isn’t working properly?
- Can I use macOS features without the VMware performance tools?
Conclusion
In short, use the Darwin.iso file when you run Mac systems in a virtual machine. This way, you get better speed by installing Guest Tools on your macOS machine.
In truth, this process gives instant, visible upgrades:
- Smooth User Experience: VMware Tools adds improved video drivers. This lets you go to full screen smoothly. Because of this, window limits are removed. So, your virtual macOS acts like a real computer.
- Better Speed: These tools greatly boost video and system performance. For example, you’ll get smoother movement on your virtual computer. Also, apps become quicker to respond. This raises your total work output while making your daily jobs faster.
- Smooth Cross-Platform Connection: First of all, these tools make file moves much simpler. For example, you can copy and paste with a shared clipboard. You can also share files by dragging and dropping. In other words, this easy bridge removes your difficult fixes.
To sum up, because these upgrades cooperate, you can improve your whole virtual experience. For example, you move your virtual machine out of a separate box. Then, you make it a connected part of your main computer.
This connection gives you more choices while greatly adding features. That is, you use all the power of your macOS virtual machine. You can use this power for building, checking, or everyday work.

8 People Shared Their Experience
Hi,
Is this on VMWare 14 and macOS 10.13.4?
I tried the same and the I could not get full screen :/
Oh, never mind, it worked after a couple of uninstall and reinstalls of VMWare tools 🙂
I’m glad to hear that 🙂
cual es nombre del archivo o ruta que debo de conectar con el DVD/CD para poder instalar el vmware tools adecuado…
Simplemente haga clic en el botón Instalar herramientas de VMware.
As of May 2022. DO NOT INSTALL darwin.iso. It willl BREAK your mac installation
didnt break mine
But, macOS 13 ventura ‘s resolution is not changed.