
In this article, I will present you the details of installing Oracle VM VirtualBox 7.0 in the Linux Mint 21 Vanessa distribution. At the end of everything, you can create virtual machines effortlessly with the installation.
Thus, you can now seamlessly integrate a virtual Windows, Linux, and macOS into your Mint OS. So, let’s unlock the true potential of Oracle VirtualBox!
How to Use Oracle VM VirtualBox 7.0 to Run a Virtual Machine on Linux Mint
Oracle VM VirtualBox is the perfect solution for those seeking free virtualization software on their computer. This software is consistent with Windows, Linux, and macOS, and the installation stages are straightforward. No matter which operating system you use, VirtualBox is an excellent choice that offers exceptional virtualization features that are accessible immediately.
You can run a guest operating system on the virtual computer you have prepared without dual-boot by using the Oracle virtualization program on your Linux Mint computer that supports virtualization. You can quickly run and operate your virtual system without restarting your host computer.
You can install Oracle software on Linux Mint using three methods.
- You can install it with Package Manager.
- You can install it with the deb package.
- You can install it from Oracle servers.
In this article, we will download the Oracle program from the official website and install the deb package as a more straightforward installation method.
How to Download and Install VirtualBox
Downloading VirtualBox for Linux platforms is easily achievable by visiting any website on the Internet or the official website.
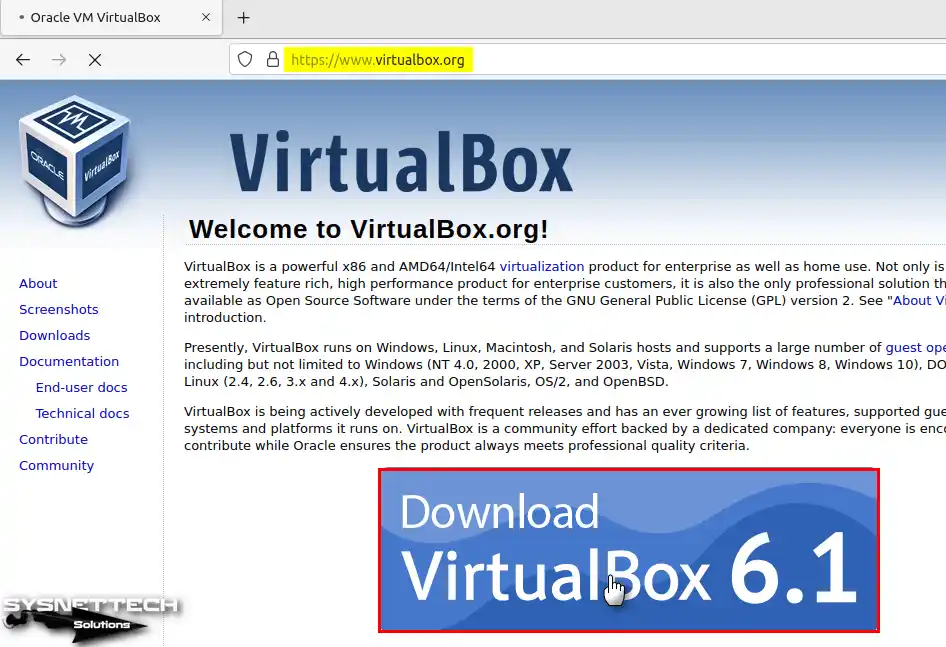
Step 1
To download VirtualBox from the official website, visit this address and click Download VirtualBox 7.0 image.
Step 2
Click Linux Distributions in VirtualBox 7.0 Platform Packages.
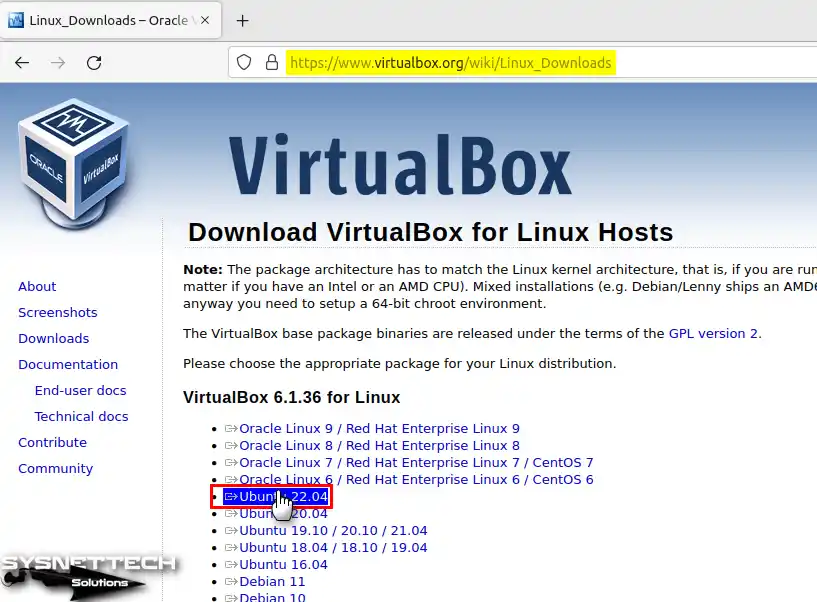
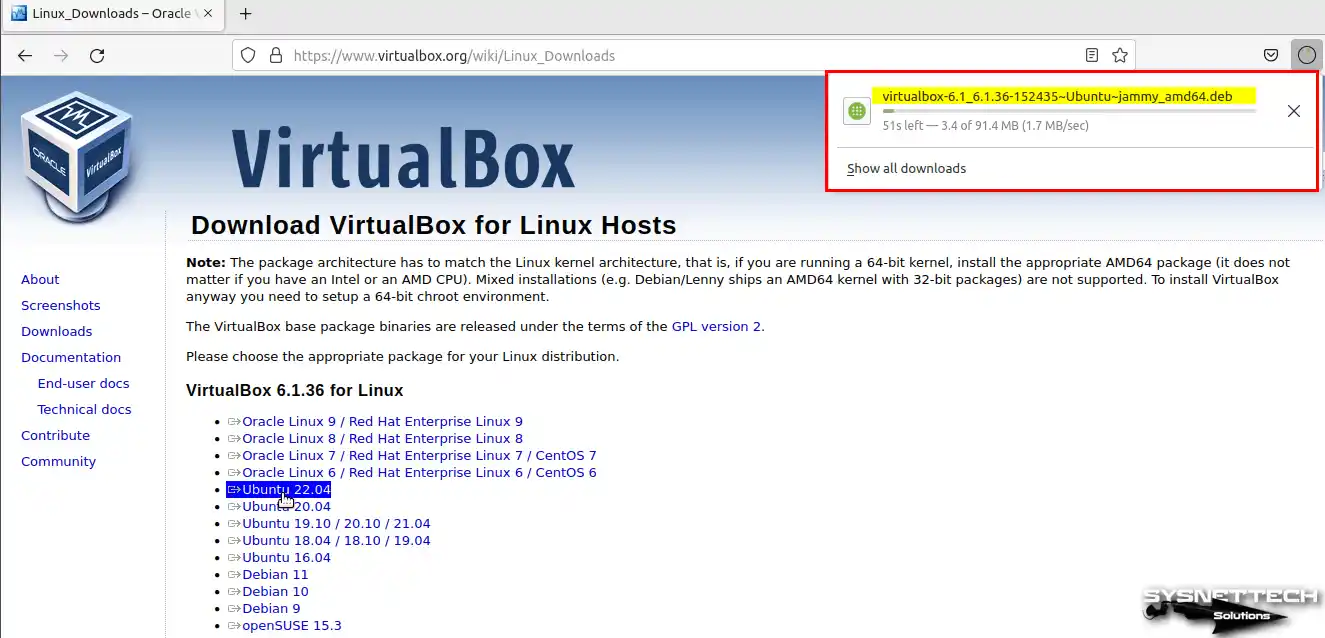
Step 3
After clicking Ubuntu 19.10 / 20.04 / 20.10 / 21.04 option from Linux platforms, save the deb package to your computer.
Step 4
To access the terminal, confidently press CTRL + ALT + T on your keyboard. Once there, type the “sudo apt update” command to confirm your system’s package list is entirely up-to-date.
sudo apt update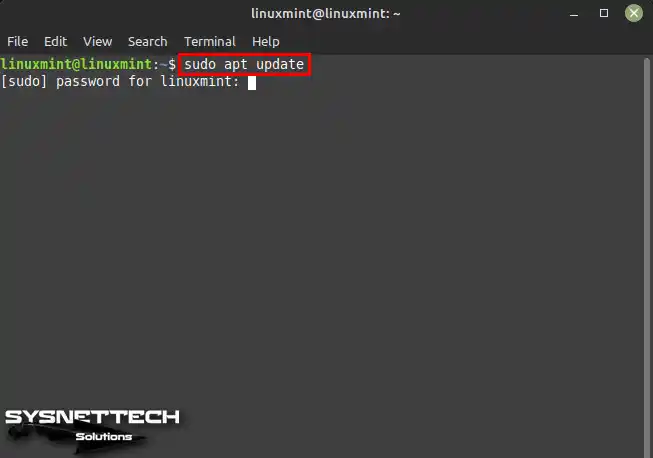
Step 5
Go to the Download location in the terminal and execute the “sudo dpkg -i virtualbox-6.1_6.1.36-152435~Ubuntu~jammy_amd64.deb” command to install VirtualBox.
sudo dpkg -i virtualbox-6.1_6.1.36-152435~Ubuntu~jammy_amd64.deb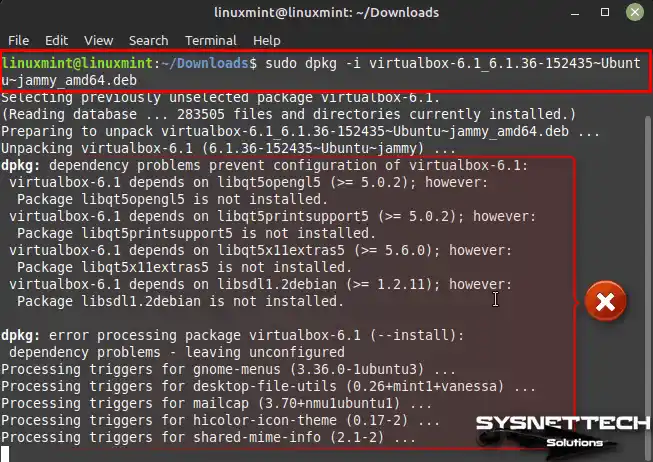
Step 6
You can see that the dependent packages required for VirtualBox should also be installed during the installation. To confirm the Oracle software runs smoothly, enter the command “sudo apt install -f” into the terminal, and the necessary packages will be installed.
sudo apt install -f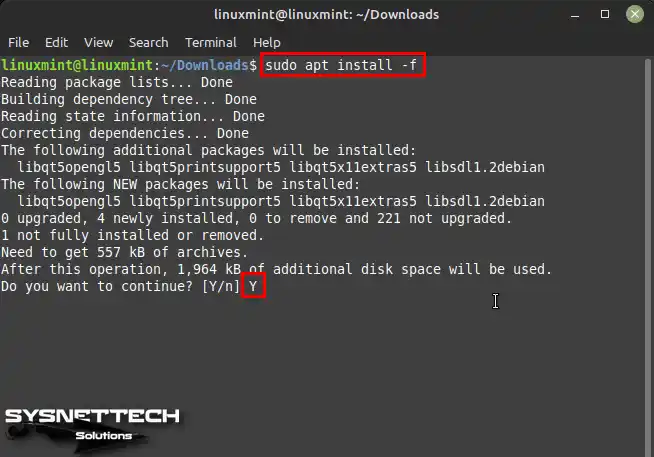
Step 7
To efficiently install and compile Linux kernel modules for VirtualBox, enter “sudo apt install linux-headers-$(uname -r) build-essential dkms” in the terminal. This straightforward process will only consume a little of your precious time.
sudo apt install linux-headers-$(uname -r) build essential dkms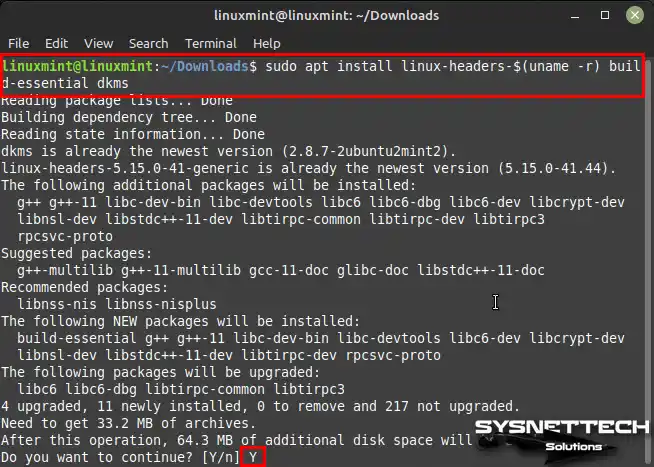
Step 8
You can check the version of Oracle VM VirtualBox in Help / About.

How to Install Extension Pack in Linux Mint
After installing VirtualBox on Linux Mint, you need to install the Extension Pack to operate USB 3.0 devices in the virtual machine, get a better mouse experience, and enable full-screen resolution.
Step 1
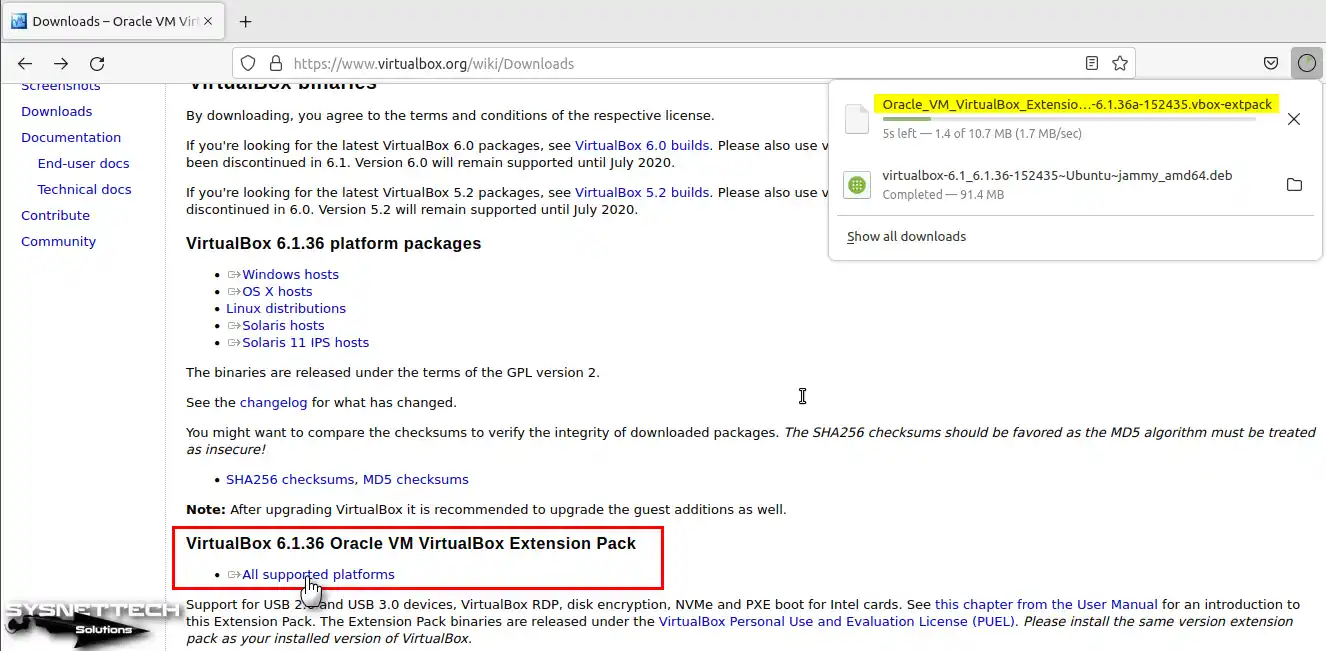
View the VirtualBox download webpage and click All Supported Platforms under the Extension Pack heading.
Step 2
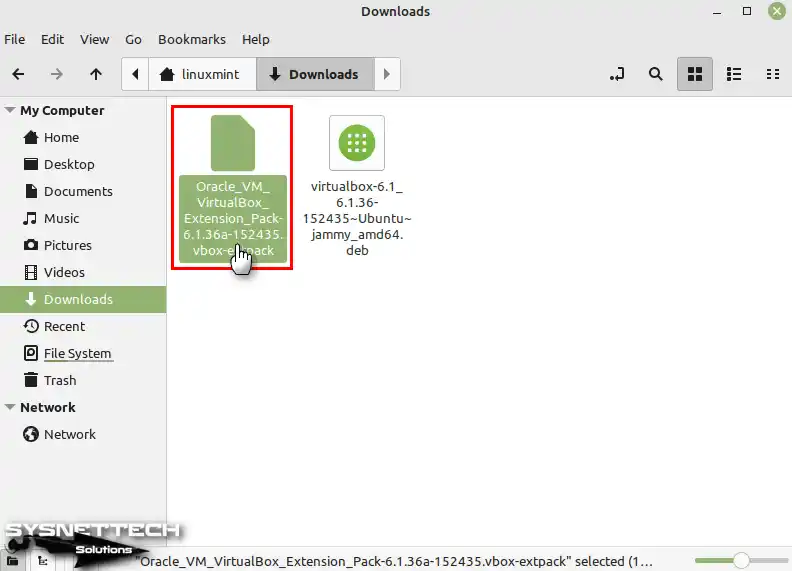
Double-click on the Vbox-extpack file you downloaded to your computer.
Step 3
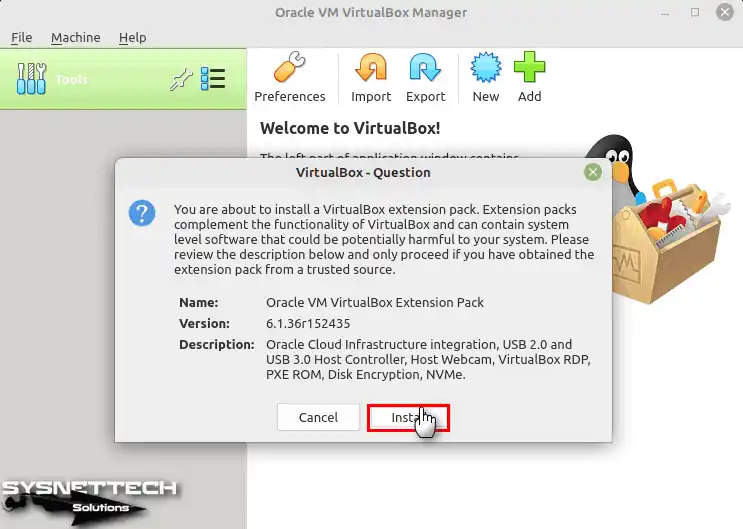
If you downloaded the Extension Pack from a secure source, click the Install button.
Step 4
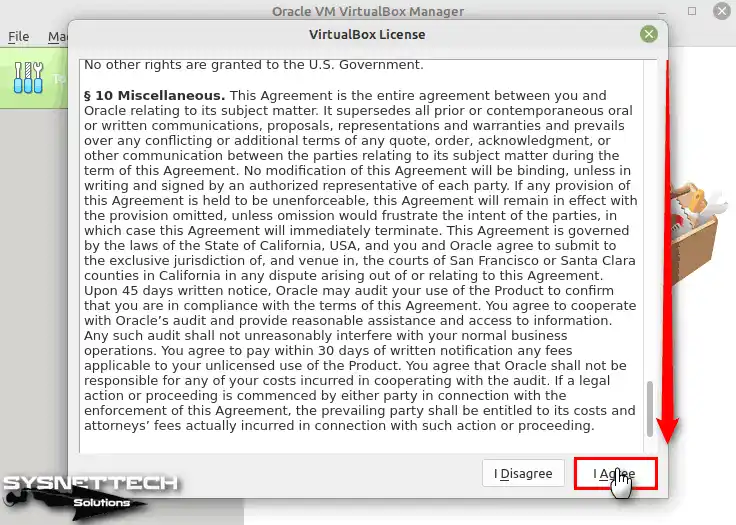
To gain full access to the license agreement, it’s crucial that you confidently scroll down and assertively click on the “I Agree” button without any delay.
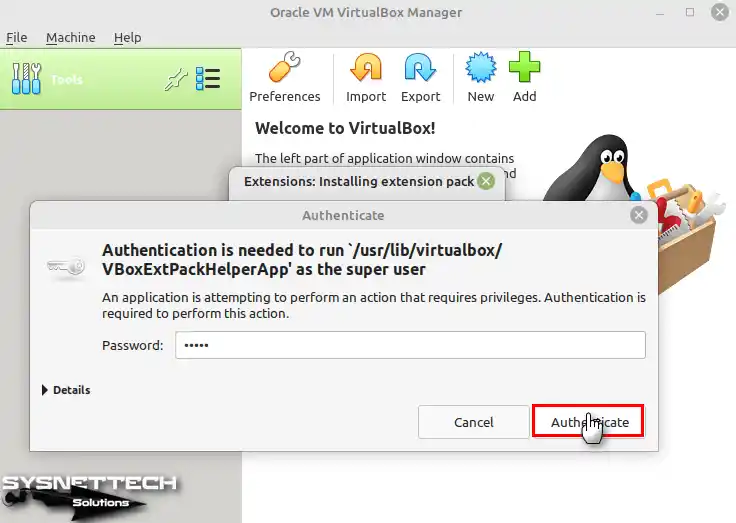
Step 5
Type the root password of your Linux Mint system and click Authenticate.
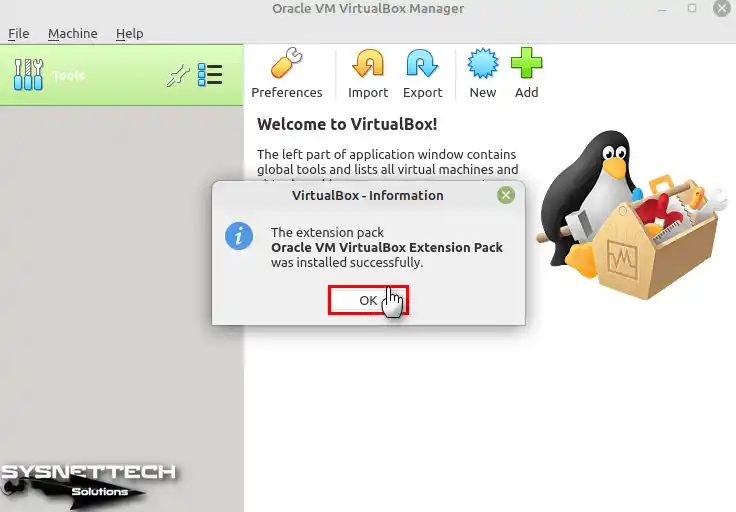
Step 6
Close the information window after successfully installing the Extension Pack on your Linux Mint computer.
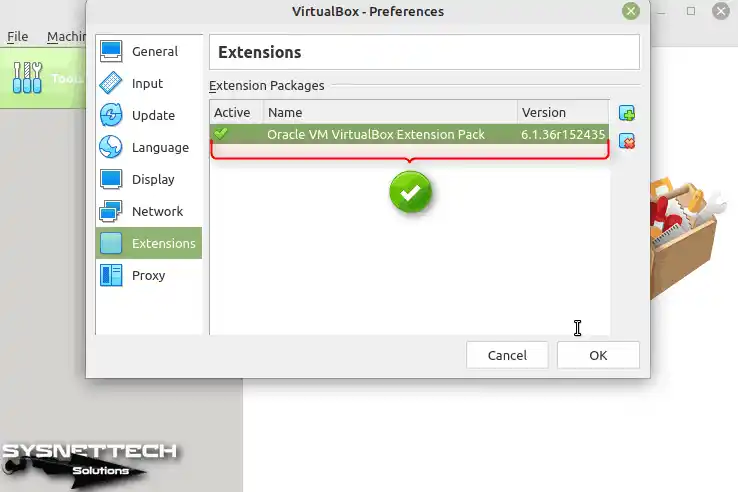
Step 7
Click File / Preferences from the VirtualBox tool menu, and you can check the Extension Pack version you have installed from the Extensions option on the left panel.
How to Create a New Virtual Machine on Linux Mint
After installing Oracle VM VirtualBox and configuring the necessary extension pack for the drivers of virtual machines, you can now create a new virtual machine on your Linux system.
Step 1
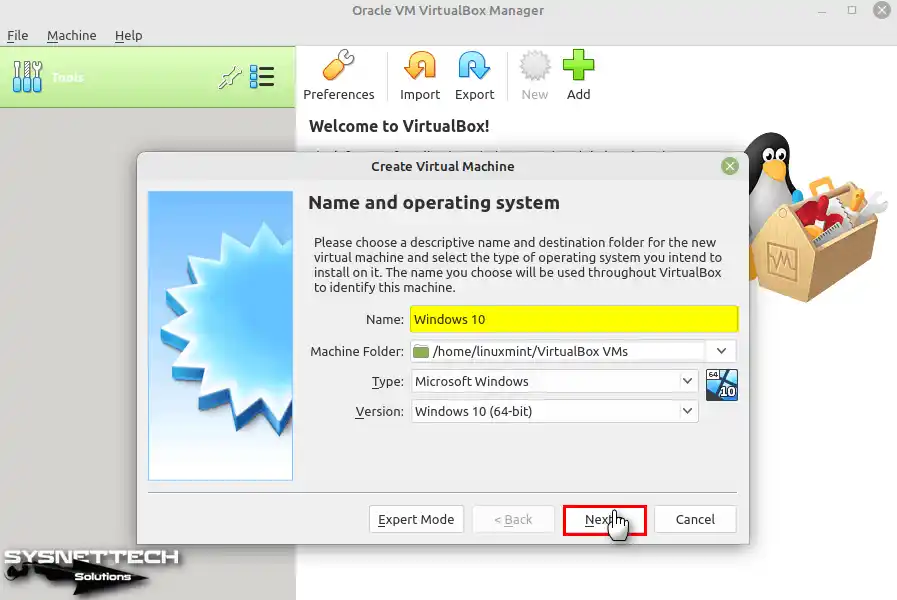
After running VirtualBox, open the virtual machine wizard by clicking the New icon from the tool menu. After opening the wizard, as soon as you type the operating system’s name, you will install it in the Name and Operating System window, and the values in the Type and Version sections will automatically match.
After the version of the virtual guest operating system matches correctly, configure the location on your Linux system to install and click Next.
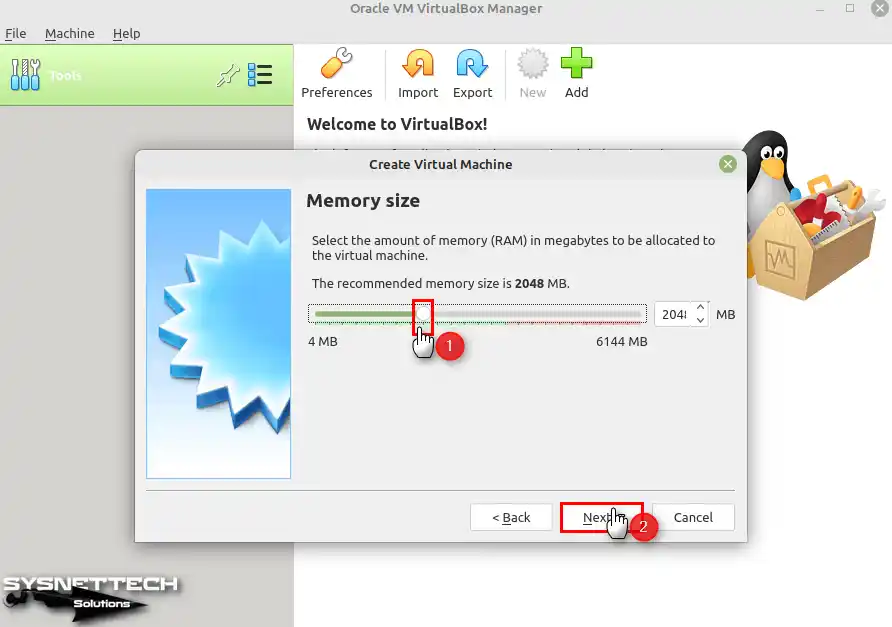
Step 2
Configure the memory size of your virtual system according to the capacity of your host computer and click Next.
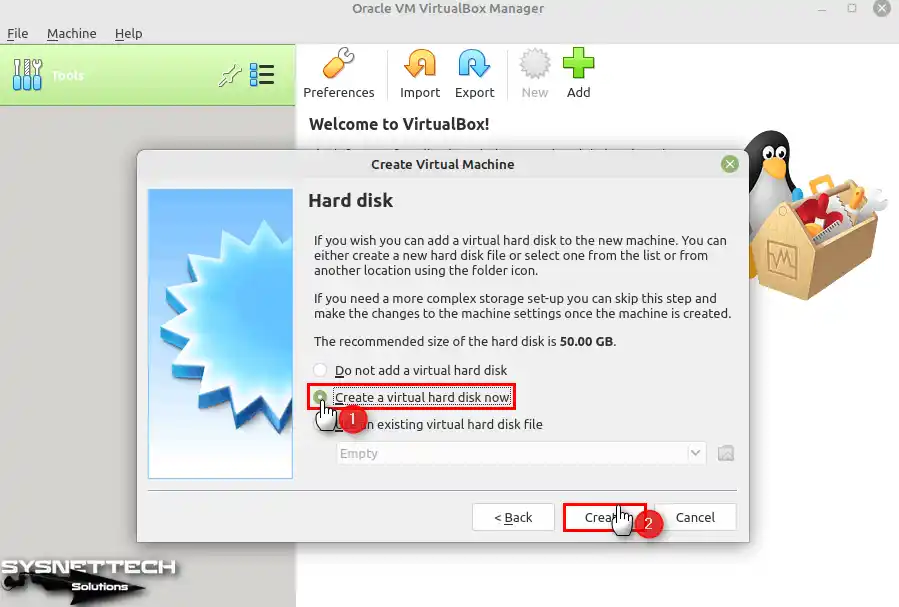
Step 3
Since installing Windows 10 from scratch, create a new virtual hard disk and click Create.
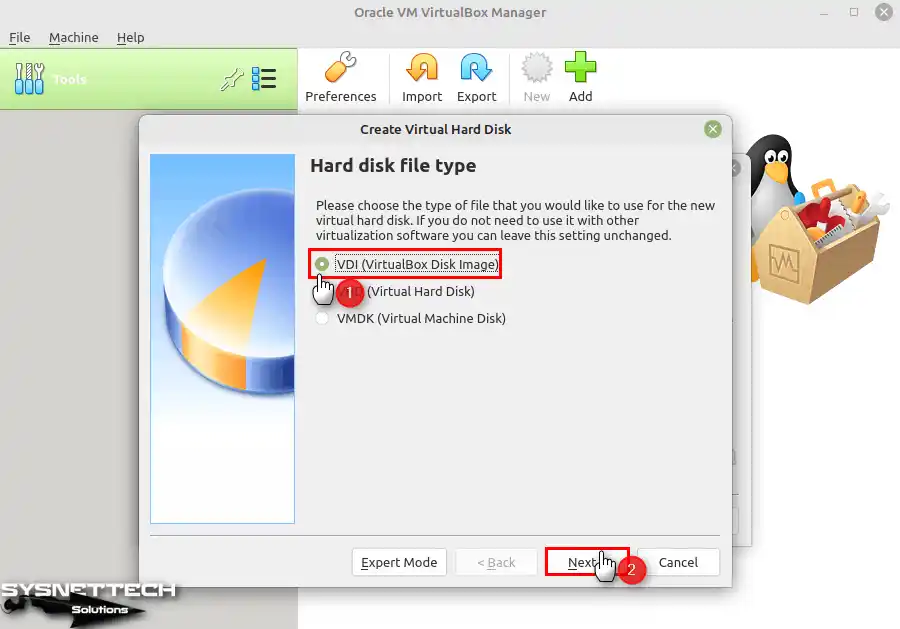
Step 4
Select the virtual hard disk type as the default option VDI (VirtualBox Disk Image) and click Next.
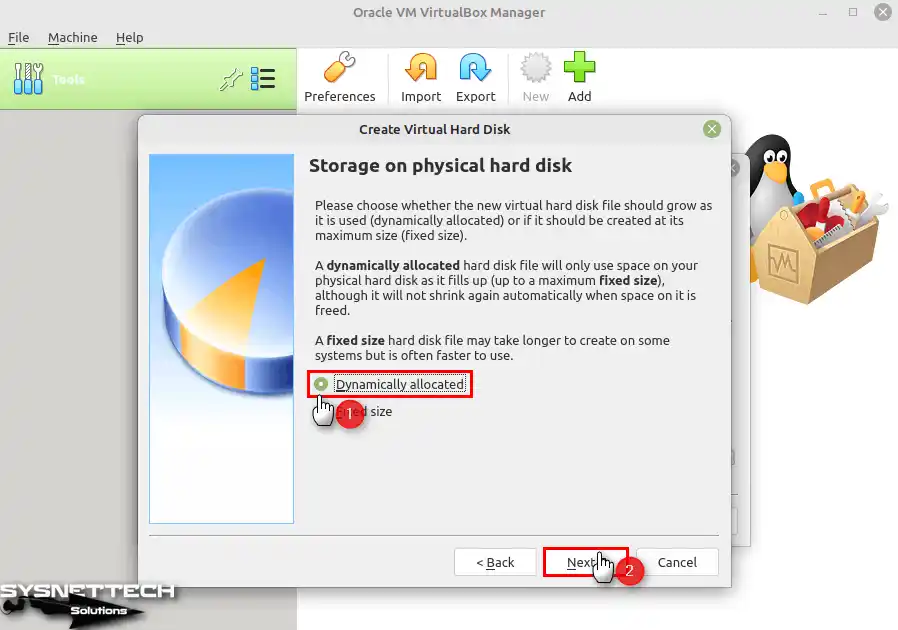
Step 5
If you want the virtual disk size allocated from your host disk in advance, choose the Fixed Size backup type. If you have a fast disk, you can select the Dynamically allocated option to allocate disk space as much as necessary from disk capacity.
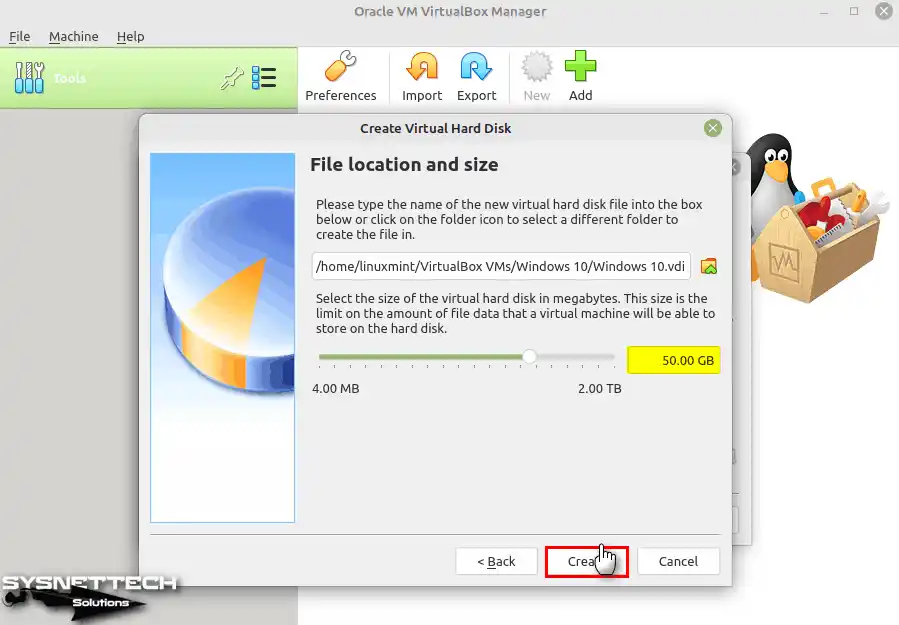
Step 6
The disk size of the Windows 10 guest machine is set to 50 GB by default. You can specify a higher disk space if you install and run multiple programs on your virtual computer.
Step 7
After creating the Windows 10 virtual machine, click Settings for more advanced hardware configurations.

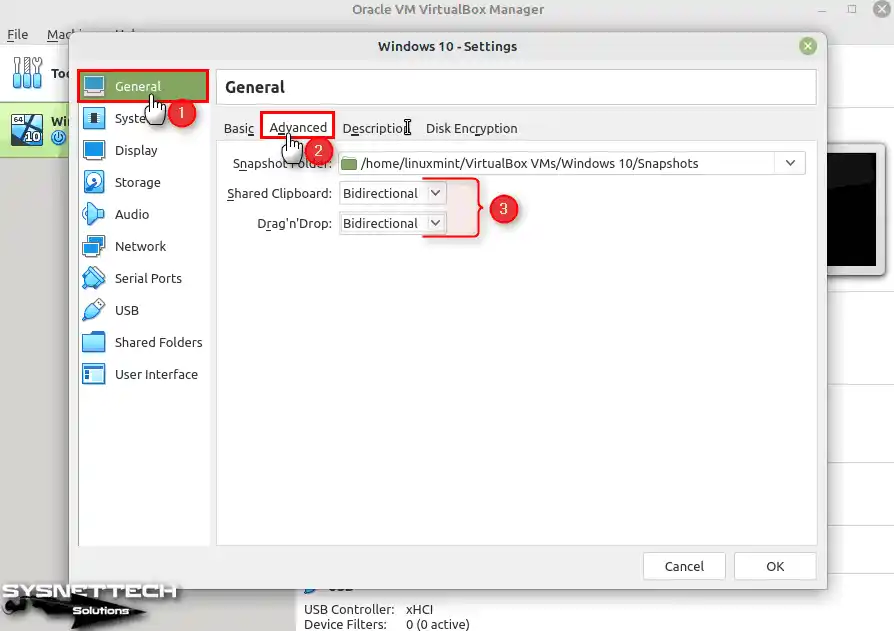
Step 8
Open Advanced in the General settings of the Windows 10 virtual system and change both properties to Bidirectional to enable drag-drop and copy-paste between host and VM.
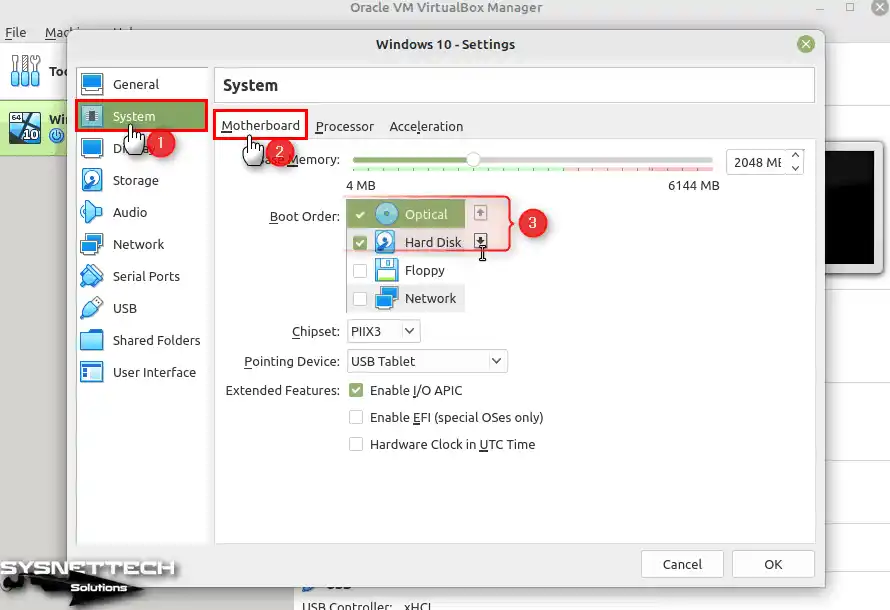
Step 9
Change the guest system’s primary boot device to an optical drive in System / Motherboard settings and disable Floppy.
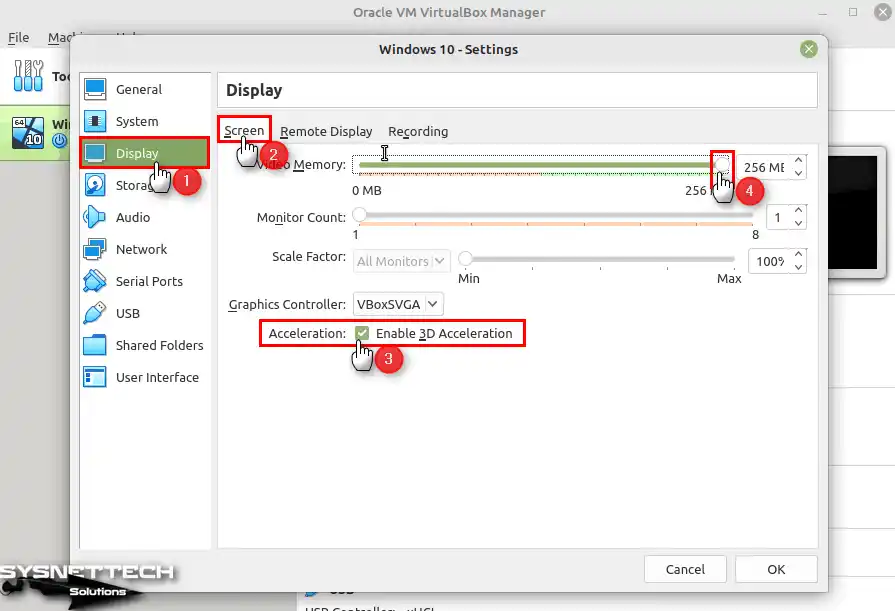
Step 10
After enabling the 3D Acceleration feature in the Display settings, change the Video Memory size to 256 MB.
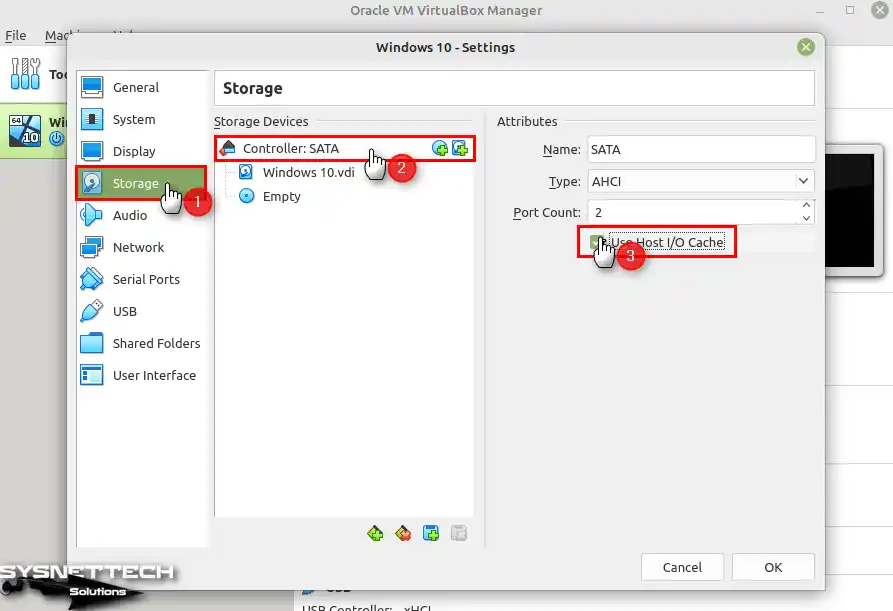
Step 11
After selecting SATA Controller in the Storage device settings, enable the Host I/O Cache feature from the Attributes section.
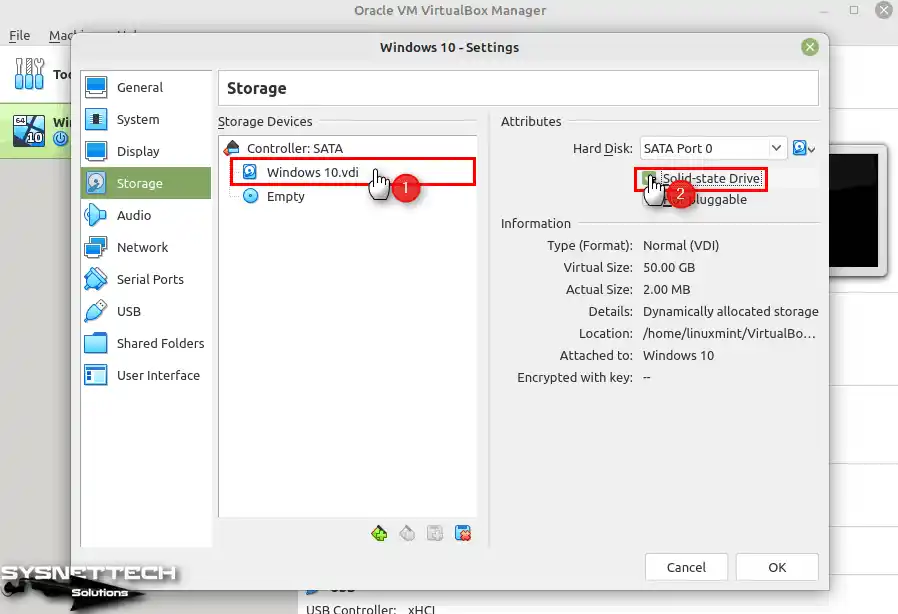
Step 12
Activate the Solid-State Drive feature from the Windows 10.vdi virtual disk file settings.
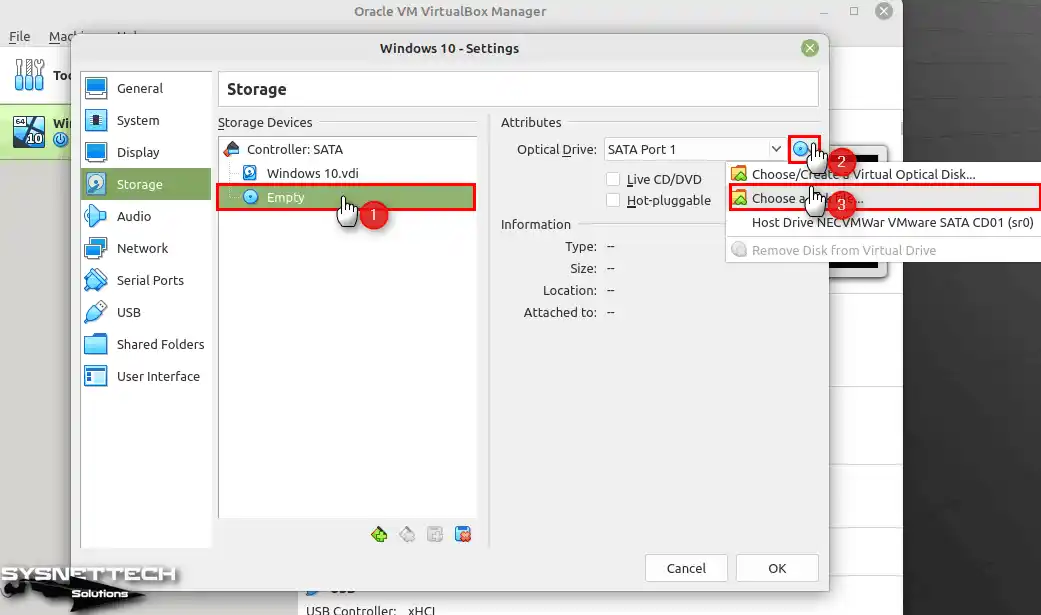
Step 13
To add a Windows 10 ISO file to the virtual computer you created, select the Empty optical drive, click the DVD icon, and click Choose a disk file from the options that appear.
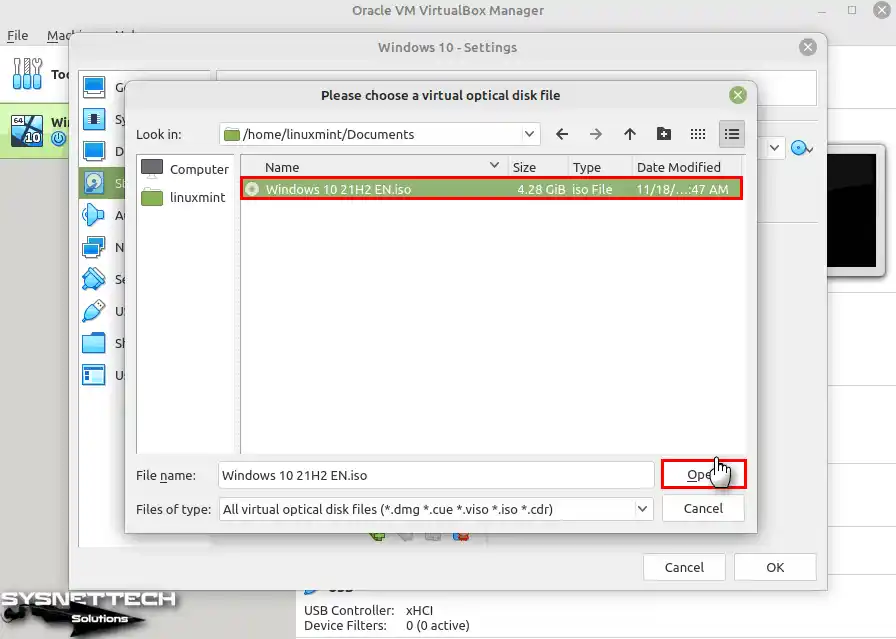
Step 14
Select a Windows 10 image file you downloaded to your computer and click Open.
Step 15
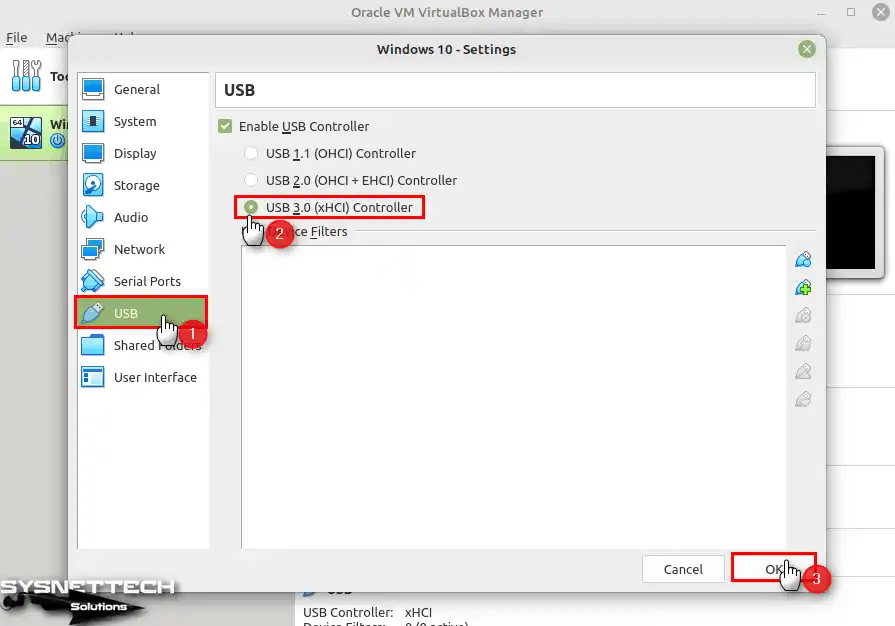
View the USB hardware settings and enable the 3.0/3.1 controller.
Step 16
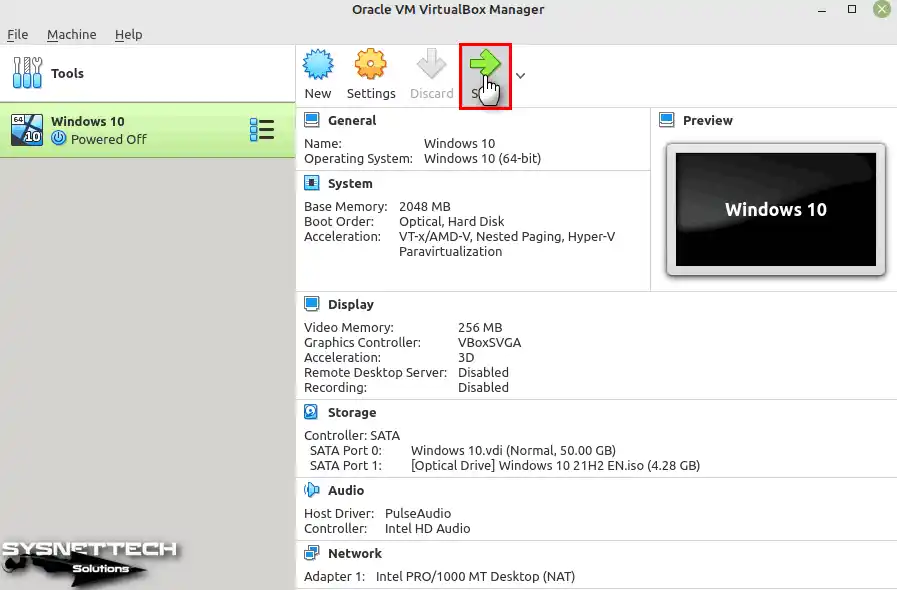
After configuring the settings of your Windows 10 virtual computer, run it.
Step 17
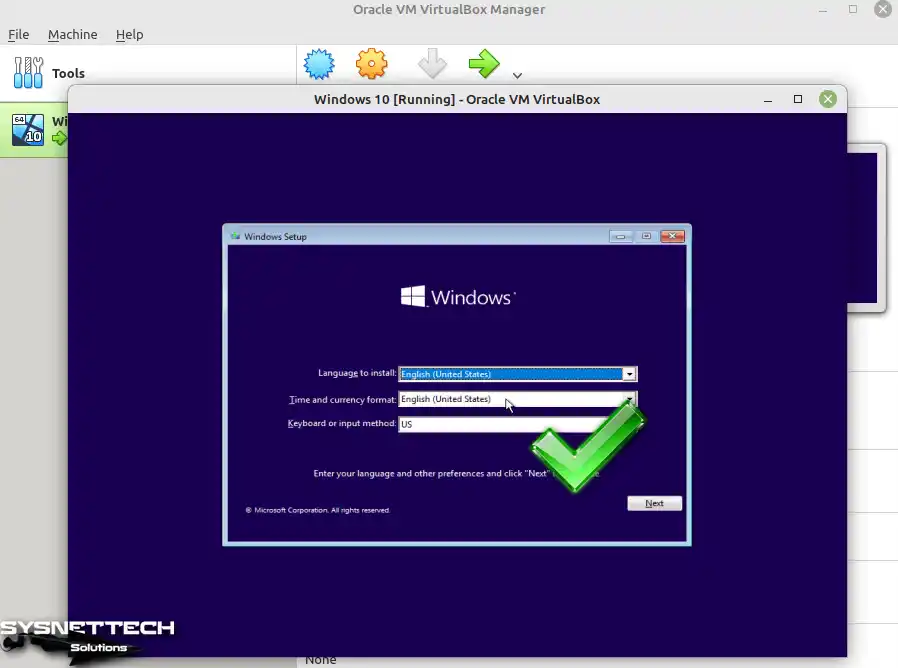
When the installation wizard for Microsoft Windows 10 presents itself, you can proceed with the installation process for virtual and physical computers using the same steps. Remember to install Guest Additions to install the VM’s drivers after installation.
How to Delete the Virtual Machine from Linux Mint
After successfully establishing a guest operating system on VirtualBox for Windows or Linux, you can confidently delete the virtual machine files from your host disk without negatively impacting your host system.
Step 1
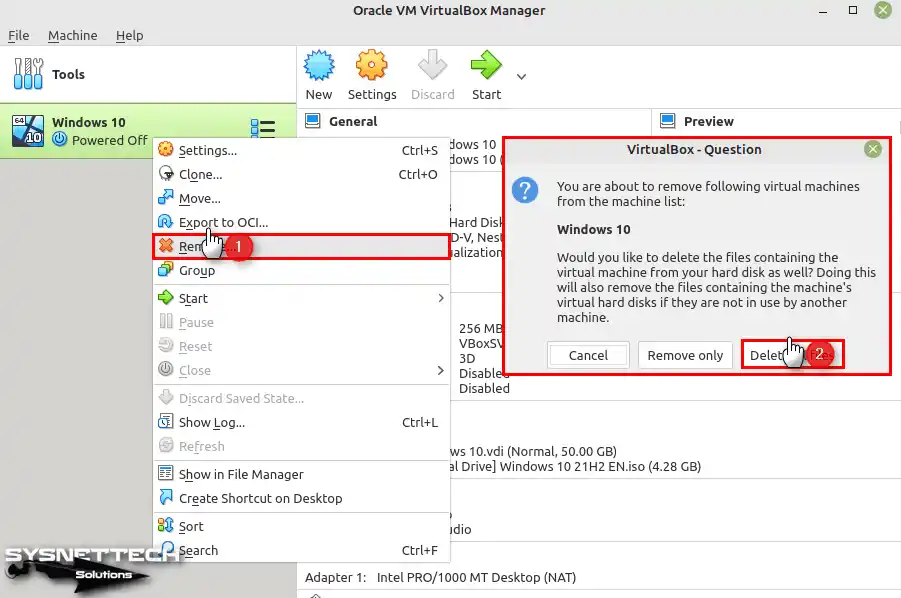
If you want to completely delete the Windows 10 virtual system you have installed from your host disk and do not want to use this VM again, right-click / Remove on the VM from the left panel of the Oracle virtualization software, and then click Delete All Files in the warning window that opens.
Step 2
When you check the virtual computer installed in the VirtualBox VMs location, you can see no files.

How to Uninstall VirtualBox from Linux Mint
Eliminating Oracle software from your Linux machine can be accomplished swiftly in minutes.
Step 1
After opening the terminal, execute the “sudo apt remove –purge *virtualbox*” command to remove VirtualBox at the command prompt.
sudo apt remove --purge *virtualbox*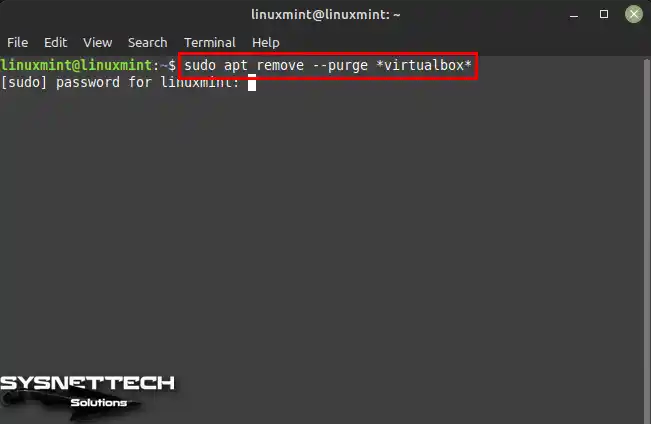
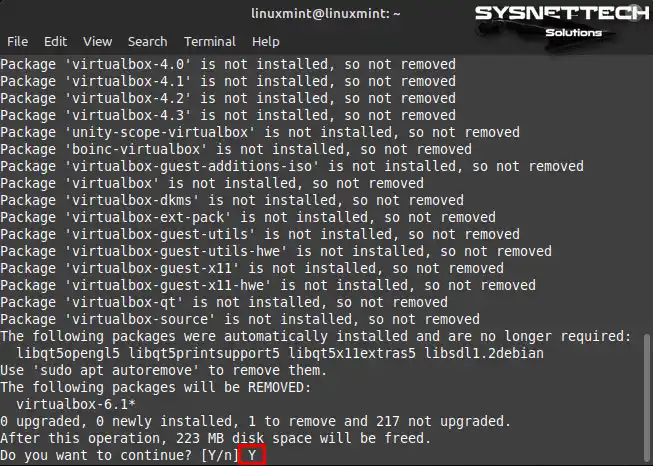
Step 2
Press Y, then Enter to confirm the removal of packages and files associated with VirtualBox.
Step 3
To delete the residual files of the Oracle software on your system, execute the commands below in the terminal.
sudo rm -rf ~/"VirtualBox VMs"
sudo rm -rf ~/.config/VirtualBox/
sudo rm -rf /usr/lib/VirtualBox/
Step 4
After successfully removing VirtualBox from your system, you can see vboxusers in user groups. Check the vboxusers group with the compgen command and delete this group, if any.
compgen -g | grep -i "vbox"
sudo groupdel vboxusers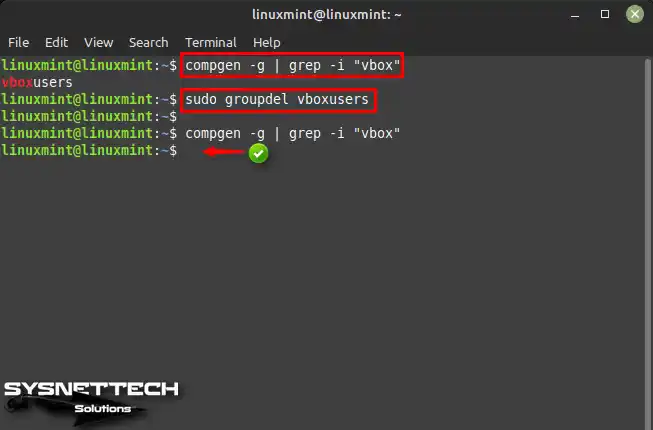
Video
Installing VirtualBox from Oracle Repositories
You need to download current versions of the virtualization program from Oracle servers to your Linux Mint PC, update your repository list, and install the program.
- Run the following command in the terminal console to edit the Linux Mint sources.list.
sudo nano /etc/apt/sources.list
- Add the address below to the Sources.list, press Ctrl + X, then hit Enter to save the file.
deb https://download.virtualbox.org/virtualbox/debian eoan contrib
- To add the Public Key of the Oracle VM, execute the command below and update your package list with the sudo apt update command.
wget -q https://www.virtualbox.org/download/oracle_vbox_2016.asc -O- | sudo apt-key add -sudo apt update
- Execute the sudo apt install virtualbox-6.1 command to start the Oracle virtual machine program installation.
sudo apt install virtualbox-6.1
- Just execute the commands below to effortlessly get the Extension Pack up and running on your system.
wget https://download.virtualbox.org/virtualbox/6.1.36/Oracle_VM_VirtualBox_Extension_Pack-6.1.36.vbox-extpacksudo VBoxManage extpack install Oracle_VM_VirtualBox_Extension_Pack-6.1.36.vbox-extpack
To verify the status of VirtualBox following its installation from the Oracle repositories, execute the “sudo systemctl status vboxdrv” command in the terminal.
Installing Old Versions
| Mint / VBox Version | YouTube Video | Slide |
|---|---|---|
| 18 / 5.2 | Watch | View |
| 19 / 6.0 | Watch | View |
| 20.3 / 6.1 | Watch | View |
| 21 / 6.1 (NEW) | Watch | – |
Conclusion
As a result, you can easily install Oracle VM VirtualBox 7.0 on your Linux Mint 21 PC with all the steps I have detailed above. Afterward, you can start running multiple operating systems seamlessly with VirtualBox.
Additionally, you can enhance your computing experience and unlock a world of possibilities. If you are a developer, designer, or technology enthusiast, you can choose VirtualBox. Because of this, software is versatile for creating virtual PCs. Additionally, since it offers a user-friendly platform, you can take your computing to new dimensions.

4 People Shared Their Experience
Hi,
Had a few issues. Got errors after step 6, relative to permission denied to open lock file(13) and inability to lock the administration directory. Any chance you could point me in the right direction?
Hi, Thank you so very much I thought it was an excellent video and written guide. I only had one problem that was my fault for the miss spelling. If it’s followed to the T it’s fine. Thanks again.
Very nice tutorial. Everything went well. Thank you!
You’re welcome!