
In today’s digital world, the web browser we pick is critical. So, this means we affect our time online. Thus, macOS users who want a different tool than Safari often pick Google Chrome.
That’s why Google’s Internet browser is known for being fast and reliable. Also, its many features that fit every user. In the end, it gives a smooth online browsing experience.
In this article, I’ll show you how to install Chrome on your Mac. You can also easily control your browser’s settings, whether this is your first time or you are moving from another app. This way, you can explore the web easily and quickly.
How to Set Up Google Chrome on macOS Sequoia 15
Chrome is a famous, widely used internet browser made by Google. It gives very fast and easy-to-use performance.
What’s more, in addition to being free to download, it’s also easy to install. It’s also compatible with Windows, Linux, and Mac OS X.
Those who don’t want to use Google Chrome can certainly try other browsers. For example, you can install Mozilla Firefox, Opera, or Safari. This way, you can choose a surfing tool that suits your needs.
In this article, I installed it with Monterey 12, the latest version of macOS. If you have Sequoia 15 installed on your device, you can install this browser using the same steps.
If you’re ready, let’s move on to the complete installation process!
How to Download Chrome on macOS on a Mac PC
Step 1
To download it for Mac & macOS, visit the official website. Then, click the Download button to authorize the download.

Step 2
Please wait while Google’s Internet browser downloads to your Mac. Feel free to grab a quick coffee or stretch your legs—you’re doing great!

Step 3
After getting the Google browser on your macOS, open the downloads folder. Then, find and double-click the GoogleChrome.dmg file.

How to Install and Run Google’s Browser
Step 1
After mounting the dmg file, you’ll see a window open. This window contains the GC icon.
Then, drag and drop the icon into the Applications folder. This way, you will quickly finish the install process.

Step 2
Please wait while you send the Google browser to Applications.

Step 3
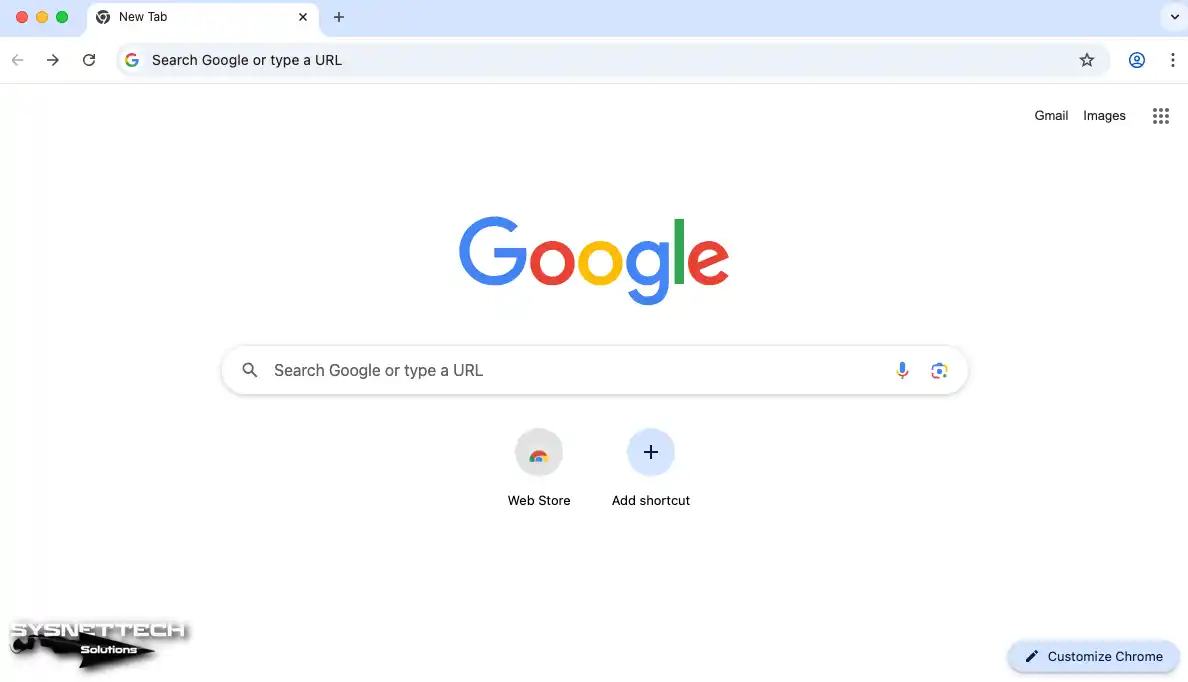
Now, open the Applications app on your macOS Sequoia 15. Then, double-click on the GC icon to launch it.

Step 4
macOS checks the safety of your apps when you get them from the internet.
So, you must allow it before opening the app. If not, click Open to go on.

Step 5
I suggest setting the Google browser as the main app on your computer.
You can also choose to send usage statistics to Google. To do this, select the relevant options in the window. Finally, click the “Start Google Chrome” button.

Step 6
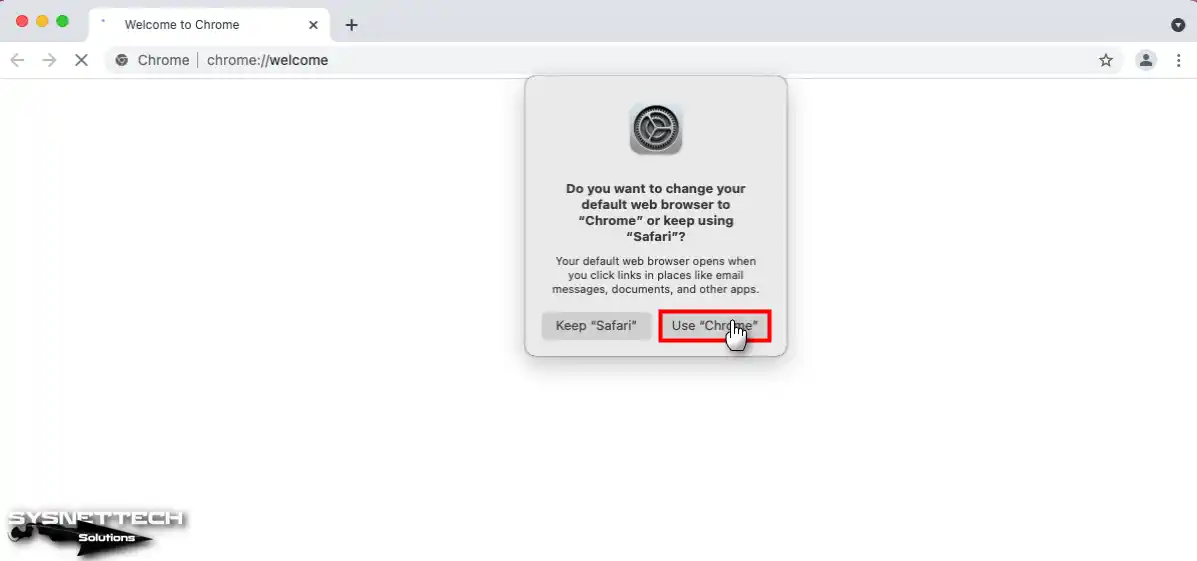
Switching your main browser on your MacBook or iMac is pretty straightforward. To do this, click the “Use” button. Thus, you will make it your default one instead of Safari.
How to Adjust Google Browser Settings
Step 1
Click the “Get Started” button to edit the web navigator settings.

Step 2
You can add your popular apps to your browser bookmarks. For example, I think you should include Gmail, YouTube, and Maps.
Since the apps I mentioned are selected here, simply click Next to continue.

Step 3
You can choose from different themes for your macOS surfing tool. You can also choose to use the default theme. In short, changing how it looks is very easy with this tool.

Step 4
Hit Continue to access your Google account in GC. However, if you want to sign in later, select No Thanks. This way, you can sign in whenever you want.

Step 5
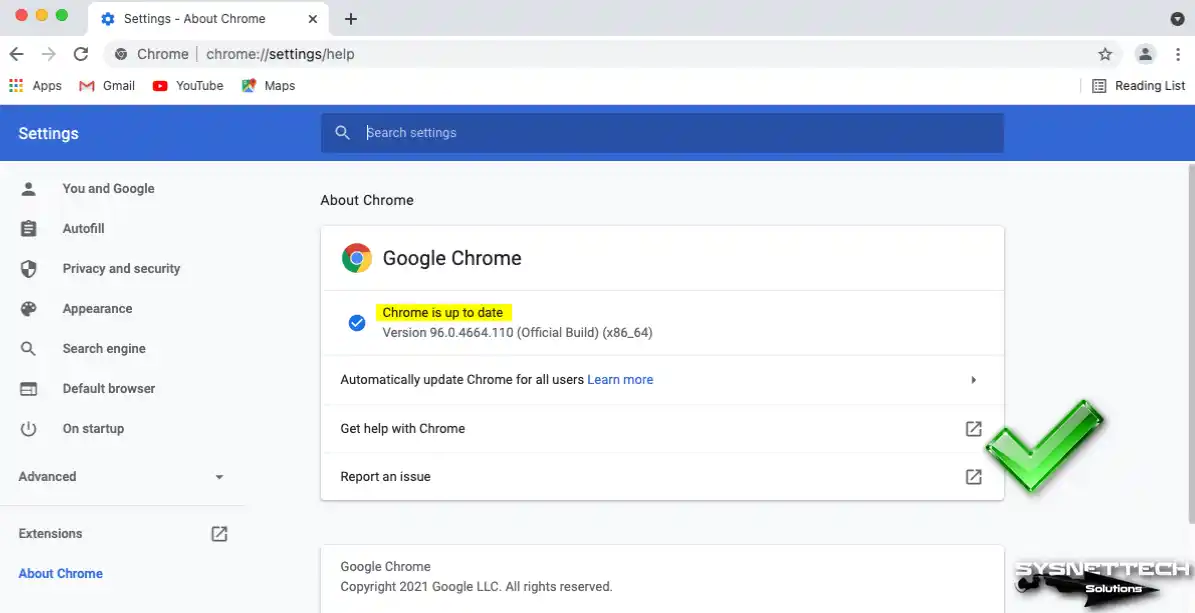
After installing Google’s web browser on macOS, you should check the version.
To do this, click About GC in the Help menu. At this point, you can easily see the installed version.

Step 6
You can see if your app is up to date on the “About” screen. If not, you will start the update process here by itself.
This way, you will always get the newest version available.
Step 7
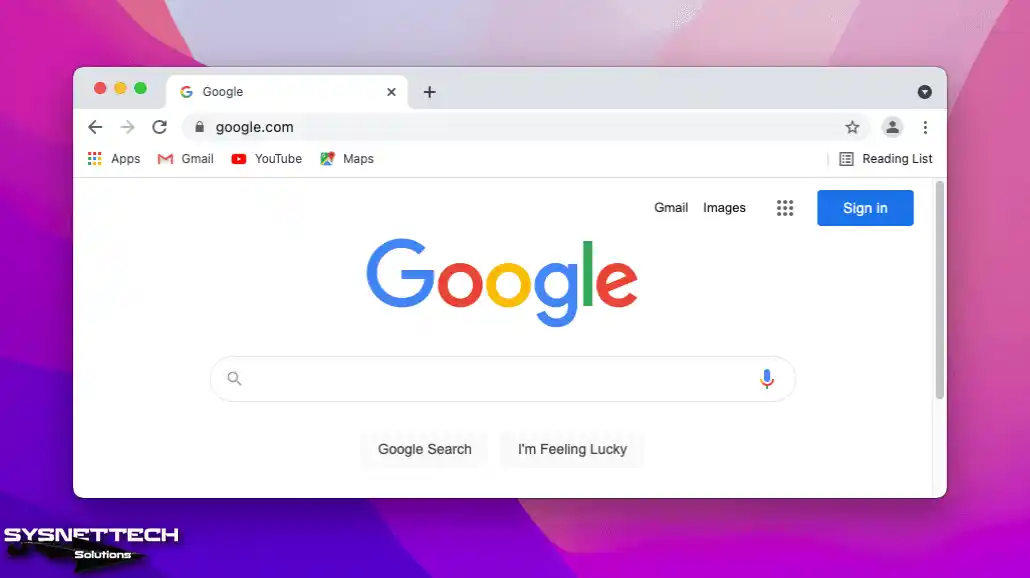
You can now use Google’s Internet browser on your Mac in addition to Safari. That is, you can easily switch between the two browsers.
Now you can easily switch between Safari and Chrome. And if you miss some of your favorite apps, don’t worry. You can still run Windows apps on your Mac. In fact, tools like Wine do a great job of that. With a simple setup, you can continue using your old apps.
Install Chrome Faster with a Single Command Using AppleScript
Installing apps can sometimes be a hassle for Mac users. Especially, this is true if you are adding many apps.
But our setup processes can sometimes take longer than expected. So, can we make it simpler?
You can make installing Chrome easier with AppleScript. In short, you’ll get the browser installed and running faster than ever.
Why Use Scripts for Installation?
You can use a script to do boring jobs again and again. For example, getting, opening, and adding apps gets simpler.
This method saves time and reduces errors. Furthermore, if we do the steps automatically instead of by hand, we will make our work easier.
So, with AppleScript, you can install it and make it ready for use with a single command.
Step 1
First, on your macOS Sequoia 15 or older, press Command + Spacebar. Type “terminal” in the Spotlight window on your desktop and open it.

Step 2
Please copy and paste the AppleScript command I prepared for you into the Terminal screen. After that, press Enter to run the command.
osascript -e 'do shell script "curl -L -o googlechrome.dmg https://dl.google.com/chrome/mac/universal/stable/GGRO/googlechrome.dmg && hdiutil attach -nobrowse -quiet googlechrome.dmg && ditto -rsrc \"/Volumes/Google Chrome/Google Chrome.app\" \"/Applications/Google Chrome.app\" && hdiutil detach \"/Volumes/Google Chrome\" -quiet && rm googlechrome.dmg && echo \"Google Chrome successfully installed\"" with administrator privileges'
Step 3
When you run the command, you need to type your macOS admin password.

Step 4
Depending on your internet speed, Chrome will install in a few minutes. After that, you will see a note at the end of the Osascript command that says it worked.

Step 5
Now, launch your Chrome browser by going to Go/Applications!
How to Uninstall Chrome
Putting a program on macOS is very easy. Taking off the programs you added is also simple. Using this system is truly simpler than other operating systems.
But sometimes, removed programs leave extra files. This means you use additional disk space on your system. So, I really suggest cleaning it up.
So, if you are thinking of removing Chrome, delete it all. This will leave no extra files on your computer. Cleaning up makes more space when using your PC.
Steps:
Step 1
Open your Applications folder and find Google’s web browser. Then, right-click it and select Move to Trash.
Once you do this, you’ll remove your surfing app from your system.

Step 2
After moving Chrome to the trash, empty the trash as well. That is, entirely remove any extra files from your macOS.

Step 3
You’ve uninstalled Chrome from macOS. However, there are still things you need to do. First, open Terminal on your Mac and run the command “mdfind Google Chrome.”
So, you will display the unnecessary files on your OS. If there are many files in one folder, deleting the folder will be easier.
mdfind Google Chrome
sudo rm -rf '/Users/macOS/Library/Application Support/Google/Chrome/'
Step 4
You can clear the terminal output with the clear command. Essentially, you can see all the files belonging to a single folder.
You can then view and delete the remaining files by running the “mdfind” command again.

Video
Installing Old Versions
Frequently Asked Questions (FAQ) About macOS & Chrome
- Why should I install Chrome on my macOS?
- What file format do I download for macOS?
- How do I install Chrome after downloading the file?
- Is it safe to download from other websites?
- What should I do if I have problems during installation?
Conclusion
In short, using Chrome on macOS is very easy. Plus, you will get a quick and easy browsing experience made for your own choices.
Whether you’re using it for the first time or switching from a different browser, it doesn’t matter! Chrome’s simple setup is easy for all people. Furthermore, its many features make it the best choice for lots of people.
I suggest doing the simple install and setup steps in this article. Okay, then you will soon make your time online better by getting more done.
Chrome is a great place to begin to get more done. Over time, you may need other tools on your Mac. Do not worry, especially if your work software only runs on Windows. You can open Windows apps in different ways, and you do not even need complex virtual machines.
Remember, Chrome is a strong browser on macOS platforms. But the choice depends on what you need. You can also try other apps like Firefox or Opera. Enjoy browsing!

Be the first to share your comment