
Do you want to manage your Cisco Router more efficiently? SDM Express software is the perfect solution for this.
This tool makes it easy to manage your Router’s settings. The other way lets you do basic setup using a graphical interface. In short, you don’t need complicated text commands. Therefore, it is easy even for people new to networks.
For example, you can easily update the Router’s name with the Express tool. This name can better reflect its purpose or role on the network. You can also turn on DHCP very fast. This gives each device on your LAN its own IP address automatically.
In this article, I will show you how to configure a Cisco Router as a base using SDM Express. Actually, this tool is for very old Cisco devices. Still, even if you are new to networking exams, you should know this.
What is Cisco SDM Express?
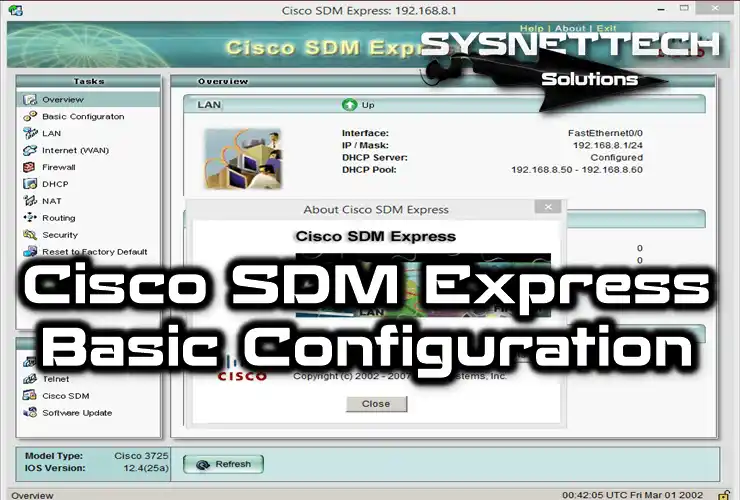
Cisco SDM (Security Device Manager) Express is a program you use in a web browser. It makes basic Cisco Router setup easier. This is especially true for older ones. I would say the tool is for both new and expert users.
Also, Cisco device manager has an easy, visual screen. This means you use fewer complex text commands. So, it is an excellent tool for people who are not technical experts. For example, you can easily do simple network tasks.
With the Router setup wizard, you can easily set up many different device settings. For example, you can rename your device with just a couple of clicks.
On the other hand, you can also enable DHCP services with a single click. Honestly, you can also set up basic security with Express.
It’s a simple method that lets you make fast changes and updates. This way, you can do your work easily and well, but it is best for small LANs.
Cisco, the tech company, made the SDM Express tool for simple setup jobs. But you will need the complete SDM program for more demanding setup tasks.
For example, you must install the full version of SDM to set up a VLAN or a VPN. That said, I would say the Express version is an excellent starting point.
What are the SDM Express Requirements?
Of course, there are specific requirements for using Cisco SDM Express. This web-based application is made to set up and manage Cisco Routers. It is also very easy to use because it has a simple visual screen.
Let’s say you want to manage your Router via web access in your project or actual LAN. In this case, you should first know the least system requirements for your equipment.
First, you need a web browser that will work. You also need some memory and a good enough computer. For more details, you can also look at Cisco’s official help pages.
But your Router must use a compatible Cisco IOS version. A wrong version can cause strange problems. That is why you should also have a steady network link from your device to your PC.
Cisco’s Router setup wizard has special needs. These needs are for the device, your computer, and pre-configuration. This preparation is needed for the tool to run correctly.
However, please note that Cisco SDM has reached its end of life (EoL). This means that it is no longer supported in new images. Still, this information helps when you are looking after older gear.
Here are the requirements for Express:
- End-of-Life Status: Cisco SDM has officially reached end-of-life. It will not work with modern operating systems or browsers. Instead, it works best on a system appropriate for its era. For example, you can use Internet Explorer 6 with Windows XP.
- Java Version Matters: New Java versions often cause problems. Therefore, I recommend JRE 6 update 6 for SDM v2.5. Keep in mind that newer versions may cause issues.
- Router Setup Needed First: Before using SDM, you must set up the Cisco device with text commands.
Initial Cisco Router Configuration Using SDM Express
Before you start the setup steps, install Cisco SDM. But if you pick the Express choice during setup, you can do the steps in this guide.
1. Change the Router Name
Step 1
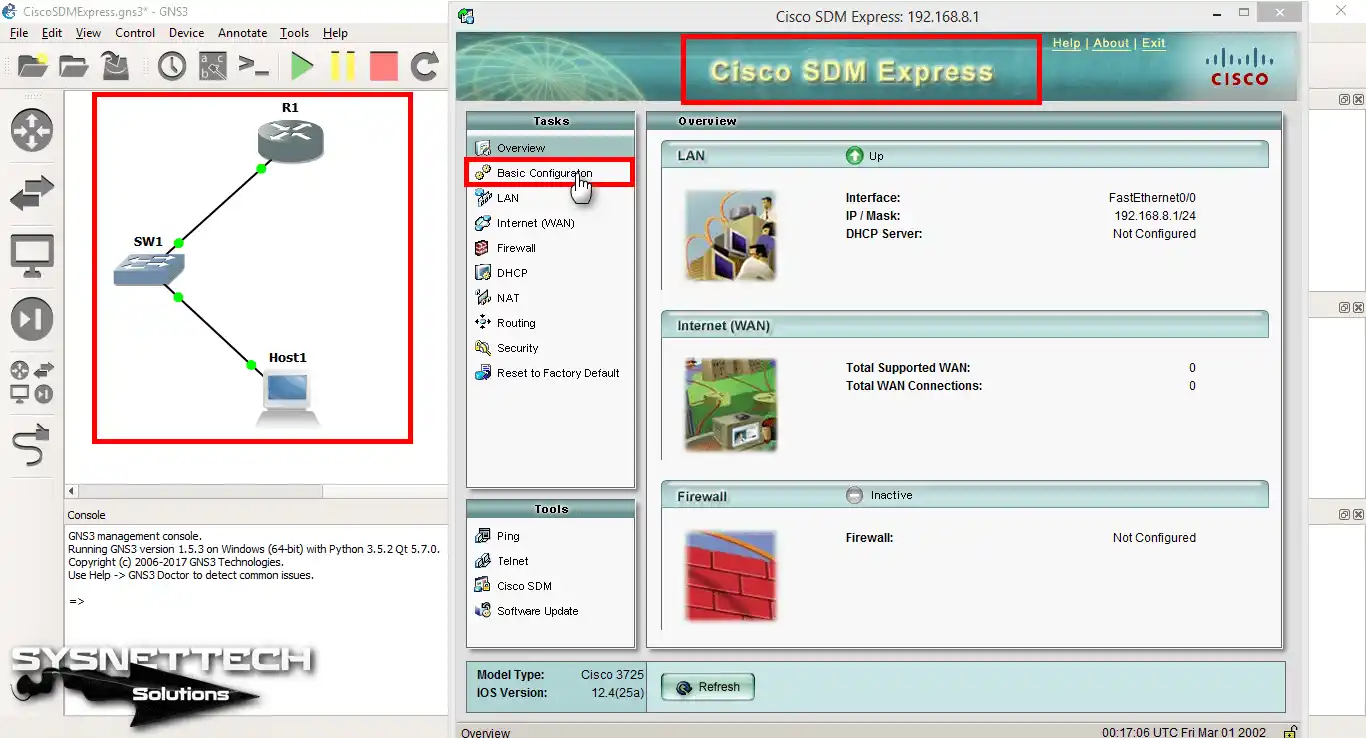
You can also rename your Cisco device using the CLI commands. But, to do this on-screen with this web software, first open your browser.
Then, type your Router’s IP address to reach the SDM interface. After you log in, choose the “Basic Configuration” option from the menu.
Next, you need to find the section where you can change the Router’s hostname. There, enter the new name you want to assign. This makes it easy to find your device on your LAN.
Step 2
On the Express screen, look for the “hostname” label. Once you find the relevant option, enter a unique name for the Cisco Router within the network. However, you may see the default value R1 here.
I suggest picking a name that shows the Router’s function or place. This will help you later with managing and fixing problems.

Step 3
After you type the new name, look at the buttons on the SDM screen. There, be sure to press the “Apply Changes” button to keep them.

Step 4
When you apply the settings you made in the Express app, you can see that they are sent to your Router. You can check everything you did on the “Commands Delivery Status” screen.
In short, this screen lets you check & confirm your settings. You can see if the commands were successfully sent to your device.
Also, this tool lets you watch the progress of each step. This makes it simpler to find any problems during setup or use.

2. Enable the DHCP Service
Step 1
Now, let’s enable the DHCP server via the Express web interface. First, click on the “DHCP” option in the Tasks area. You will then see the right setup choices on the right side of the screen.
Next, find the box named “Enable DHCP server on the LAN interface (FastEthernet0/0)”. This choice will start the DHCP service. This lets devices collect IP addresses by themselves from the system.
After you check this box, look at the other settings. For example, set the first and last IP address. Also, you can set the DNS details for your local computers in the part below.

Step 2
To set up IP address sharing on your local network, first pick the group for your devices. For example, I set this group between 192.168.8.50 and 192.168.8.60. This means you can give unique IP numbers to 11 devices.
Next, enter the IP number of your Router’s Fa0/0 interface as the “Primary DNS” value. You should typically set this address to the first one, i.e., 192.168.8.1.
Indeed, this address works as the default gateway for devices on your network. This address lets devices talk to outside LANs. After you make these changes, click “Apply Changes” to keep your settings.

Step 3
Please wait while the system saves all your DHCP settings. During this time, the Router wizard will send the changes to your Router.

3. Assign TCP/IP Settings to Your VMs
Step 1
After you set up the DHCP, you should then move to the testing step. To do this, pick and start the virtual machine you use in VMware Workstation.
Next, look at the network settings of your virtual machine. If you see a fixed IP here, that’s okay. The only thing you must do here is set it to receive the IP address by itself.

Step 2
I am now automating the TCP/IP settings for my virtual PC. To do this, I select the following two options:
- Obtain an IP address automatically
- Obtain the DNS server address automatically
But first, check the VMnet settings for the VM you connected to GNS3. If you picked NAT or Bridged, you might not have linked your VM to your virtual setup correctly.
So, check that you made a private network with host-only. Then, try having your virtual machine get its IP settings by itself.
After you make these changes, your virtual PC will get an IP address via the DHCP server. This will give you a smooth connection to the network in your current project.

Step 3
When you click OK, your virtual machine asks the Cisco Router for a request. Then, it will send the needed TCP/IP network setup information.
This information usually has the IP, subnet mask, main gateway, and DNS server addresses. These details help make sure communication on the LAN works smoothly.
For example, you should check the current information, like in the picture. First, see if your Windows virtual machine has received its network details.
Let’s say it matches the details you put in the SDM tool. Then, you can be sure your Internet and local area will work.

4. Keep Your Router Safe
Step 1
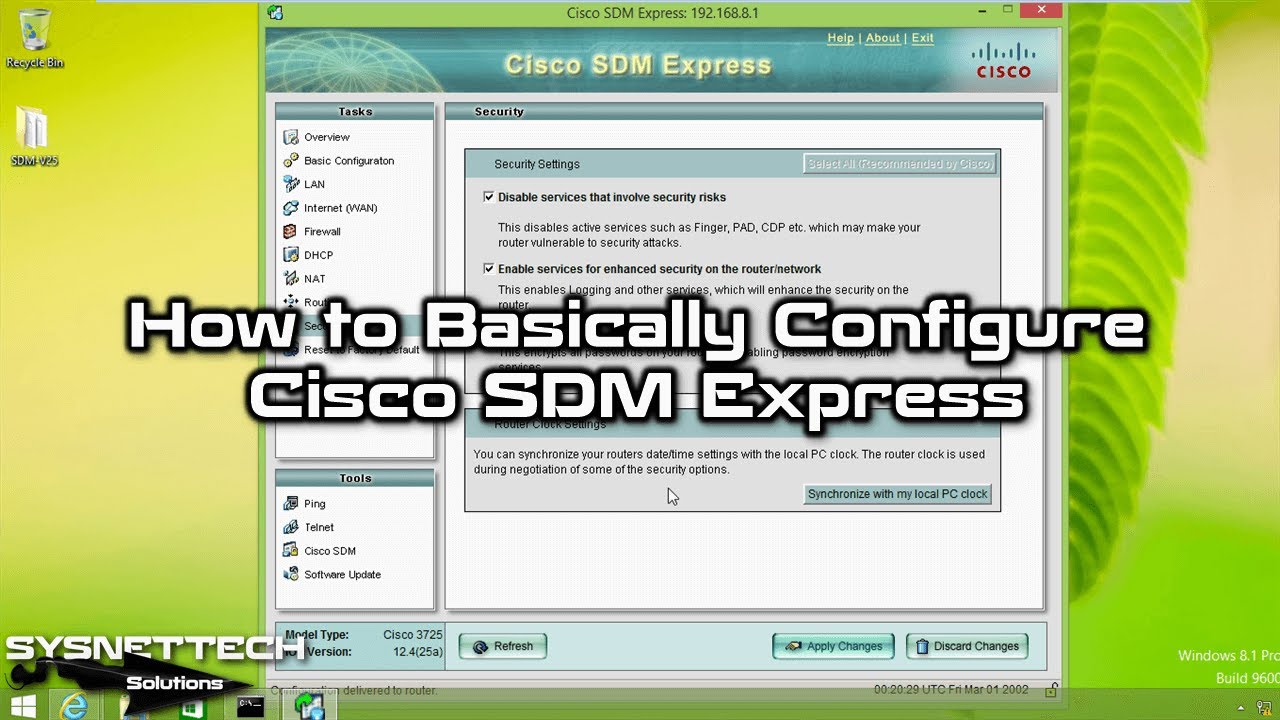
You can configure router security with Cisco Express in just a few steps. To do this, click the Security option in the Tasks area.
You will then see the Security Settings area on the right. Here are three necessary settings you can configure with the Express tool.
- Disable services that involve security risks
Make your Router safer by turning off services you do not need. These can be security risks.
For example, do this for old protocols like Finger, PAD, and CDP. This blocks vulnerabilities that bad users could use.
- Enable services for enhanced security on the router/network
Make your Router and network safer by turning on detailed logging. This lets you watch network activity closely. It also helps you spot possible dangers.
By watching your log data, you can act fast on strange activity. In the end, these steps will make your network security much better.
- Encrypt passwords
Encrypt all passwords you create for particular services on your Router. This will better guard your passwords from people who should not see them.
Encoding hides your private details and stops attackers from reading them.
Additionally, you can view Clock Settings in there. You can synchronize the clock on your LAN device with that of your local PC.
You can do this quickly by selecting Synchronize with my local PC clock.

Step 2
Finally, save the safety settings you have set up for the Router. During this process, the wizard will send all the commands for the operations to your network device, just as before.

Using Cisco Setup Wizard Tool ⇒ Video
You should watch our video to learn more about Cisco Express software. In this detailed tutorial, I showed you the basic features and functions step by step.
This way, you can configure your Router settings much faster. However, I kindly ask you not to forget to subscribe to our YouTube channel.
You can find more helpful guides and lesson videos on our channel. These include top tips for Cisco products and network communication!
Frequently Asked Questions (FAQ) About SDM Express
- What is Cisco’s SDM Express tool?
- Which routers support the Cisco tool?
- How do I open the Cisco management screen?
- Is it still a good tool to use?
Conclusion
In short, you can use SDM Express to manage your older Cisco devices. In fact, this is ideal for beginners or new network users.
It makes your setup easier by giving you a user-friendly graphical interface. For example, you can quickly provide IP addresses to ports or set up safety rules.
But if you want to do more complicated setups, you should get the full SDM. This version lets you do complex jobs by giving you all the tools.
For example, you can set up VLANs to separate network traffic. You can also manage VPNs for safe remote connections.
Also, this better version lets you change Quality of Service (QoS) settings. Plus, it enables you to monitor LAN speed and use different fixing tools.
In summary, follow the steps I mentioned for the SDM tool. You can easily manage your Router and perform basic tasks.
Also, even though this tool is straightforward, it is not enough for expert skills. So, I think you also need to know how your network device really works. For this, you can also read our article called Cisco Router Boot Process. This guide shows you the exact steps a router follows when you power it on.

Be the first to share your comment