This article will discuss installing Hyper-V, Microsoft’s excellent virtualization solution, which enables the creation and utilization of virtual machines on the Windows 10 OS in a physical computer.

How to Set Up Hyper-V on Windows 10
Integrating Hyper-V, a virtualization software developed by Microsoft company, primarily enables you to seamlessly execute any Windows or Linux operating system as a virtual machine on your host computer. It allows you to run an old program you want to use on Windows 7 guest machine or assign a service running in an Active Directory environment to the guest machine you create.
When comparing this virtualization software with other platforms, there are two types of Hyper-V. There are two primary ways to utilize Hyper-V. The first is to install the Hyper-V’s Server role on a physical server, and the second is to build the Client role as software on host machines.
IT industry professionals usually use the Hyper-V Client software on guest machines. This way, they can have virtualization capabilities on a PC with only a Windows license without paying fees for other platforms like VMware.
System Requirements for Installation
Your computer must satisfy particular software and hardware prerequisites to use Hyper-V. The following are the system requirements for this app to work effectively:
- Processor (CPU): A 64-bit processor is required. Most importantly, your processor must have Intel VT-x or AMD-V virtualization enabled. Also, your CPU must have SLAT (Second Level Address Translation) feature.
- Memory (RAM): You need a minimum of 4 GB of RAM to operate effectively. However, you plan to run larger virtual machines. Increasing your Memory to 8 GB, 16 GB, or even 64 GB will help you maximize the capabilities of your computer.
- Storage: You need sufficient disk space for the number of virtual machines and storage space you will create following your project.
- Graphics Card (GPU): Requires a DirectX 10.0 or higher video card.
- Operating System (OS): According to Microsoft’s recommendations, you should have Windows 10 Pro, Enterprise, or Education editions. You can’t set up Hyper-V if you’re not running one of the supported versions of Windows.
In a nutshell, these are the variants of Windows 10 and Windows 8 that work appropriately:
- Windows 10 Pro 64-bit edition
- Windows 10 Enterprise 64-bit edition
- Windows 10 Education 64-bit edition
- Windows 8.1 Pro 64-bit edition
- Windows 8.1 Enterprise 64-bit edition
- Windows 8 Pro 64-bit edition
- Windows 8 Enterprise 64-bit edition
To clarify, which Windows 10 and Windows 8 editions do not have Hyper-V support?
- Unsupported Windows 10 Editions:
- Windows 10 Home 32-bit edition
- Windows 10 Home 64-bit edition
- Windows 10 Mobile edition
- Windows 10 Mobile Enterprise edition
- Windows 10 Team edition
- Windows 10 Pro Education edition
- Unsupported Windows 8 Editions:
- Windows 8 32-bit edition
- Windows 8 Pro 32-bit edition
- Windows 8 Enterprise 32-bit edition
- Windows 8 RT edition
However, you must make an extra set if you still want to install it on Windows 10 Home or other unsupported editions.
Enabling Virtualization Feature
Before installing Microsoft’s virtual server software, checking if your processor has a virtualization feature is beneficial. Suppose you want to enable the virtualization feature in the BIOS software. In that case, you can check the enabled VTx feature on a sample PC from the link below:
Note: If you experience any issues after installation, go to Windows Security > Device Security > Core Isolation, enable the Memory Integrity feature, and restart your PC.
Installing Hyper-V Step by Step
After discussing the system requirements for Hyper-V, follow the steps below to enable virtual server software.
Step 1
To access Programs and Features, right-click the Windows Start menu and select the respective option from the next window.

Step 2
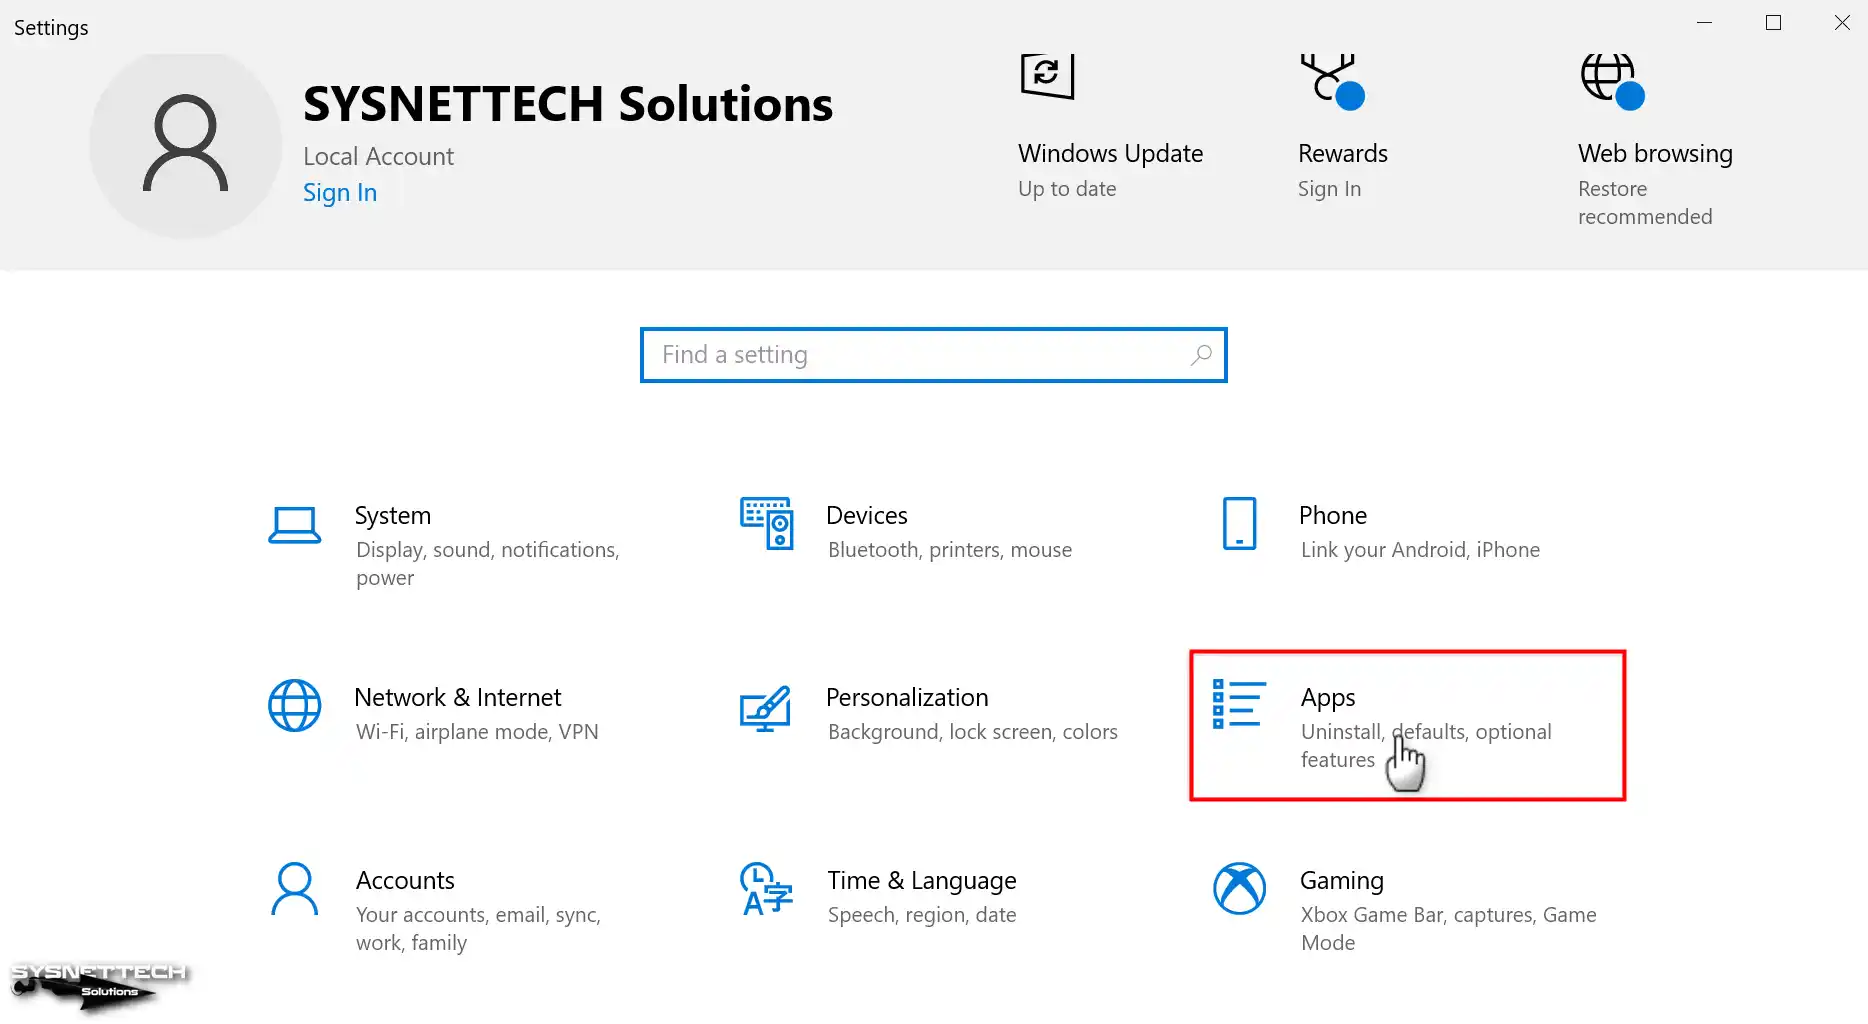
On the Windows 10 system settings screen, click on Apps to remove a program or enable a feature.
Step 3
When you open the Apps & Features screen, you can see the installed applications on your PC. As you will add a feature to Windows 10, click Optional Features.

Step 4
You are at the essential step, so click on More Windows Features under the Related Settings heading on this screen.
On the screen displaying advanced Windows features, check the box next to the Hyper-V option. Also, make sure you have selected the required components for Hyper-V:
- Hyper-V GUI Management Tools
- Hyper-V Module for Windows Powershell
- Hyper-V Hypervisor
- Hyper-V Services

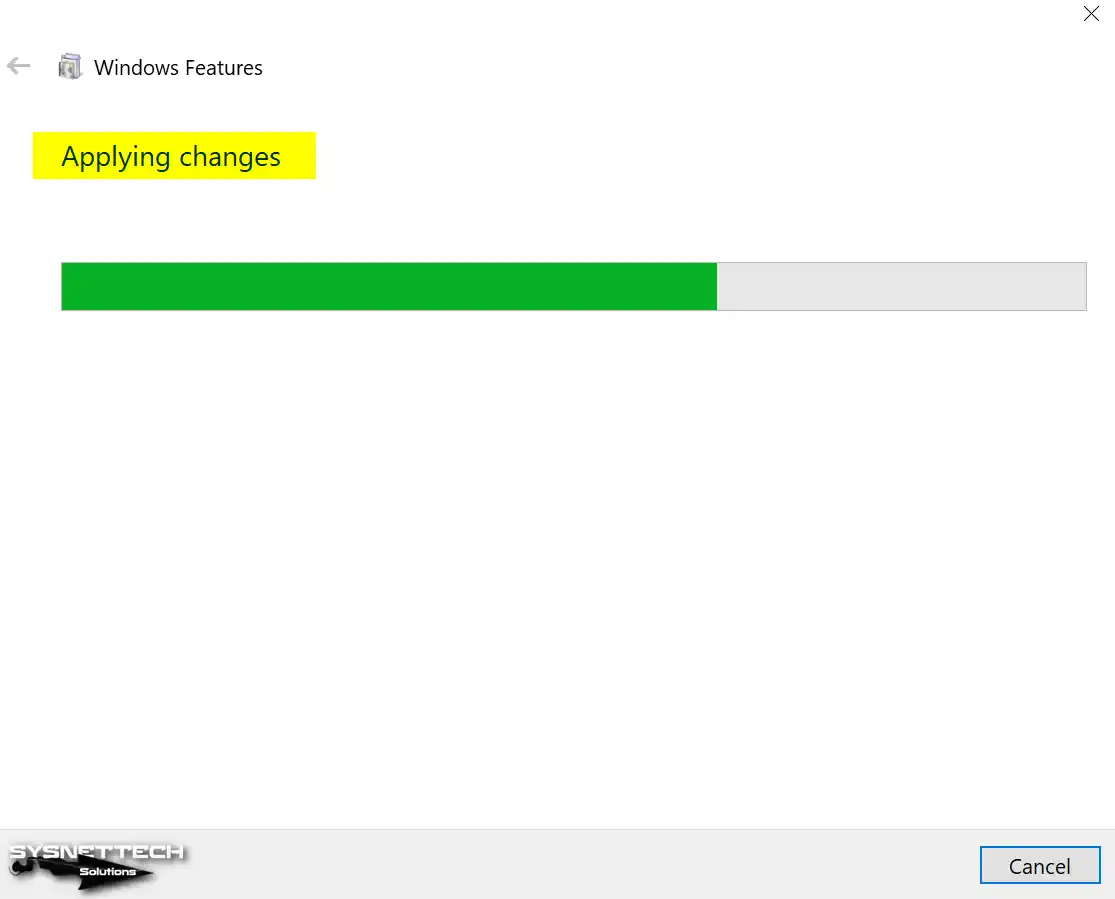
Step 5
You may now proceed with the installation process by selecting ‘OK’ and patiently await for the relevant system settings to be applied, as displayed in the image provided below.
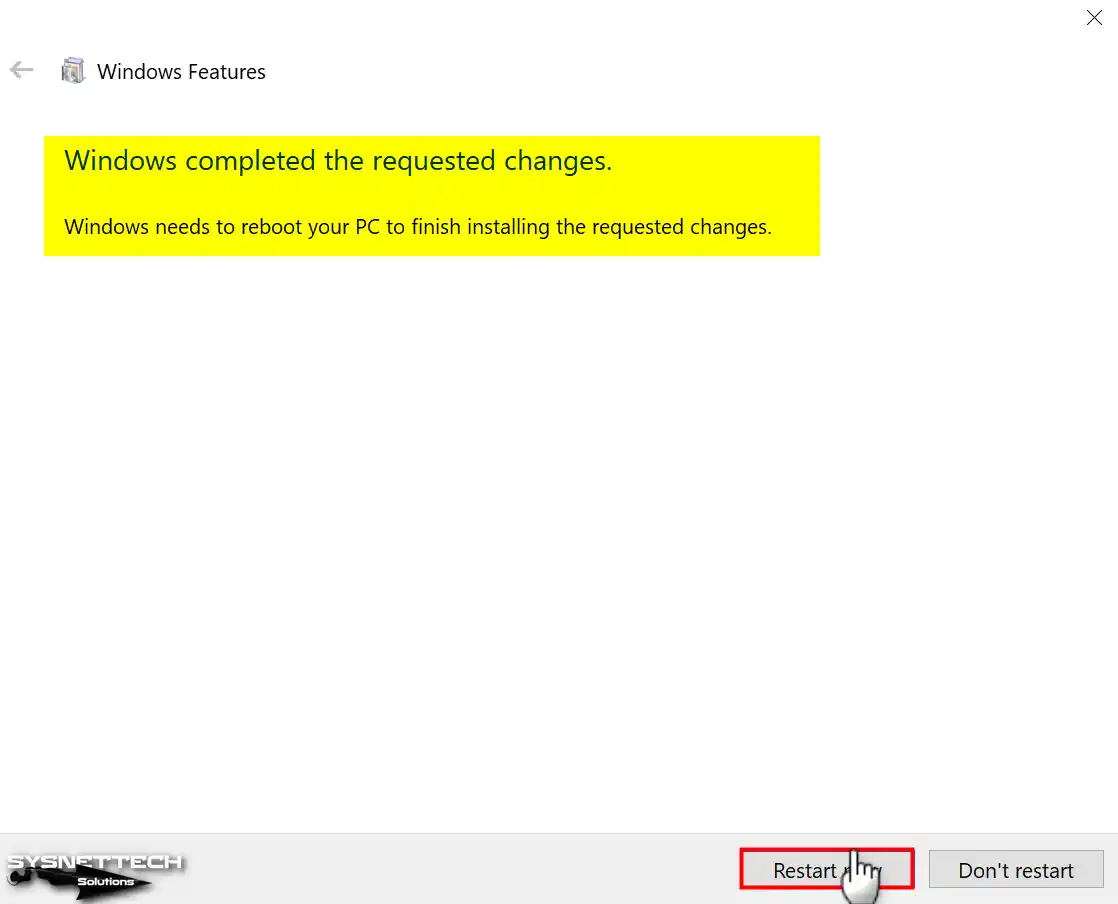
Step 6
After Windows completes the requested changes, it will ask you to restart your computer. To complete the installation process successfully, click the Restart Now button.
Step 7
While your PC is restarting, wait for Windows to work on the features.

Step 8
Following your system’s startup, proceed to the search box in the start menu, and input the term ‘Hyper-V.’ Upon locating the corresponding program, start its execution without further delay.

Step 9
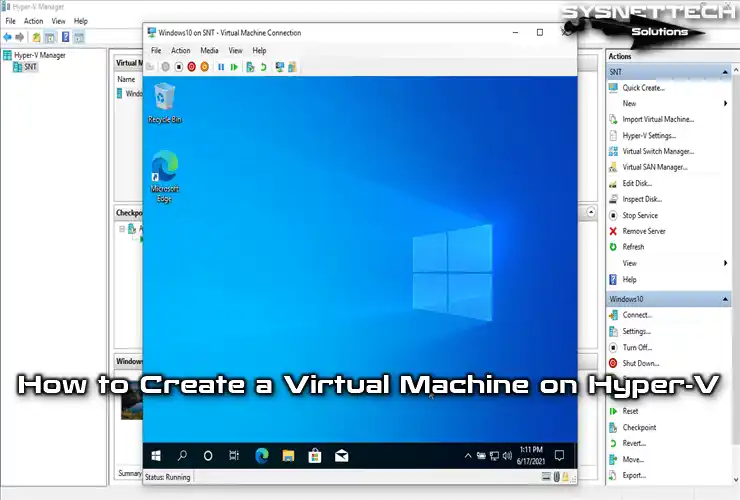
As soon as you start the Hyper-V virtual server platform, you can create new guest machines that can function as any system you choose, all within a virtual environment.

Video
To initiate the installation of Hyper-V on your operating system, kindly observe the video presented below and demonstrate your support for us by subscribing to our YouTube channel!
Conclusion
This guide showed you how to install Hyper-V step by step on Windows 10 or a supported Windows version, which offers an excellent virtualization solution. It is essential to note that the installation procedure is not limited to only the user interface. Please remember that the system’s setup process encompasses more than merely using the graphical user interface (GUI). Microsoft’s applications may be installed on your computer fast using PowerShell or the Command Prompt.
Related Articles
♦ How to Build Hyper-V with PowerShell
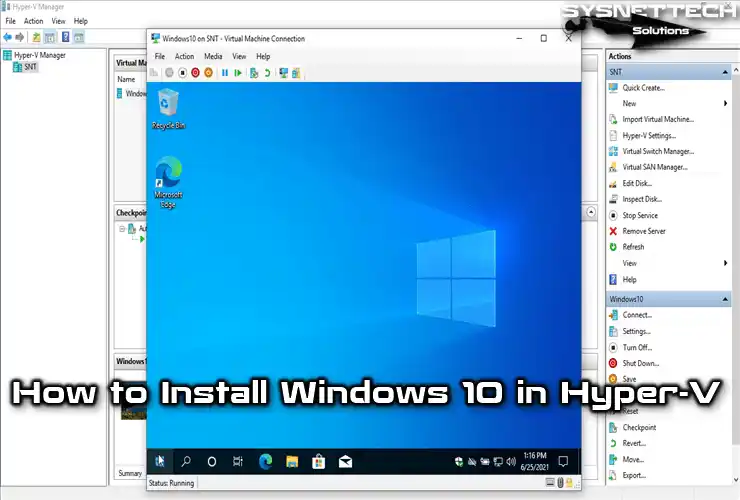
♦ How to Run Windows 10 on Hyper-V
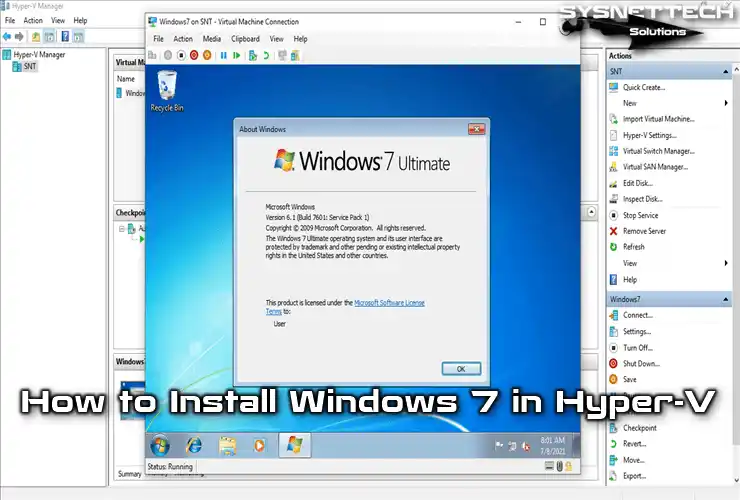
♦ How to Run Windows 7 on Hyper-V
♦ How to Run Windows XP on Hyper-V
♦ How to Enable Hyper-V with CMD

TolgaBagci
Hi, I'm Tolga, a computer expert with 20 years of experience. I help fix computer issues with things like hardware, systems, networks, virtualization, servers, and operating systems. Check out my website for helpful info, and feel free to ask me anything. Keep yourself in the loop about the newest technologies!