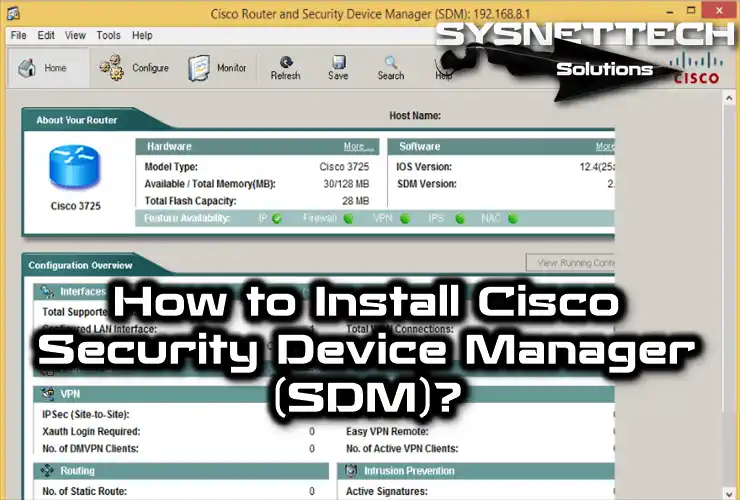
Cisco SDM (Security Device Manager) makes it simple to care for Cisco Routers through a graphical user interface. This program, created by Cisco, works on the web and is strong. You can install Cisco SDM on a physical computer or a virtual machine. With this program, you can set up the safety stuff for devices in your network using ACL (Access Control List). Also, you can make special networks like VPNs and improve your network.
You can also access the user interface using a web browser and start a step-by-step guide to set things up. Furthermore, this program for managing routers gives you a cool Cisco AutoSecure feature.
How to Install Cisco SDM to Router using GNS3
You typically use CLI (Command Prompt) when configuring a Cisco Router. However, you need to become more familiar with Cisco commands. In that case, you can easily configure your device using the SDM application developed to manage the Router through a web browser.
There are two versions available to install Cisco SDM. These;
- Express Package
The Express Pack package has limited features that allow you to perform more basic operations.
- Full Package
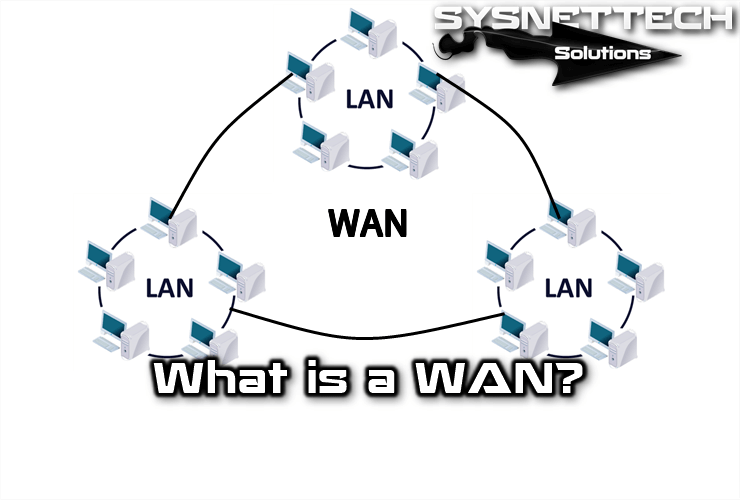
The Full Packet allows you to configure primary and advanced settings for the Cisco Router. For example, you can configure LAN and WAN connections, enable VPN, and configure the Firewall.
In short, you can enable or configure many features using this software. You can use the CLI command prompt when your software is limited.
When you purchase a new router, you can see the SDM Setup CD/DVD among the equipment on the side. Also, on different Cisco models, this software comes preloaded. Installation requires Java Runtime versions 1.5 or 1.6. The software does not work correctly in current Java versions.
What Do They Use SDM For?
Cisco SDM (Security Device Manager) is a type of software for Cisco Routers. People who work with computer networks, such as network administrators and IT professionals, use it.
SDM gives administrators an easy web interface to set up and control Cisco Routers. So, it makes configuring connections for local and wide-area networks simpler, setting up VPNs, and adjusting the Firewall to make things more secure.
People who care for the network use SDM, which stands for Security Device Manager. This tool helps them handle routers on the web better. It makes the setup more accessible, especially for beginners. Whether you’re just starting or know a lot about it, you can easily adjust many things using its simple interface.
Benefits of Using SDM
Cisco’s SDM software helps you do things without remembering complex commands. So, you can easily set up Cisco network devices using pictures and buttons instead of memorizing complex command lines.
It also helps you set up things from far away. This is handy for caring for routers in places that are not nearby. You can set up your device without actually going to it. It saves you time when you’re doing basic setup stuff.
Cisco SDM also adds a safety layer for managing things securely. It lets you give special permissions and approvals for different users to set up something. This helps stop people who shouldn’t be there from getting in and makes the network more secure.
In short, you can experience configuring routers using this excellent software with GNS3. In this case, you can make and modify most settings on the Router without using commands.
Required Programs
First, download the Cisco SDM V2.5, Java, and Router IOS c3725 image from the following buttons.
How to Install the Cisco SDM Management Software on a Router in GNS3
You need to add one Router to GNS3 for installation. Then, you must insert a Flash Disk and format the disk with the erase command before running the Router.
Follow the steps below to install and configure Cisco SDM on the Cisco Router.
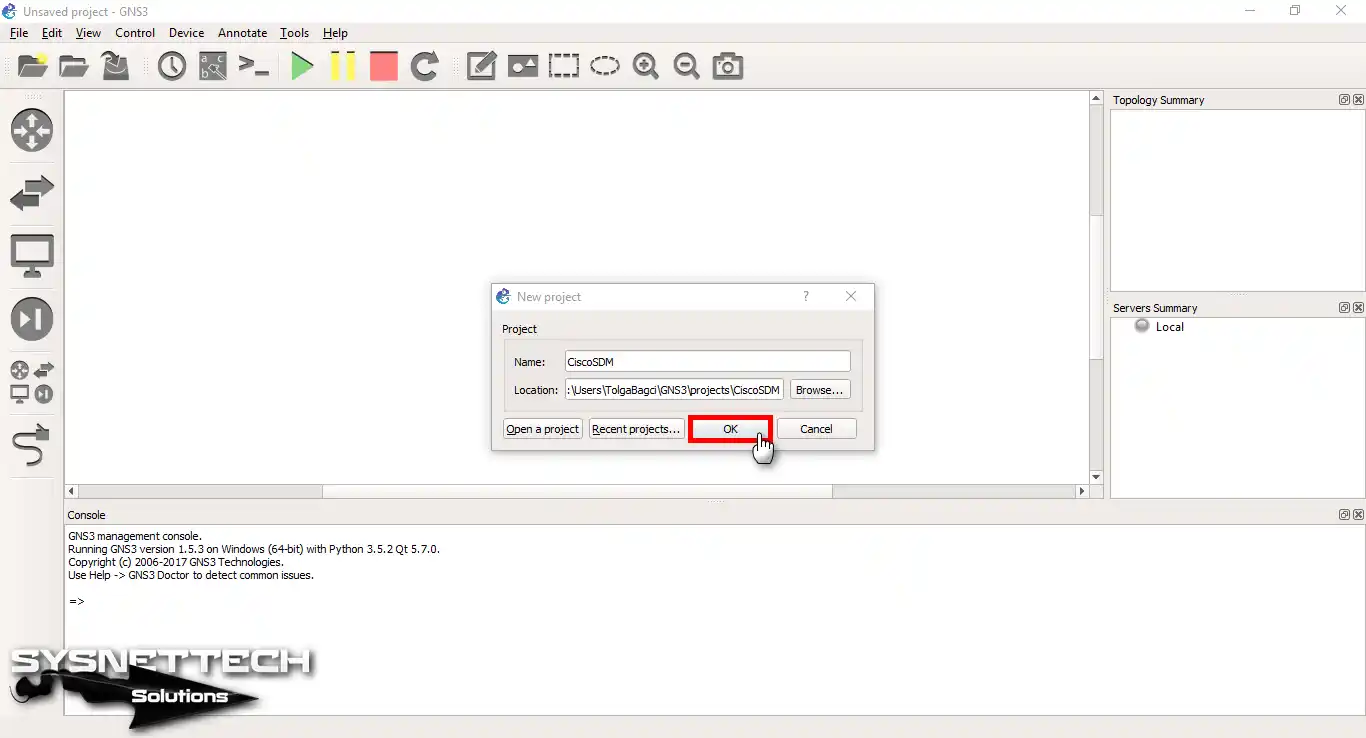
Step 1
After opening GNS3, create a new project for SDM.
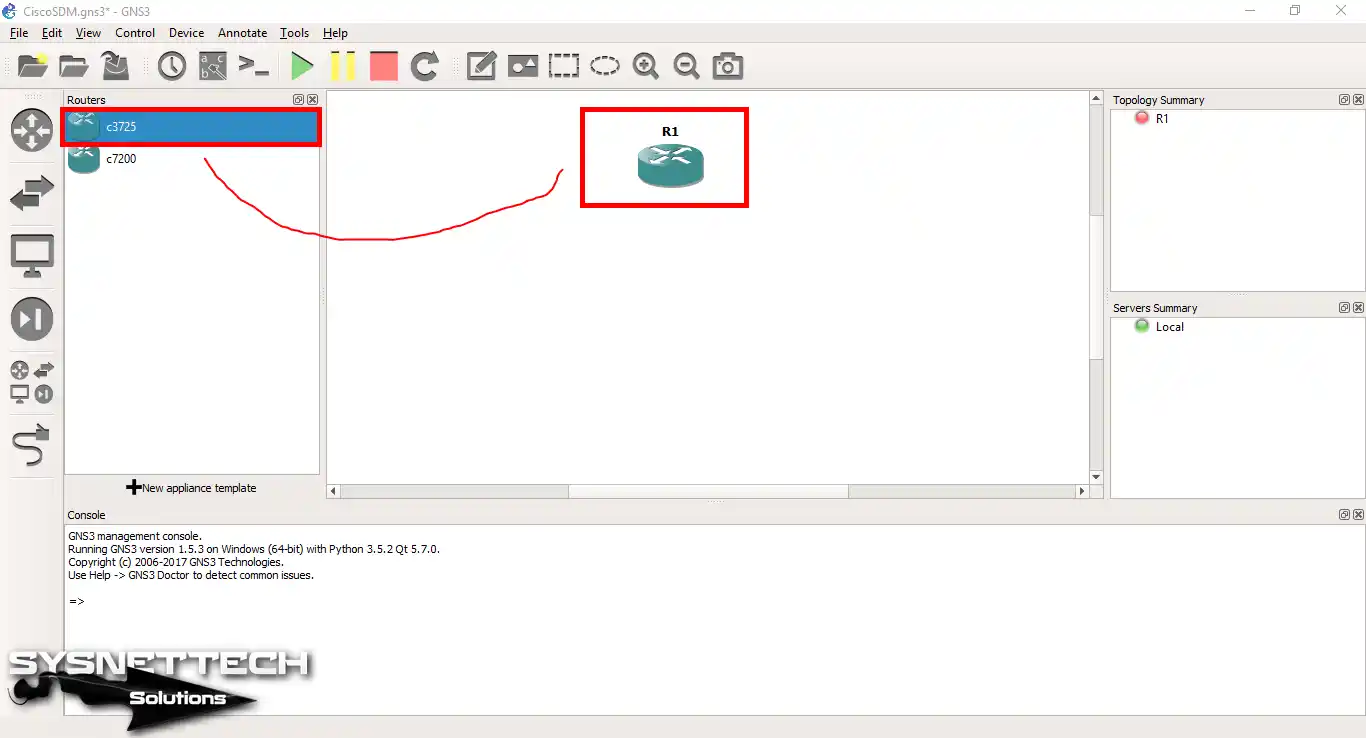
Step 2
After adding the c3725 IOS image you downloaded from the above button, drag and drop the Router into the workspace.
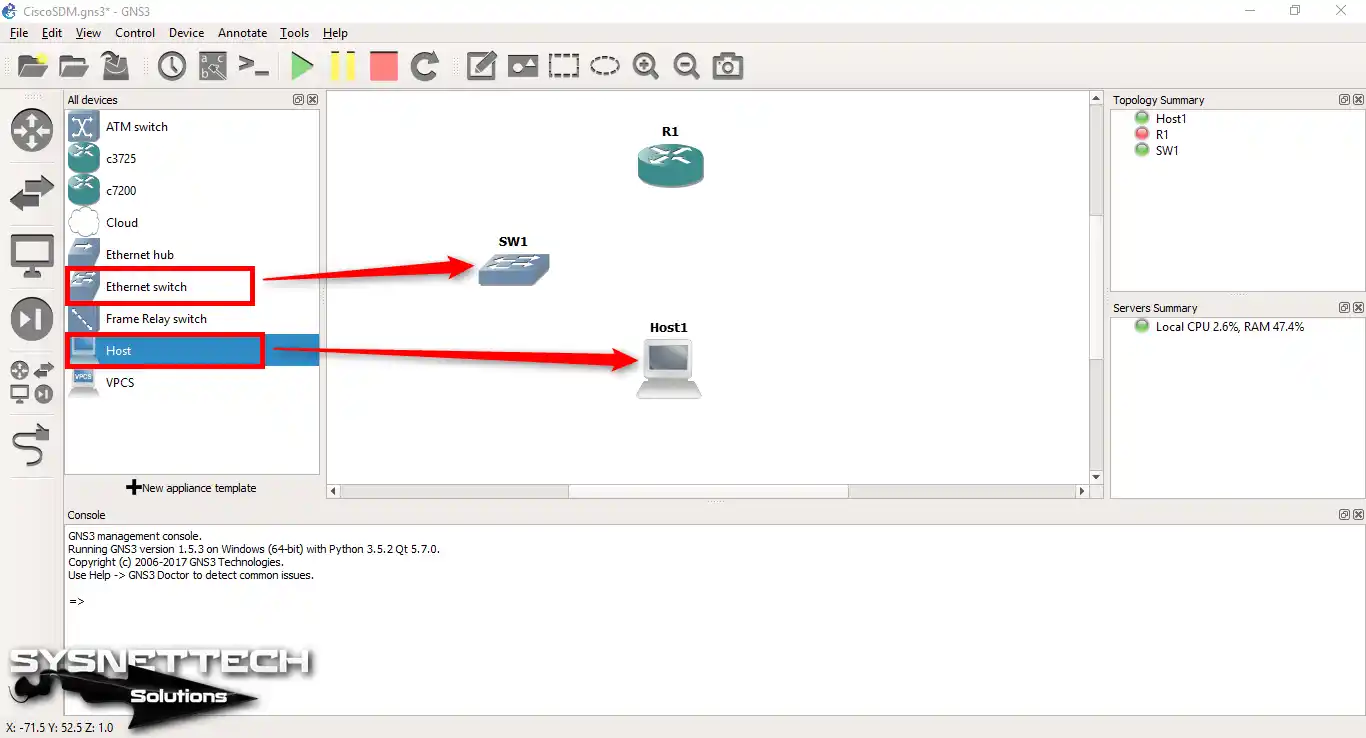
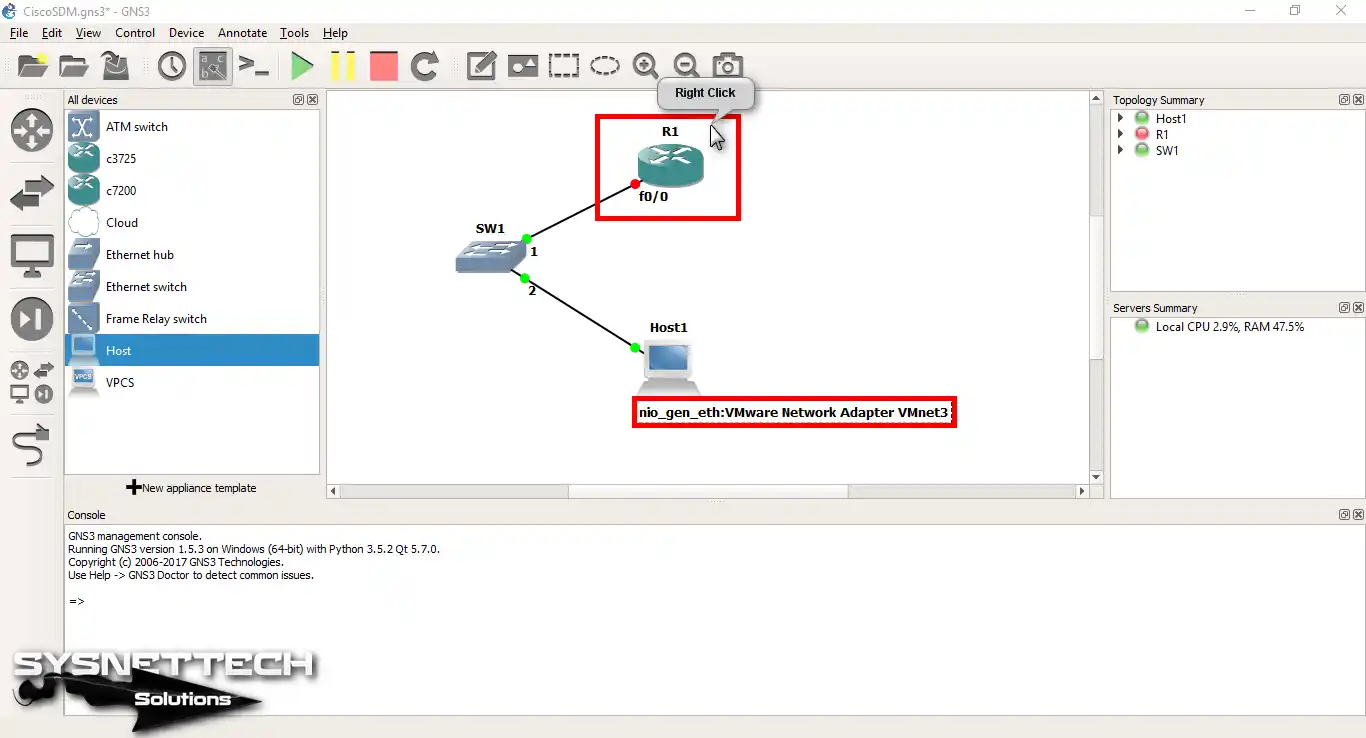
Step 3
Add one Switch and Host to the GNS3 workspace and wire the devices. Then, configure the adapter setting of the VMware virtual machine and Host1 as the VMnet you created on the Virtual Network Editor.
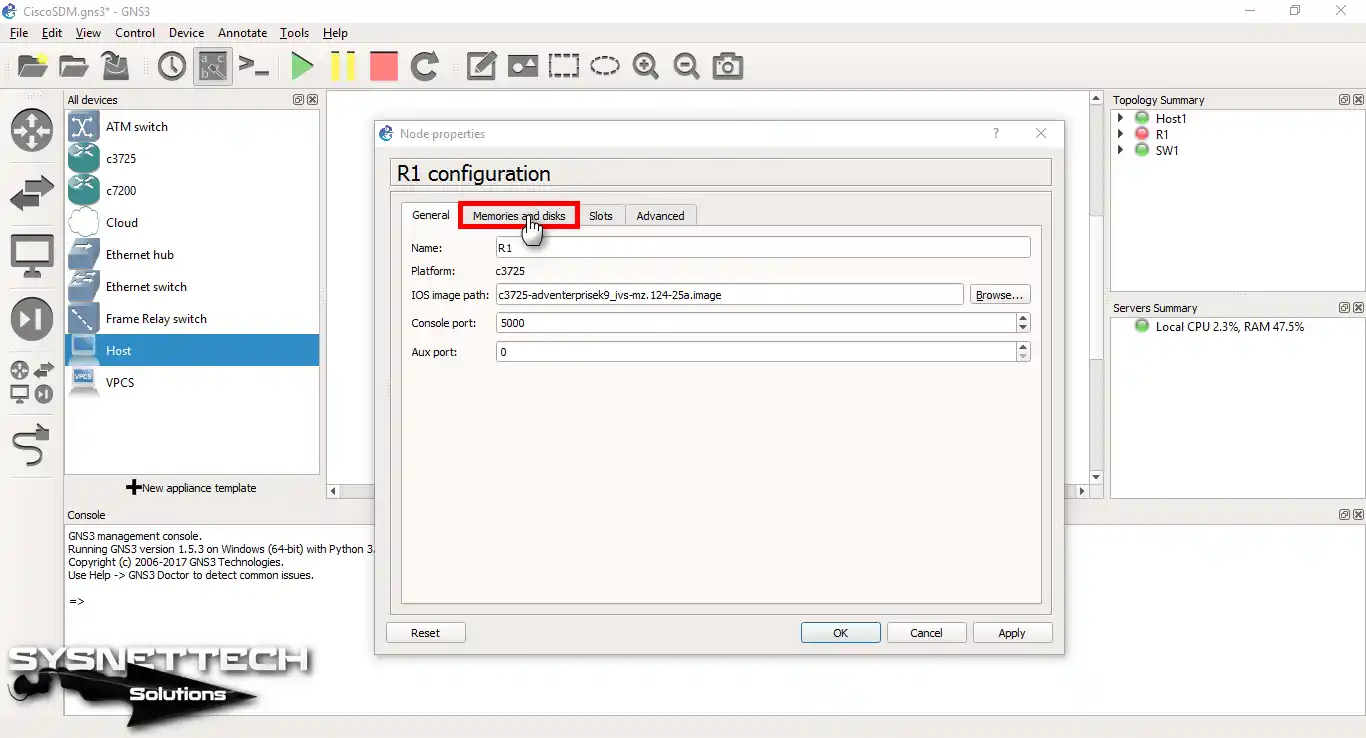
Step 4
After right-clicking on the Router, click Configuration.
Step 5
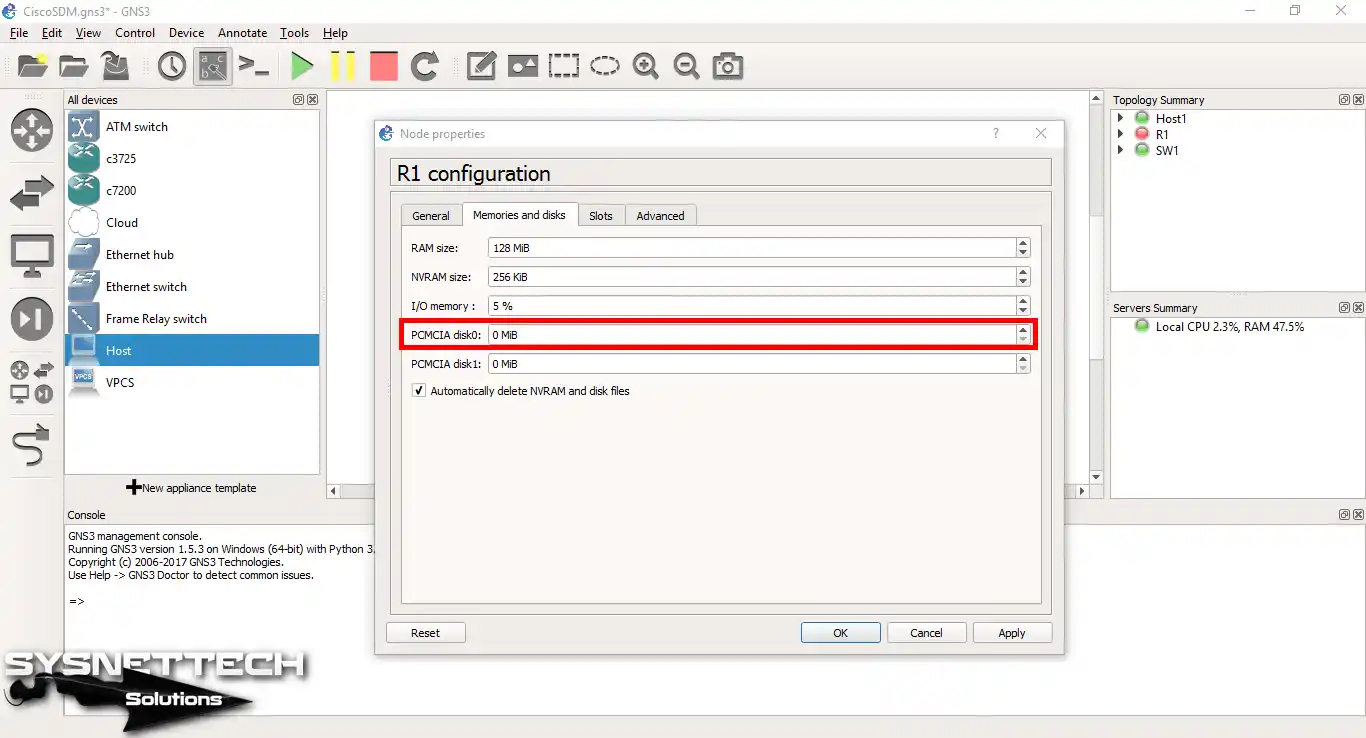
Click Memories and Disks to add a Flash disk to the Router.
Step 6
Click on PCMCIA disk0 and configure the disk size.
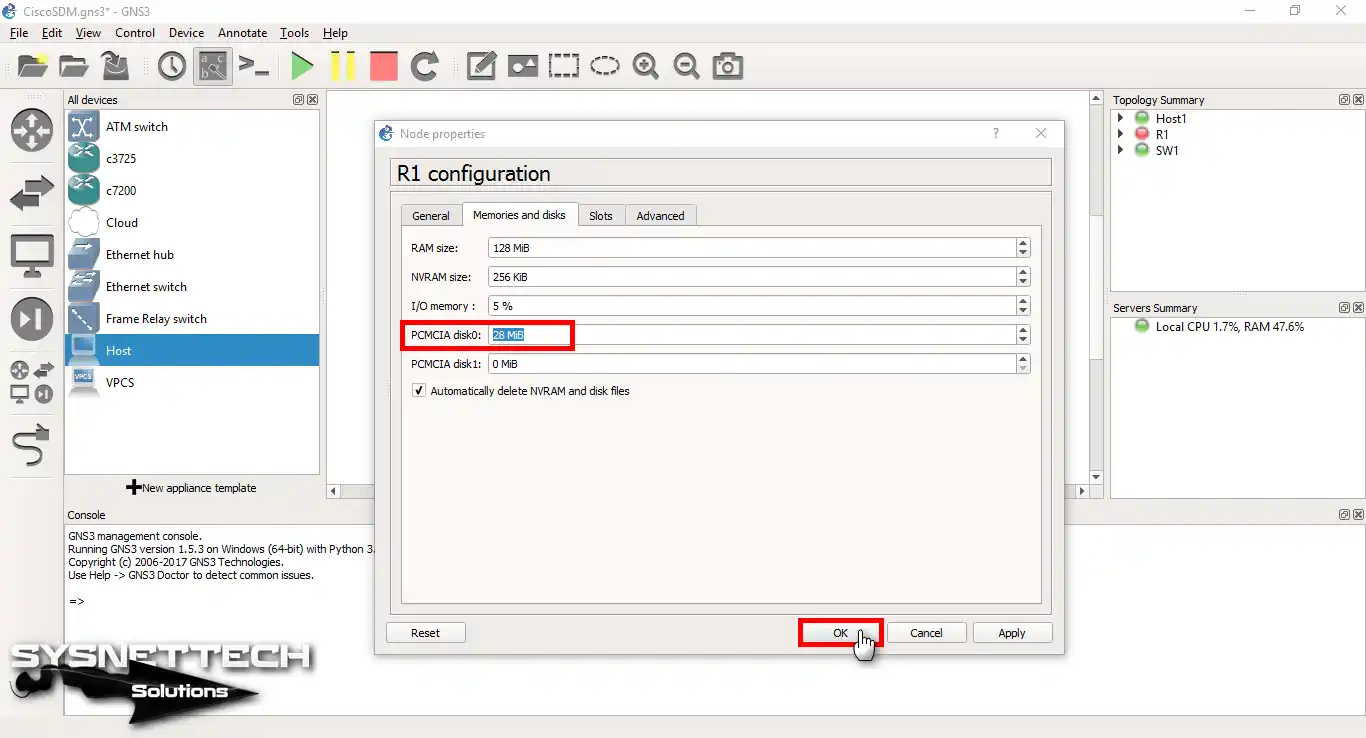
Step 7
After configuring the size of the Flash Disk, click the OK button to save your settings.
Step 8
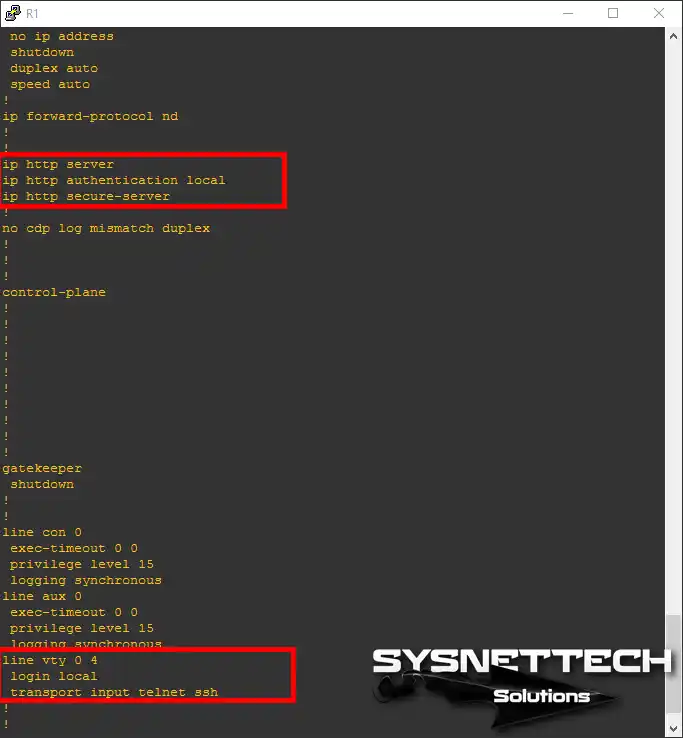
Start the Router, create a new user, and enable the HTTP or HTTP protocols by following the commands at the CLI prompt.
R1# conf t
R1(config)# interface FastEthernet 0/0
R1(config-if)# ip address 192.168.8.1 255.255.255.0
R1(config-if)# no shutdown
R1(config)# ip http server
R1(config)# ip http secure-server
R1(config)# ip http authentication local
R1(config)# line vty 0 4
R1(config-line)# login local
R1(config-line)# transport input telnet ssh
R1(config-line)# exit
R1(config)# username sysnettechsolutions privilege 15 password 123456
R1(config)# end
R1# wr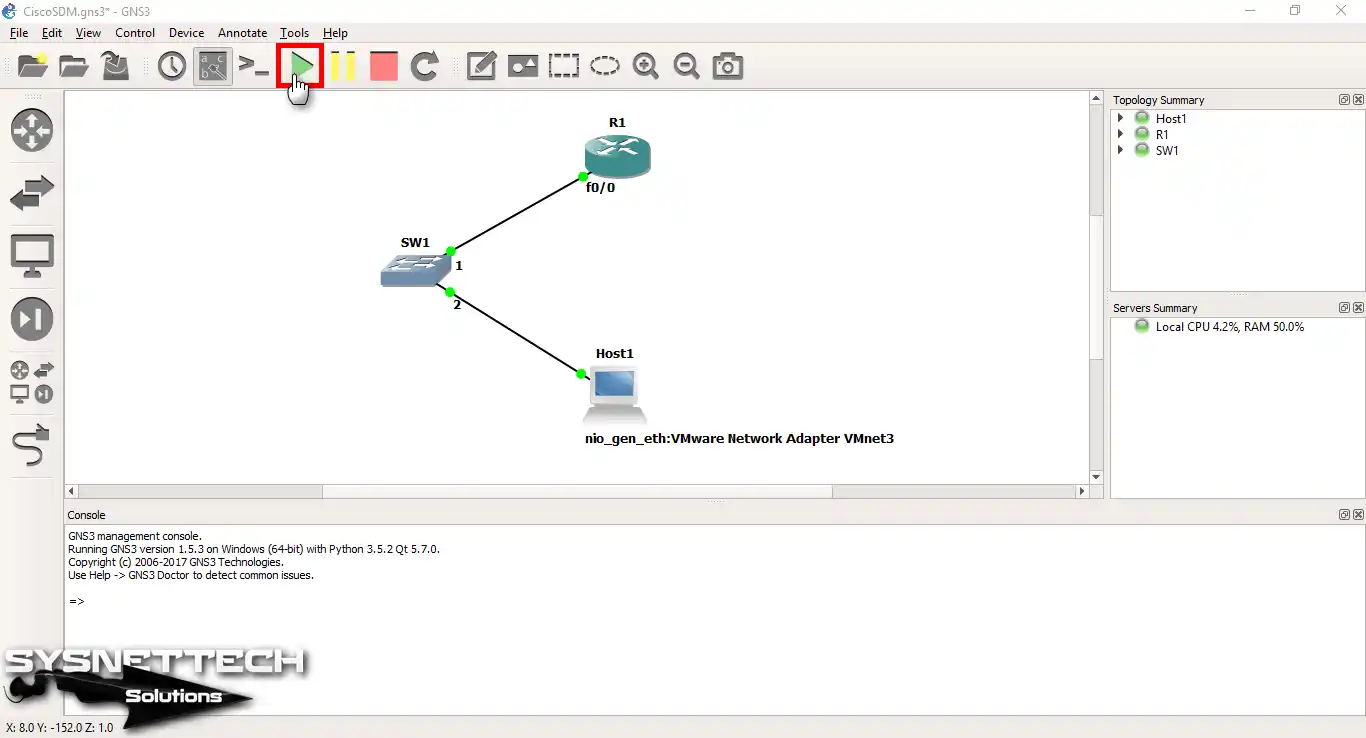
How to Copy and Set Up the SDM Software to Router
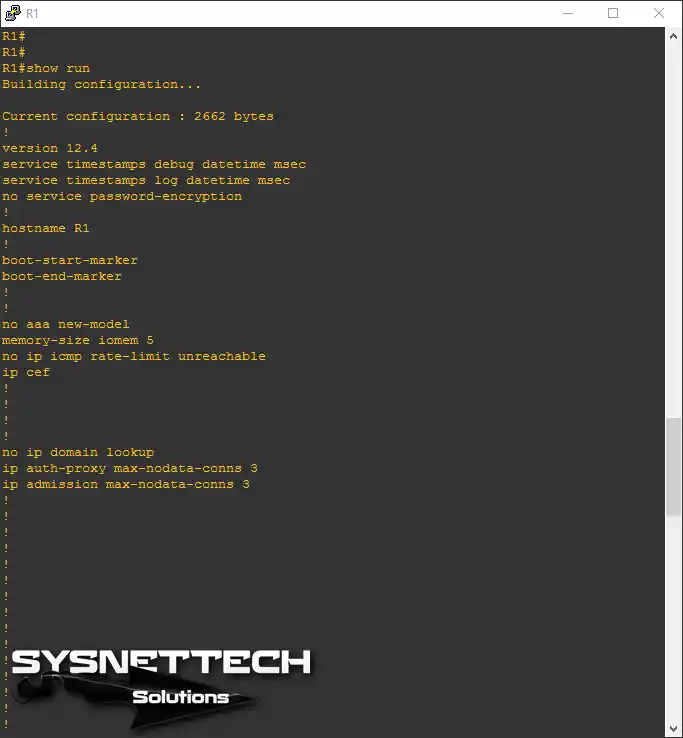
Step 1
After executing the commands, save the settings you made the wr command and check the settings with show running-config.
Step 2
The following image shows the creation of a certificate for the HTTPS protocol.

Step 3
Ensure that you enable the HTTP protocol for administration via the web browser.
Step 4
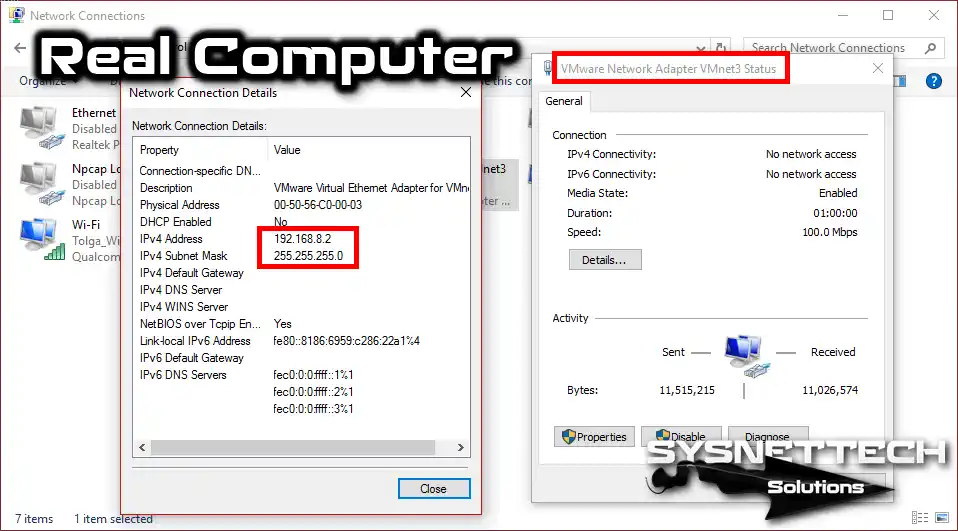
Now open your host computer’s VMware virtual adapter settings and configure the TCP/IP settings.
Step 5
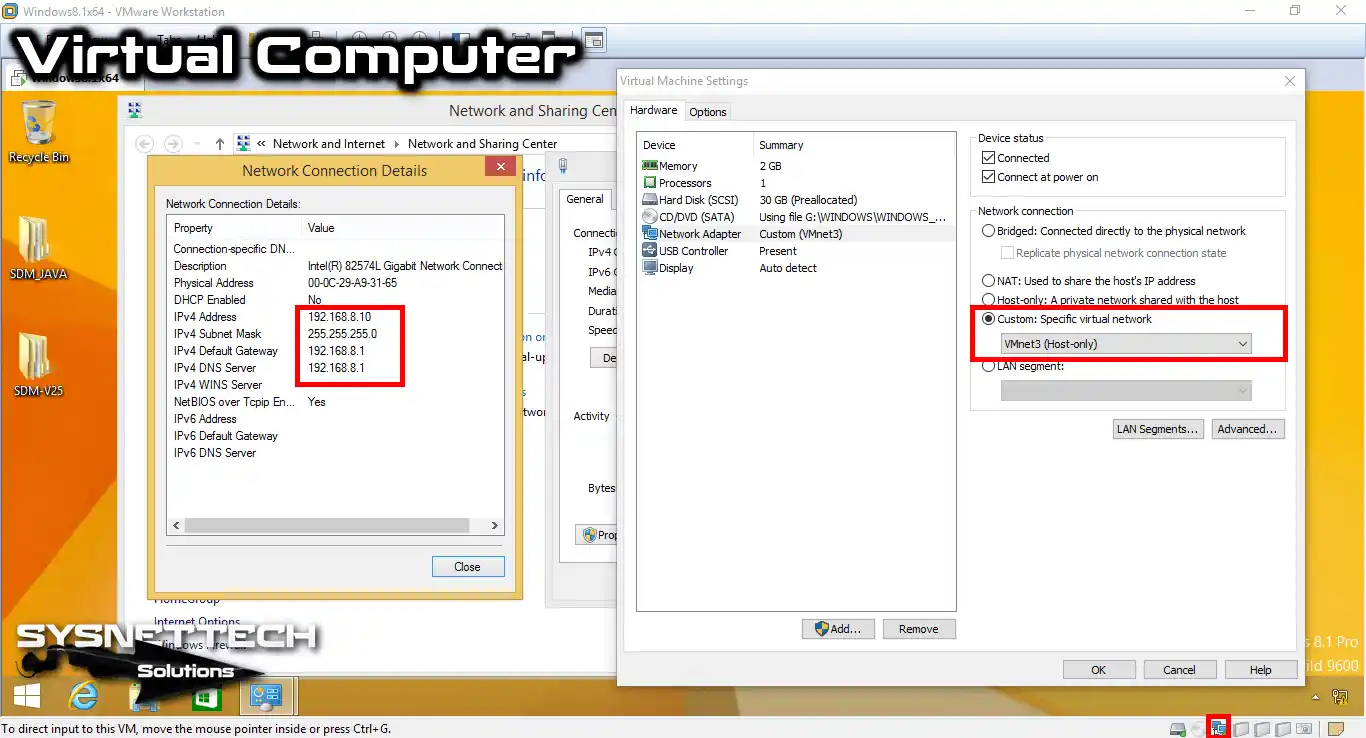
Likewise, change the TCP/IP settings on your VMware virtual machine as follows, and in addition, select the VMnet you created from the Custom network option.
Configure the IP block of VMnet3 that you created on Virtual Network Editor as 192.168.8.0/24.
Step 6
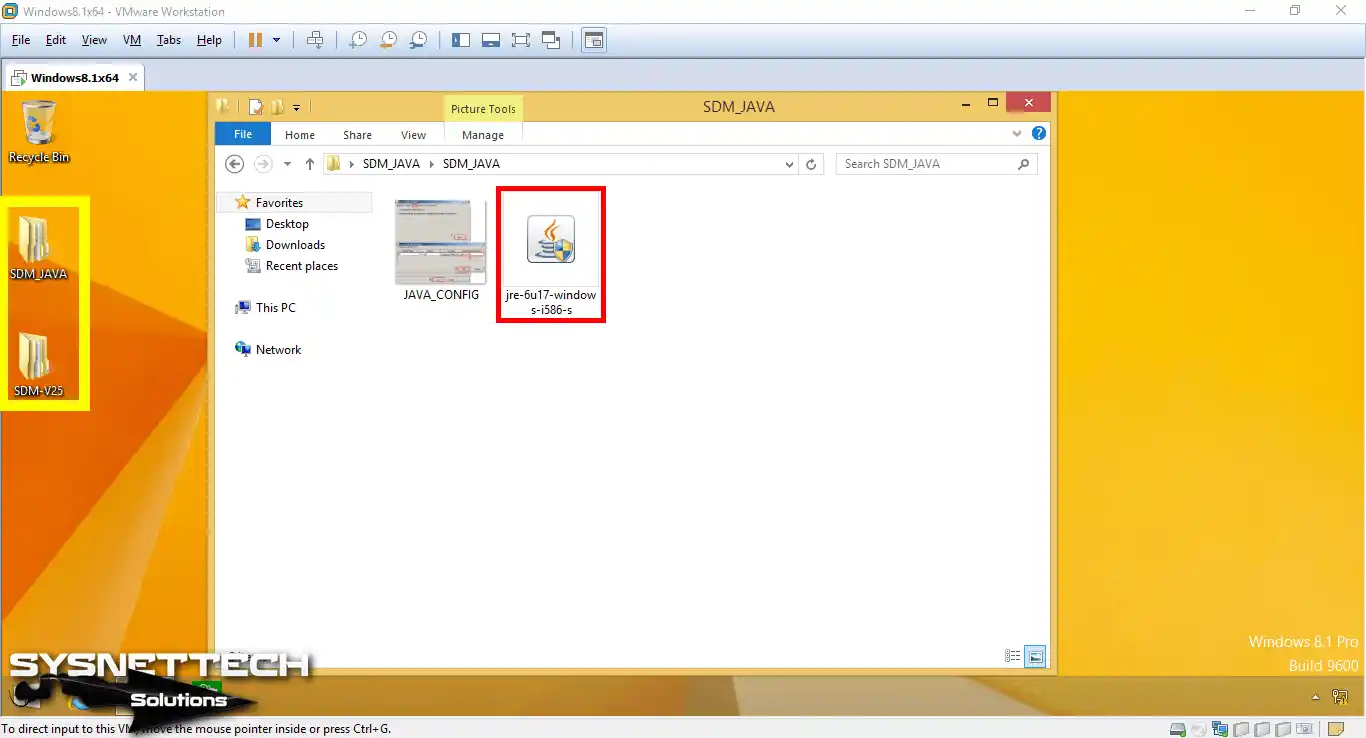
Copy the Java JRE and SDM setup files you downloaded to your computer and the virtual machine.
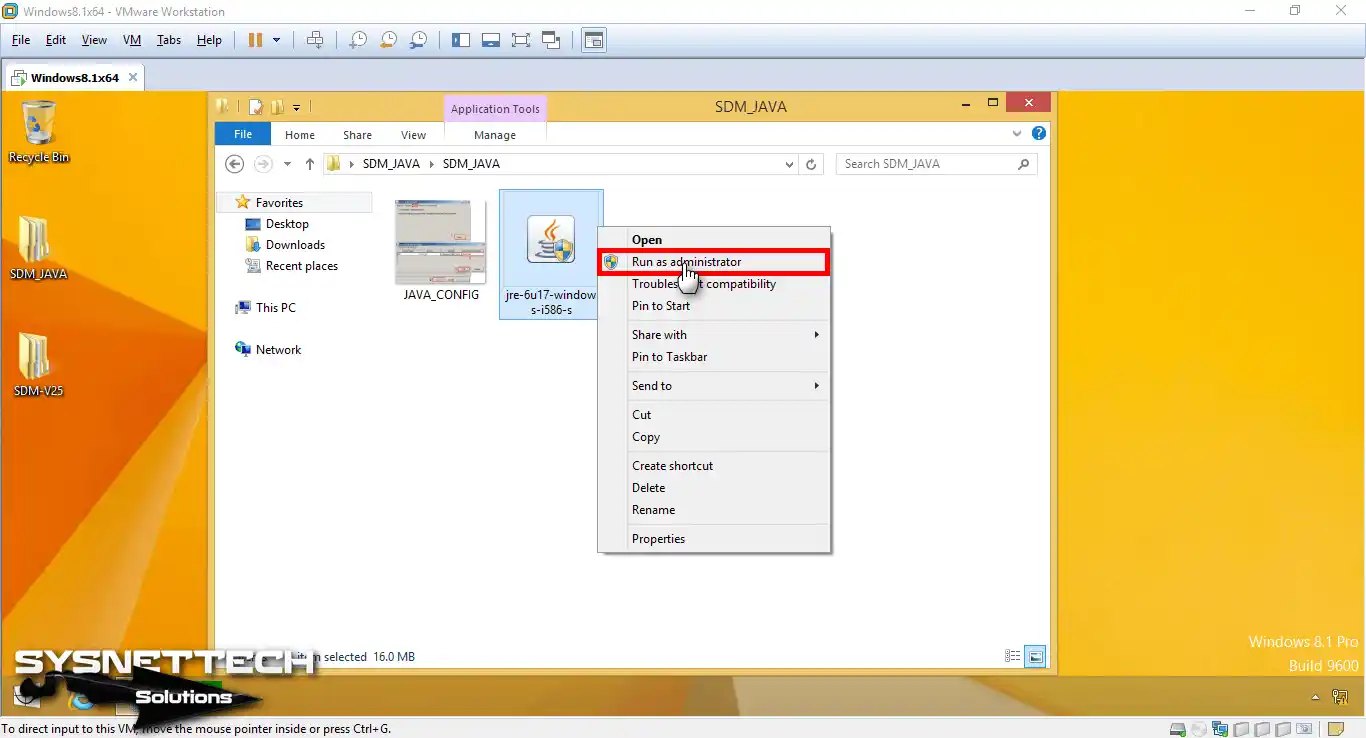
Step 7
Run the Java JRE setup file as an administrator.
Step 8
After installing Java JRE, open the settings in the control panel.

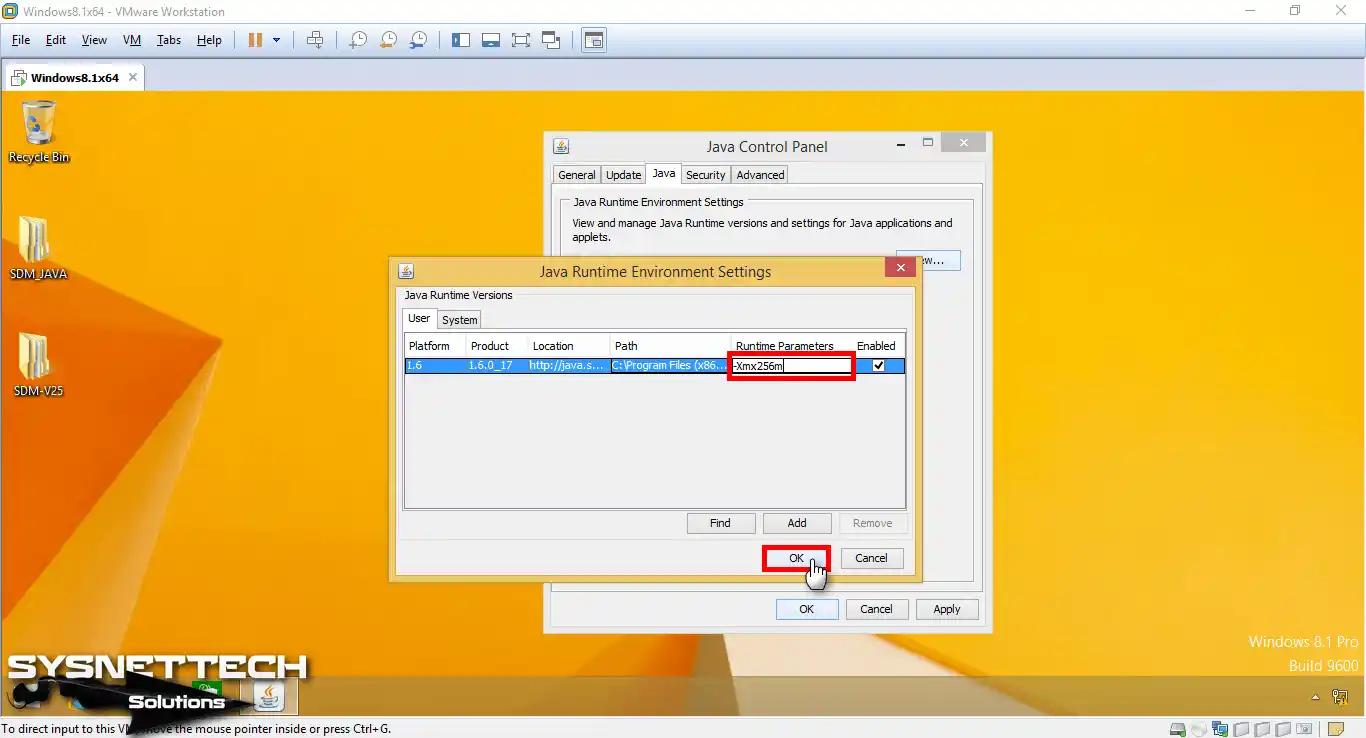
Step 9
After opening the Java Control Panel, enter in the Runtime Parameter section of the Java / User tab and click OK.
Step 10
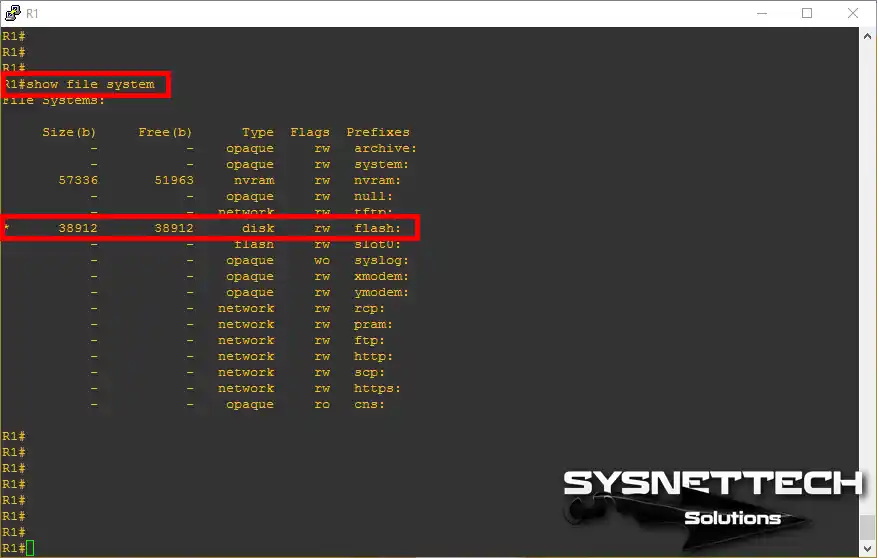
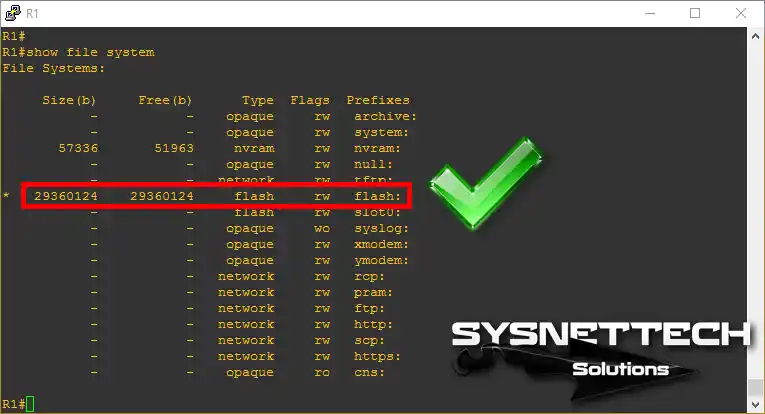
Execute the show file system command on the Router and check the size of Flash. As you can see in the image below, flash is not ready now.
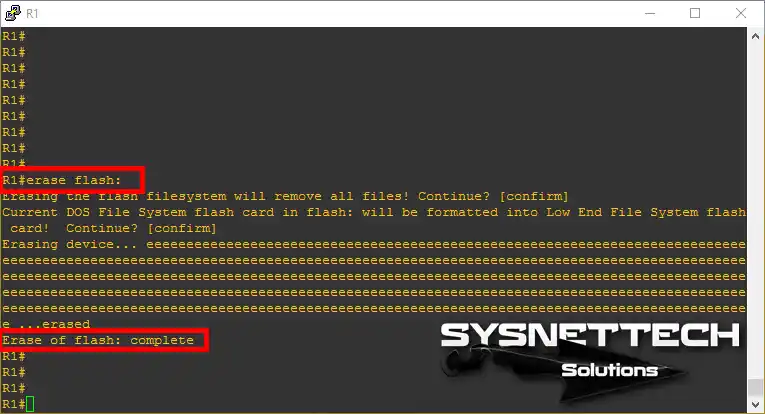
Step 11
If you do not format the Flash Disk, you will get a no disk space error when installing Cisco SDM. Therefore, run the erase flash command in privileged mode.
Step 12
Check the status of the Flash Disk again with the command show file system.
Step 13
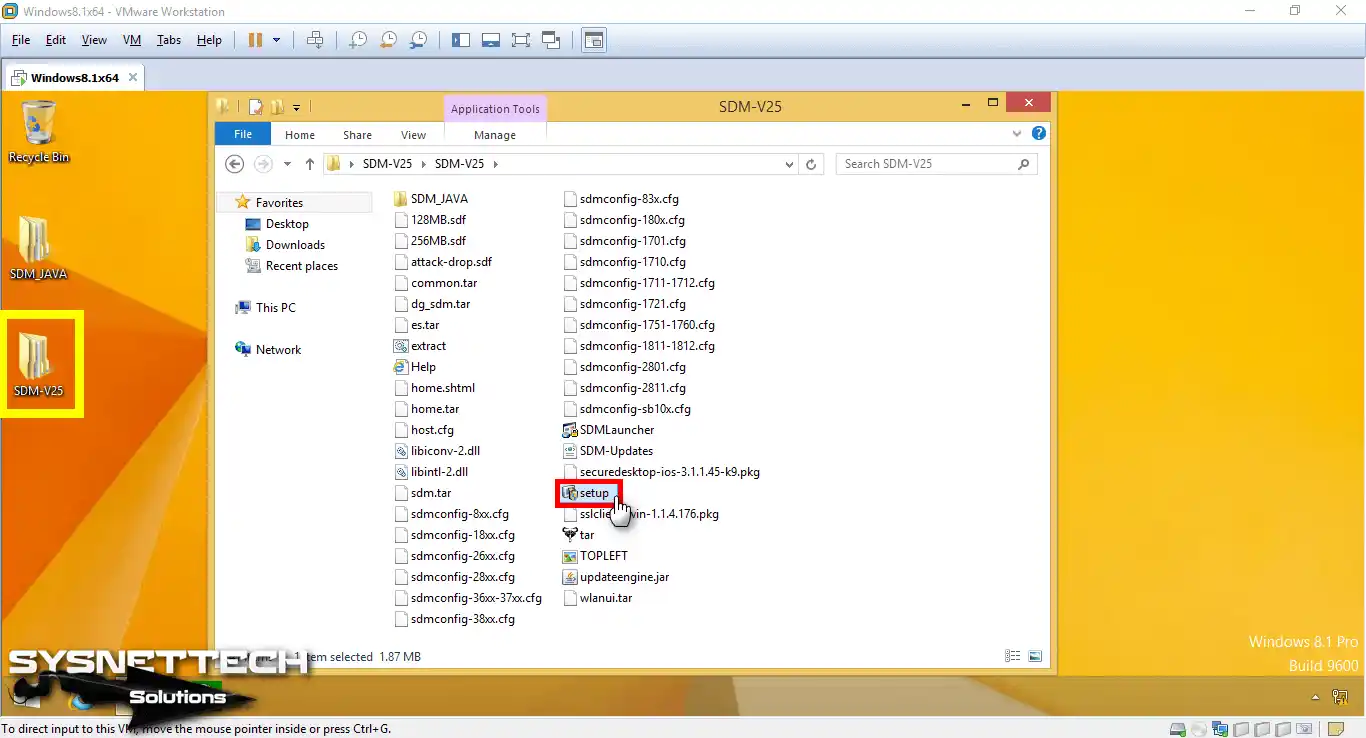
Now, run the SDM setup file on your virtual machine or computer.
Step 14
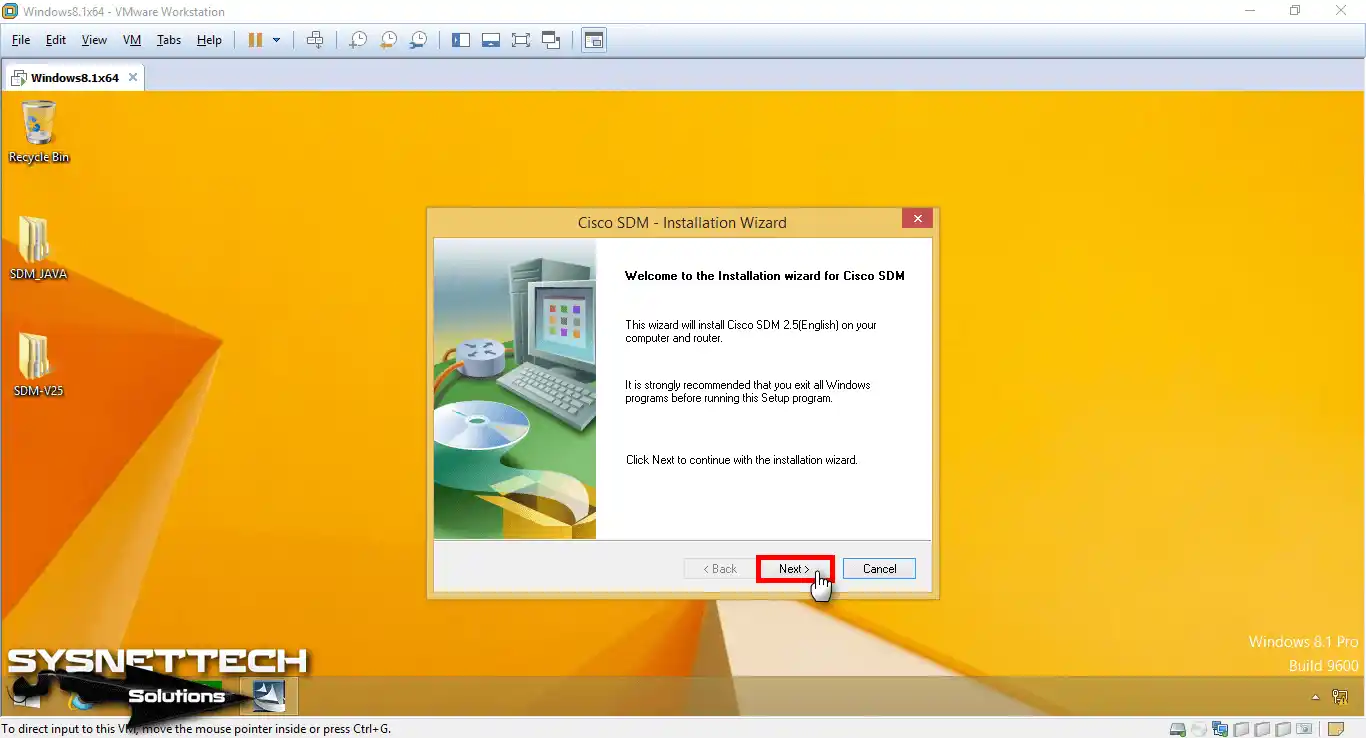
Click Next in the Installation Wizard window.
Step 15
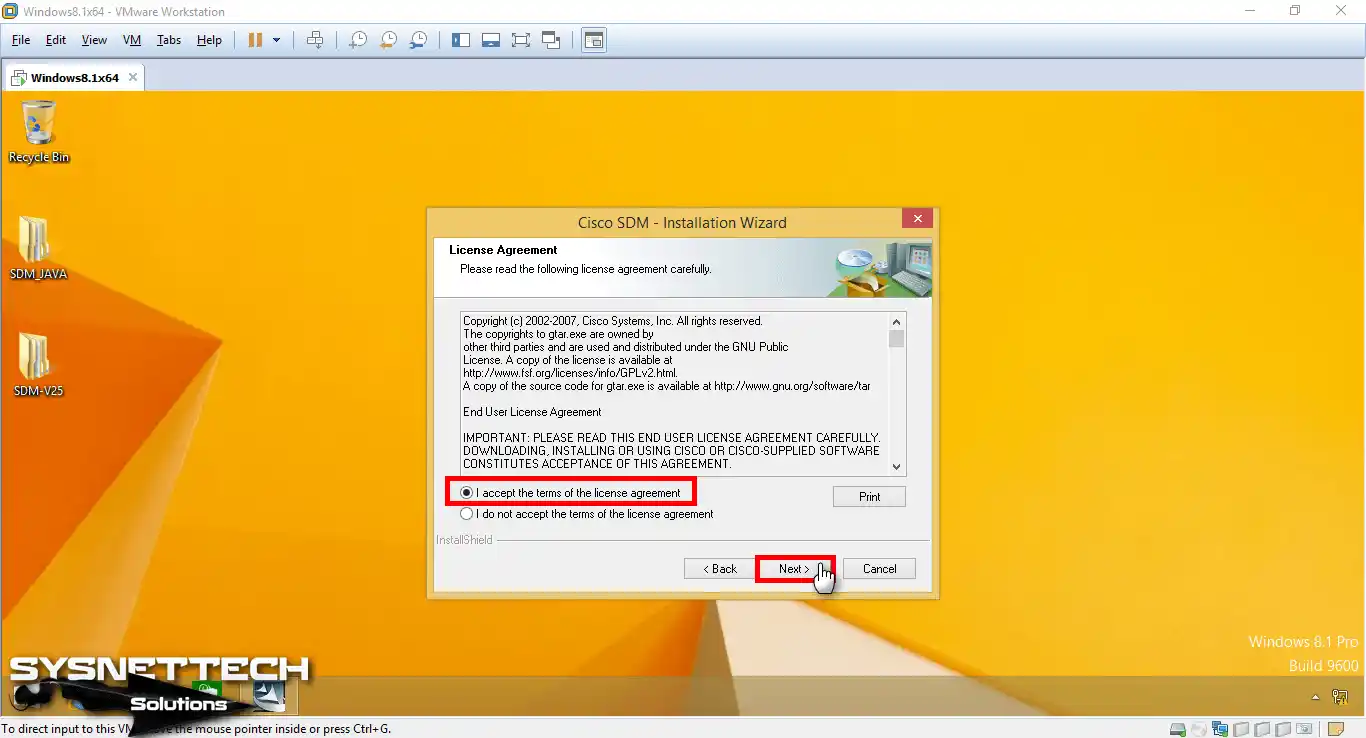
Select I accept the license deal and then click Next.
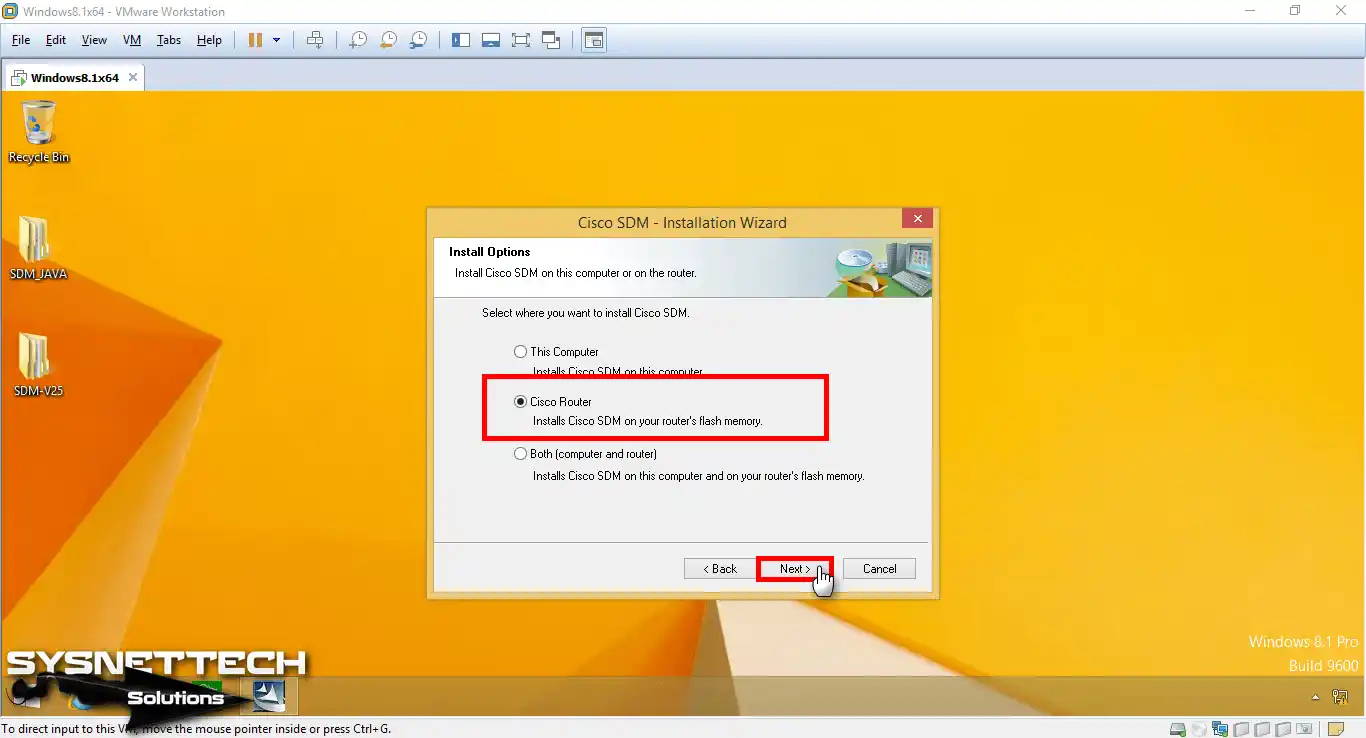
Step 16
The installation options window asks where to install the Cisco SDM program. Select the Cisco Router option and click Next.
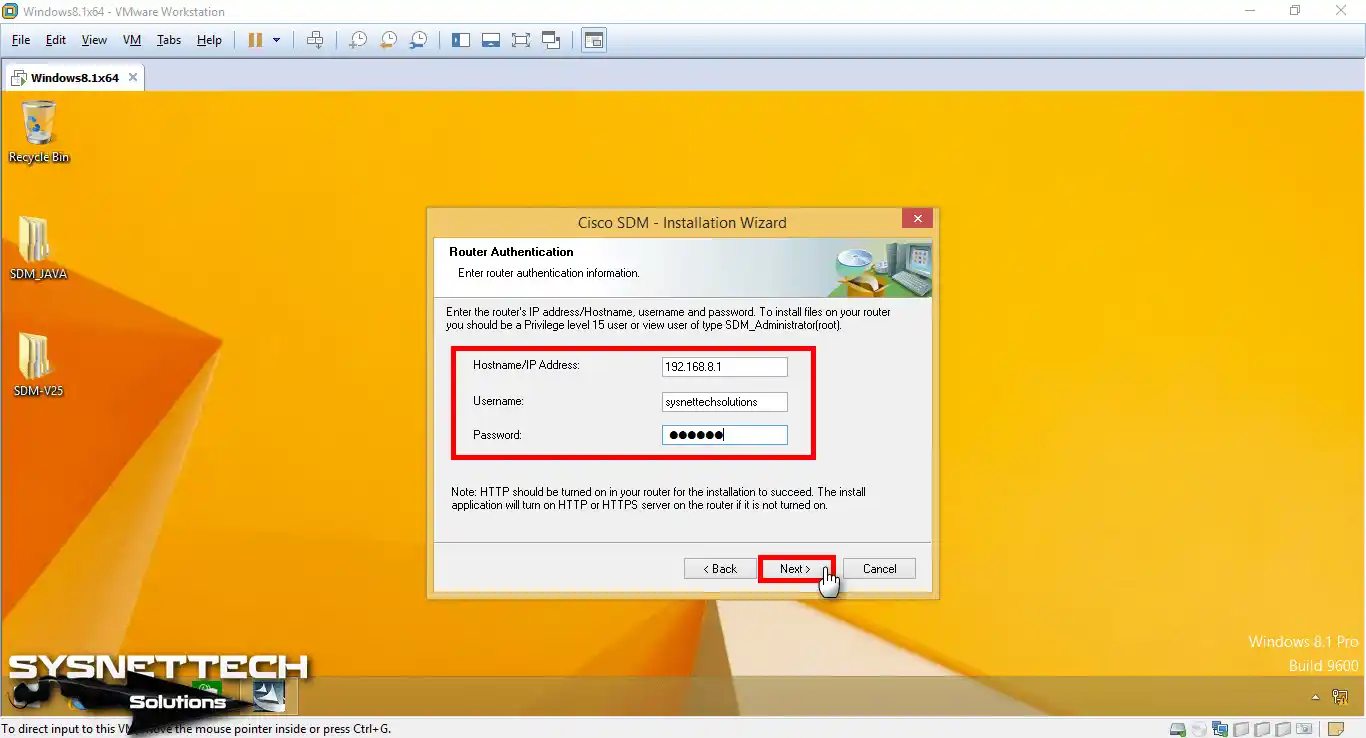
Step 17
In the Router Authentication window, type the FastEthernet 0/0 IP address of the Router, the user name and password you created, and click Next.
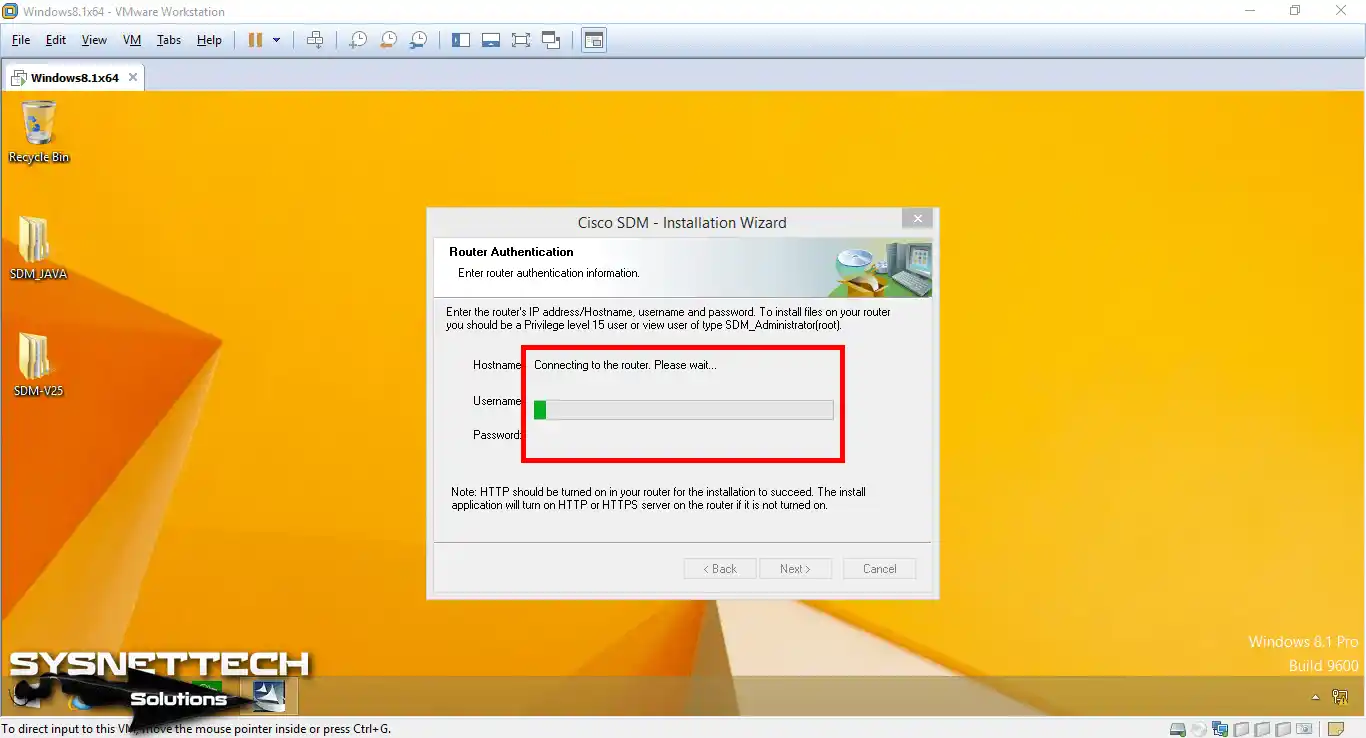
Step 18
Wait while Setup connects to the Cisco Router.
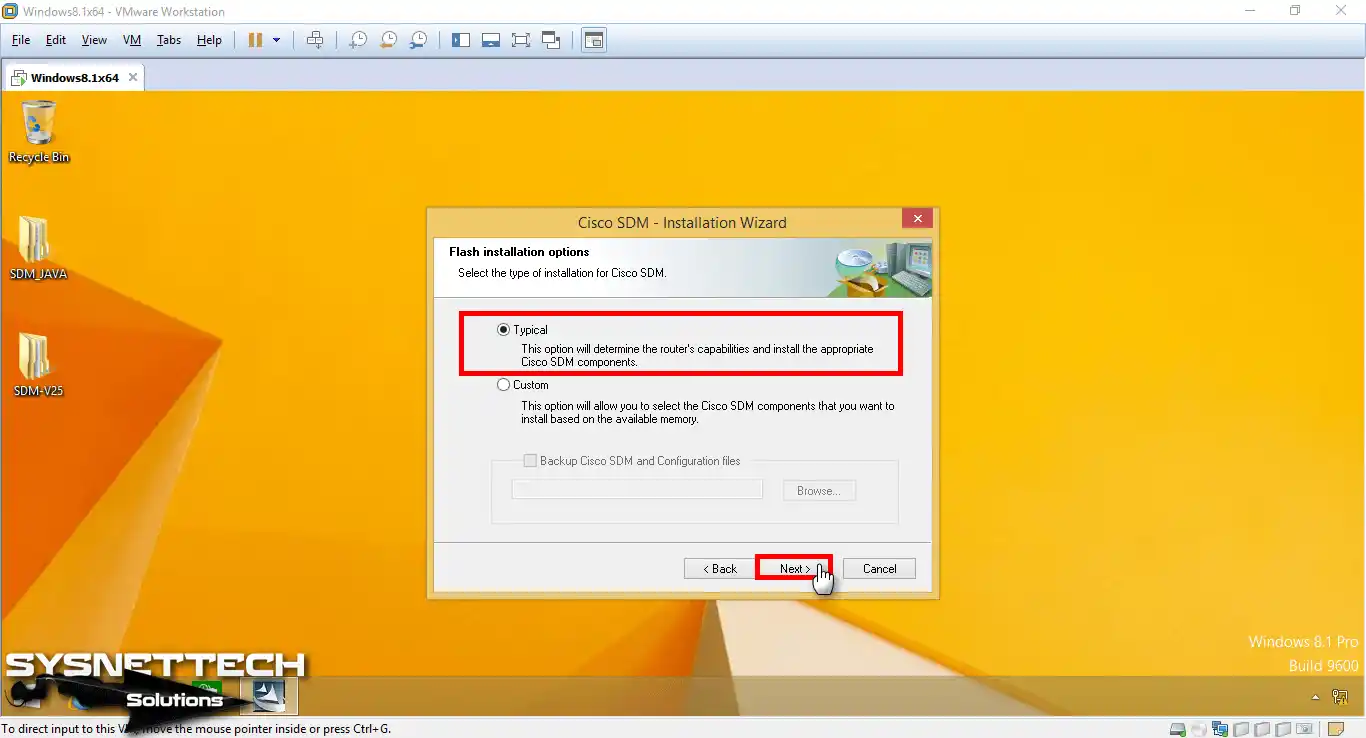
Step 19
Continue with the Typical option in the Finish Installation Options window.
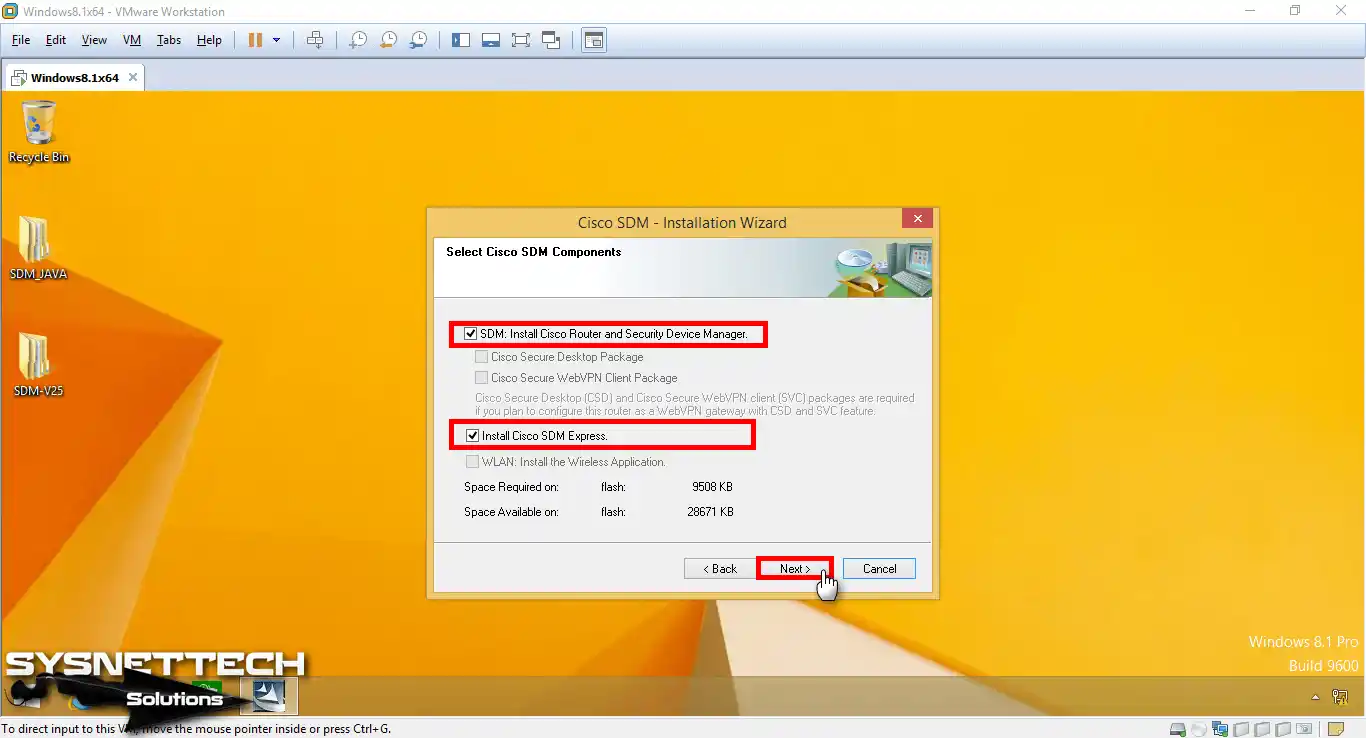
Step 20
In the Components window, select both options as follows and click Next.
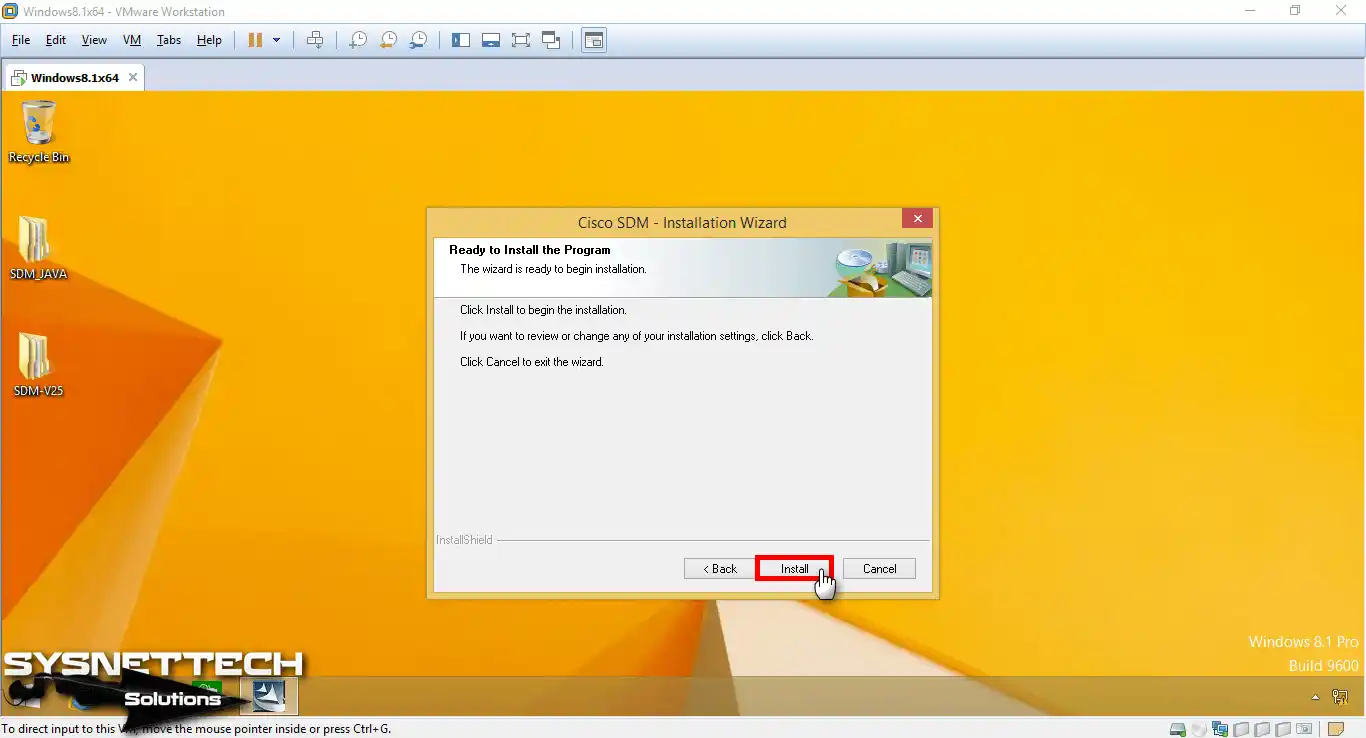
Step 21
In the window that says Ready to Install the Program, click on Install.
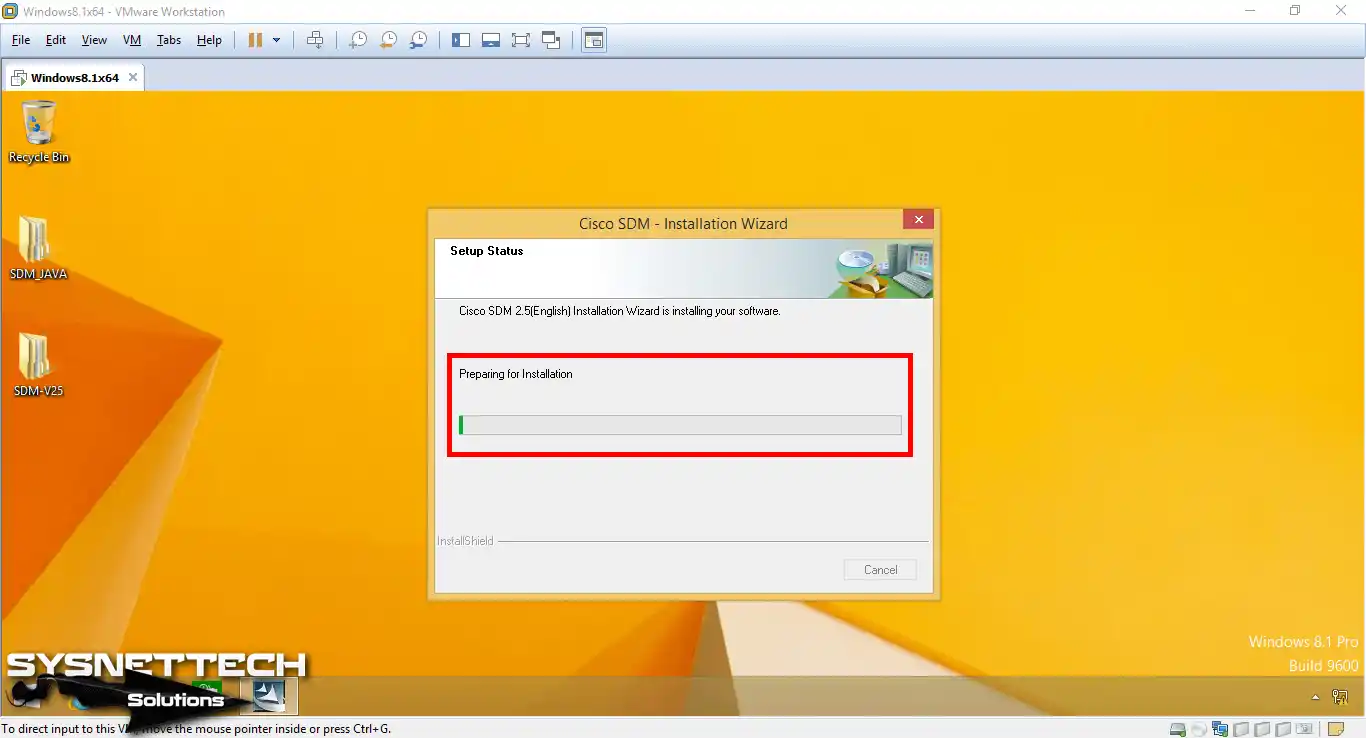
Step 22
Just wait as the Cisco SDM wizard gets everything ready for the installation.
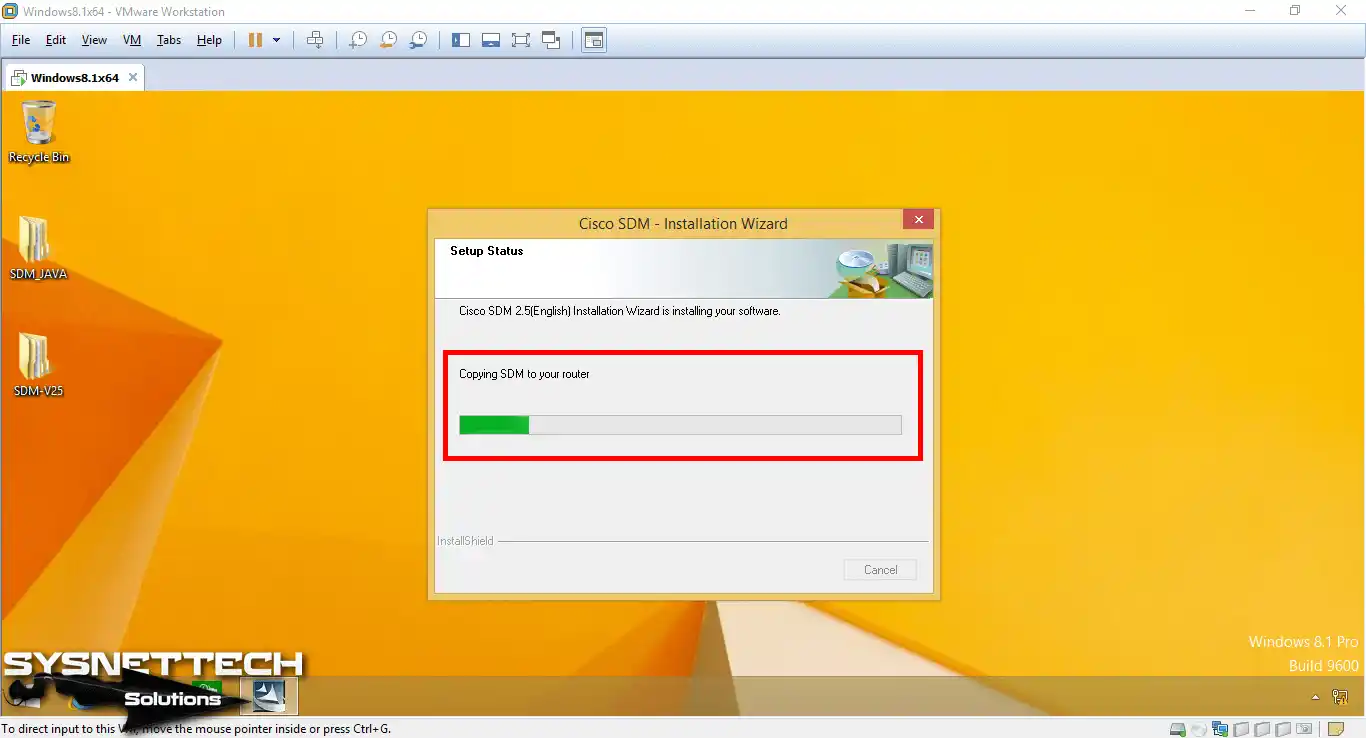
Step 23
Wait for the copying of SDM to the Router.
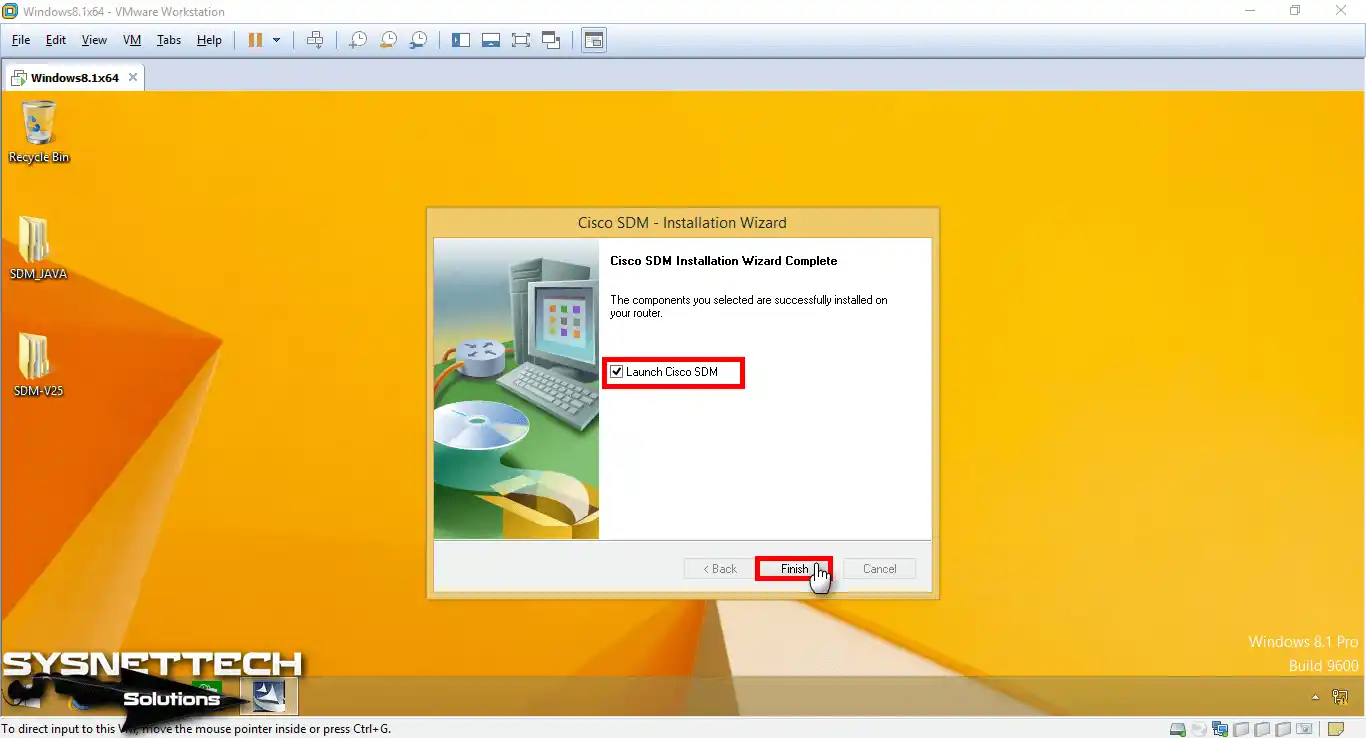
Step 24
When you complete the steps to install Cisco SDM, select Launch and click Finish.
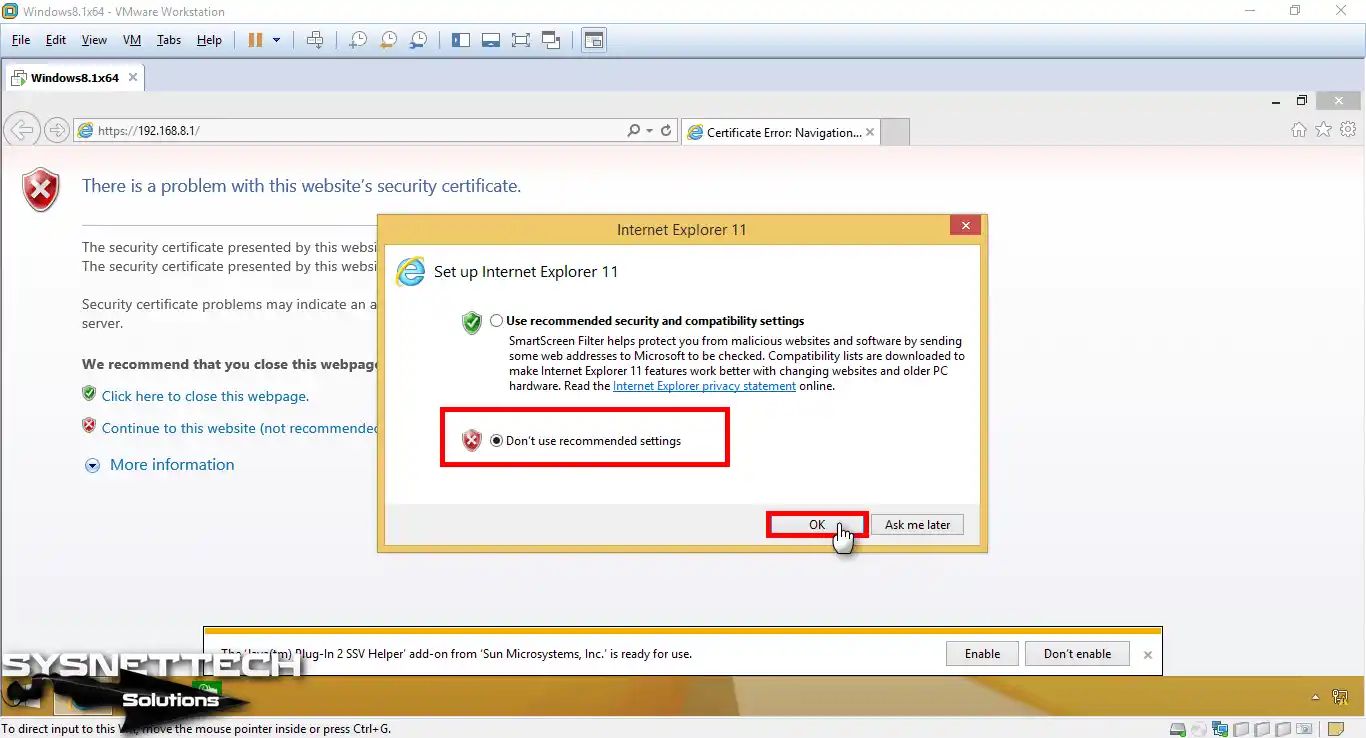
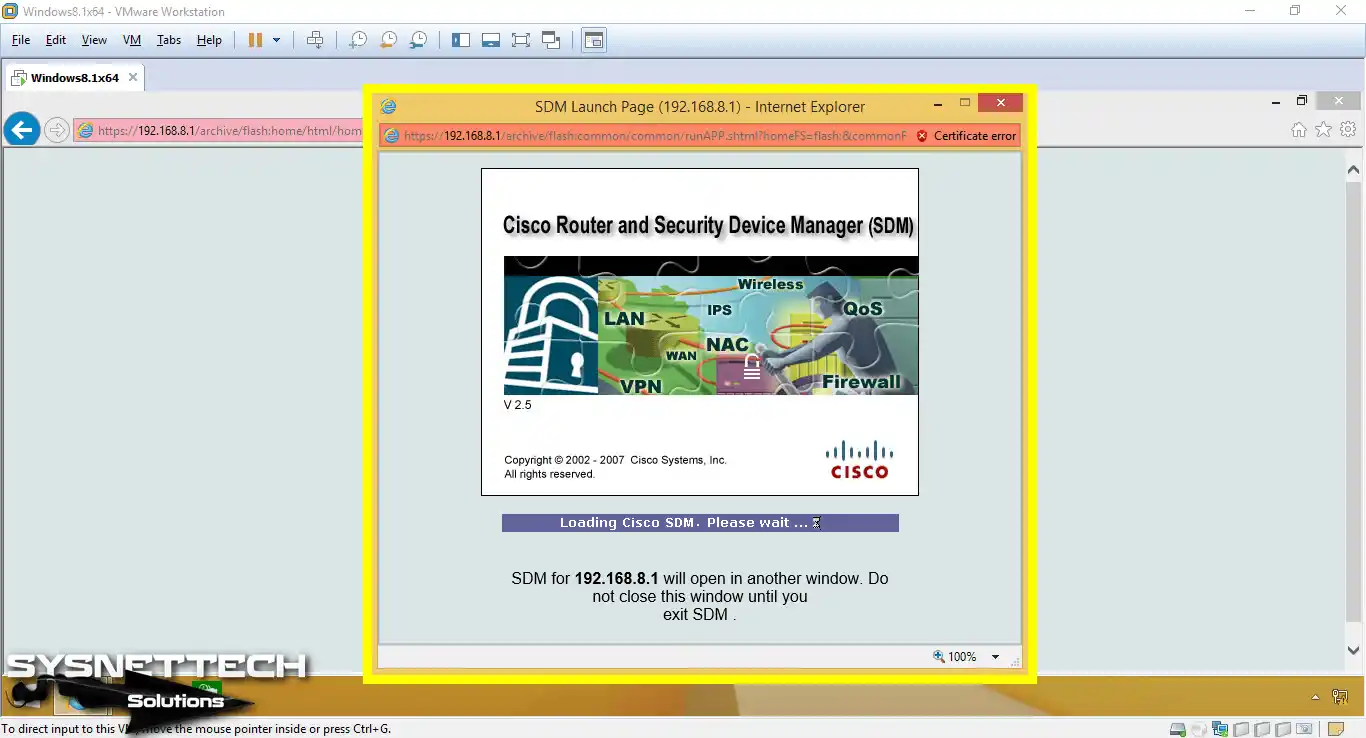
Step 25
When the Internet Explorer web browser opens when you click Finish, check Don’t use recommended settings and click OK.
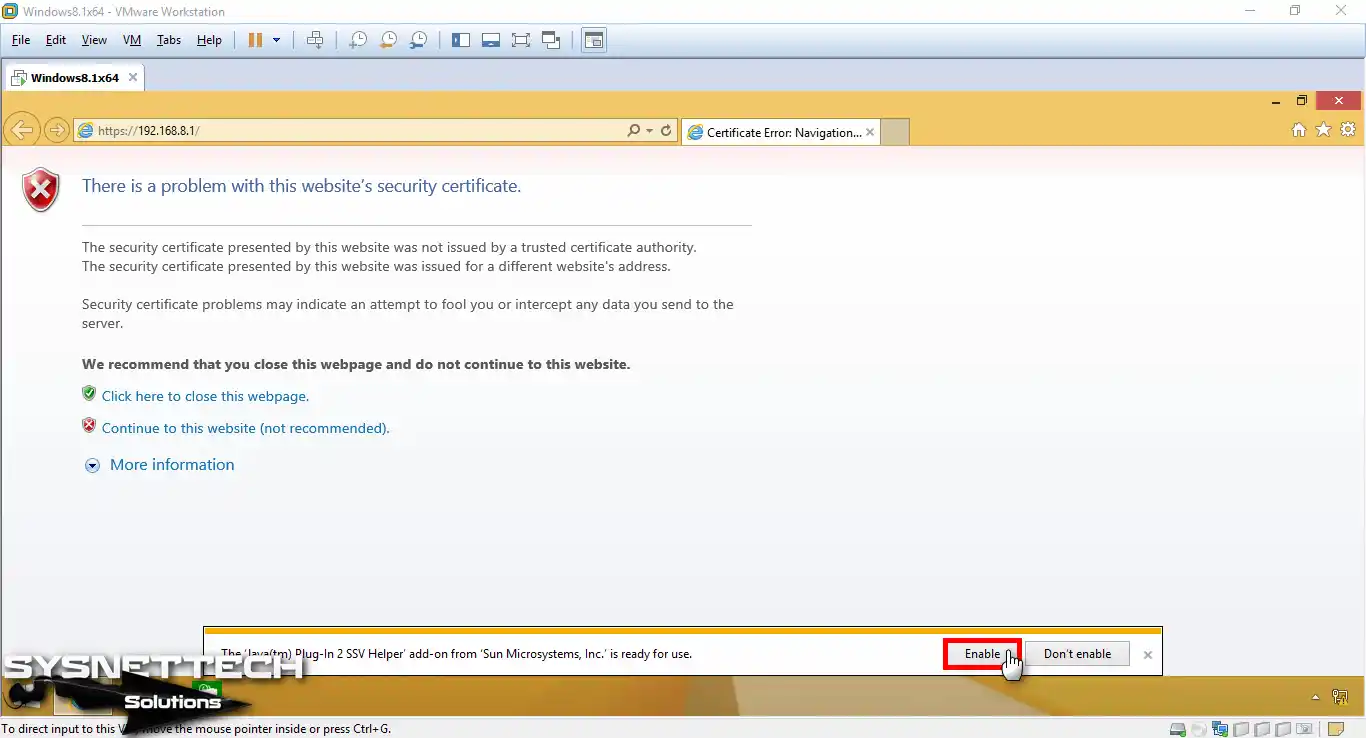
Step 26
Click the Enable button at the bottom of the browser to confirm the operation of the Plug-in.
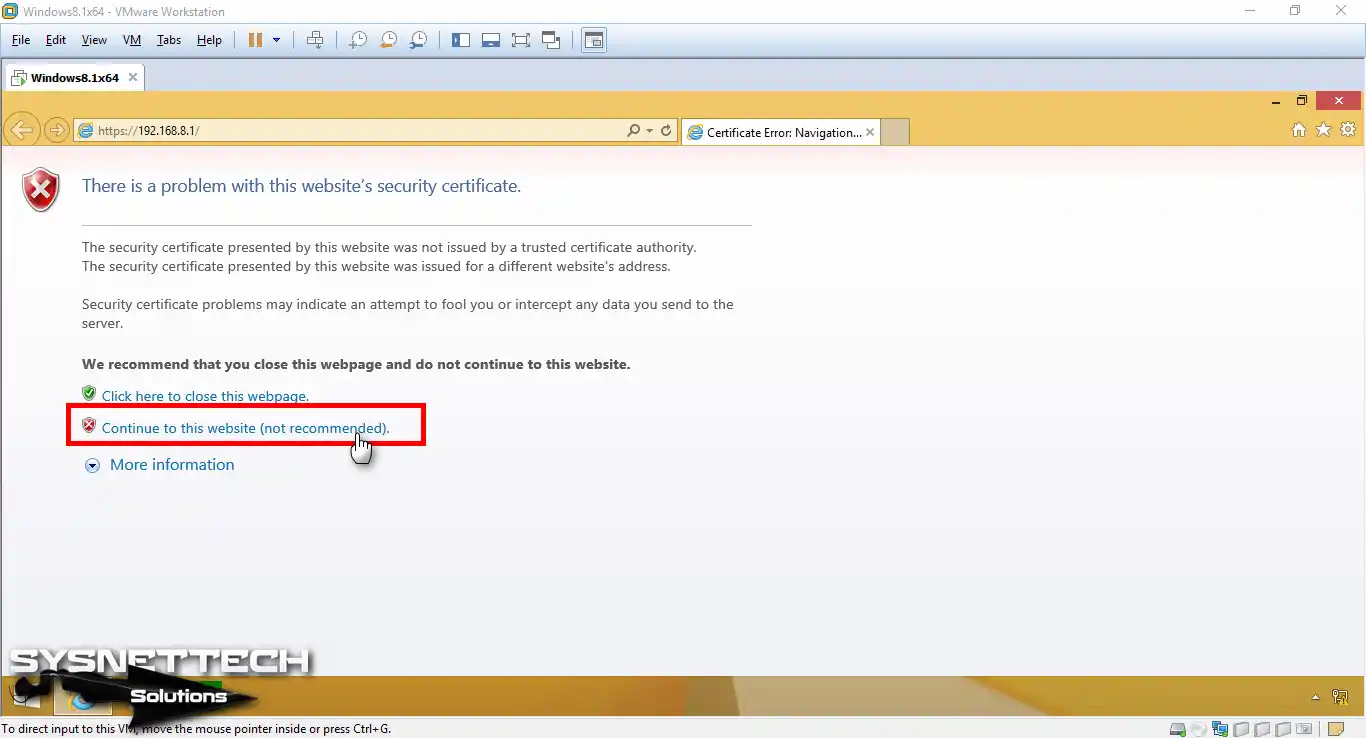
Step 27
Continue by clicking the Continue to this website option.
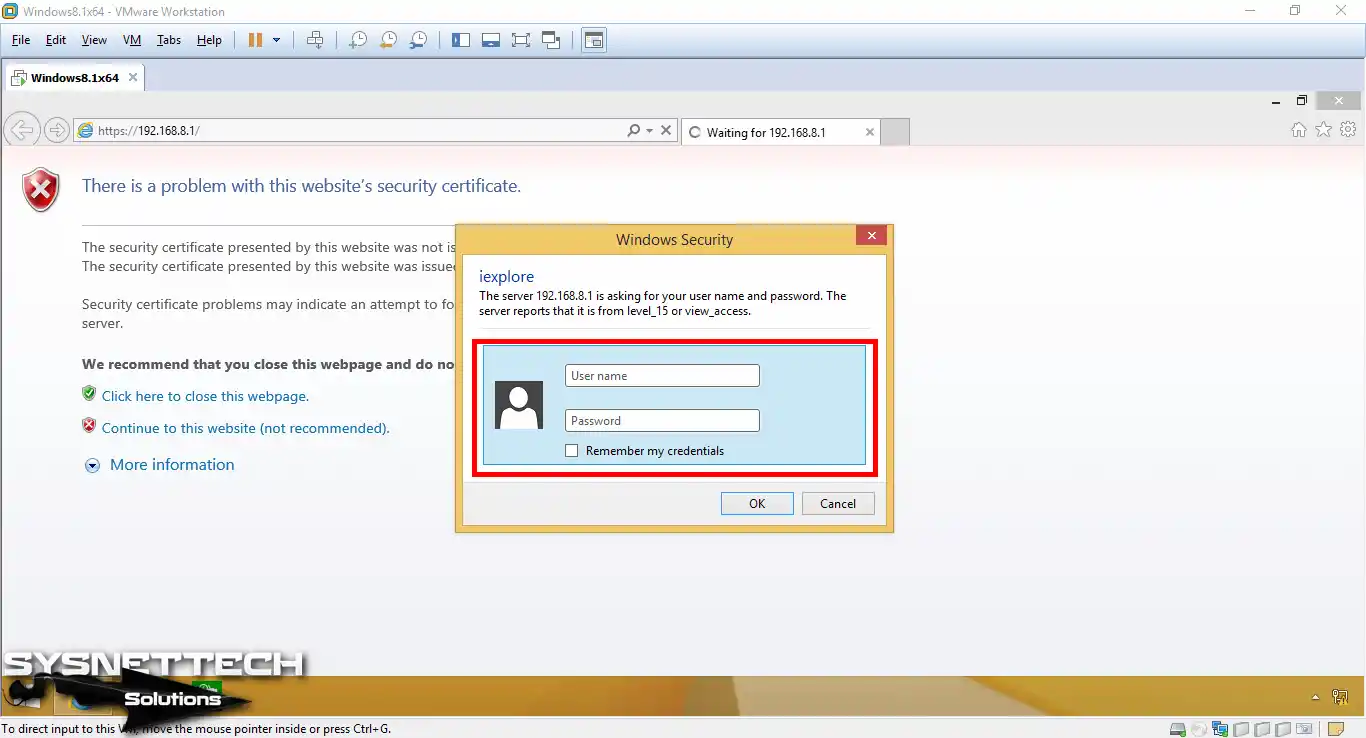
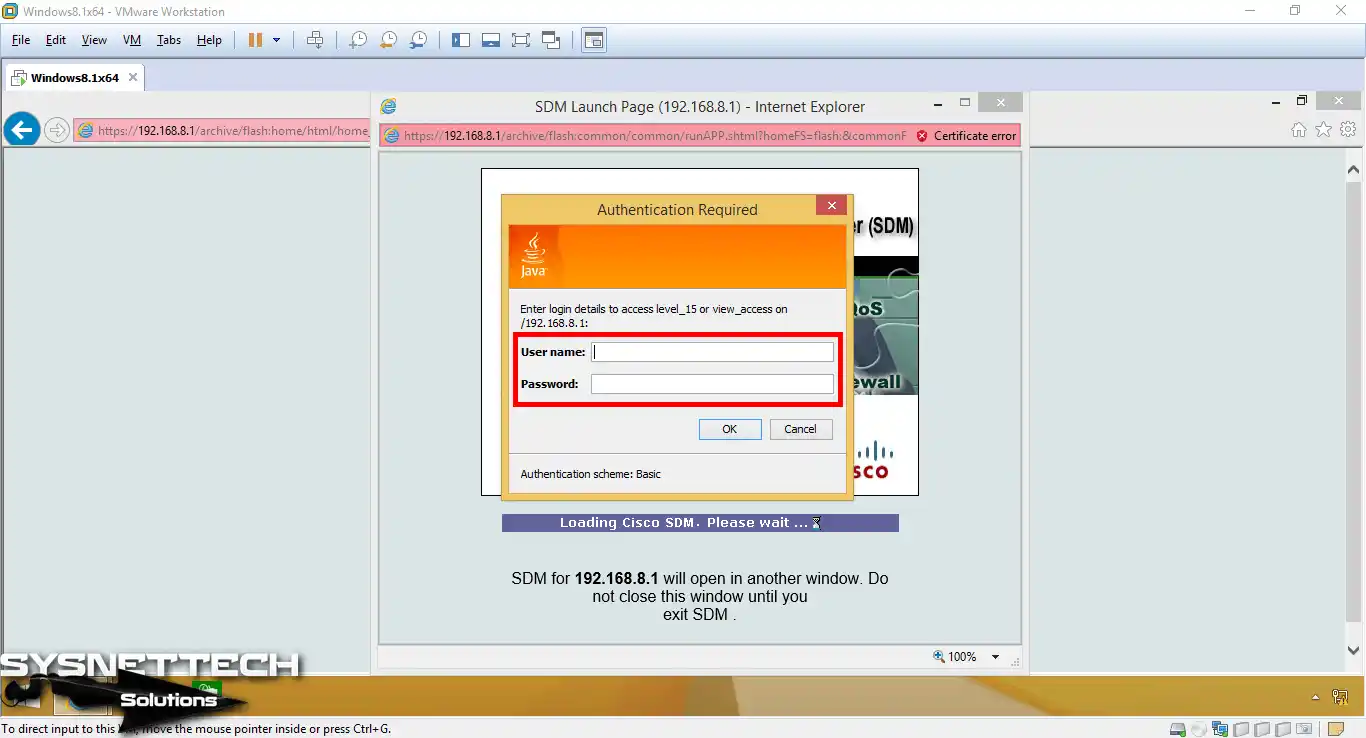
Step 28
Enter the username and password you created to connect to the Cisco Router Security Device Manager on this screen.
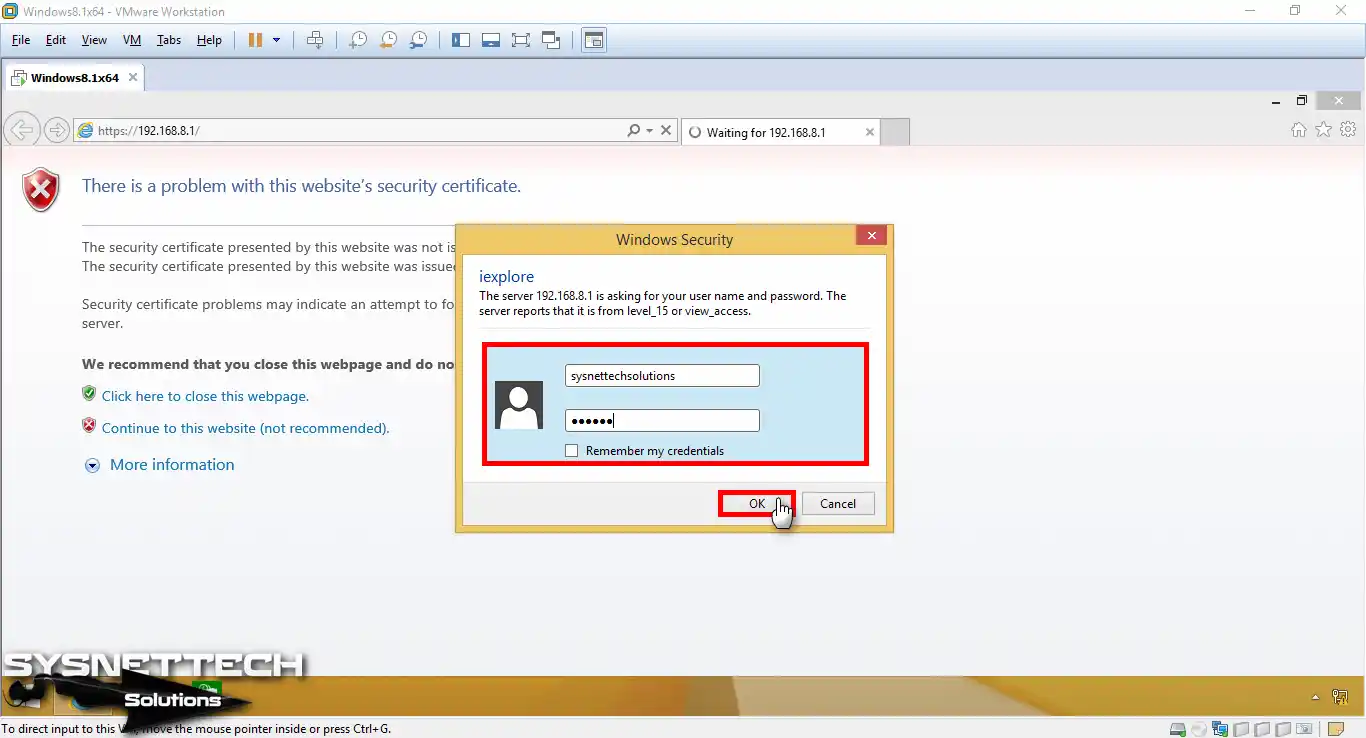
Step 29
Click OK again to log in.
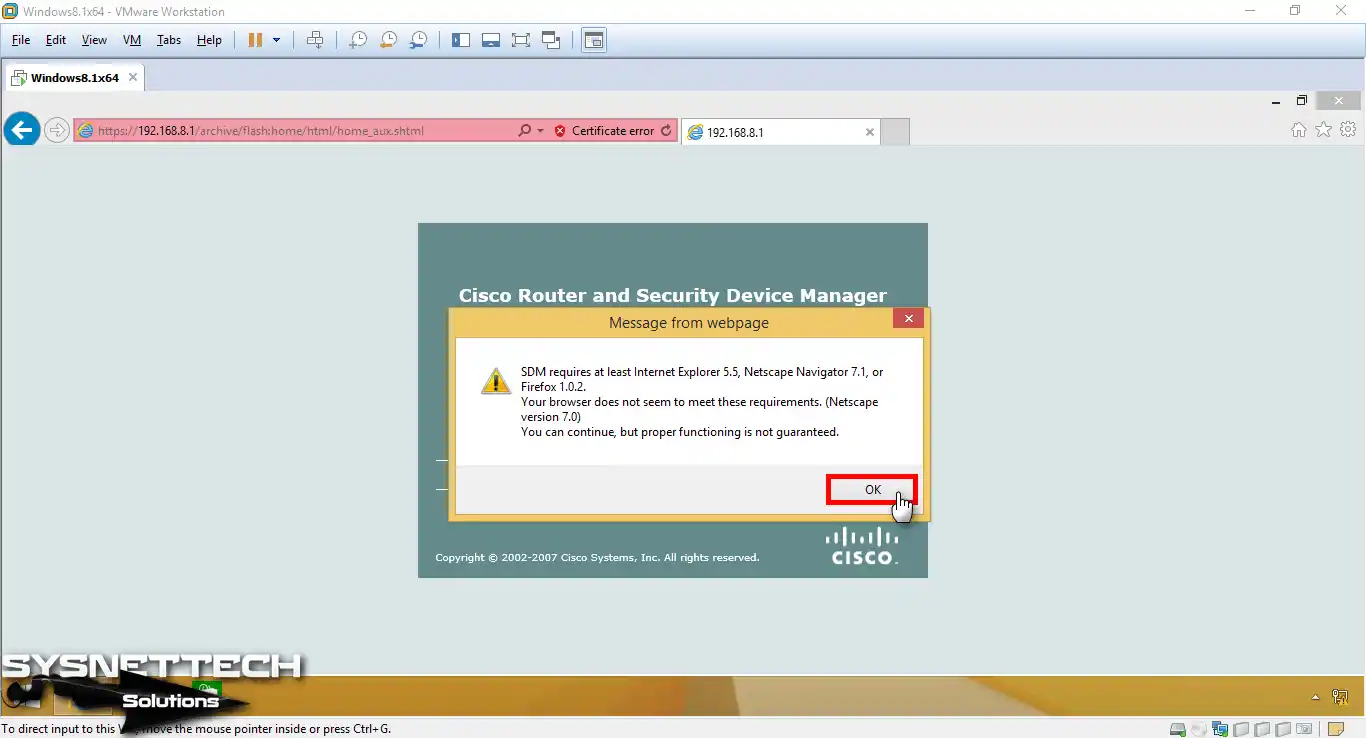
Step 30
When a browser compatibility error such as the following appears, click OK directly and go to the next step.
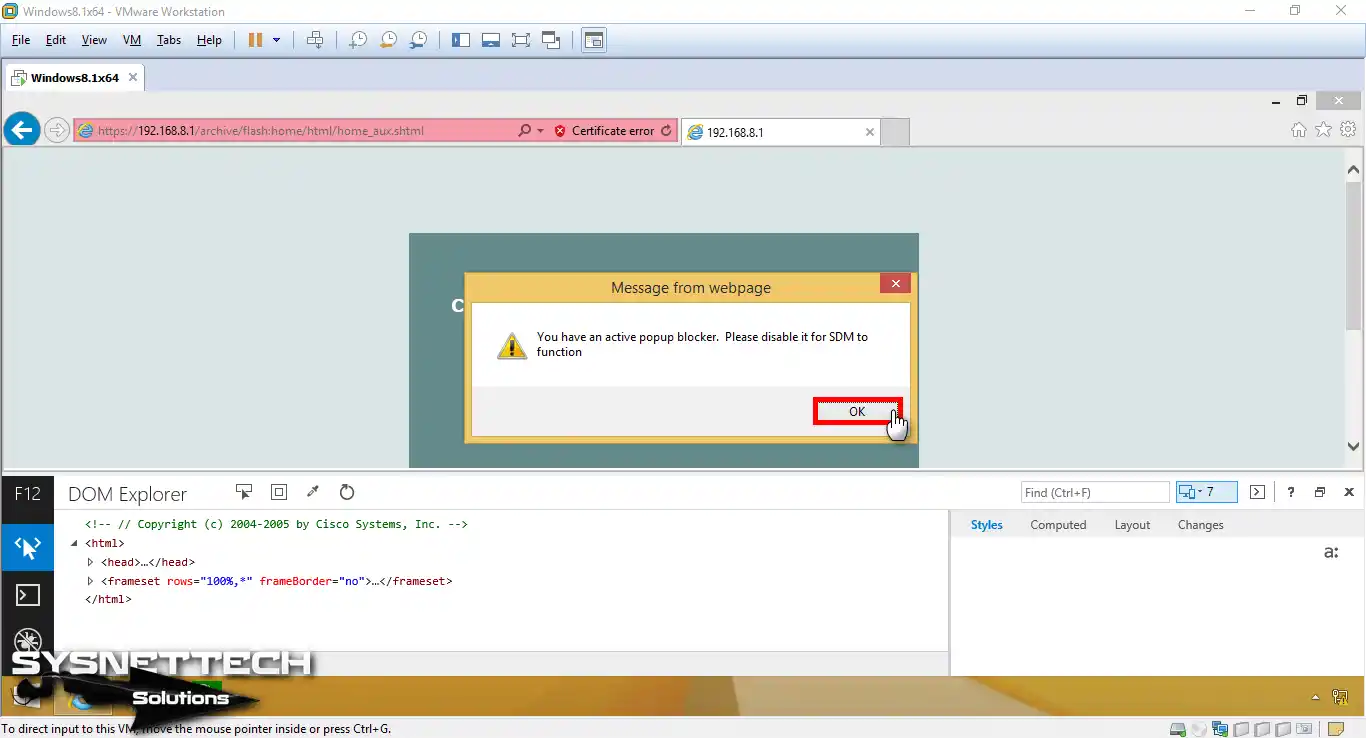
Step 31
From the browser developer options, set the browser compatibility mode to version 7. If you encounter a Popup Blocker error, go to the next step.
Step 32
Click on the Privacy tab in Internet Explorer and deactivate it if the Turn on Popup Blocker option is enabled.
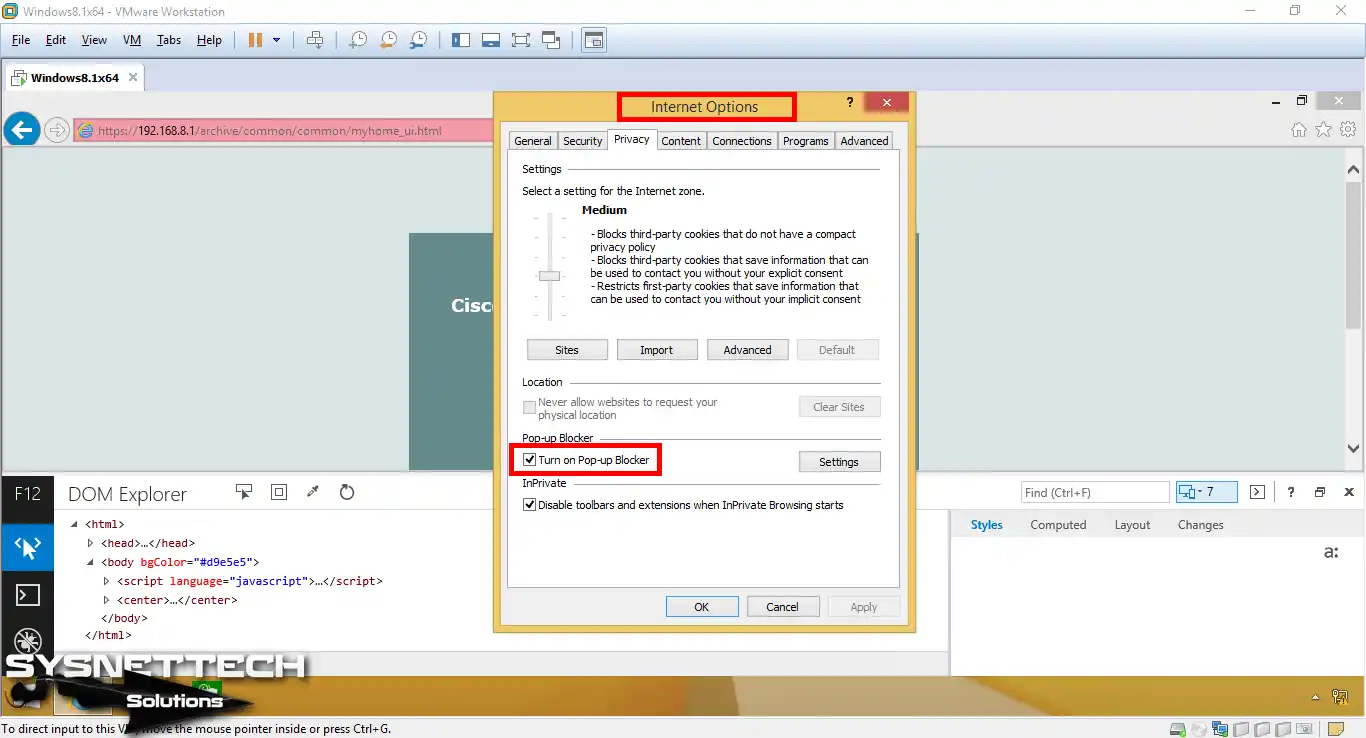
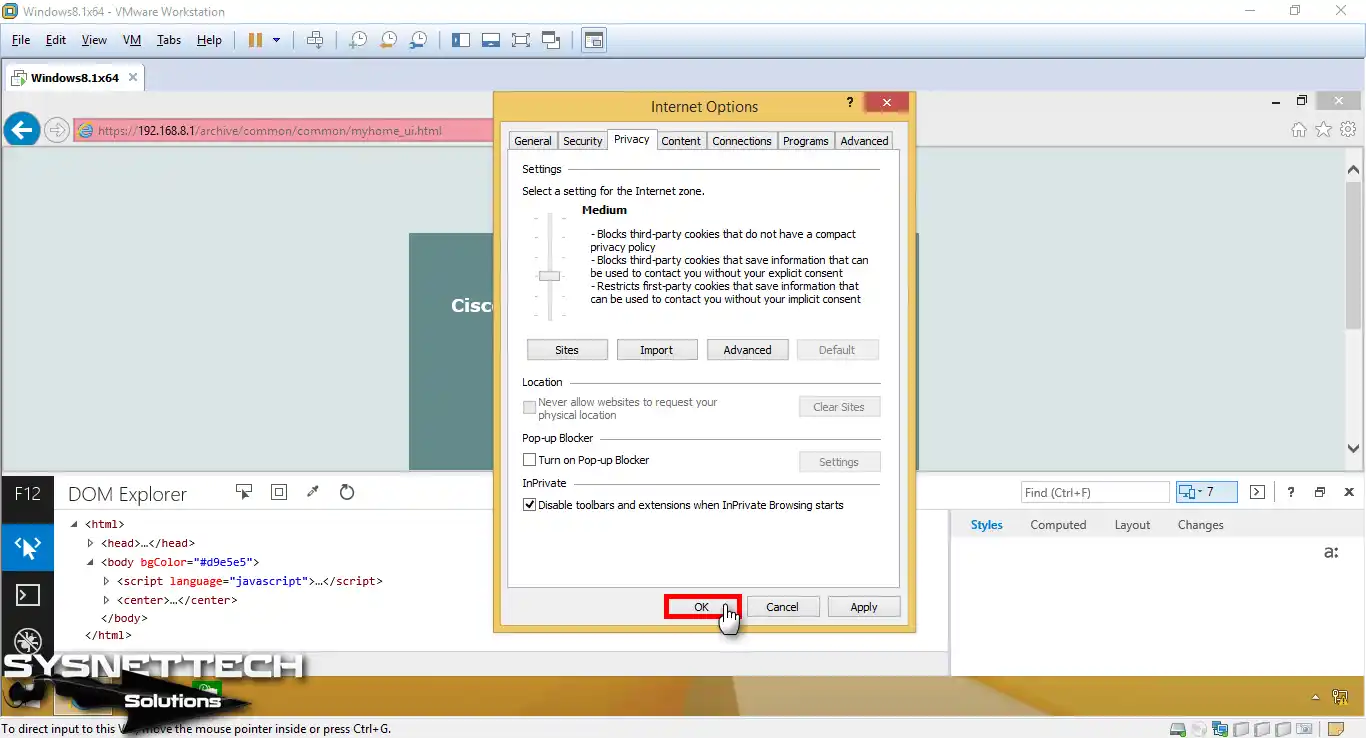
Step 33
Click OK to change the setting.
Step 34
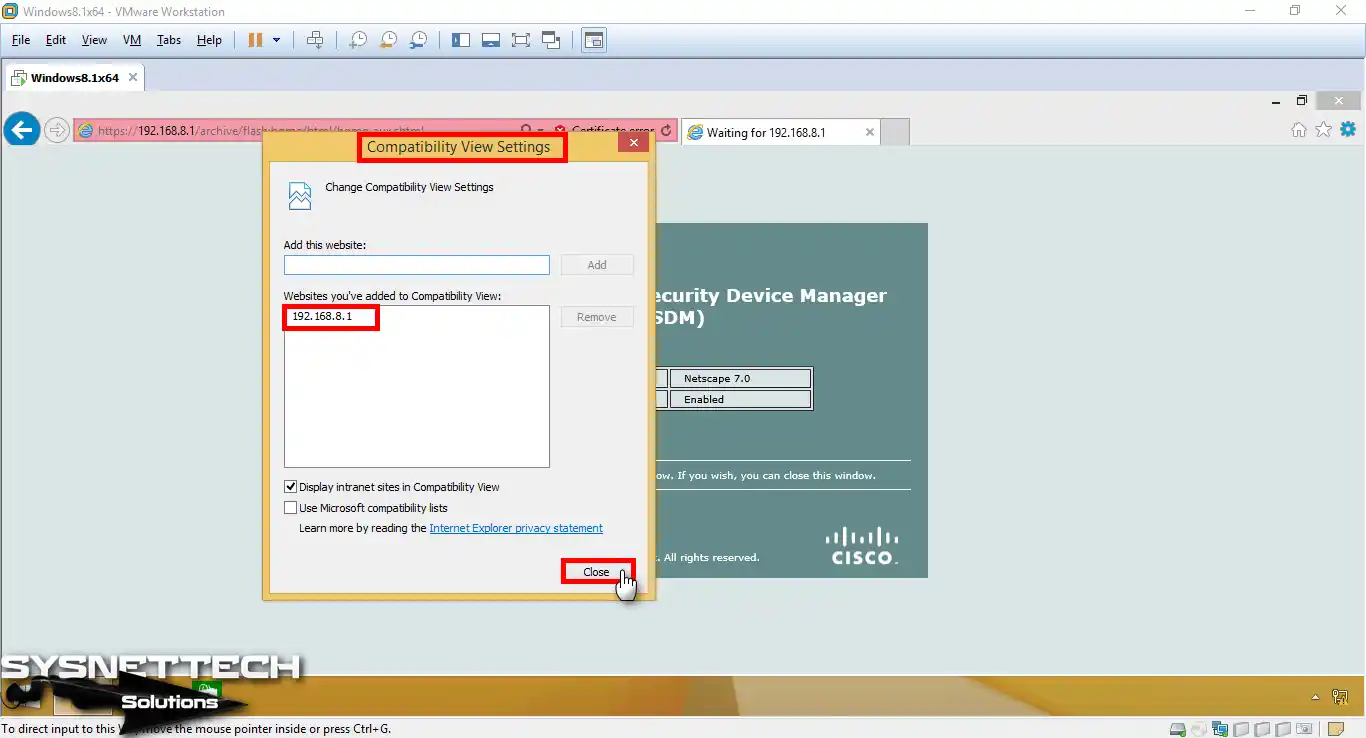
Reopen the Internet Explorer features, and then click the compatibility view option.

Step 35
In the open compatibility view window, add the 192.168.8.1 IP address to the compatibility list.
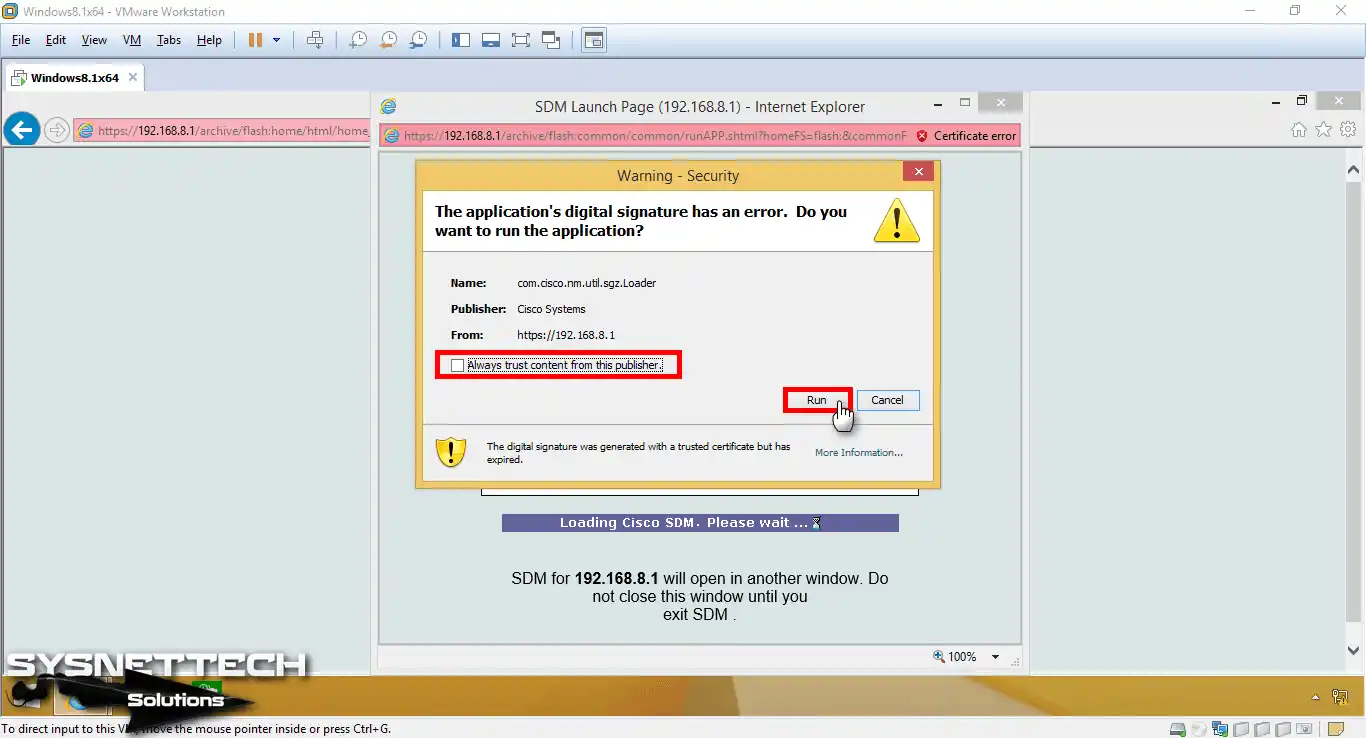
Step 36
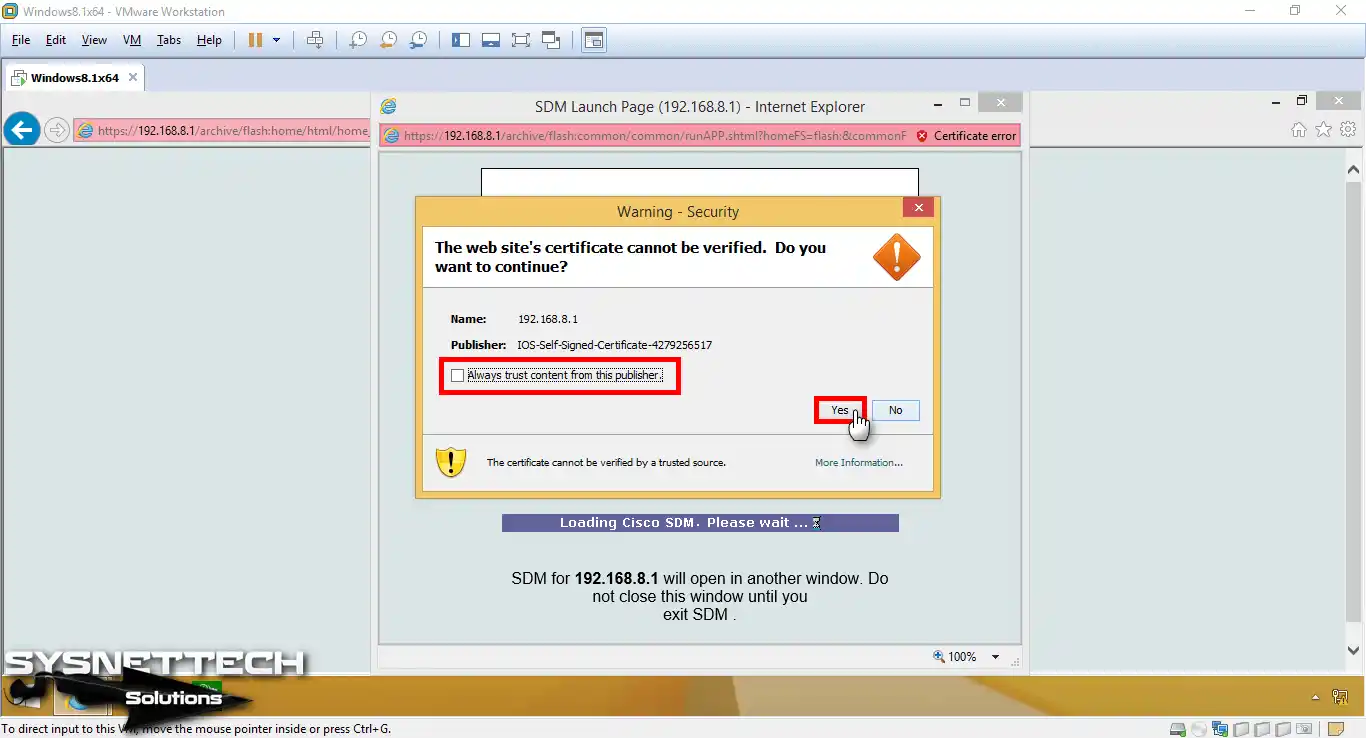
Select Always trust content from this publisher to access the Router’s management interface and click Yes.
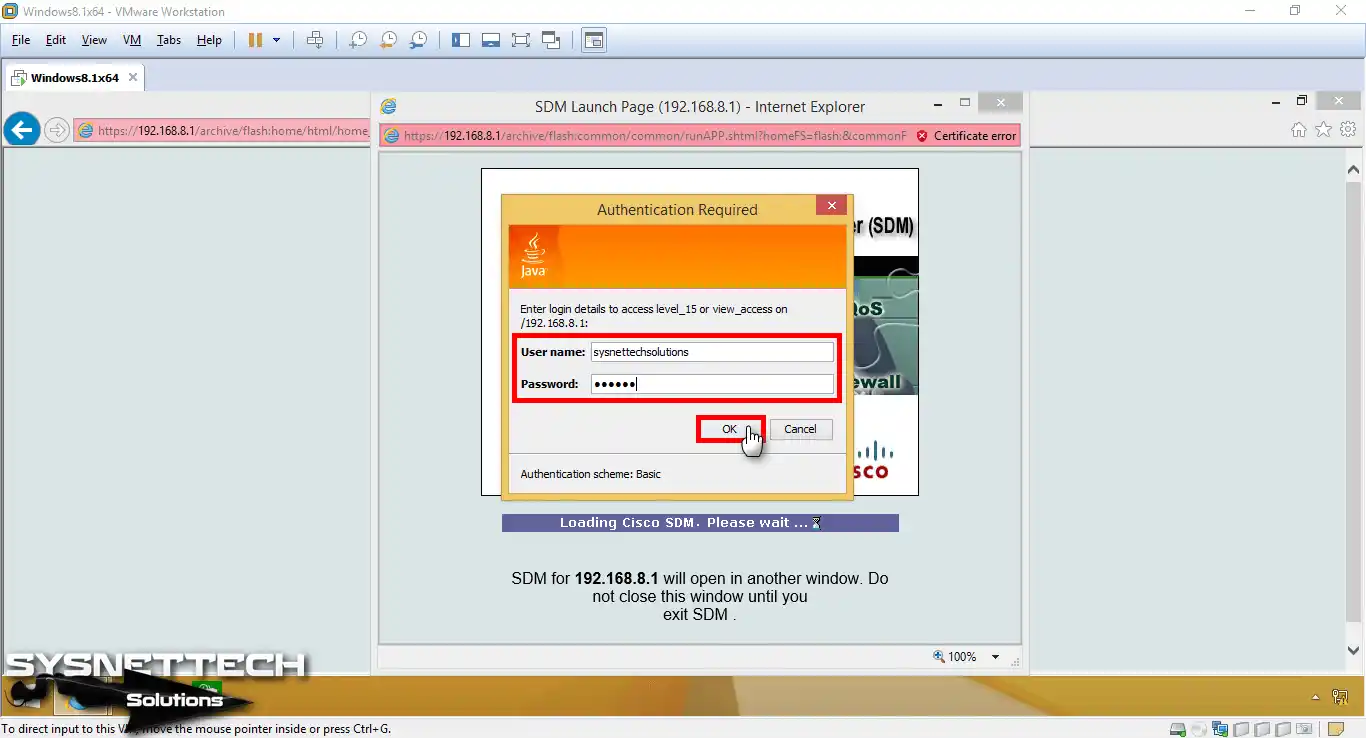
Step 37
In the Java Authentication Required window, enter the account information you created.
Step 38
Click OK to log in.
Step 39
Enable the option again in the same error window and click the Run button.
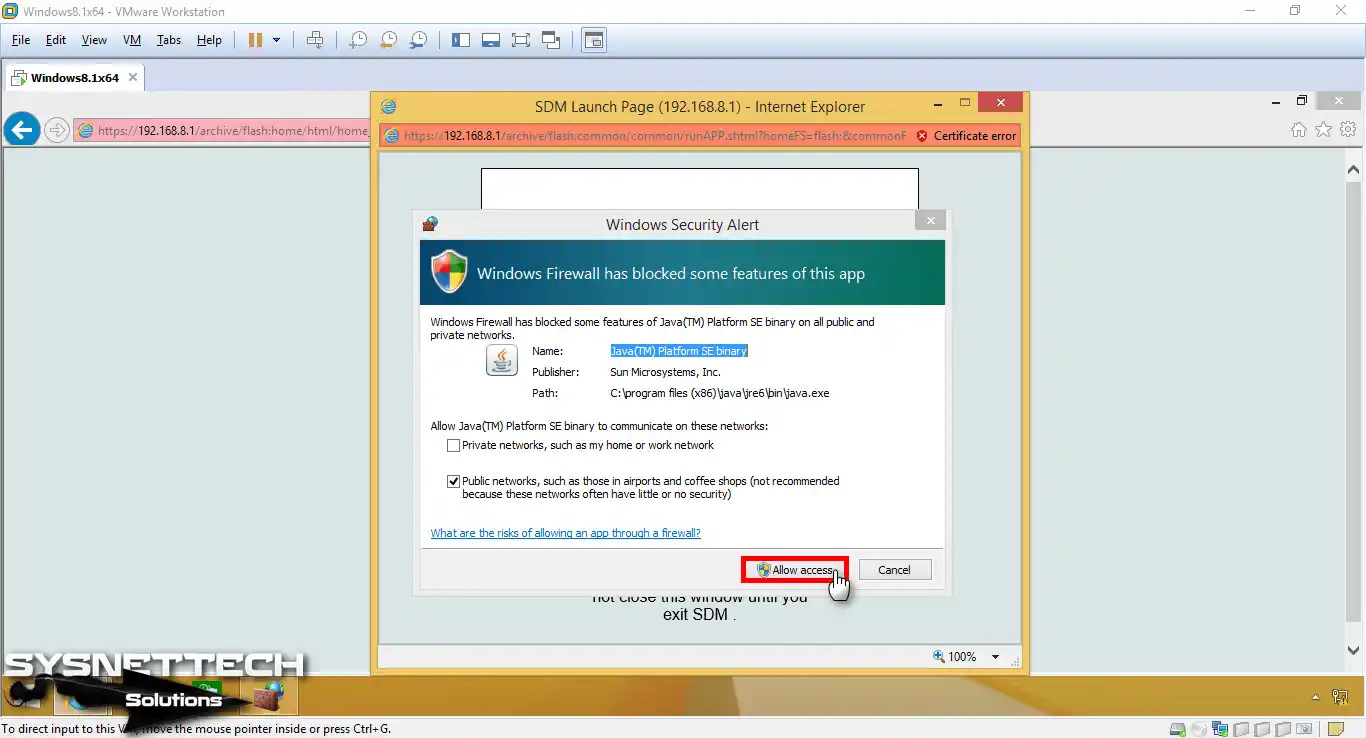
Step 40
In the Security Alert window, click the Allow Access button.
Step 41
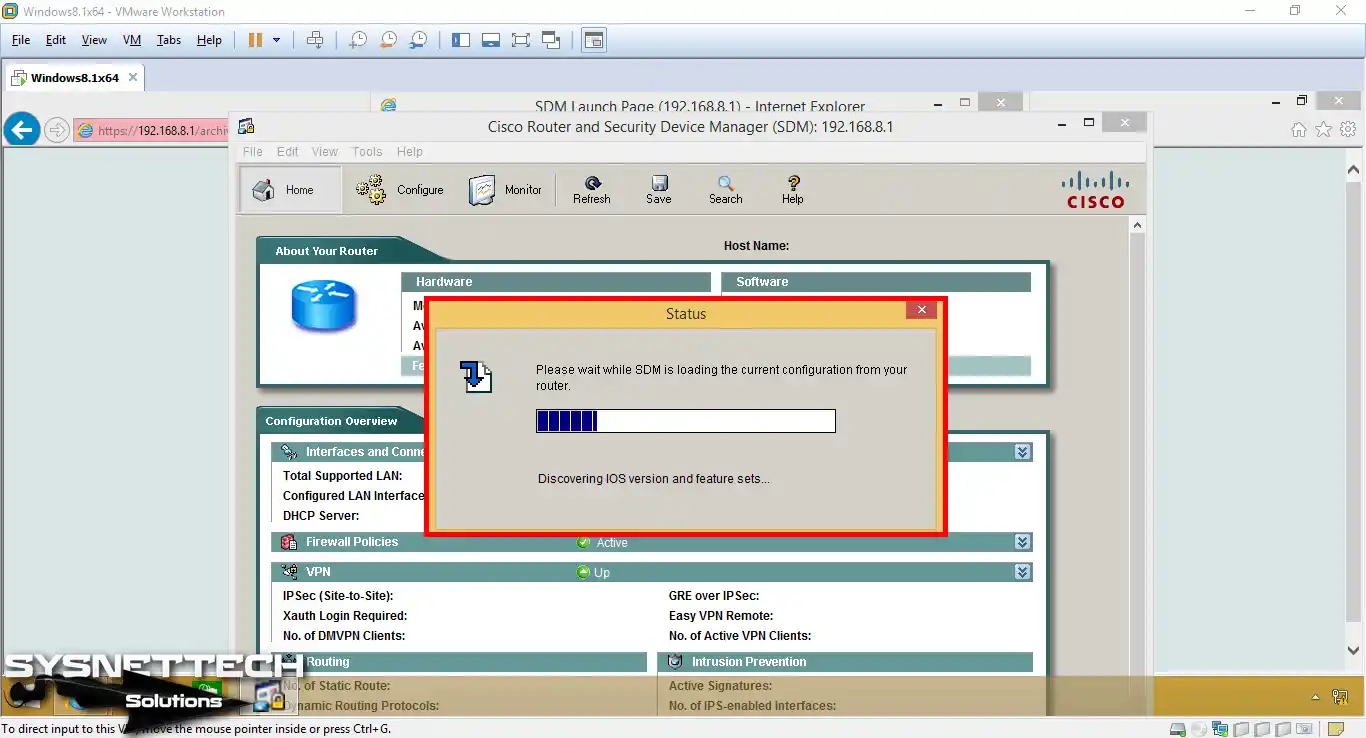
Wait while the Cisco Router and Security Device Manager (SDM) opens.
Step 42
It sends the settings of the Cisco Router to the software.
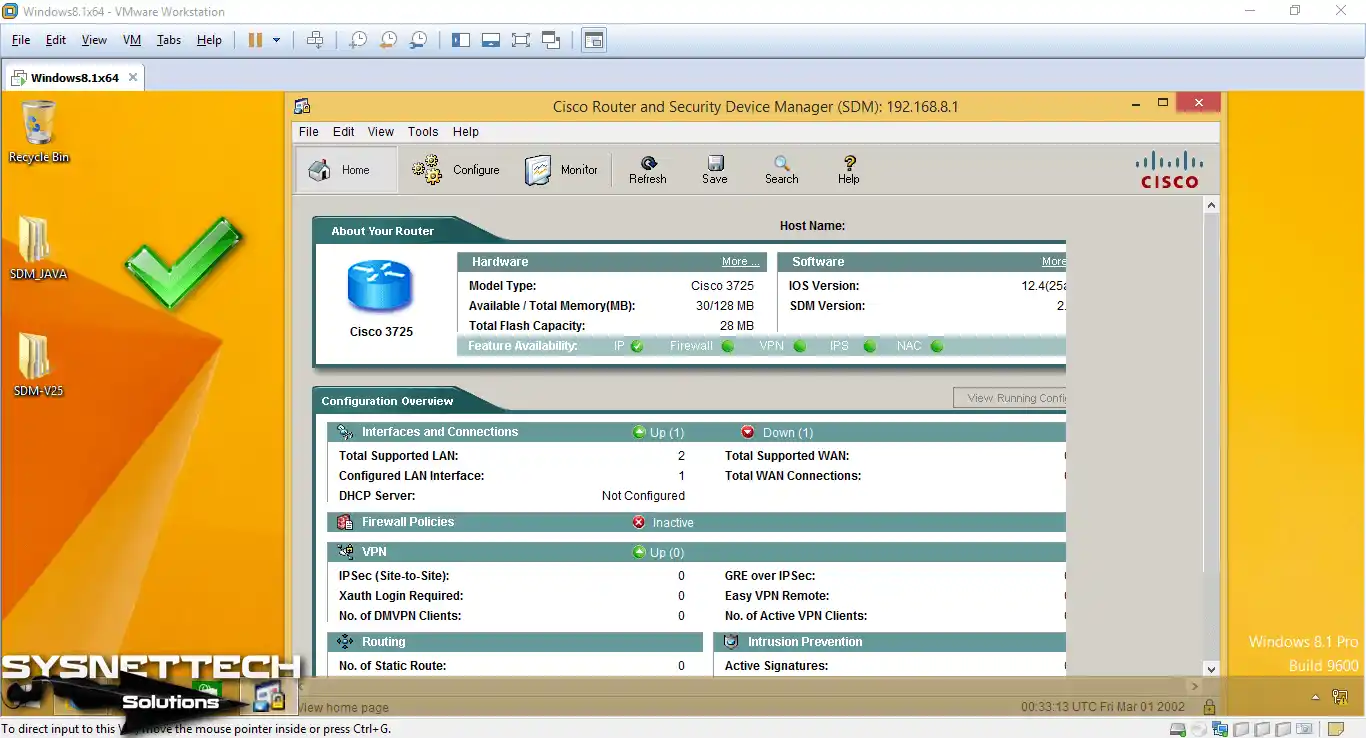
Step 43
You can see that you have successfully installed the SDM software on the Router.
Video
Frequently Asked Questions About Using SDM (FAQ)
- Who uses Cisco SDM?
- What are the benefits of using Security Device Manager?
- What are the system requirements for SDM?
- How do I install SDM?
Conclusion
Nowadays, you can easily manage many Routers or Switches on a web-based basis without using CLI. Please note that you can work with older Cisco models with this software. Thanks for following us!
Related Articles
1) How to Install GNS3
2) How to Integrate the GNS3 VM
3) How to Add L3 Switch to GNS3
4) How to Backup IOS in GNS3
5) How to Add L2 Switch to GNS3

TolgaBagci
Hi, I'm Tolga, a computer expert with 20 years of experience. I help fix computer issues with things like hardware, systems, networks, virtualization, servers, and operating systems. Check out my website for helpful info, and feel free to ask me anything. Keep yourself in the loop about the newest technologies!