This article will examine how to take a Snapshot and restore it to back up a virtual machine you manage in Oracle VM VirtualBox software installed and actively used on a Linux, macOS, or Windows 11 computer.
How to Use Snapshots in Virtual Machines on Oracle VM VirtualBox
You should take a system backup before installing a vital program or performing a critical Windows update on a guest operating system you use on VirtualBox. Reverting your system to its previous state after encountering a critical system error is effortlessly accomplished with the backup you created. This seamless process ensures you can restore your system’s functionality without complications.
For this situation, you can use Snapshot, an excellent feature of Oracle virtualization software. This feature is straightforward; therefore, you can compare it to the System Restore service used in Windows operating systems.
Snapshot creates an exact copy of the virtual machine, handling all its virtual settings, disk, and memory state. It freezes the current state of your virtual system. It allows you to roll back quickly to avoid potential future errors.
As with VirtualBox or other virtualization programs, the main logic of using Snapshot is to reduce the operating system error rate and to take precautions against possible errors.
Snapshot Benefits and Features
- Restore: You can quickly undo any wrong changes or configurations you have made by allowing you to revert to the previous state of your virtual machine.
- Operational Attempts: Allows you to test in a secure environment when you want to create a new system configuration change. Following this approach, you can text the modifications and quickly return to the initial state if any issues arise.
- Batch Work: You can save a particular form of a guest system created for educational purposes and use it for educational or training purposes. For example, in a software development course, you can share the same VM state with all students so they can work together.
- Creating Test Environment: Rather than the hassle of setting up a new virtual machine to experiment with novel software, you can preserve the current state and seamlessly revert to it once you’ve completed your software exploration. You can get a clean starting point and use your resources more efficiently in any testing phase you do.
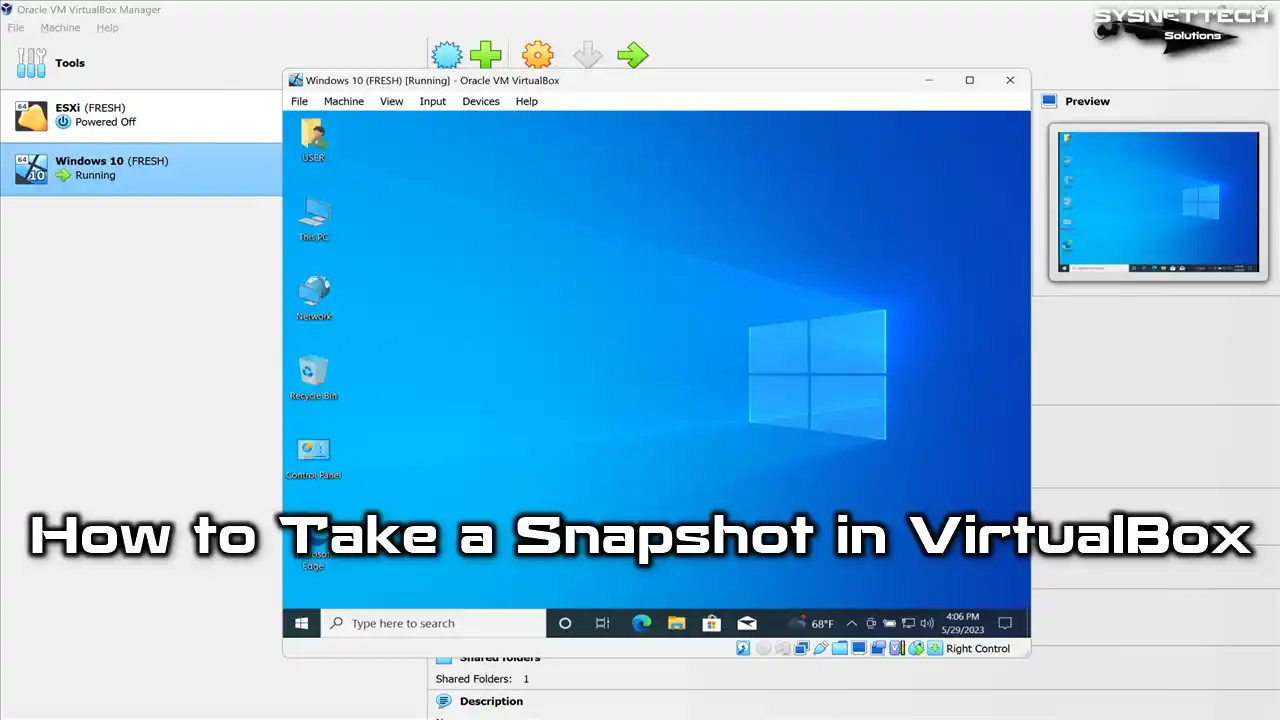
How to Take a New Snapshot
Taking a snapshot backup for your virtual machine is a relatively straightforward process. To create a backup of your specific VM, follow these steps. You can then restore the backup whenever you need to.
Step 1
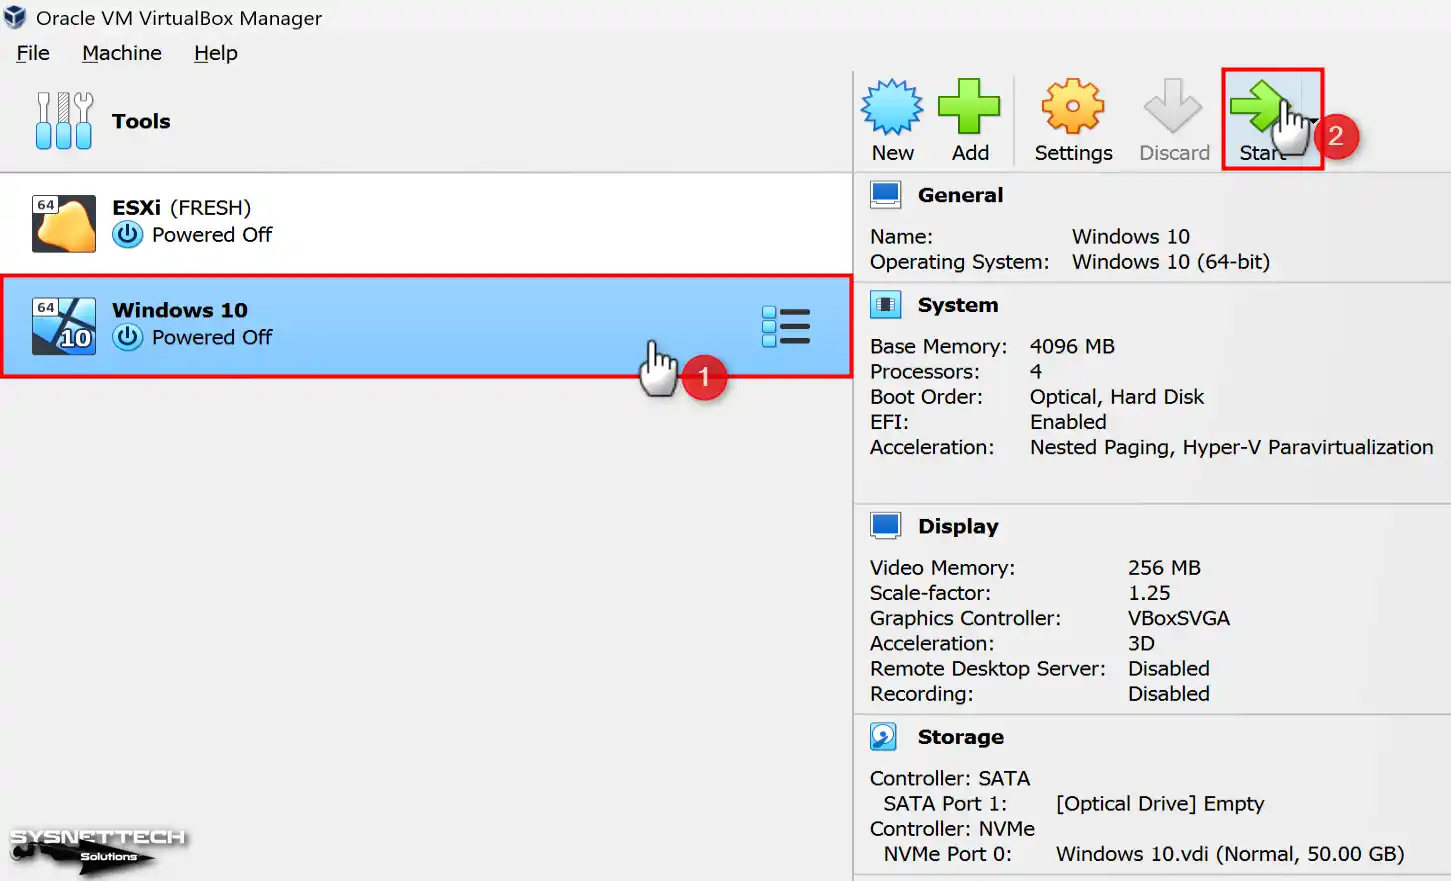
Open the Oracle VM VirtualBox virtualization software and run the virtual computer you want to create a complete system copy.
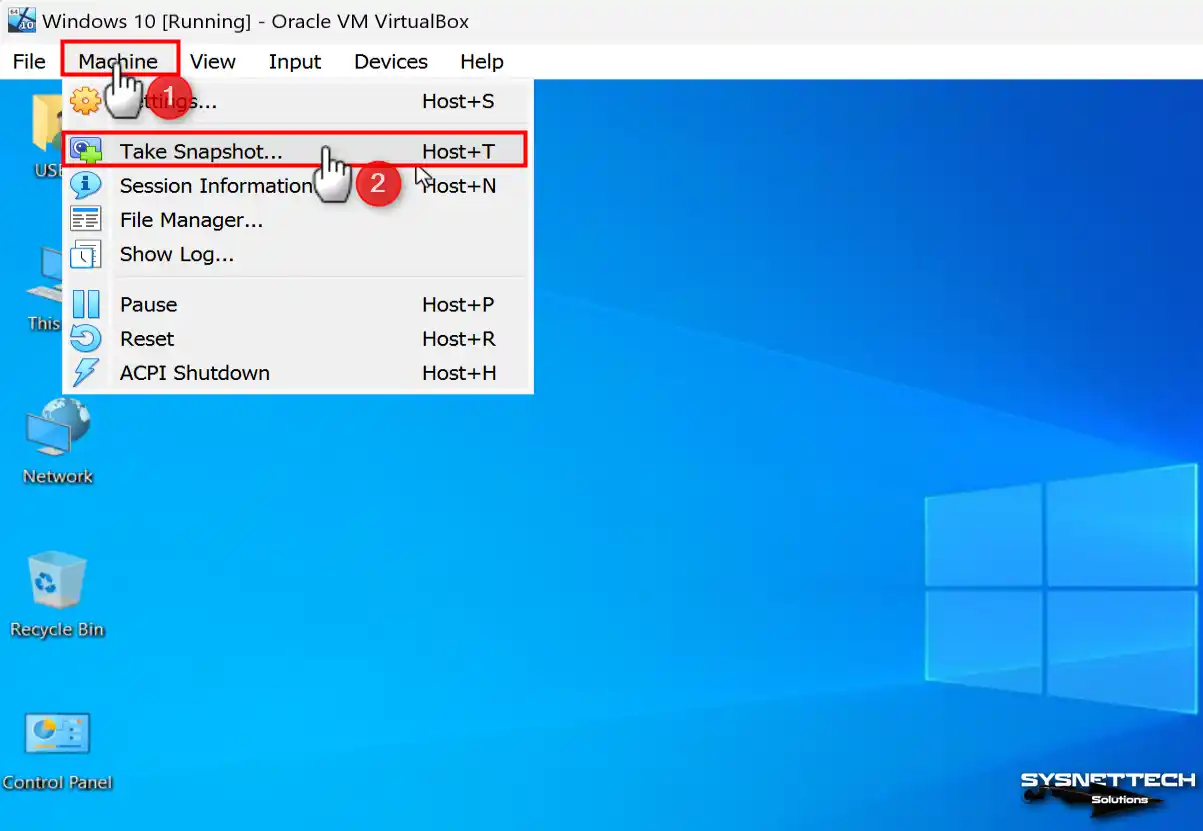
Step 2
Regardless of your operating system platform, you can take snapshots of any guest machine. To do this, click Machine / Take Snapshot from the tool menu of the Oracle software after starting your VM.
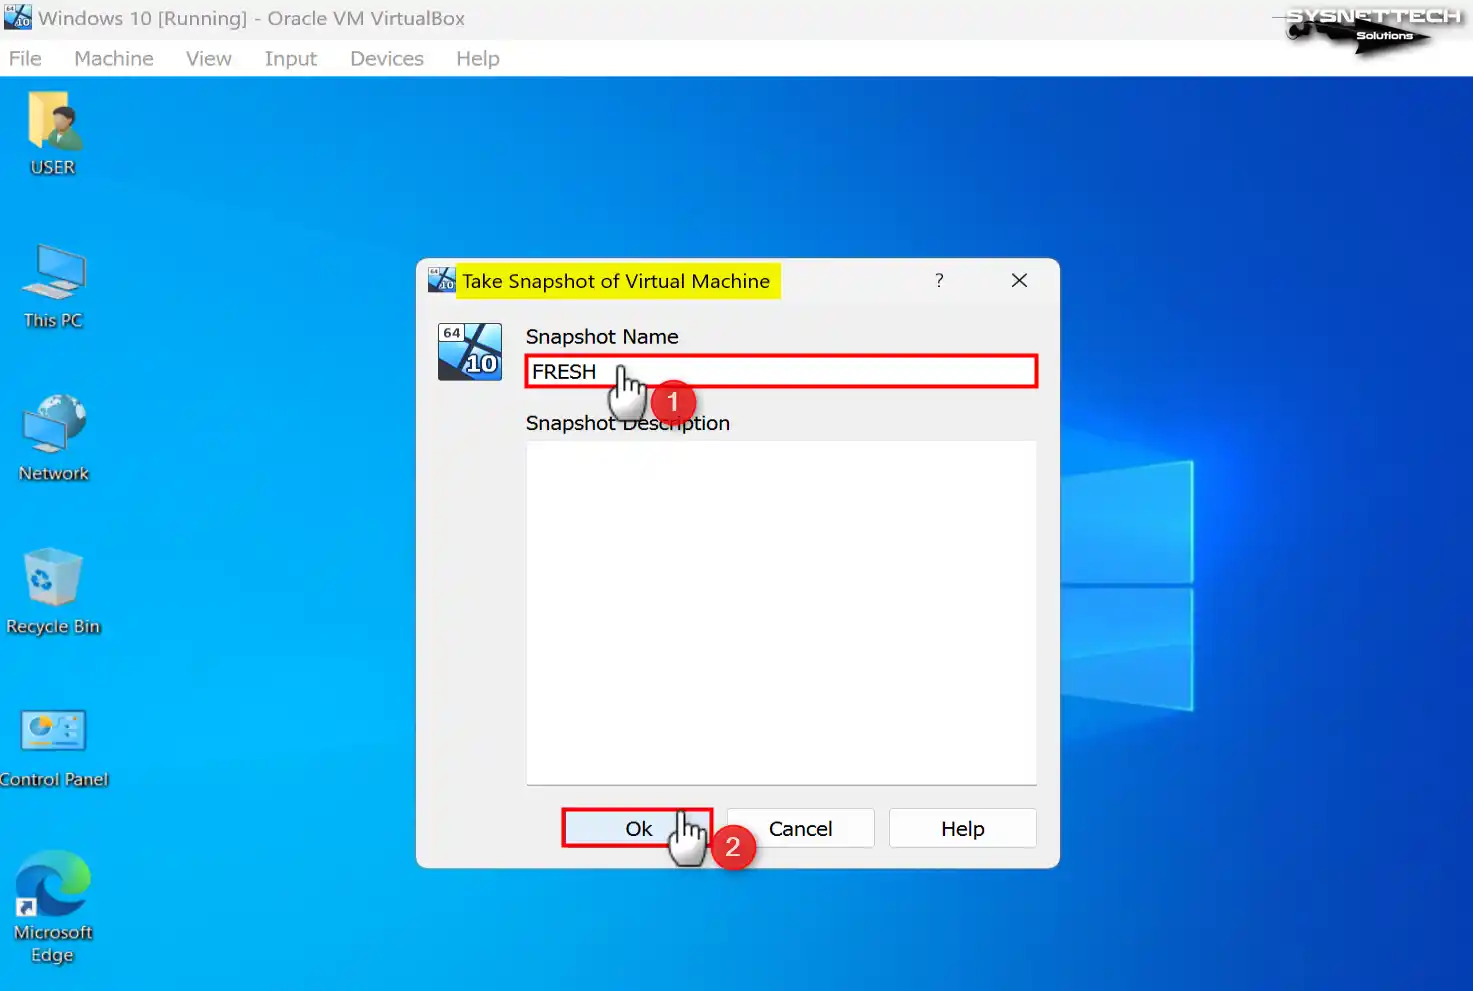
Step 3
Enter a clear description in the Name field for what purpose you will get the full copy of your Windows virtual system. In addition, you can specify what you created a snapshot for or at what stage of the job you are in the Description section. After completing these operations, you can take a backup of the guest machine by clicking the OK button.
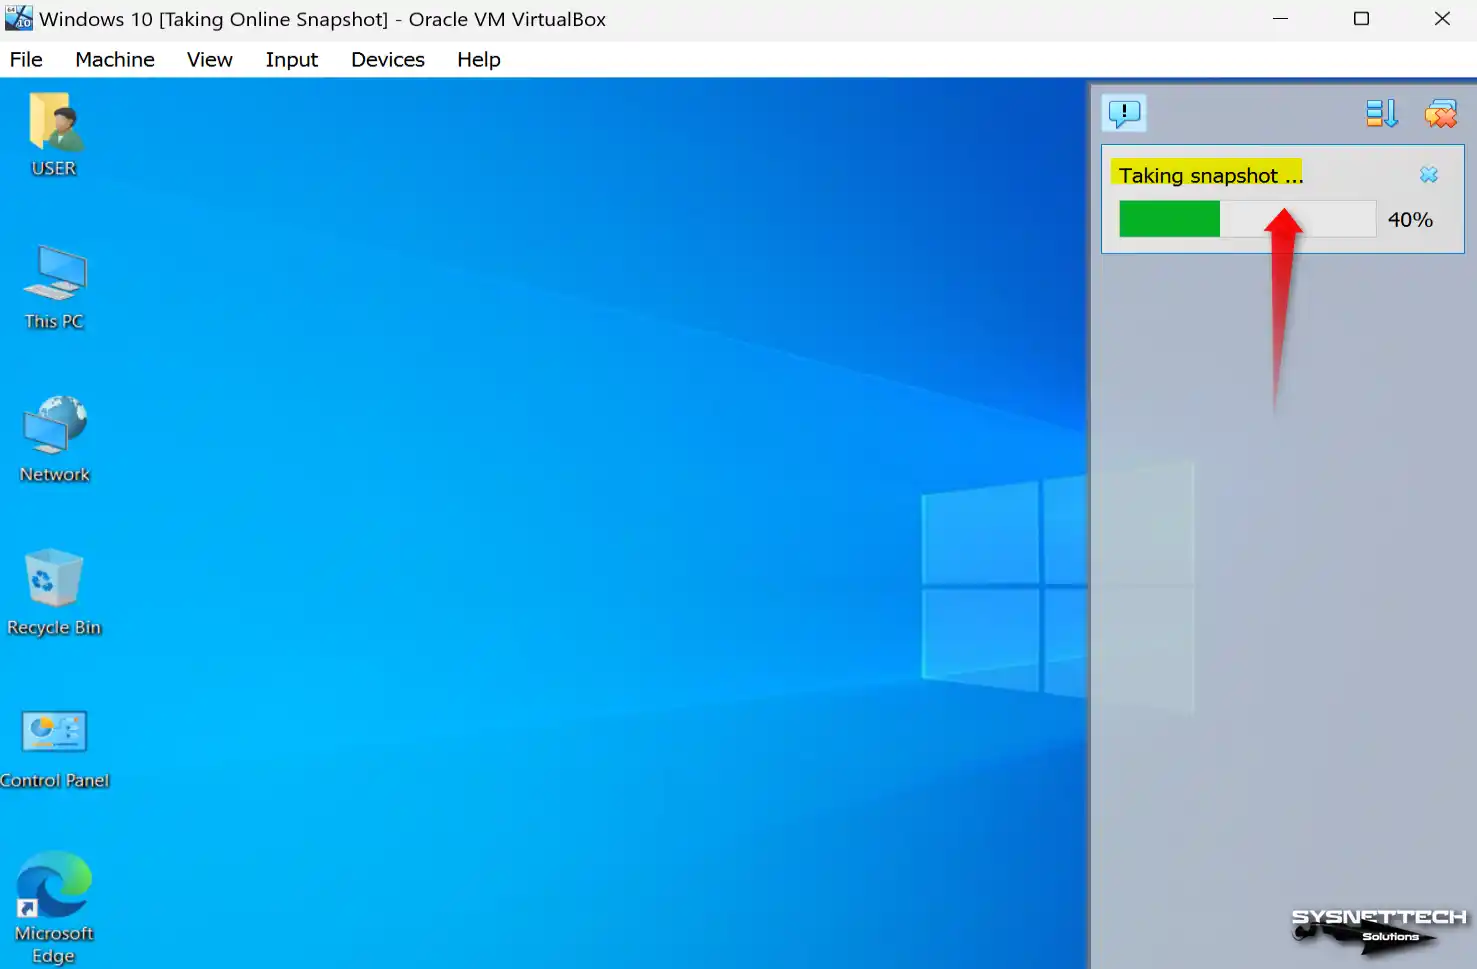
Step 4
Immediately upon clicking the OK button, VirtualBox will initiate the backup process, prompting a window to appear on the right-hand side.
Step 5
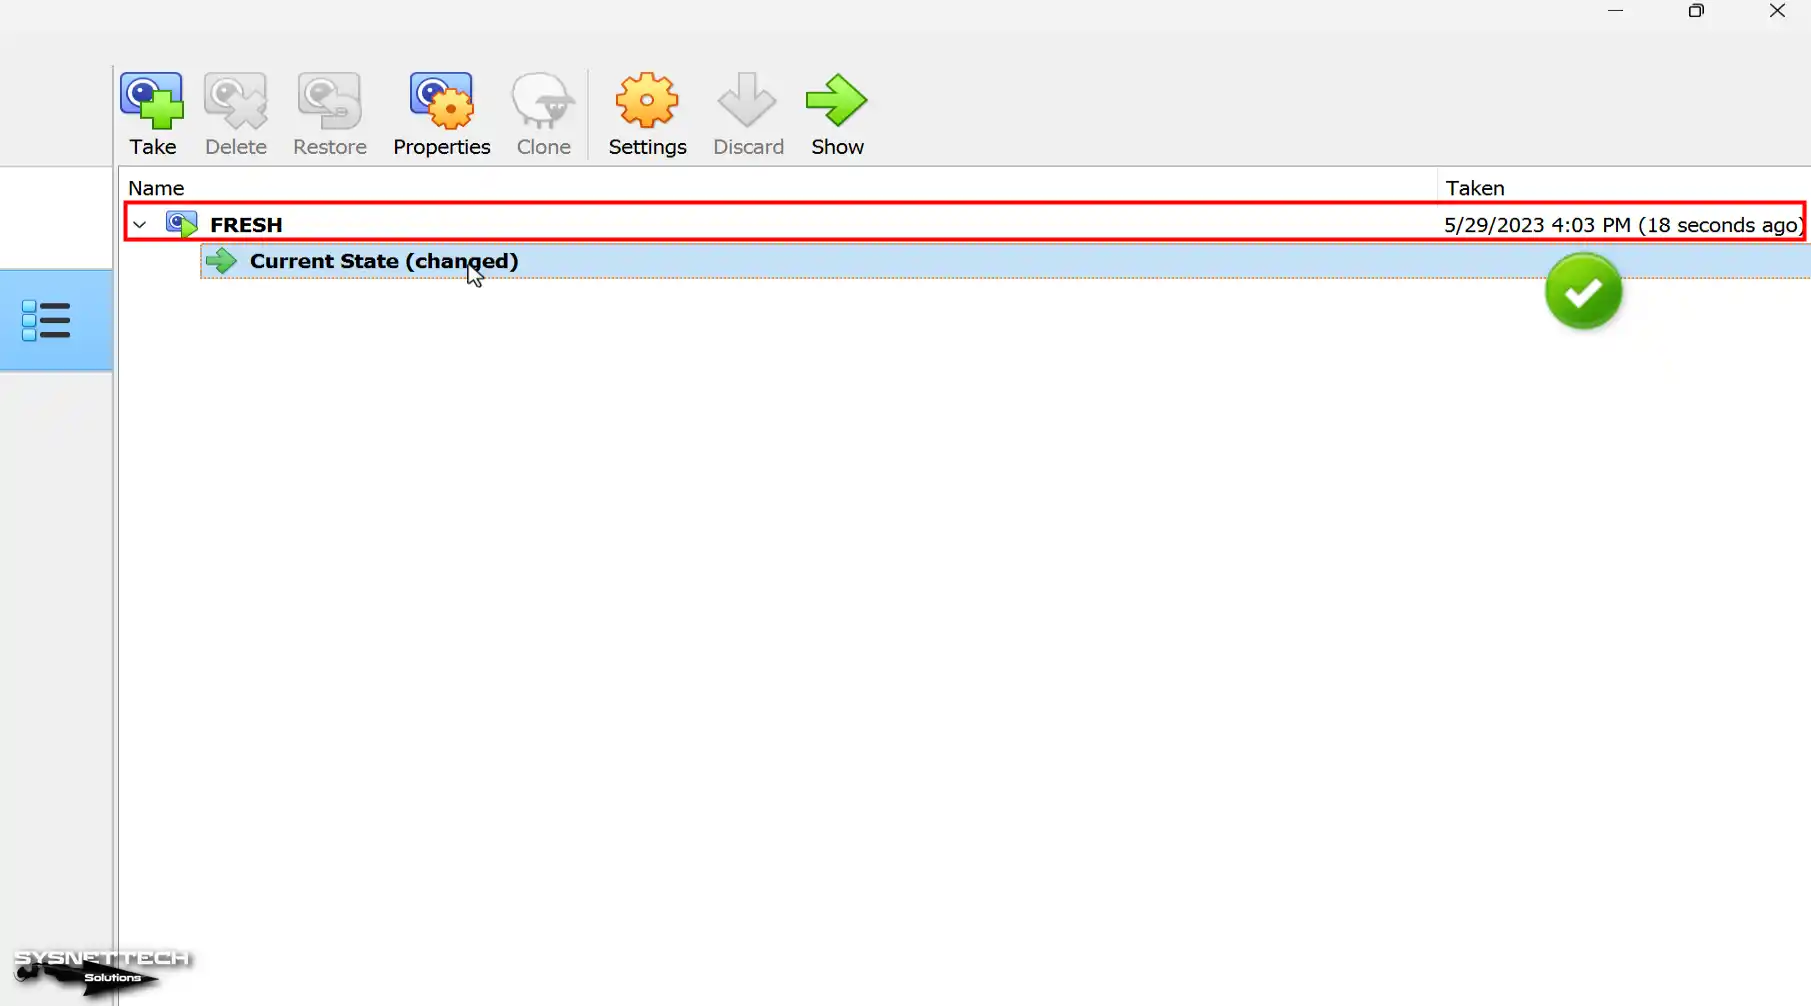
To check the backup you have taken, click the option next to the relevant VM in the virtual machine library and then click Snapshots.
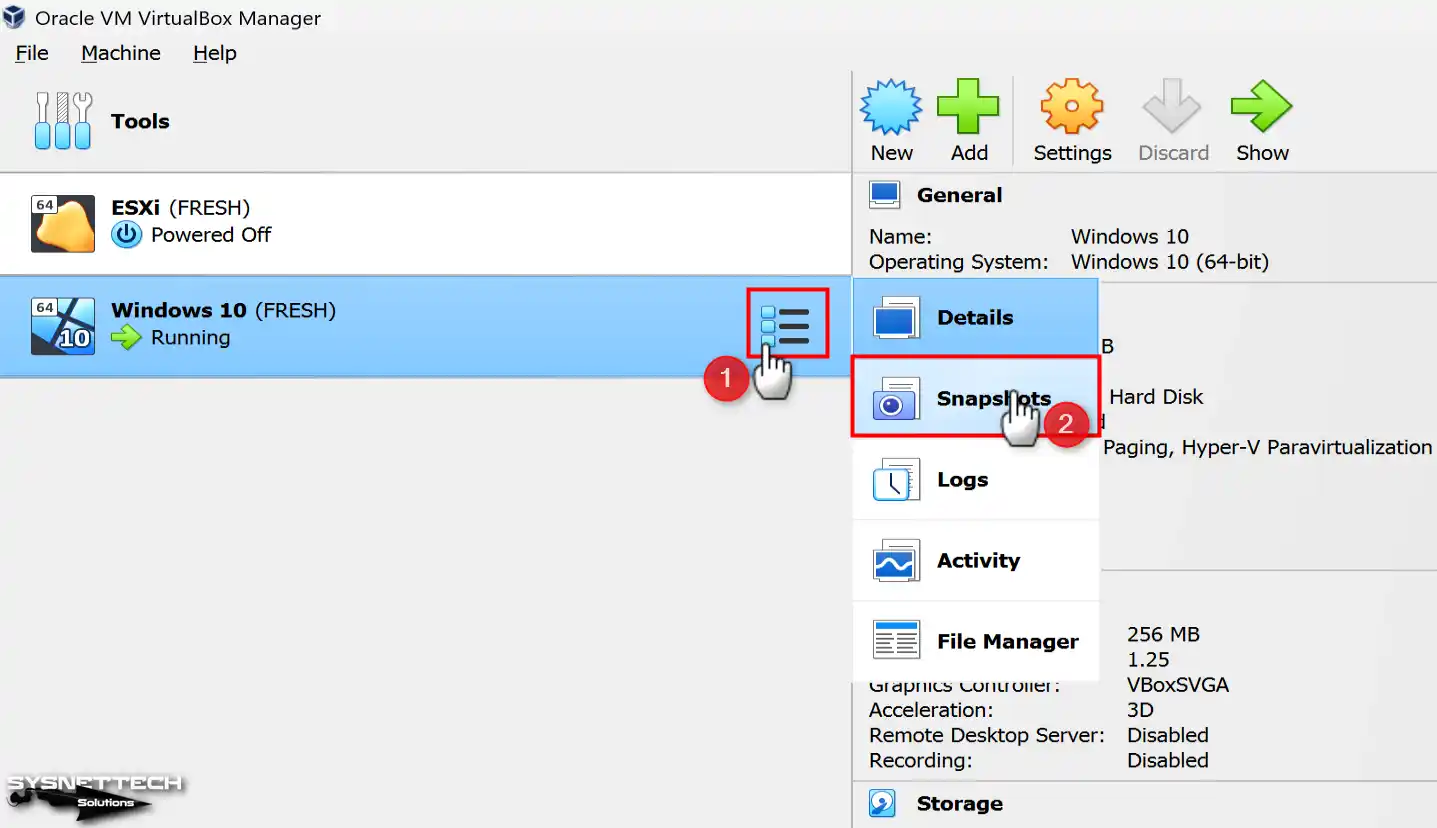
Step 6
In the Snapshots section, you can see the system copy you created and check the date.
How to Restore a Snapshot
After you complete the steps to take a Snapshot on VirtualBox on your host computer, you can start testing the operability of a program on your system, or you can install essential system updates and analyze the changes that occur. Then, instead of undoing all the changes made by removing it, you can quickly load the backup you created and thus have a clean system again.
Step 1
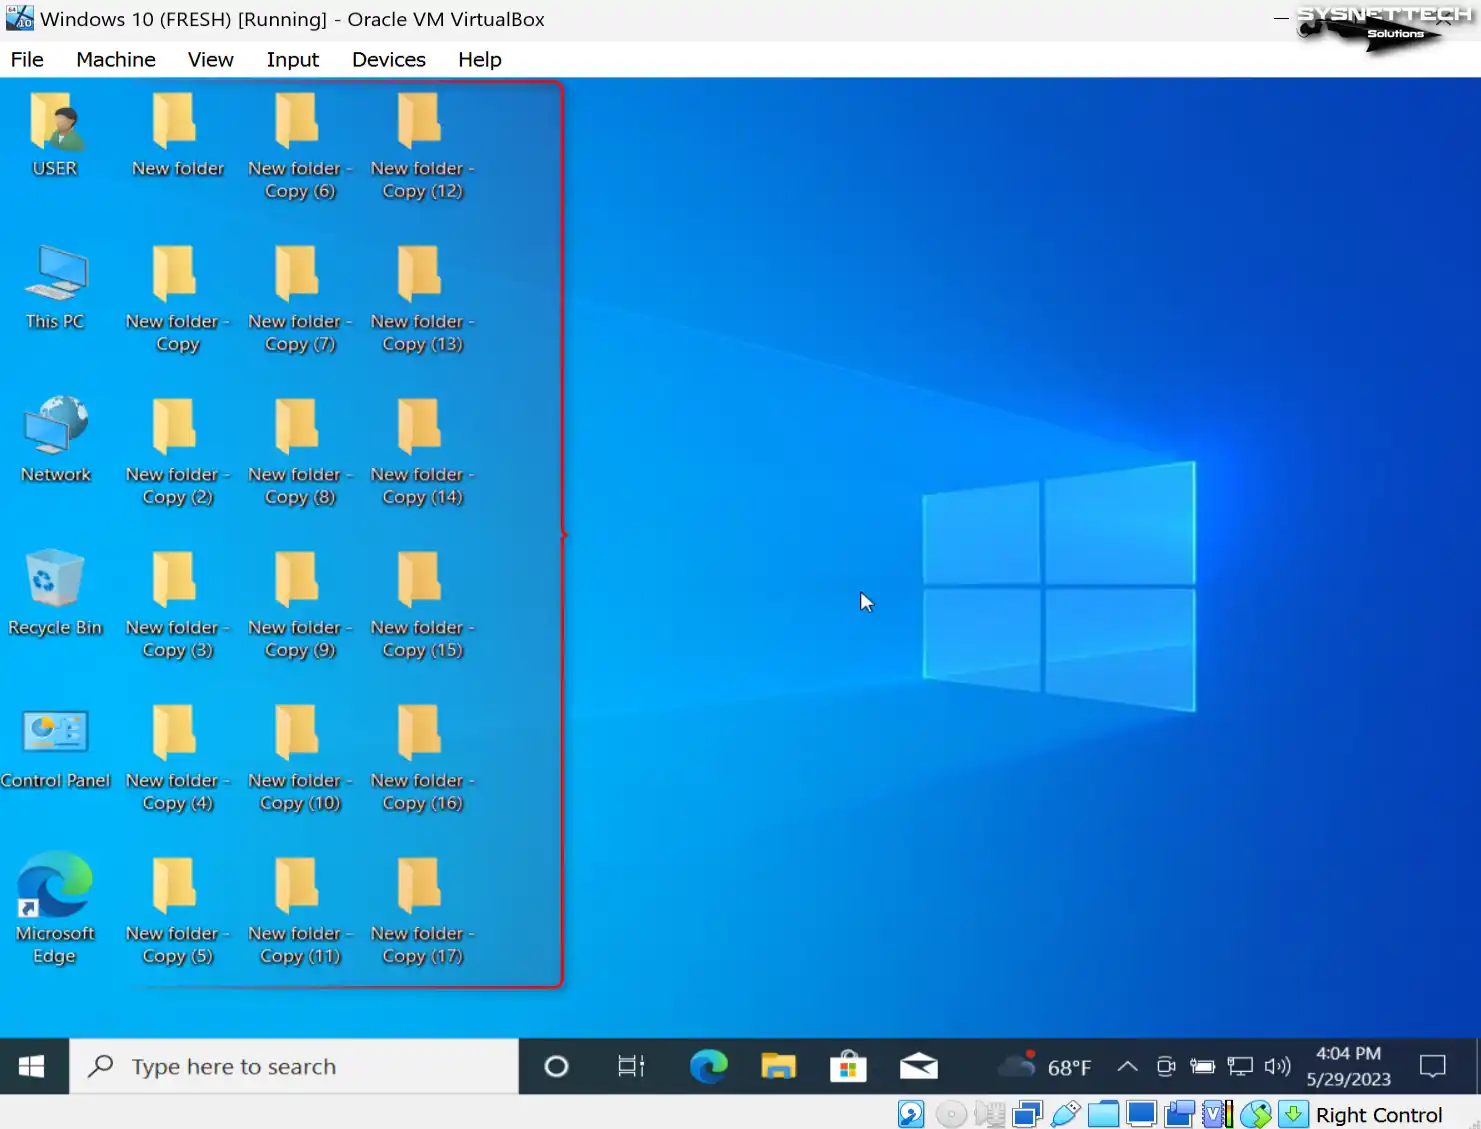
To better understand how Snapshot works, create more than one new folder on the desktop location after the backup you have taken.
Step 2
After all your system changes, turn off your virtual operating system altogether.

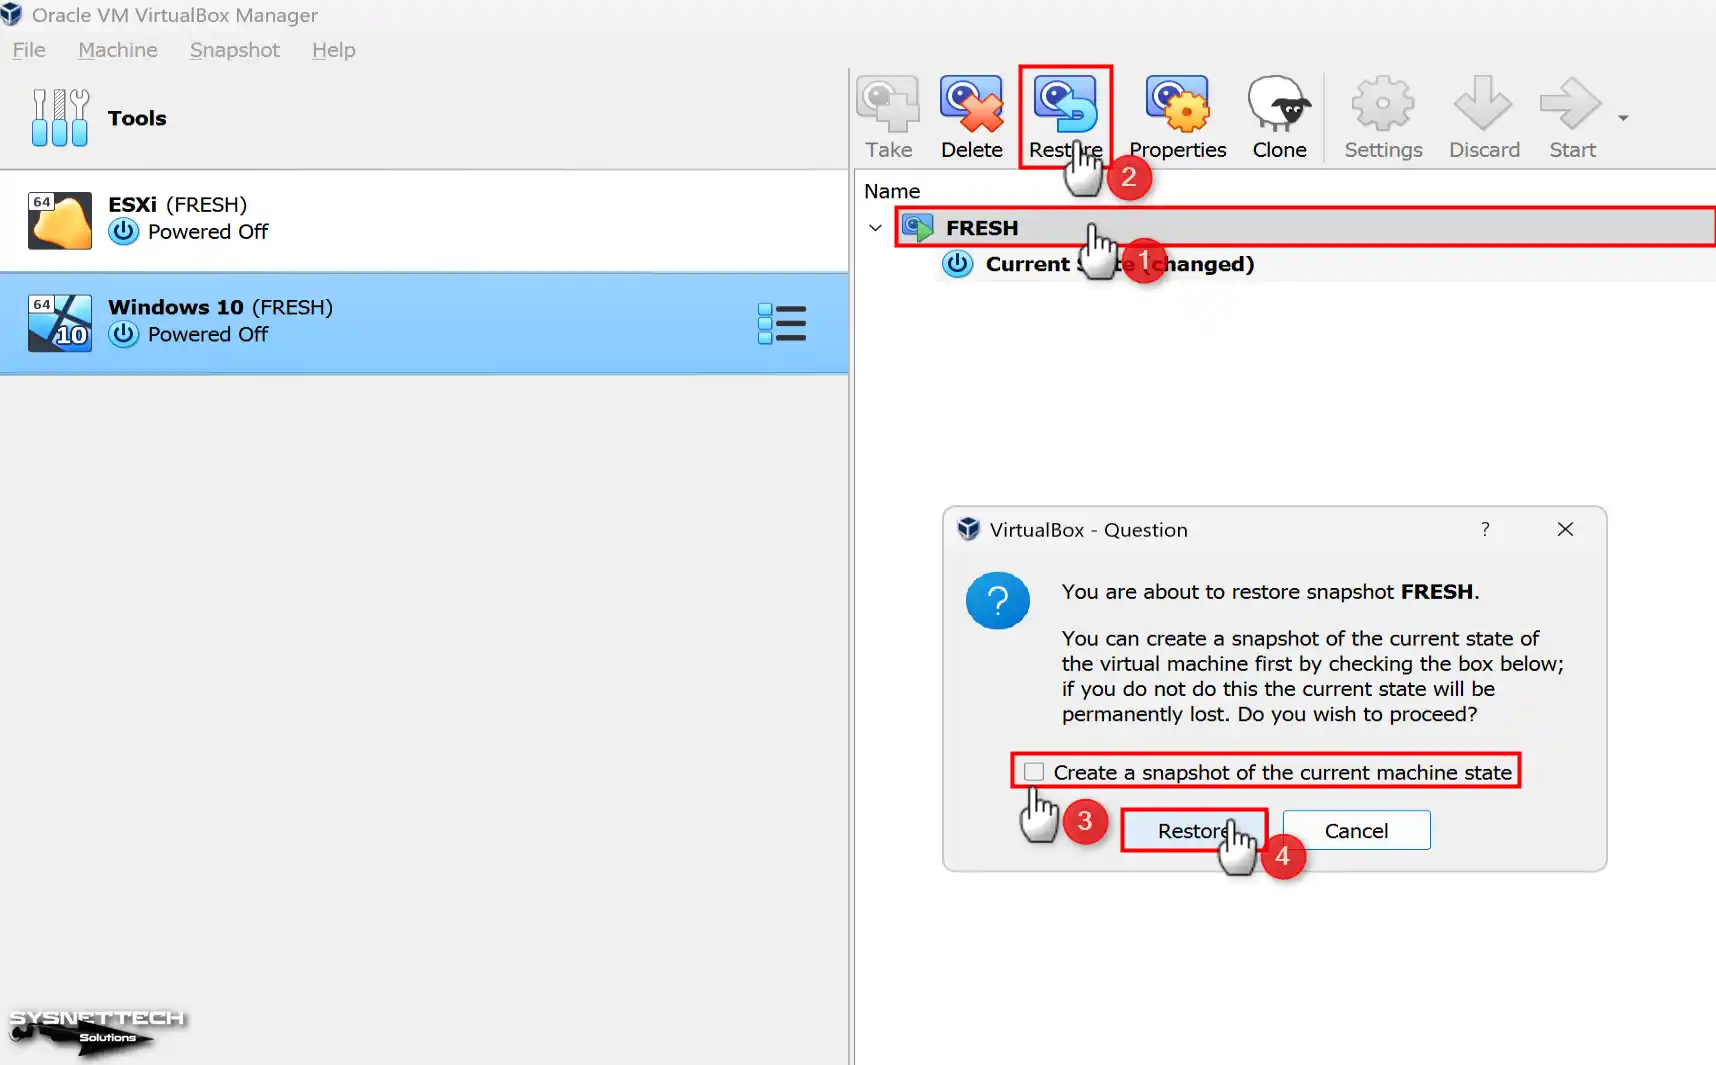
Step 3
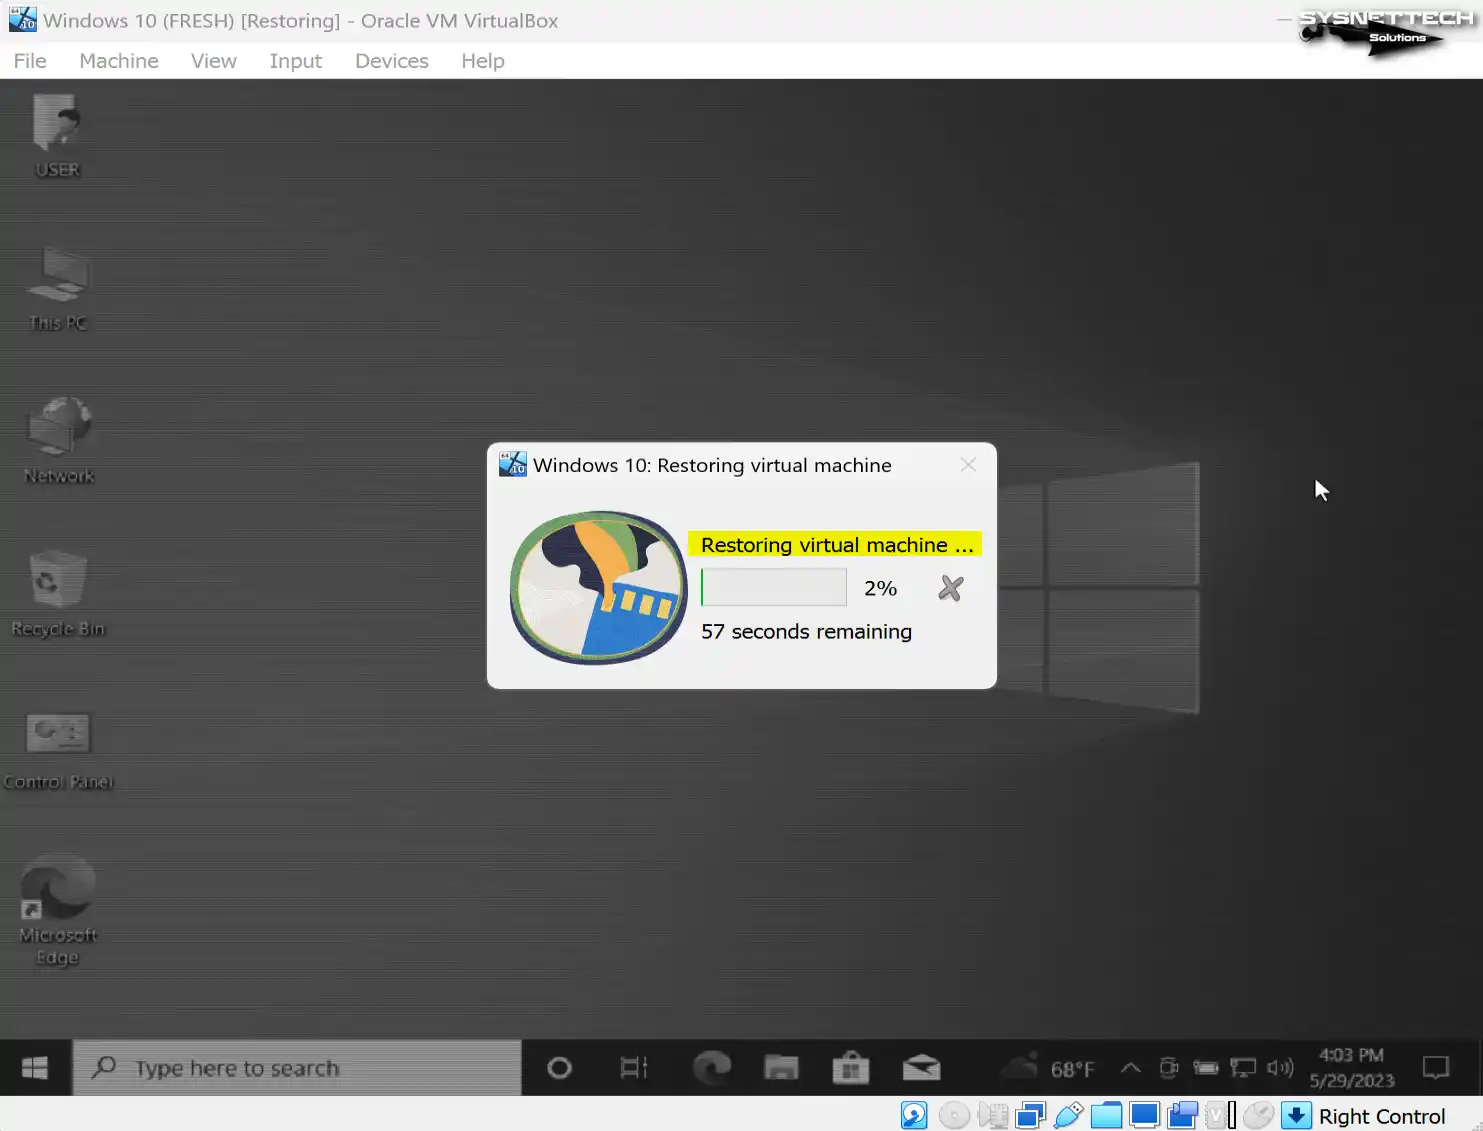
When your virtual machine is powered off, navigate to the Snapshots section and locate the backup you desire to restore. Select the desired backup from there and click “Restore” within the tool menu. Do not mark the relevant checkbox in the Question window and click the Restore button.
Step 4
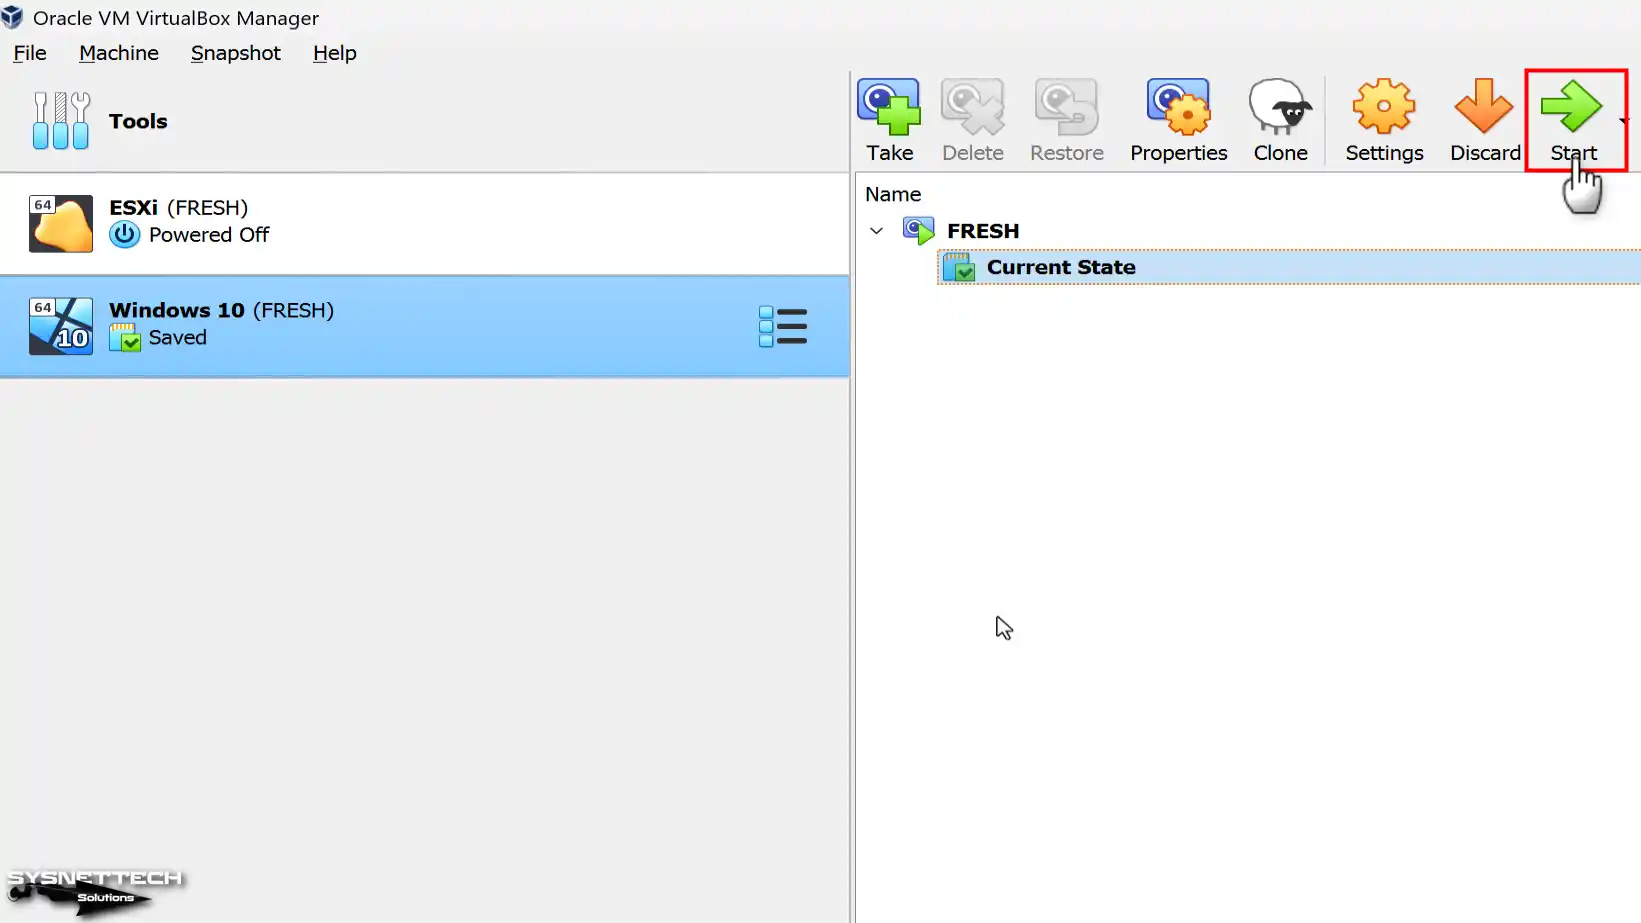
After restoring the first clean state of your virtual system, you can run your VM by clicking the Start button.
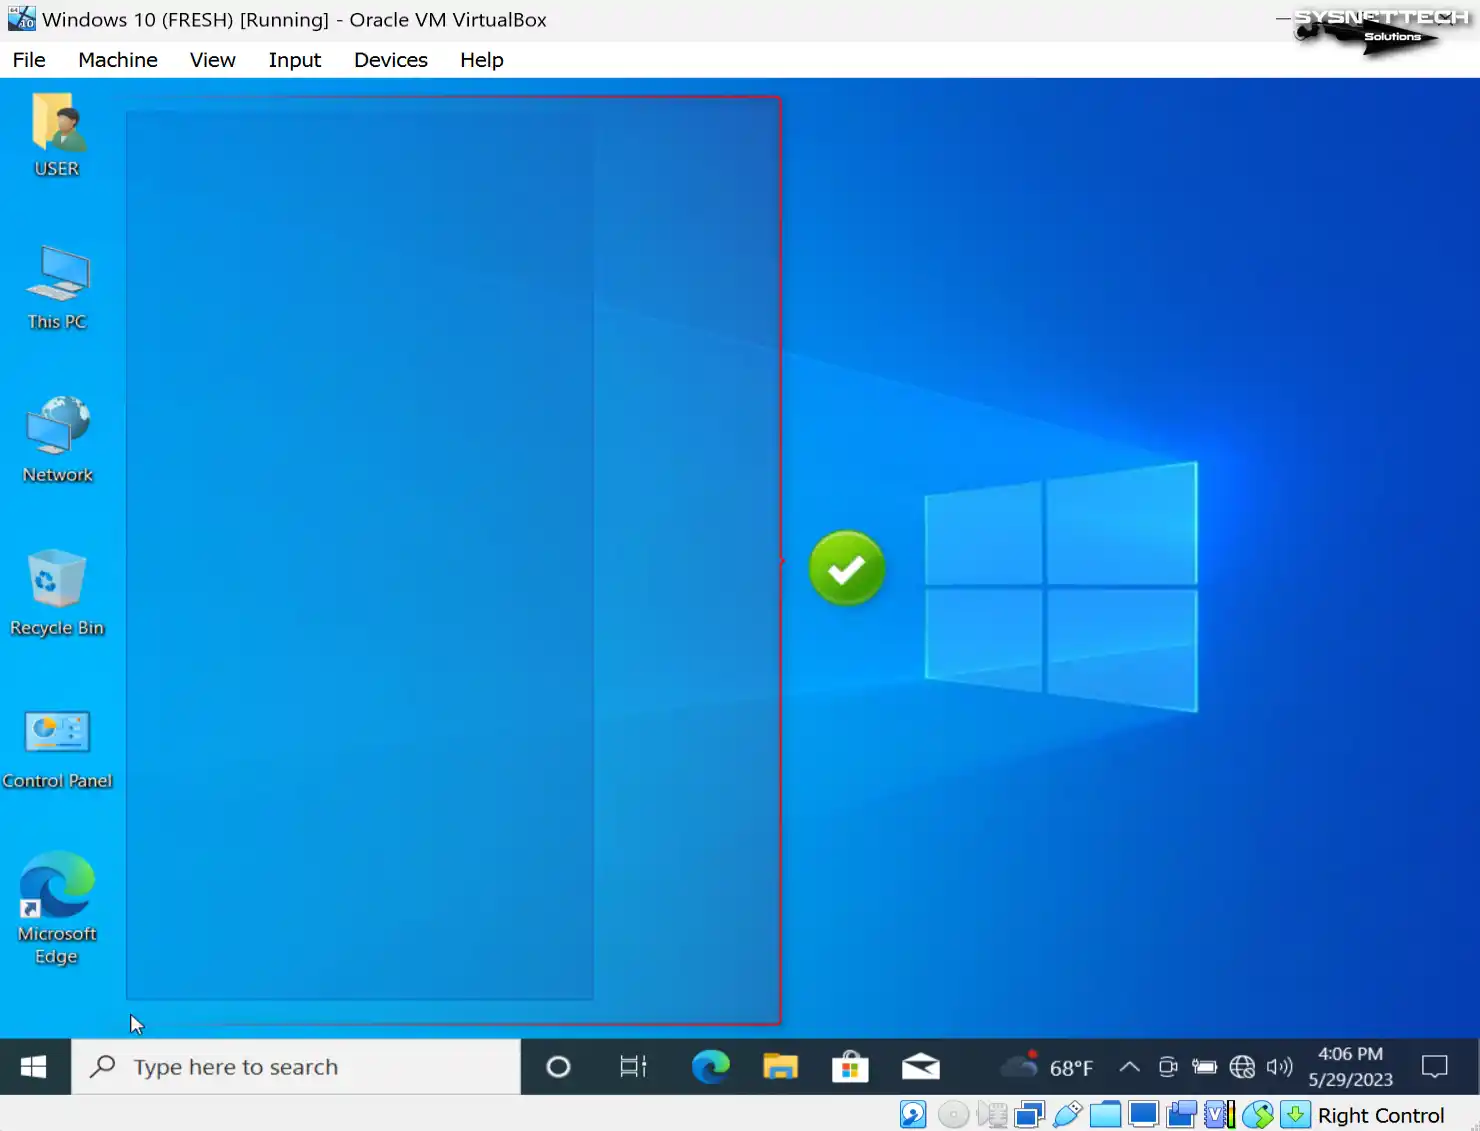
Step 5
During the booting process of your virtual computer, you will notice that VirtualBox’s main screen prominently displays the successful restoration of your system to its previous state. This visual indication confirms that the restoration process has been completed, reassuring you that your virtual machine has successfully reverted to its last state.
Step 6
You can check that all the new folders you created on the desktop in the previous stages are no longer present, and your system is back to the initial clean install stage.
Video
Related Articles
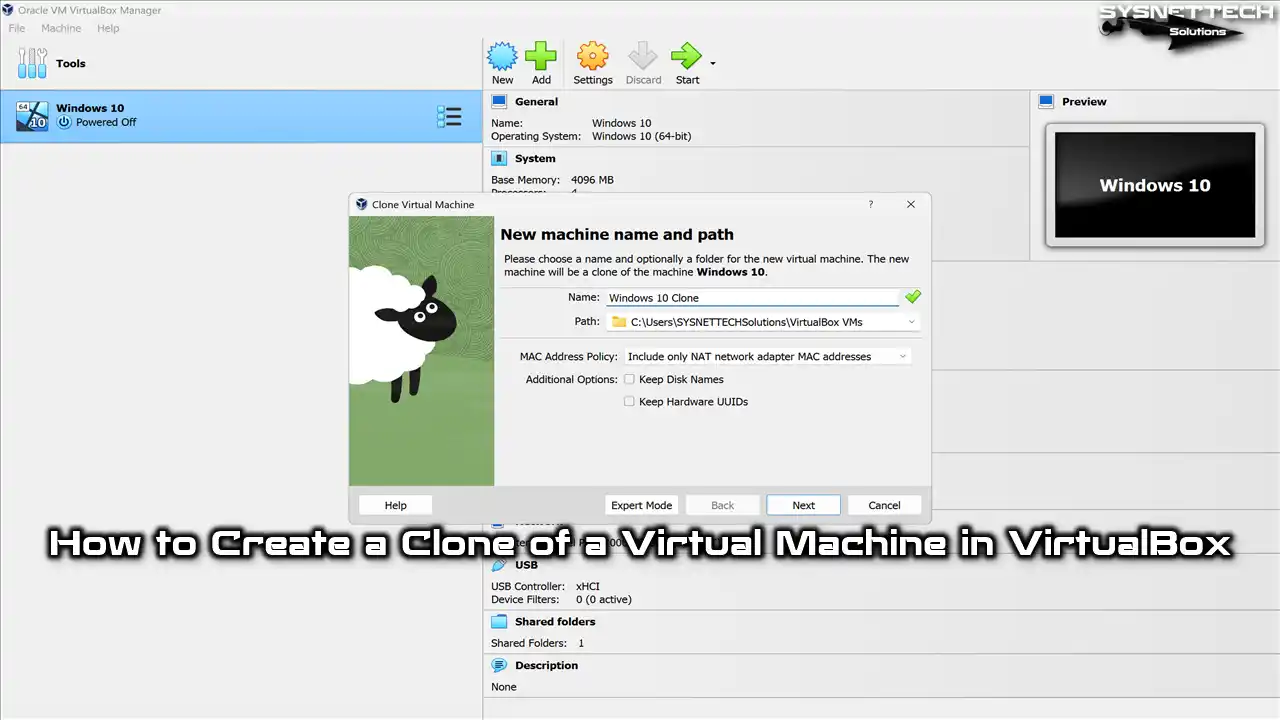
♦ How to Clone Virtual Machine on VirtualBox
♦ Re-Adding Virtual Machines on VirtualBox
♦ How to Upgrade Oracle VM Software
♦ Installing Windows 7 on VirtualBox
♦ Installing VirtualBox on Ubuntu

TolgaBagci
Hi, I'm Tolga, a computer expert with 20 years of experience. I help fix computer issues with things like hardware, systems, networks, virtualization, servers, and operating systems. Check out my website for helpful info, and feel free to ask me anything. Keep yourself in the loop about the newest technologies!