
Removing software like VMware Workstation Pro/Player from a Linux PC can be hard. Before you start deleting any software, save your work.
This software from VMware helps you create virtual machines. However, you may not need it now, or you may want to try a virtual machine program from another firm.
If you use Linux or you are new to Linux, removing VMware software from your PC is easy. Still, sometimes removing it can be hard. There is no need to stress. When you use Ubuntu, Debian, Linux Mint, Kali Linux, or openSUSE, we have a guide for you.

What Are the Reasons to Uninstall VMware Software from Linux Distros?
Before you start removing VMware from your Linux system, let’s discuss why you may want to remove it. If you use Ubuntu or another Debian-based system, you may not need this software now.
For example, if you want to use other software in place of VMware, we suggest you remove it. Removing it frees space on your PC. As a result, your system runs with fewer issues, and your PC performs better.
Also, VMware is a strong tool. It uses a large part of your PC’s power to run many virtual machines at once. If you notice your Linux system struggling with VMware Workstation, removing the software gives your PC more resources.
Plus, you may worry about security. Even though VMware is solid and safe, you may be concerned about the safety of your virtual machines or your hypervisor. So you may think about removing it. In this case, you can choose VMware or software from another firm.
Another reason to remove VMware Workstation Pro/Player from your Linux PC is cost. You must pay for the Pro version of this promising software. However, the Player version is free for personal use. If you think the Pro version lacks enough features or feels too expensive, you should remove it.
Prep Work Before You Remove It
Make sure you do some simple preparation so all goes well. This way, you can keep your current settings and keep your system stable.
- Back Up Your Virtual Machines
First of all, it is essential to back up the virtual machines you set up and run. If you plan to use this software again later, you may need these backups. All the settings and configurations you made take time. So you do not have to create guest machines repeatedly.
For these reasons, making copies of your virtual machines saves you time. This way, it helps you keep your data safe and prevents data loss when you remove the software.
Also, you can save your VMs directly from Workstation Pro. Or you can copy the folder where you set up the virtual machines to a separate disk.
- Export Custom Network Configurations
If you set up network settings, make sure you save them before you remove the software. These may include network adapters, IP addresses, or virtual cards that are unique to your setup. Then you can use these network settings again later if you want.
- Save Your License Keys
If you bought a VMware Workstation license, make sure you keep your license key in a safe place. When you remove the software, you will remove all key data, including license details. Keeping your license key helps you easily reactivate Workstation Pro at any time. It is also a good idea to keep this license data safe.
Fully Remove VMware Workstation from Linux Systems (Ubuntu, Linux Mint, Kali Linux, Debian, openSUSE, etc.)
Debian-based systems usually come from Debian and use its method to handle packages. Some examples of these systems are Ubuntu, Linux Mint, Kali Linux, and elementary OS.
In this section, we will look at the steps to remove VMware Workstation from different types of Linux systems.
First of all, there are two ways to fully remove VMware from these systems:
- Remove with the VMware Script using the GUI
- Remove using only the Terminal Console
Method 1: Remove with the VMware Workstation Script Using the GUI
If you want to remove VMware or another program on your Linux PC, you can also use the GUI. We will use the Workstation Script as Method 1. During the removal, you must also delete the virtual machine settings. When you want to delete these too, you must pay attention to this option in the wizard.
For example, the steps below are for a Linux Mint system. Still, these steps are the same for other derived distros. On the Mint desktop, it is vital that you run a clean software removal process.
There is a small but key difference; old package dependencies can slow down the system. I advise you to review our guide on building a Linux Mint virtualization environment from scratch at this stage.
If you use Ubuntu, Mint, Debian, Kali, or SUSE, run these commands in the terminal. This way, you remove VMware.
Steps:
Step 1
Go to the Start menu and type ‘VMware’ in the search box to see if it is on your system.

You can also use the command below in the terminal to learn which VMware products are on your PC.
vmware-installer --list-products
Step 2
If you are sure Workstation Pro is on your system, open the terminal. On Ubuntu or other systems, you can do this by pressing Ctrl+T. The shortcut may differ on some systems, but the idea is the same.
Now copy the command below, paste it into the terminal, and then press Enter.
sudo vmware-installer -u vmware-workstation

NOTE: At this point, the removal tool may not show on screen on some Linux systems. Some parts may be missing. Or this situation can occur if you use a newer version of VMware. If the screen does not appear, you can continue your task by answering the questions that come up in the terminal.
Step 3
When you start the VMware removal wizard, you will see a question about your settings on the first screen. Here, select Yes or No to remove or keep these configurations.
Now select the No option as shown below to delete all configurations. If you plan to install this program on your system again later, select Yes.
Since you will fully delete it, select No to discard the configurations, and then click Next.

Finish the Removal and Verify It
Step 1
Wait for the wizard to remove VMware Workstation. This process is the same on Ubuntu, Mint, Kali, or Debian.

Step 2
You will see the “Uninstallation was successful” message on the wizard screen. In this case, click the Close button to close the alert window.

Step 3
Type ‘VMware’ in the Start menu again and check whether you still see the software. This way, you can verify that you fully removed the Workstation software from your system.
After you fully delete the software from your Ubuntu system, you can make a clean start. In addition, you must never leave broken kernel modules behind. After you refresh the operating system, I suggest you proceed with our Ubuntu hypervisor install steps.

Method 2: Check the VMware Install with the Terminal and Stop Services
You can use the terminal instead of the PC screen. In this case, there is another way to remove VMware software, and that is to use the terminal.
As you know, people often use terminal commands on Linux. If you are new to this, do not forget to back up your system. When you use Linux in a VM, you can take a snapshot and export it. Still, in this case, whether you back up is fully your choice.
But if you experience data loss, you cannot go back. To avoid risk, I suggest you use virtual machine clone methods for a full backup.
Use these terminal instructions to remove VMware from Ubuntu, Mint, Debian, Kali, or SUSE.
Steps:
Step 1
To start removing the program, you first need to open the terminal. You can do this by pressing ‘Ctrl+T’ or ‘Ctrl+Alt+T’ on your keyboard. Or you can open the Application Launcher and find ‘Terminal’.
Step 2
Now let’s check whether VMware Workstation is installed on your Linux PC using the terminal. In short, you can do this task in a few different ways:
On Debian/Ubuntu/Mint/Kali systems, use the command below:
dpkg -l | grep vmware
On Red Hat / CentOS / openSUSE systems, use this:
rpm -qa | grep vmware
In addition to the other instructions, you can also use the ‘which VMware‘ command. Also, you can see where it is installed by using these commands. You can also check the version.
ls /usr/bin | grep vmwarels /usr/sbin | grep vmwarevmware --version
Step 3
Before you start removing it, we suggest you stop all its services. The reason is that a service that runs in the background can cause issues during removal.
Now type the command below in the terminal to stop VMware and the USB services:
sudo /etc/init.d/vmware stopsudo service vmware-USBArbitrator stop
This command turns off all VMware Workstation and USB services on your operating system.
After that, use the command below to make sure you stopped all active services.
sudo systemctl status vmware
Method 3: Remove and Clean Up VMware Workstation with the Terminal
Step 1
You stopped all VMware services. Now use the commands below to continue with the removal. You can also use the package manager that comes with your Linux system. Keep in mind that the commands may be different for various distributions.
Use the command below to see which products are already there.
vmware-installer --list-products
After that, run the command below to remove VMware Workstation Pro from your Linux PC.
sudo vmware-installer -u vmware-workstationsudo vmware-installer -u vmware-player

The expanded version of the command above is as follows:
sudo /usr/bin/vmware-installer --uninstall-product=vmware-workstationsudo /usr/bin/vmware-installer --uninstall-product=vmware-player
Step 2
After you remove VMware, make sure you delete the configuration files. These files stay on your PC when you use the program. Use this command in the terminal to clean up the configuration files related to VMware.
sudo rm -rf /etc/vmware*sudo rm -rf /usr/lib/vmware*sudo rm -rf /usr/share/doc/*vmwaresudo rm -rf /usr/bin/vmware-usbarbitratorsudo rm -rf /usr/bin/vmnet*sudo rm -rf /usr/bin/vmware*sudo rm -rf /usr/share/applications/vmware*
When you use these commands, you will delete the ‘vmware’ folder and everything in it.
Step 3
Use the command below to clean up what remains of the program and free disk space:
sudo apt-get autoremove
This command deletes the extra packages tied to Workstation that you installed.
Our YouTube Video Tutorials Make Your Removal Task Easier
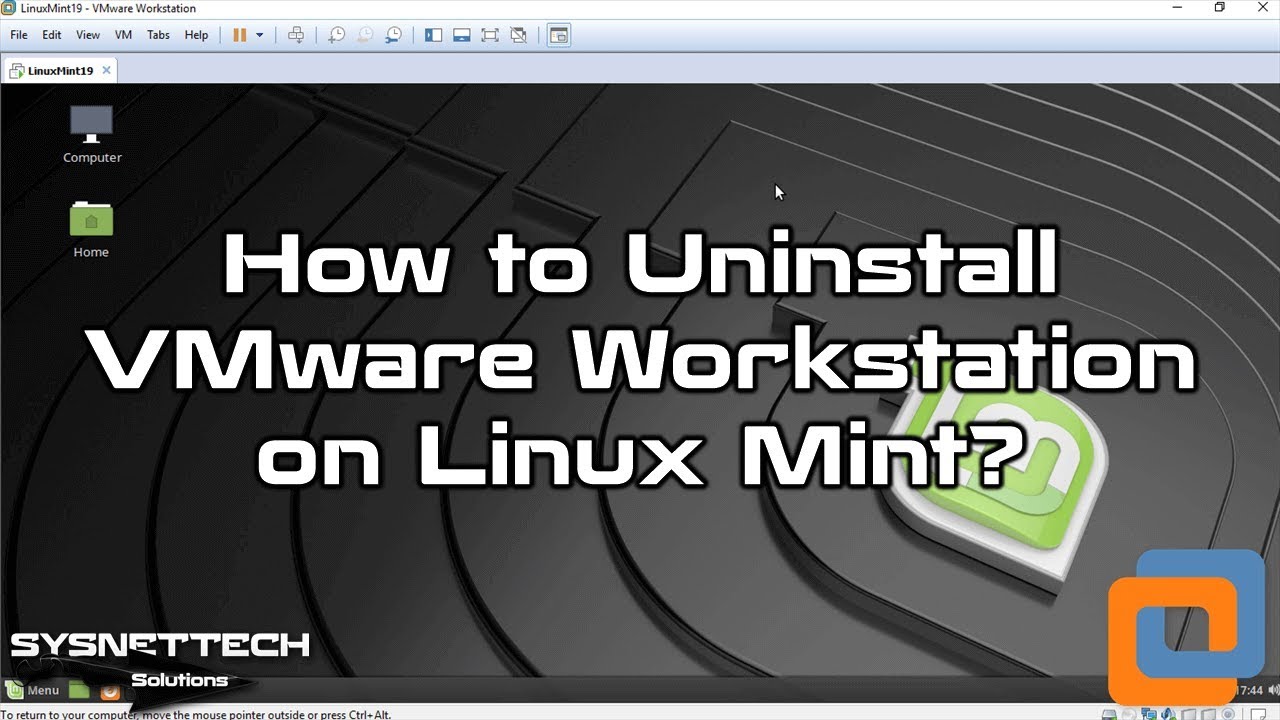
Video 1 (Linux Mint)
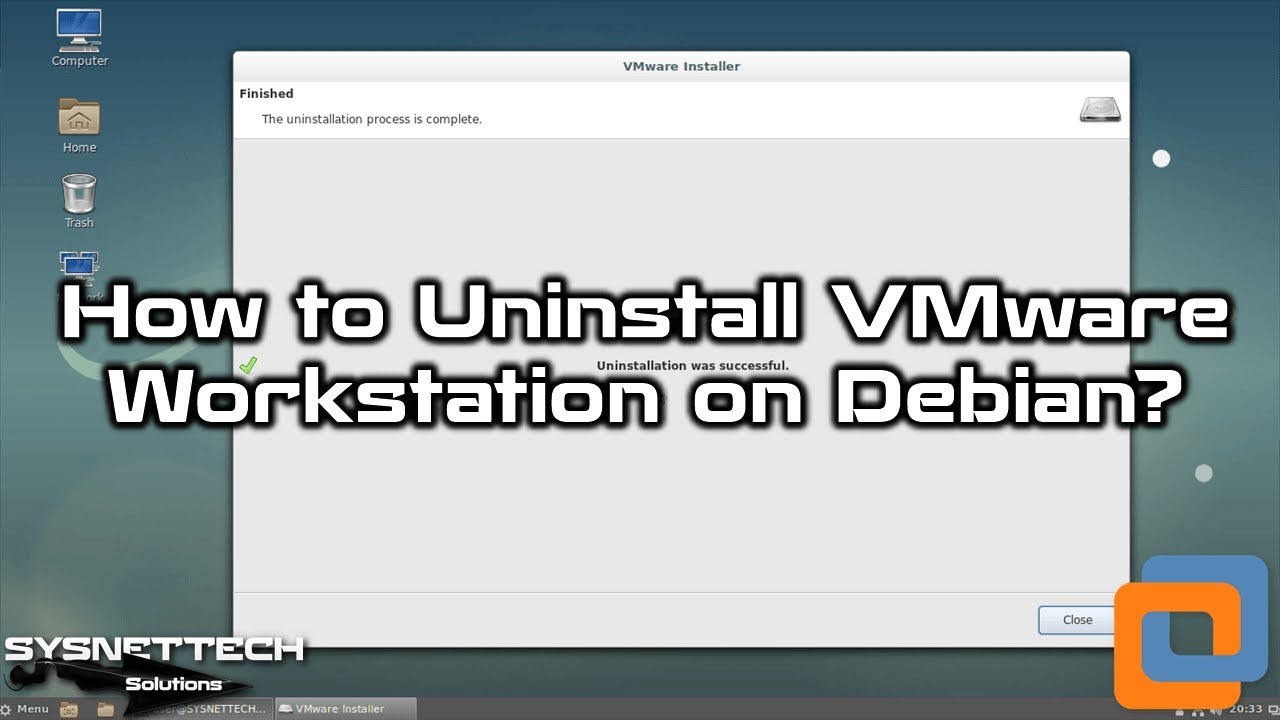
Video 2 (Debian)
After you clean the system, I advise you to use our guide on installing Workstation on a Debian system. Preparing the needed kernel headers in advance will save you at least 20 minutes. This way, you can bring up the virtualization layer in a smooth way with no conflict.
FAQ About the Linux VMware Uninstall Process
How do I remove VMware Workstation on Linux through the terminal?
vmware-installer --list-products. If you see Workstation Pro in the output, run the removal command: sudo vmware-installer -u vmware-workstation.sudo vmware-installer -u vmware-player. After the command, search for VMware in the menu again; if it does not show, the removal is complete.Is there a difference between the removal commands for VMware Player and Pro versions?
sudo vmware-installer -u vmware-workstation. For Player, run the command sudo vmware-installer -u vmware-player./usr/bin/vmware-installer; if you cannot find it, try the full path.How do I fix the “there are running virtual machines” error during removal?
sudo /etc/init.d/vmware stop and sudo service vmware-USBArbitrator stop.systemctl status vmware command shows any service left. If a process still exists, find the PID with ps aux | grep vmware. End that process with the kill command.What should I do if I cannot find the vmware-installer command in the terminal?
/usr/bin/vmware-installer --list-products. Check the PATH value: echo $PATH. But this check alone is not enough; also query the package record.dpkg -l | grep vmware. On an RPM-based system, use rpm -qa | grep vmware. If you did a manual install, list the /usr/bin and /usr/sbin folders. Also, the which vmware command helps you find a trace.How do I fully delete virtual machine software I installed with a .bundle file from the system?
sudo ./VMware-Workstation-Full-*.bundle --uninstall. Also, try the official remover: sudo vmware-installer -u vmware-workstation./etc/vmware*, /usr/lib/vmware*, /usr/bin/vmware*, and /usr/share/applications/vmware*. For user settings, look at the ~/.vmware folder.lsmod | grep vmware. Do not delete the install file; you need it for removal.How do I clean up leftover files and config settings after I remove VMware?
/etc/vmware*, /usr/lib/vmware*, /usr/share/doc/*vmware, /usr/bin/vmware*, /usr/bin/vmnet*, and /usr/share/applications/vmware*. For example, the /etc/vmware folder may hold license and network settings. Clean these files with sudo rm -rf commands.~/.vmware and ~/.config/vmware folders. For network leftovers, check the /etc/vmnet* files. Finally, run sudo apt-get autoremove.Can I remove the program on Ubuntu or Linux Mint using a graphical interface?
sudo vmware-installer -u vmware-workstation in the terminal. For Player, type -u vmware-player. When the wizard asks about settings, pick No.Do the network bridge (vmnet) and kernel modules stay on the system after removal?
lsmod | grep vmnet. If a module is loaded, remove it with sudo modprobe -r vmnet. So you may need to clean by hand./etc/vmnet* and /usr/bin/vmnet* files. Also look at network files left under /usr/lib/vmware*. A kernel update does not bring back old modules.depmod -a and update-initramfs -u. These commands refresh the module cache. After a restart, check the lsmod output again. These leftovers can conflict with new virtualization software.Which directories and services should I check in order during a manual delete?
sudo systemctl stop vmware and sudo /etc/init.d/vmware stop. Then find the processes left with ps aux | grep vmware because open processes block the file delete task./etc/vmware*, /usr/lib/vmware*, /usr/bin/vmware*, /usr/bin/vmnet*, and /usr/share/applications/vmware*. For network files, look at the /etc/vmnet* and /usr/lib/vmnet* directories. As an extra step, clean each path with the rm command.apt autoremove and depmod -a. Before a restart, check the vmware-installer --list-products output. Do not touch the VM folders. This order leaves no leftovers on the system.How do I prevent conflicts when I reinstall after removing the software?
/etc/vmware*, /usr/lib/vmware*, and ~/.vmware folders. Check the kernel modules with lsmod | grep vmware. On top of that, remove any module left with modprobe -r./etc/vmnet* files./usr/bin/vmware-installer --list-products output. An empty output means a clean start. This check helps the new install go on with no issues.Conclusion
The steps to remove VMware software from Linux are simpler than you may think. Still, we suggest you save your VMs before you remove it. Also, do not forget your unique network setups or license keys. Saving these helps prevent possible issues during removal. This practice helps you keep your current settings and keep your system stable.
When you finish the removal steps, you gain a fully clean virtualization base on your system. Looking at the full picture, you will see the great ease of getting rid of leftover files. For your cybersecurity work, I suggest you use our guide on setting up virtualization on Kali Linux.

Be the first to share your comment