
Installing WordPress CMS on a localhost is a must for developers and enthusiasts. WP helps you build and test websites without needing a live server. Moreover, it allows you to explore WordPress features, themes, and plugins.
You can also develop your site securely and privately. In this guide, I will show you how to install WordPress on Windows 11 & 10 with WampServer. Plus, I will cover installing software and configuring your localhost environment.
How to Install WordPress in Windows 10 & 11 Localhost
Before you start installing the WordPress CMS system, you need to install WampServer.
To avoid common problems when installing WampServer, we will install the IIS (Internet Information Services) service in the Windows operating system and then stop this service.
Steps:
To set up WordPress on localhost using WampServer, follow the steps below.
Step 1
To open the Run tool, press the Windows + R keys together, type services.msc, and press OK.

Step 2
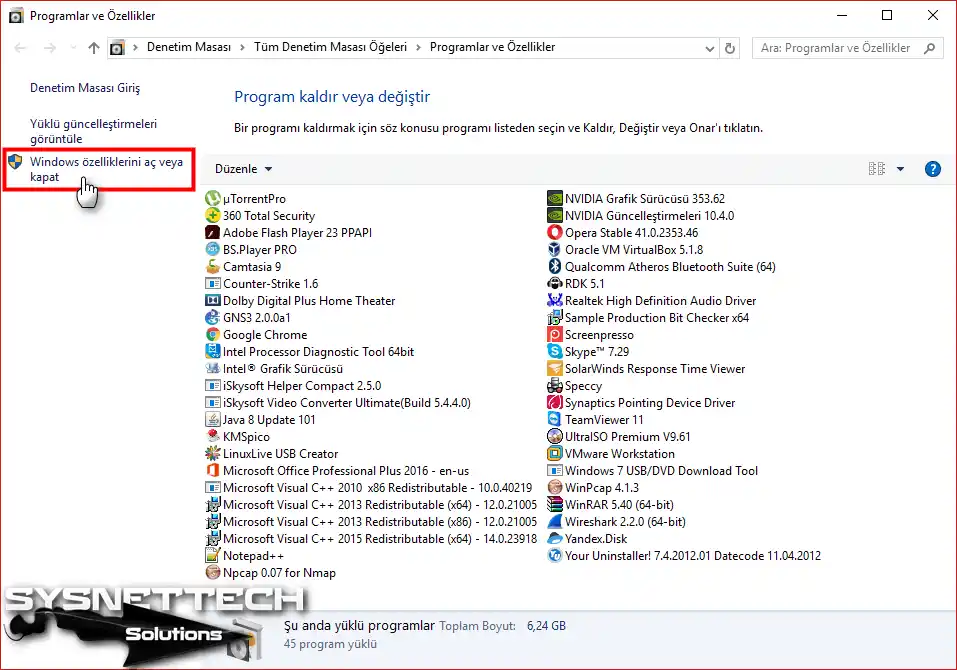
You can examine the IIS (www) service in the Services window from the following image. To install the IIS service, access the Programs and Features option by right-clicking on the start menu.

Step 3
Choose the Programs and Properties window’s Turn Windows features on or off option.
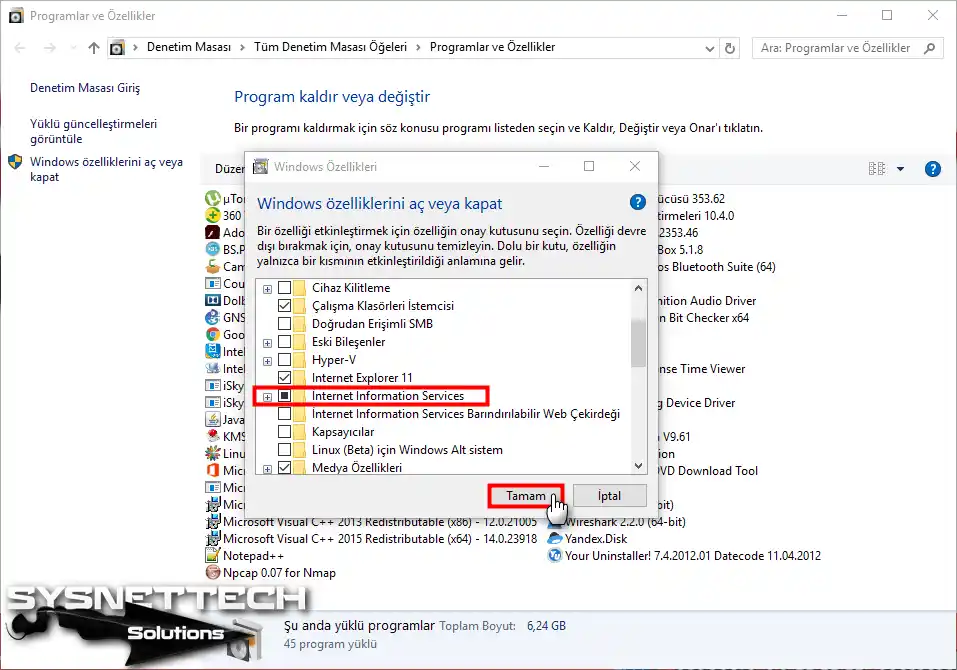
Step 4
In the Windows Properties window, select the Internet Information Services checkbox.

Step 5
After selecting it, start the installation by clicking the OK button.
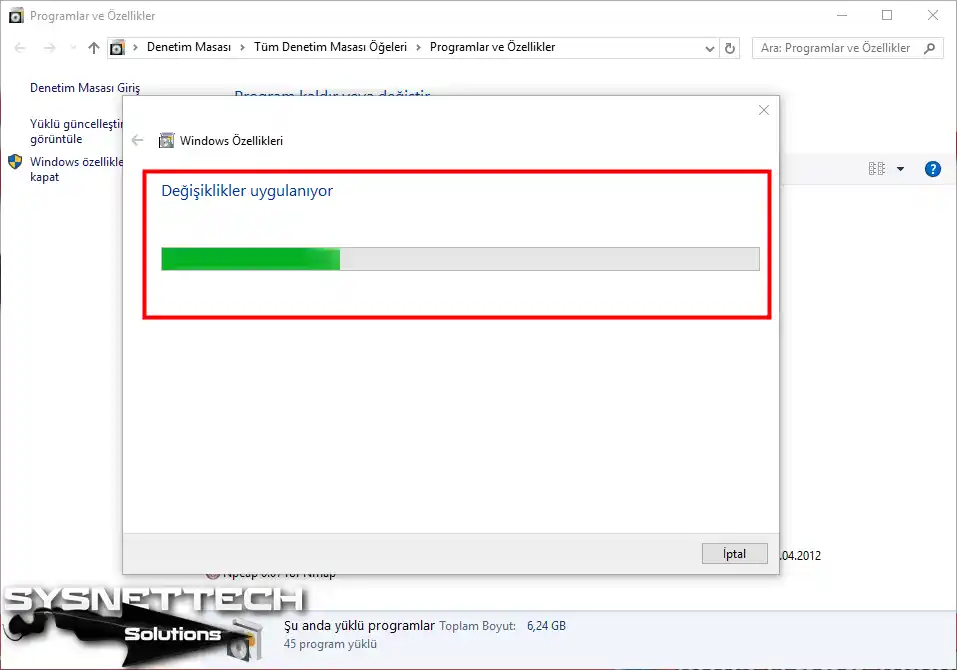
Step 6
Wait while the IIS service installs.
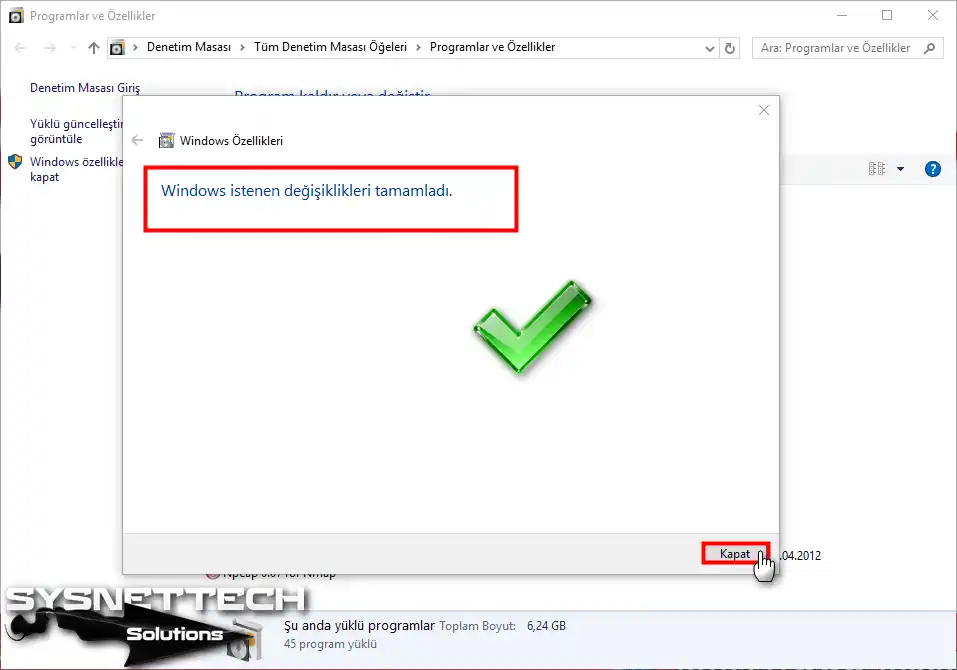
Step 7
After installing the IIS service, click Close to exit the window.
Step 8
You can see that the WWW publishing service is enabled in the Services box.
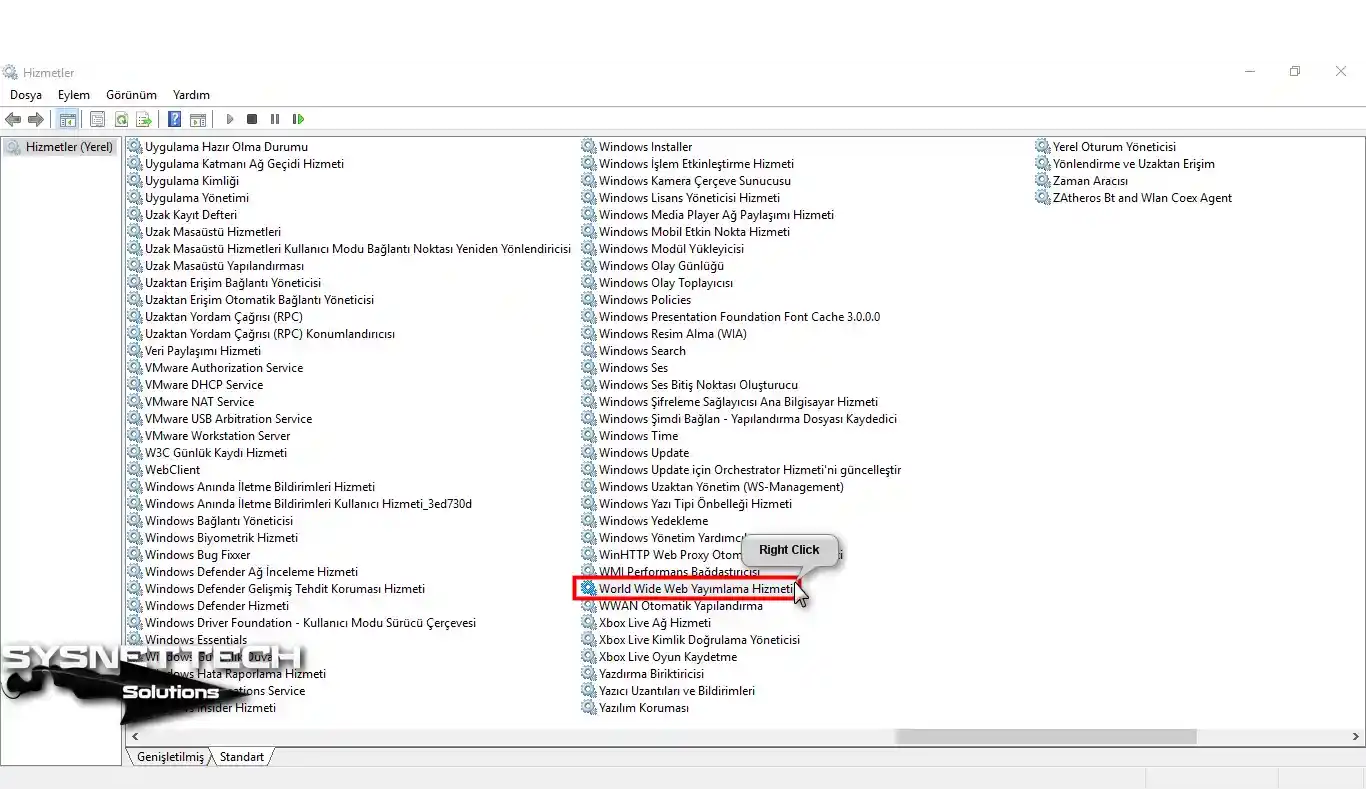
Step 9
To stop this service, you must turn it off in the property window.
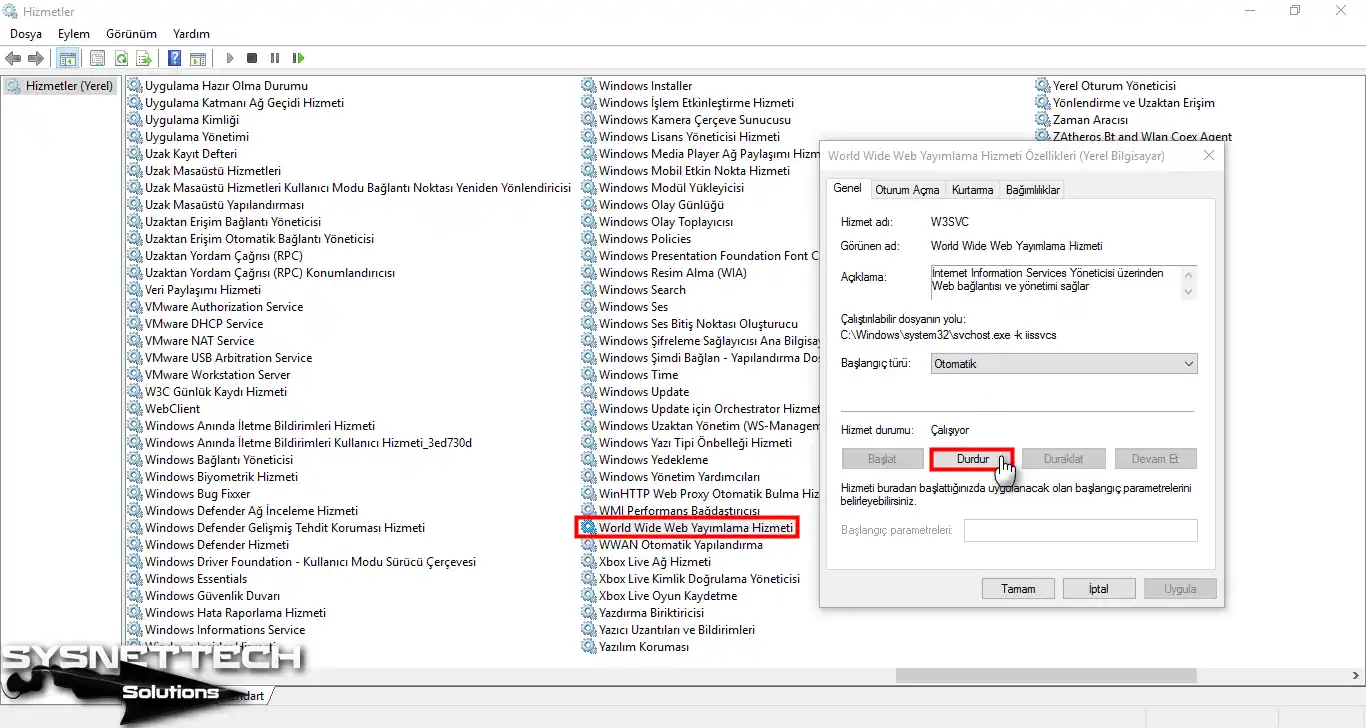
Step 10
After the service stops, click OK to continue.

How to Install WampServer on Windows 10
Follow the stages below to install WampServer step by step on the Win10 operating system.
Step 1
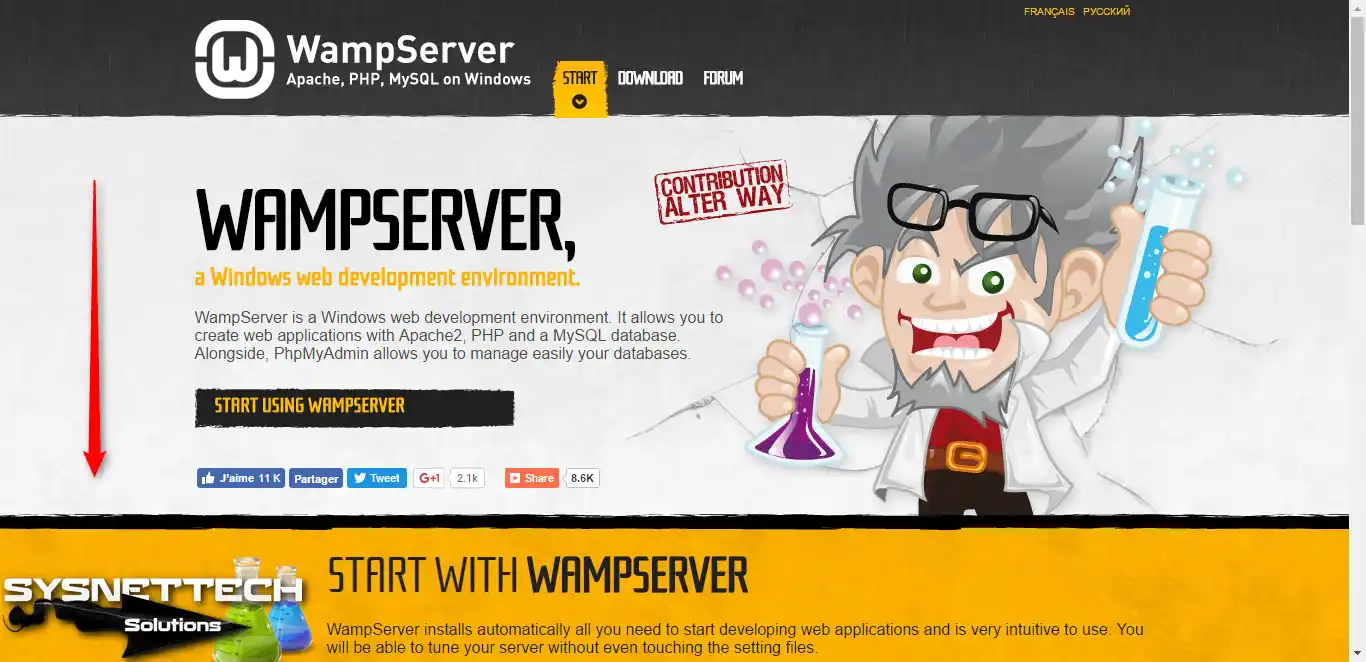
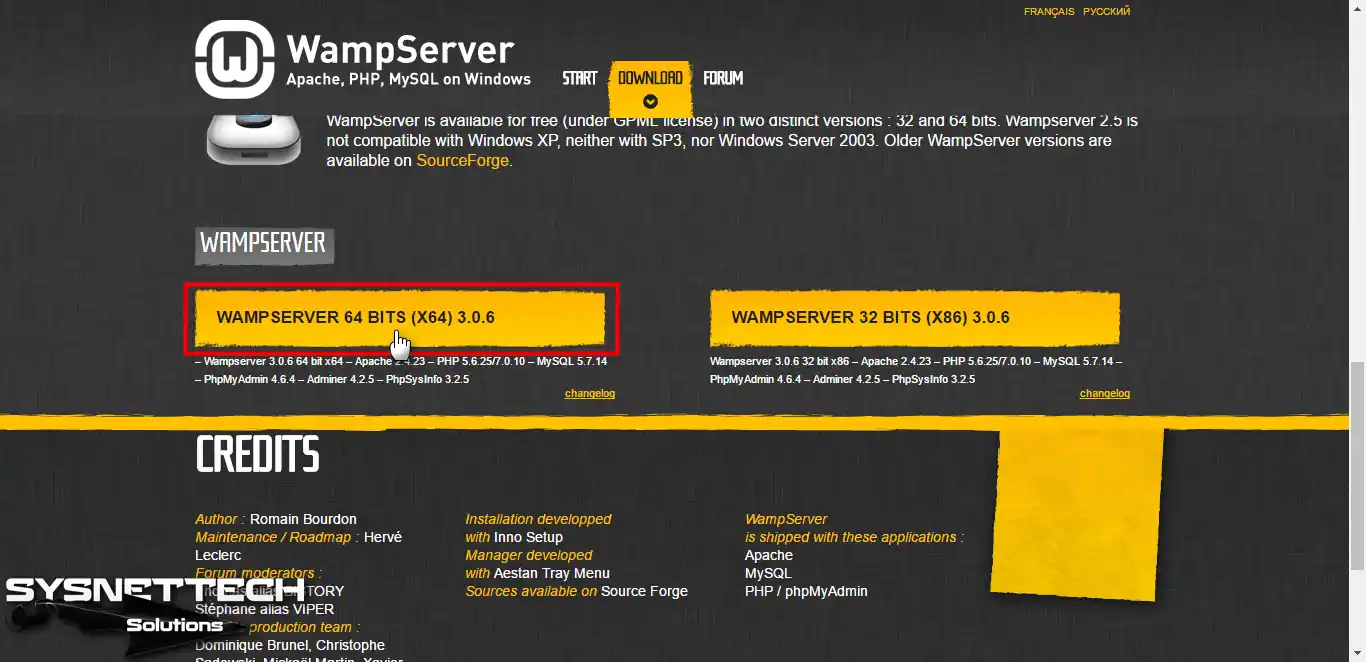
Now, enter the first site after typing WampServer into the Google Search Box. After opening the WampServer site, click Download.
Step 2
If your Win10 system is 64 Bit, download WampServer 64 Bit from this window.
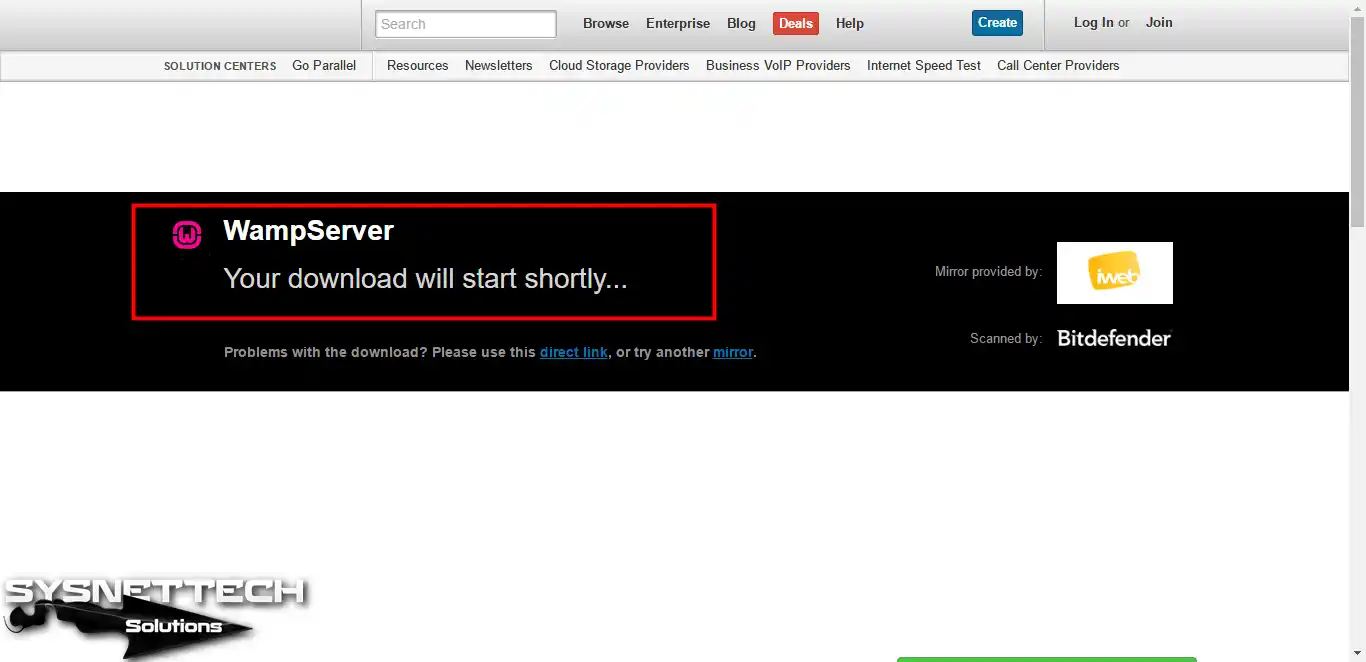
Step 3
Upon clicking the Download button, a little window will appear. Click the direct download option here.

Step 4
Please wait for a little while until the WampServer download process begins.
Step 5
After downloading the program, run it as an administrator.

Step 6
Select the English language by default from the Setup Language window, then click OK to continue.

Step 7
In the License Agreement window, select Accept the Agreement.

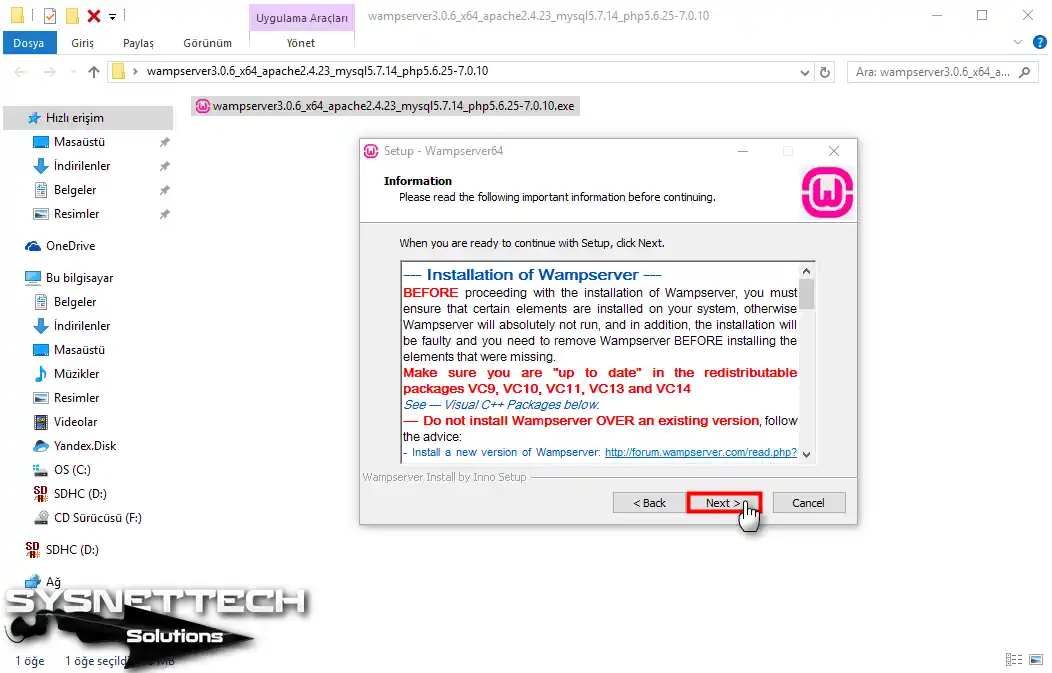
Step 8
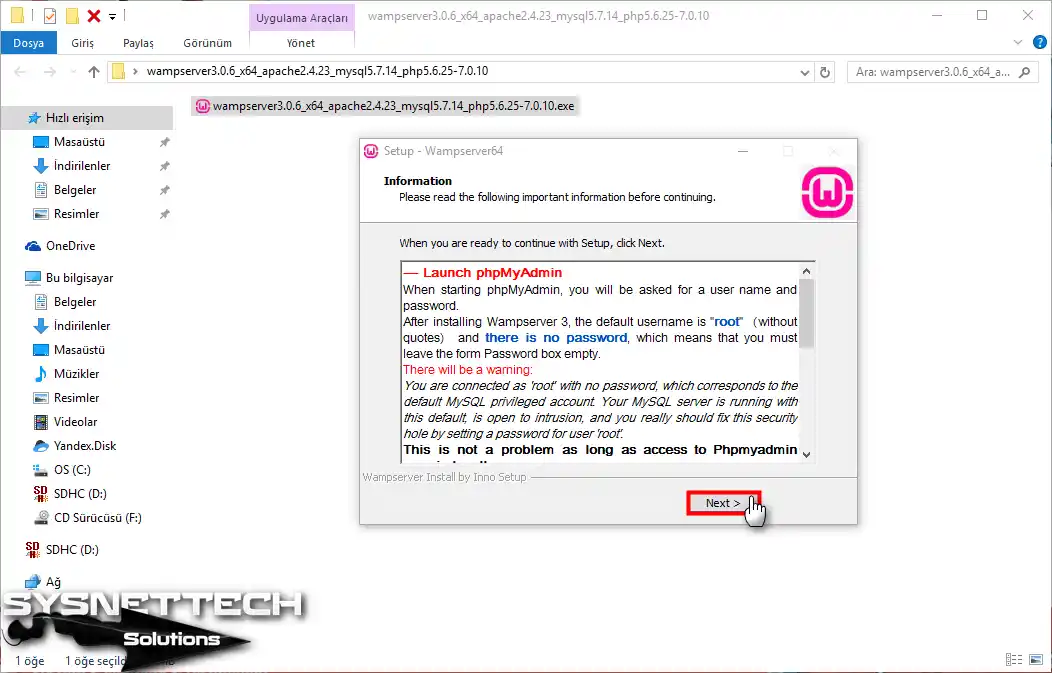
In the WampServer information window, click Next.
Step 9
In the Select Destination Location window, do not change the value of C:\wamp64 and click Next.

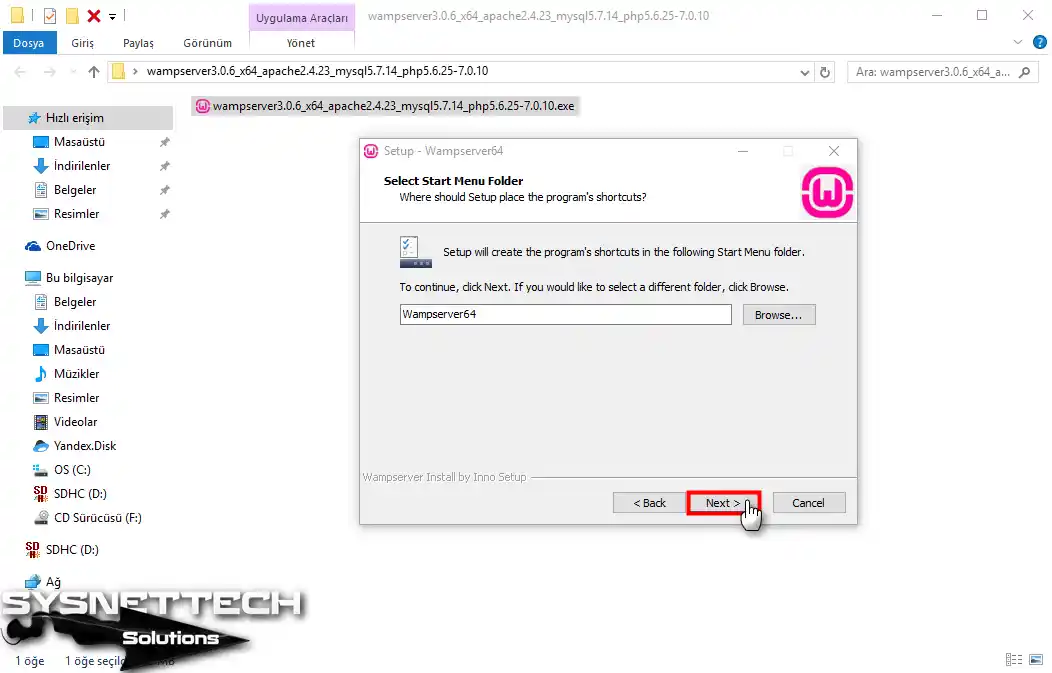
Step 10
In the Start Menu Folder setting, click the Next button.
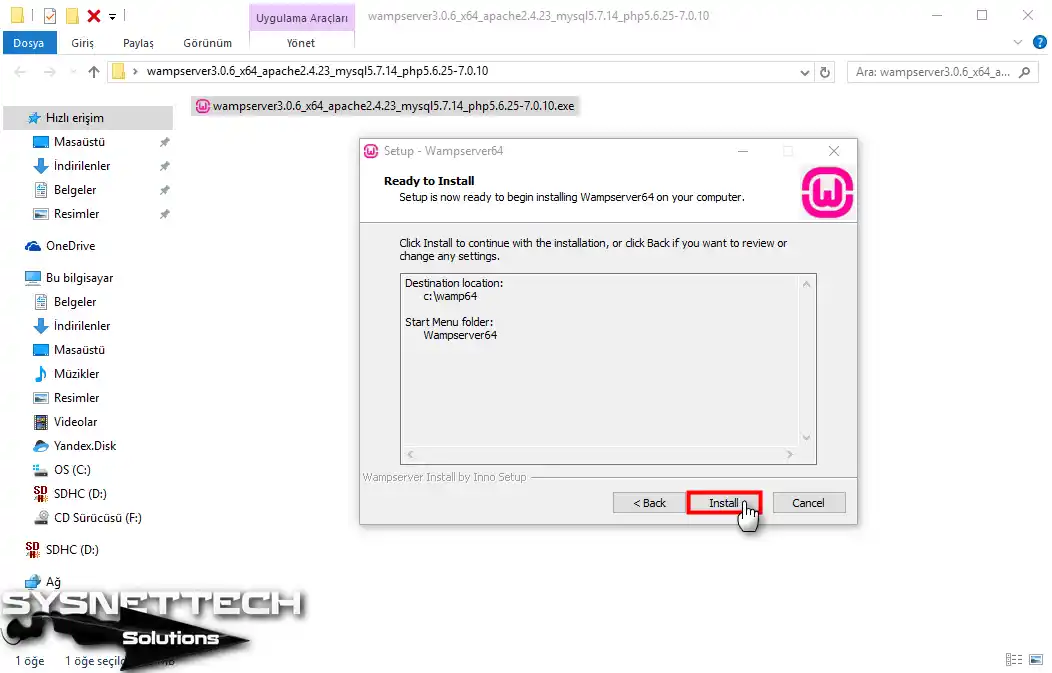
Step 11
In the Ready to Install, click the Install button.
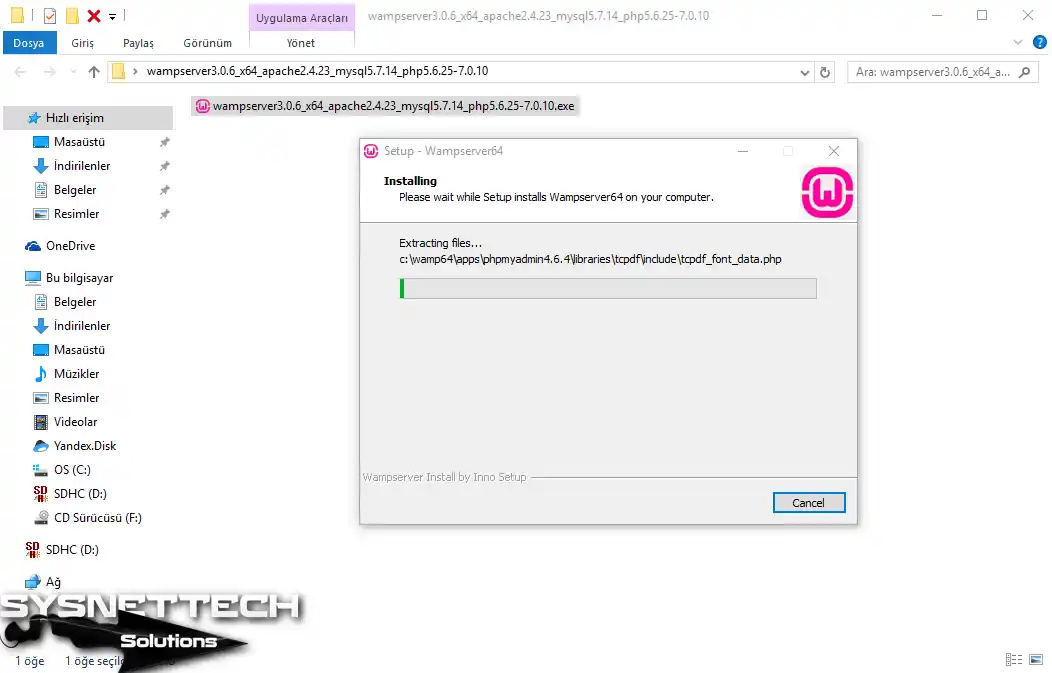
Step 12
Wait while installing WampServer.
Step 13
WampServer will use the Internet Explorer browser by default in the system. When the Setup window opens, you can select the desired browser after answering Yes to whether you want to choose another browser on your system.
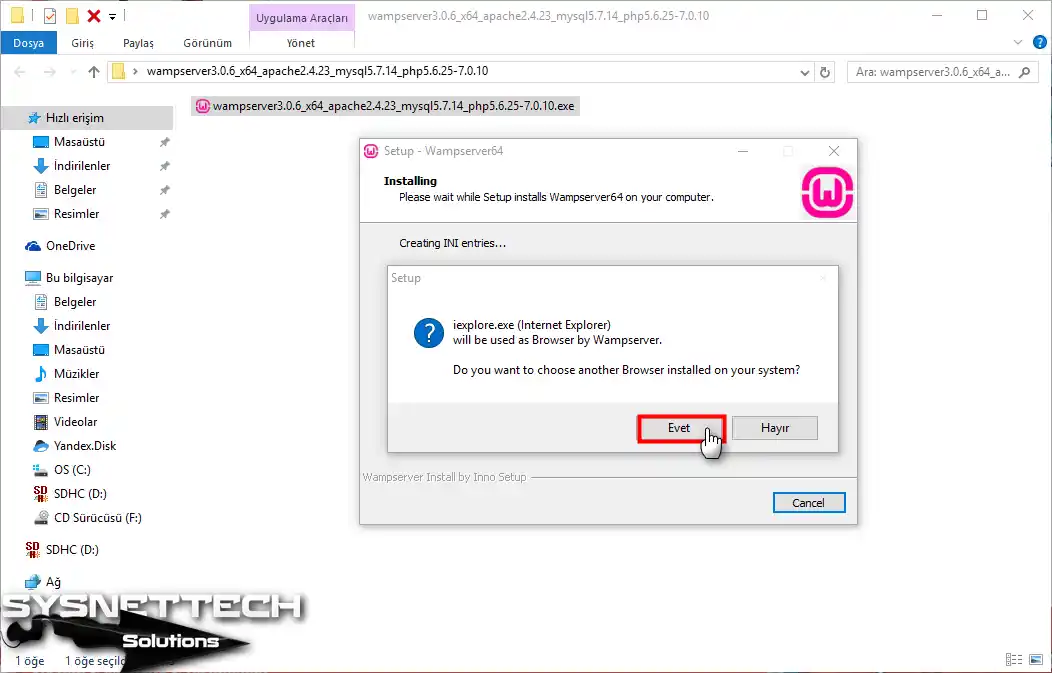
Step 14
To select the default browser, continue by selecting iexplore.exe in the window that opens.

Step 15
Here, WampServer says that it will use the Text Editor by default.
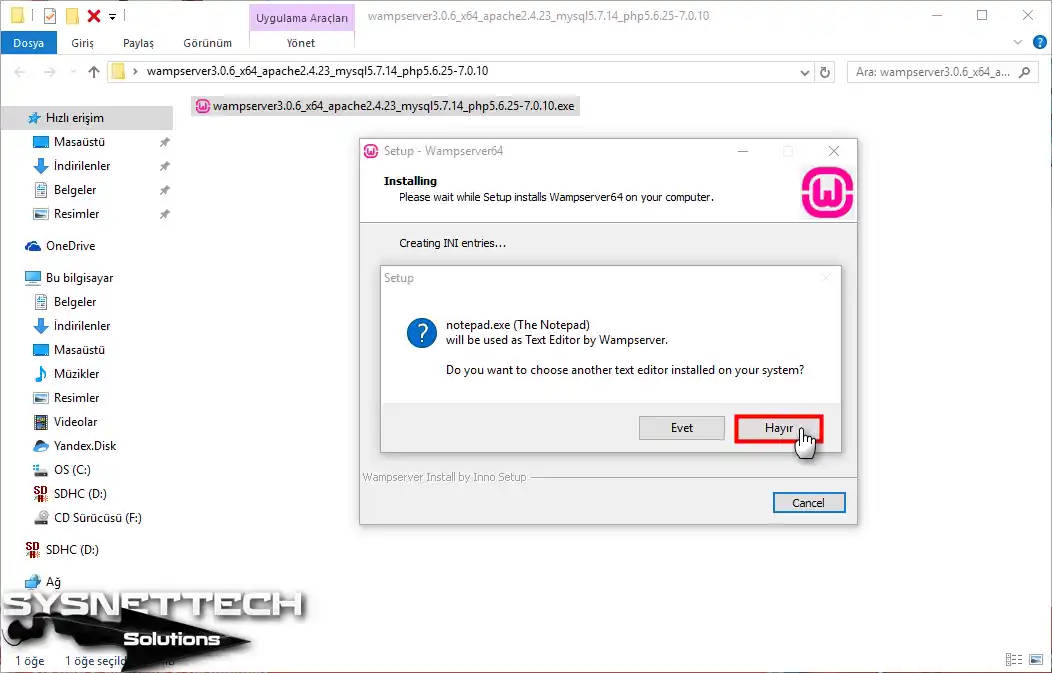
Step 16
After reading the information in this section, hit Next to continue.
Step 17
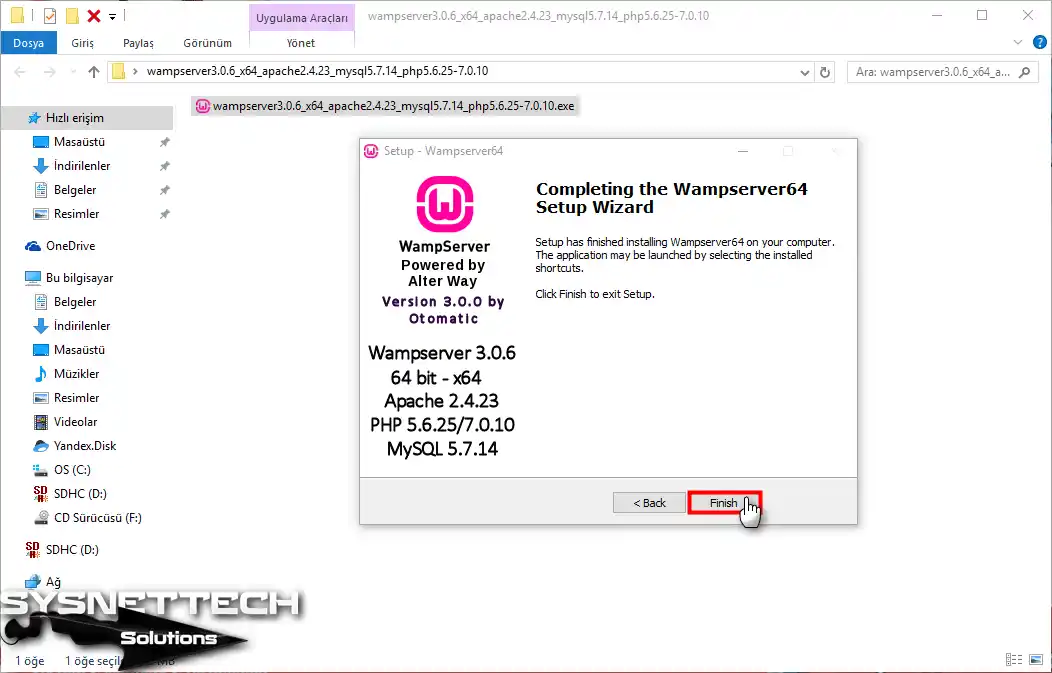
After the WampServer installation is complete, press Finish.
Step 18
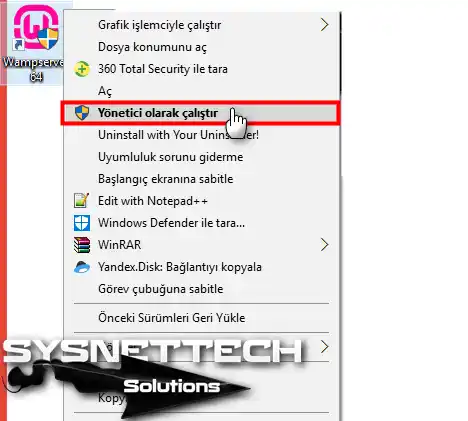
Right-click the WampServer shortcut on your desktop and run it as administrator.
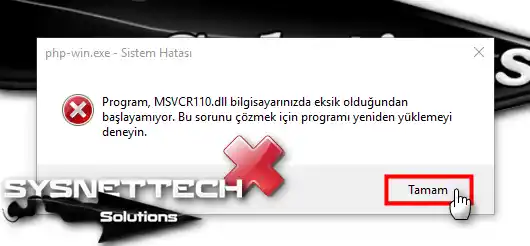
How to Fix MSVCR110.dll
Yeah! Many people encounter this error! A missing DLL error on the operating system is the cause of the MSVCR110.dll error.
Follow these steps to fix the MSVCR110.dll error when installing WordPress.
Step 1
Download the MSVCR110.dll file from the following button and copy it to C:\Windows\System32.
MSVCR110.dll Error! Click OK to continue.
Step 2
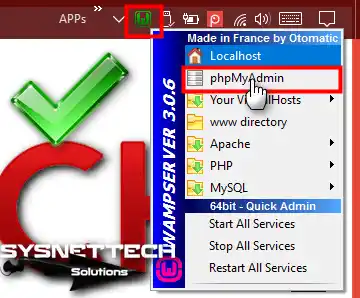
After copying the MSVCR110.dll file, you can see that the shortcut is Green after opening the program by clicking on the program shortcut. Now click on the program, then press phpMyAdmin.
Step 3
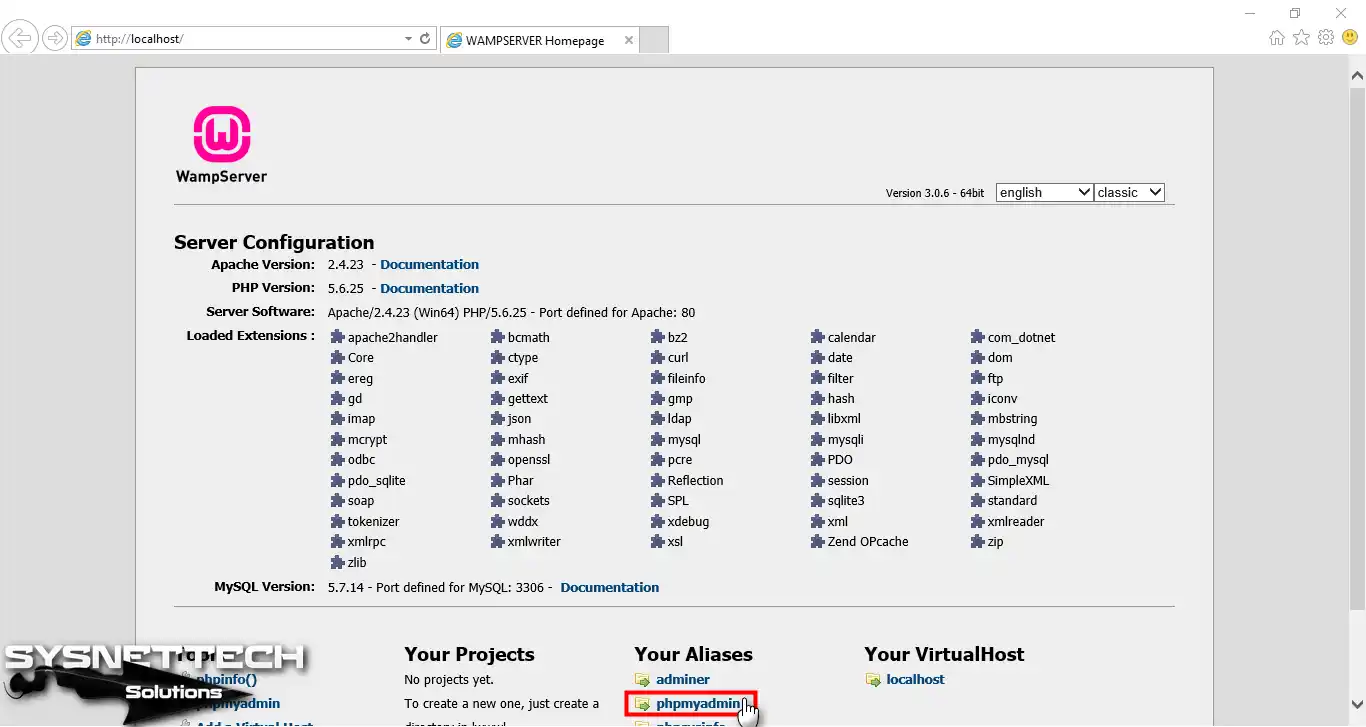
Open PhpMyAdmin.
Step 4
The user name is Root by default on the phpMyAdmin page. The password section must be empty. Continue by clicking the Go button.

Step 5
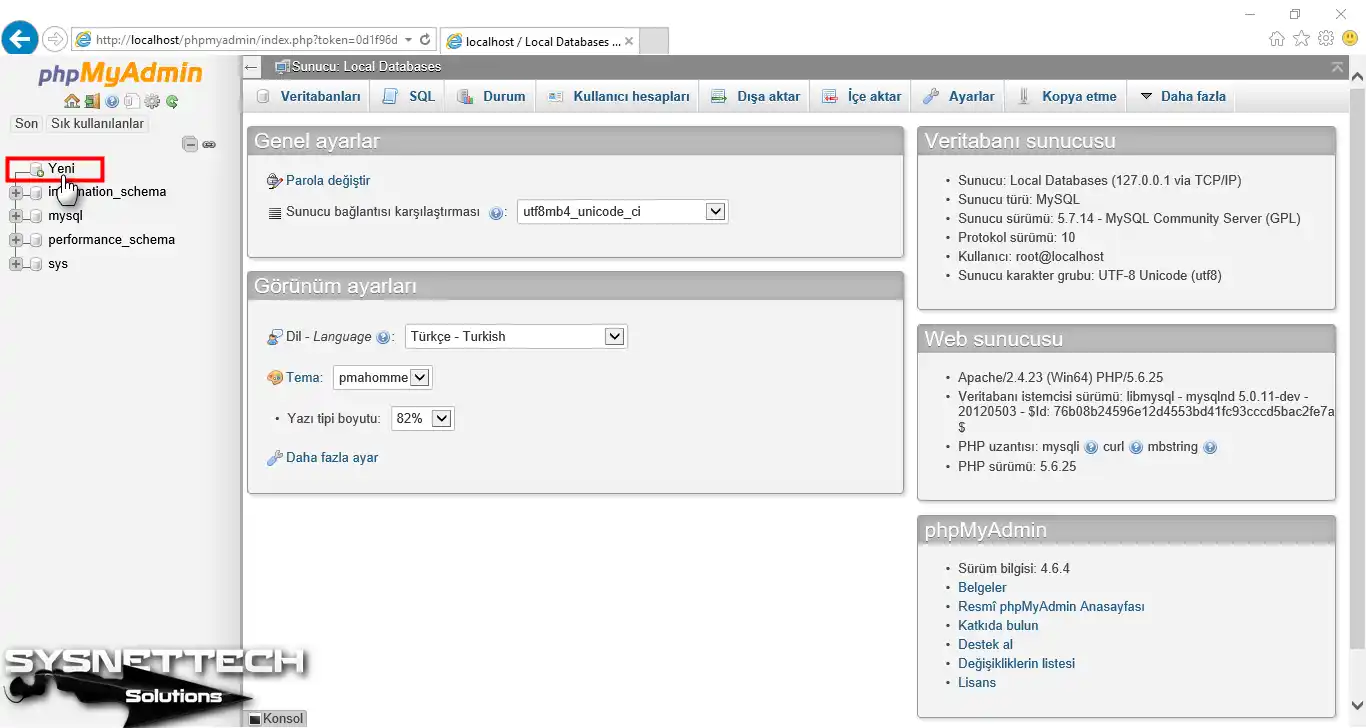
The initial step involves creating a new database on the phpMyAdmin page.
Step 6
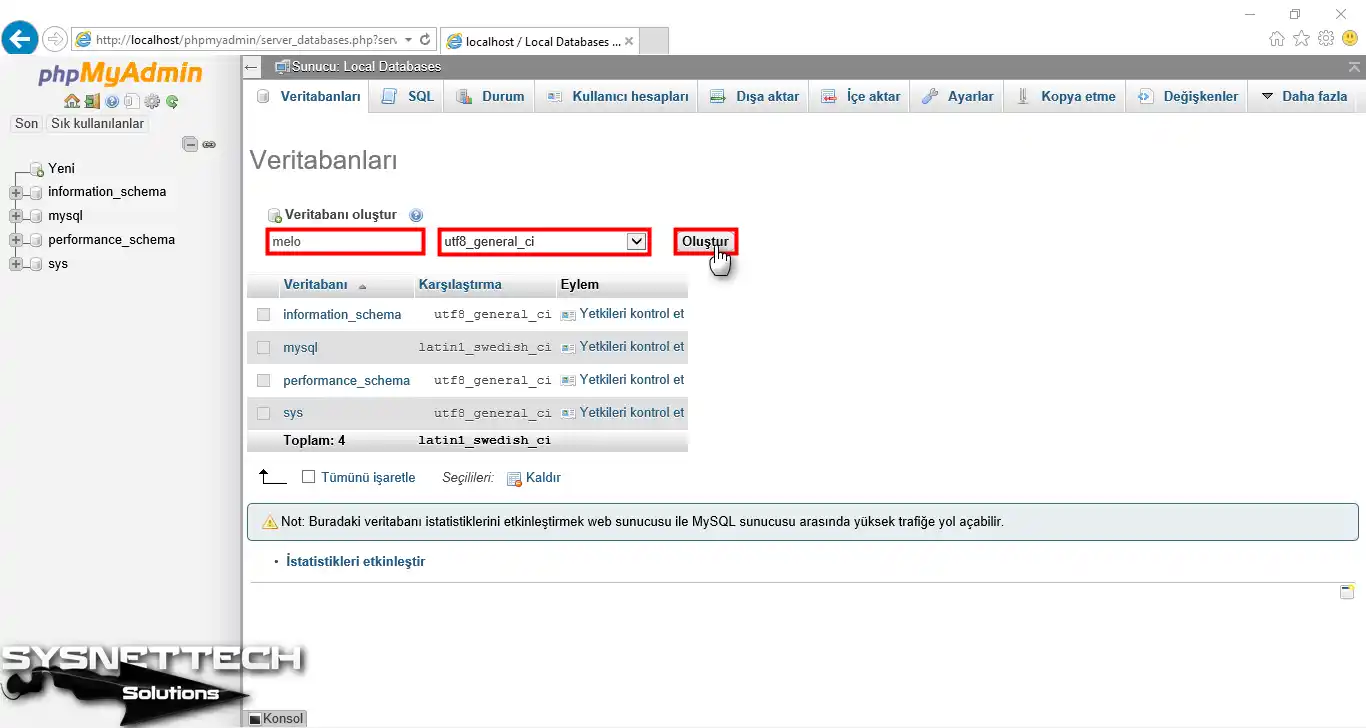
Type the name you want as the database name, and then select utf8_general_ci in the language code and choose the Create button.
Step 7
Choose the database you created. Then, hit the Authorities section.
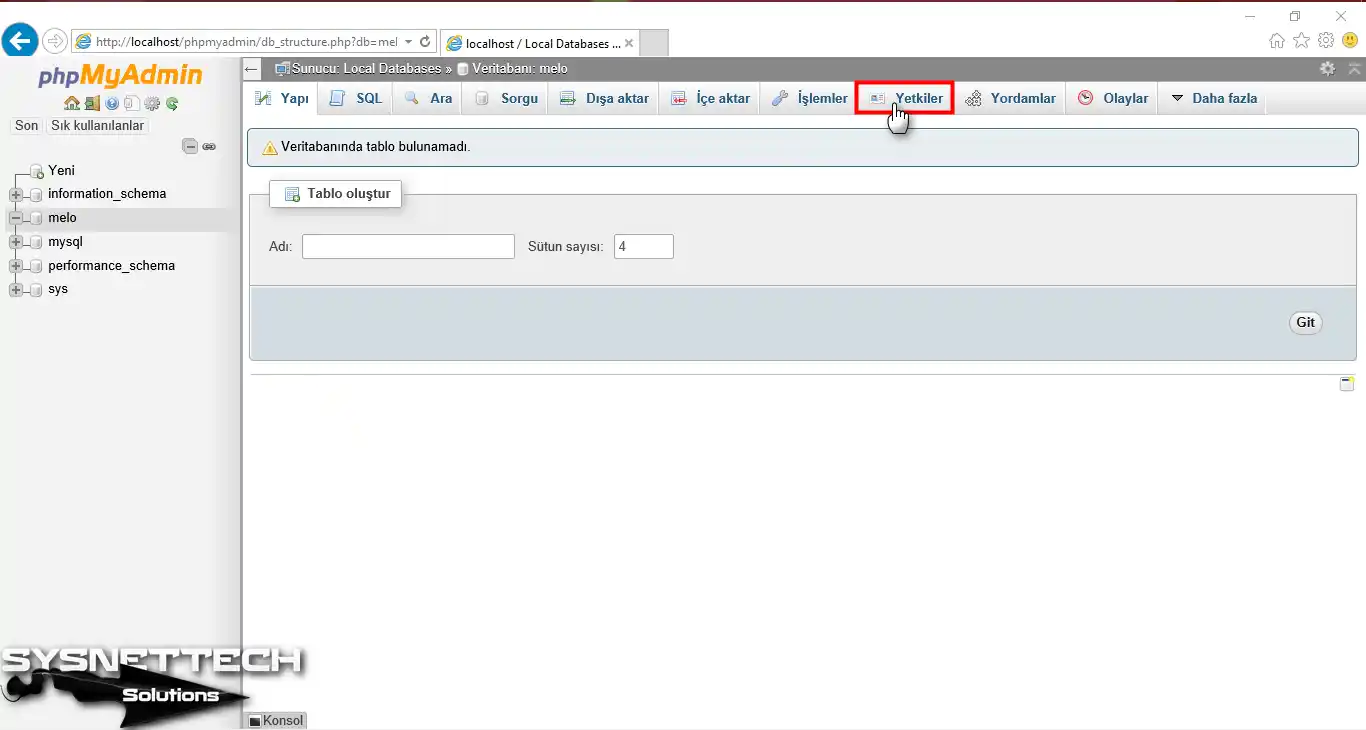
Step 8
You can create another user name in the Authorities section and grant full authority to access the database. By default, it is Root.

How to Install Localhost WordPress on Windows 10
You can now continue with the installation steps after installing the virtual server. In short, this is the program needed to install WordPress on a localhost PC.
Steps:
Step 1
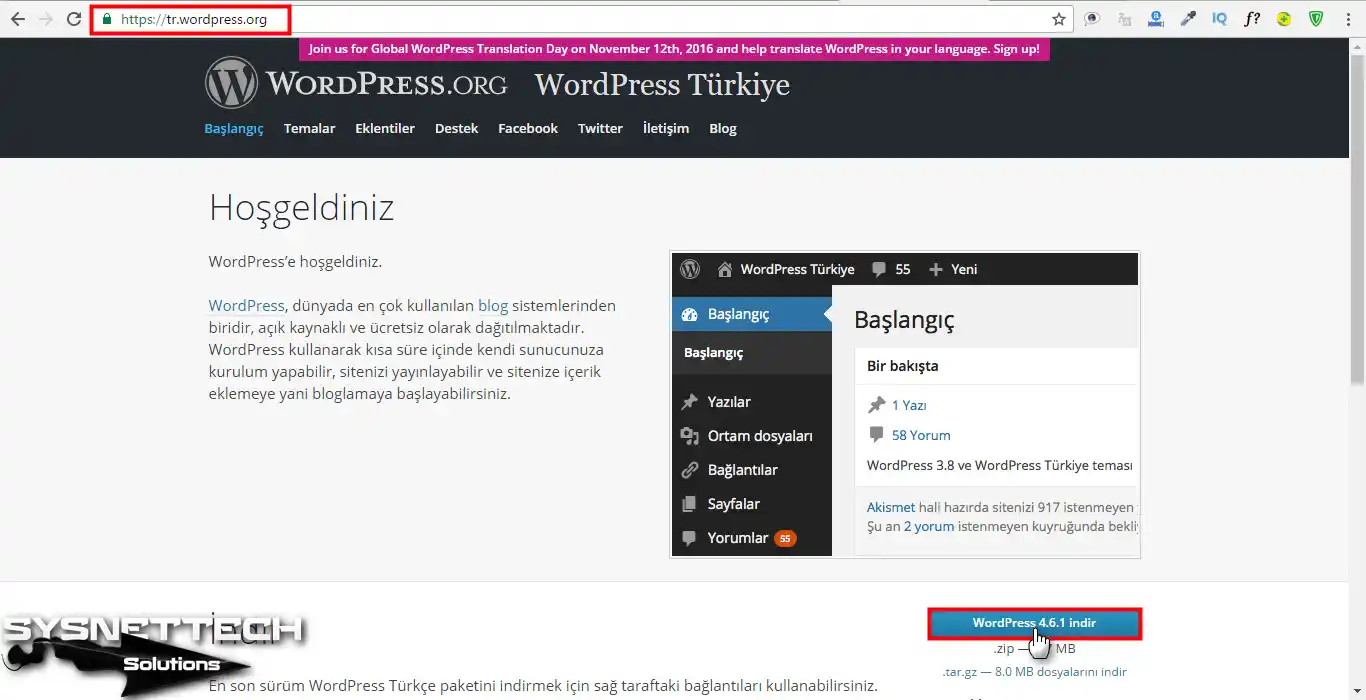
First, download WordPress’s latest version to your Localhost computer.
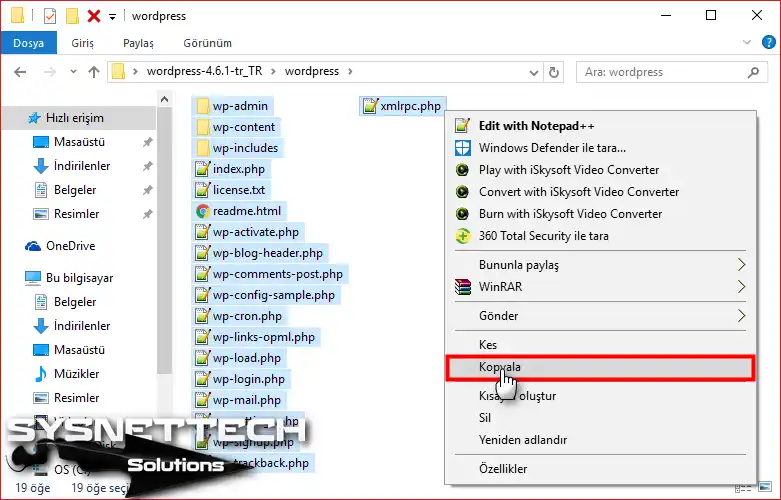
Step 2
After downloading it, extract the compressed file. And then, copy all the files to install WordPress.
Step 3
Head over to the WampServer installation directory.
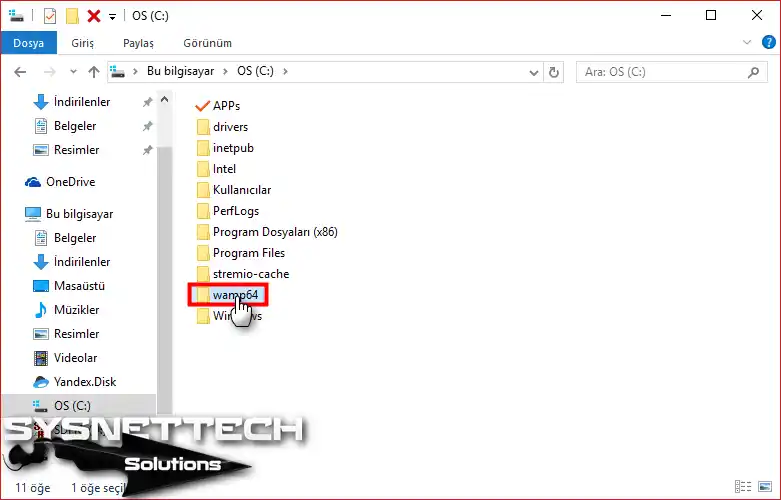
Step 4
Go to the www folder in the WampServer folder.

Step 5
Paste all the WordPress installation files you copied into the www folder.

Step 6
Everything is fine until this step!

Step 7
Launch the Internet Explorer, enter localhost in the URL field, and hit Enter.

Step 8
On the Localhost WordPress setup screen, hit Let’s Get Started.

Step 9
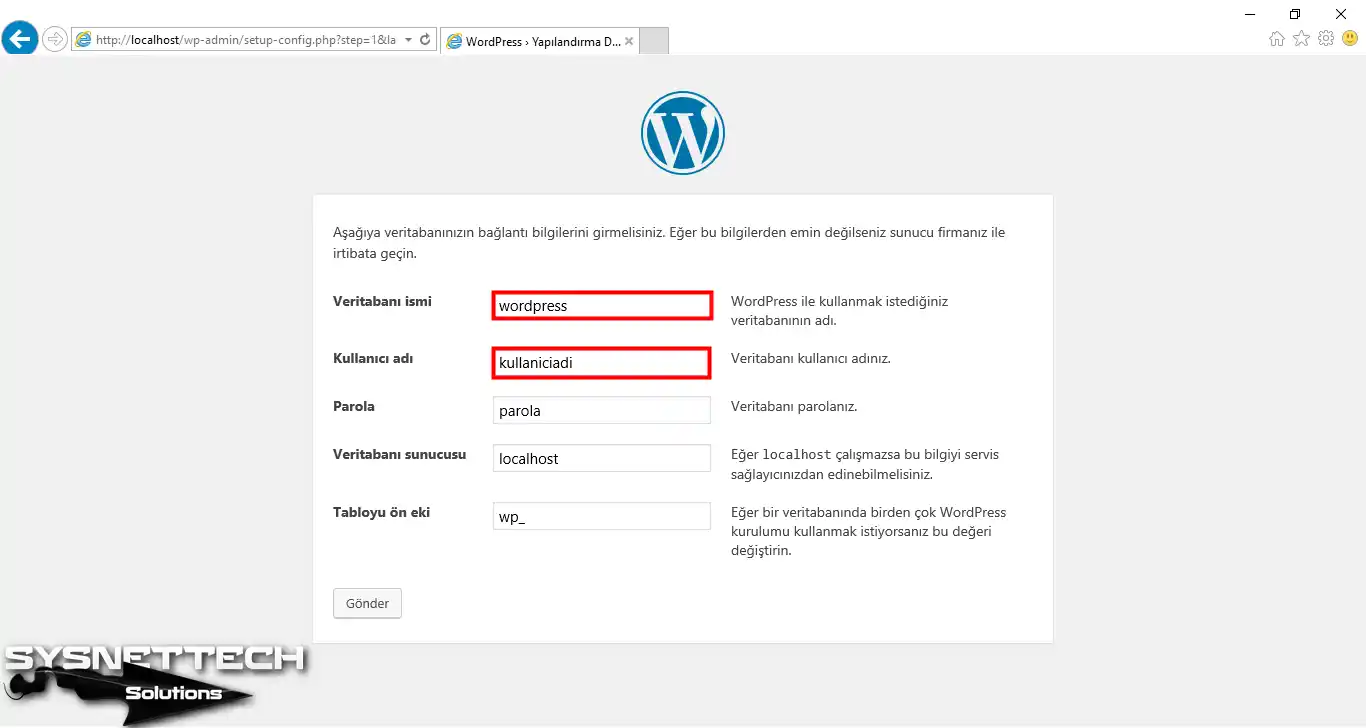
Type the name of the database that you created in phpMyAdmin.
Step 10
Type Root for the username and leave the database password blank. Then, choose Submit.

Step 11
Now, hit the Install button.

Step 12
You can input all of the relevant information for your site here. You need to set a strong password for your WordPress admin panel. Then, hit the Install WordPress button to complete the installation.

Step 13
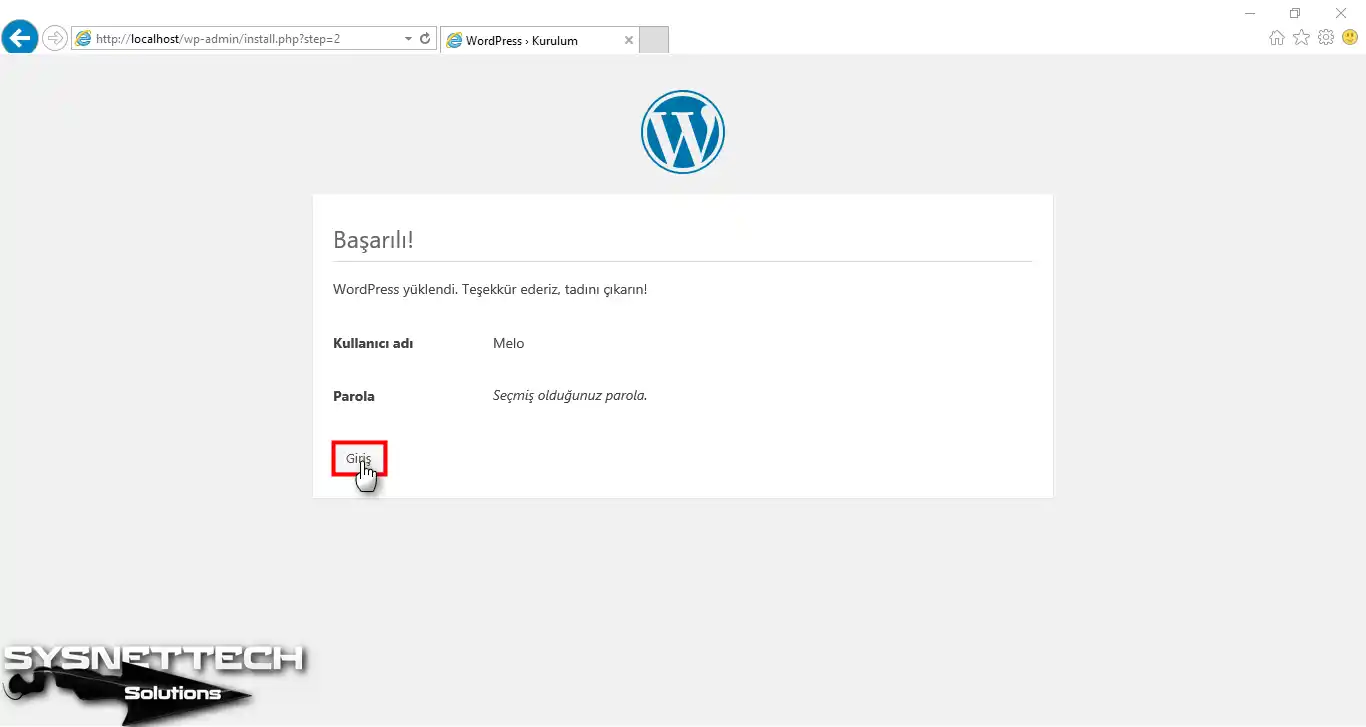
If the database connection with WordPress is successful, as seen in the picture below, continue by clicking the Login button.
Step 14
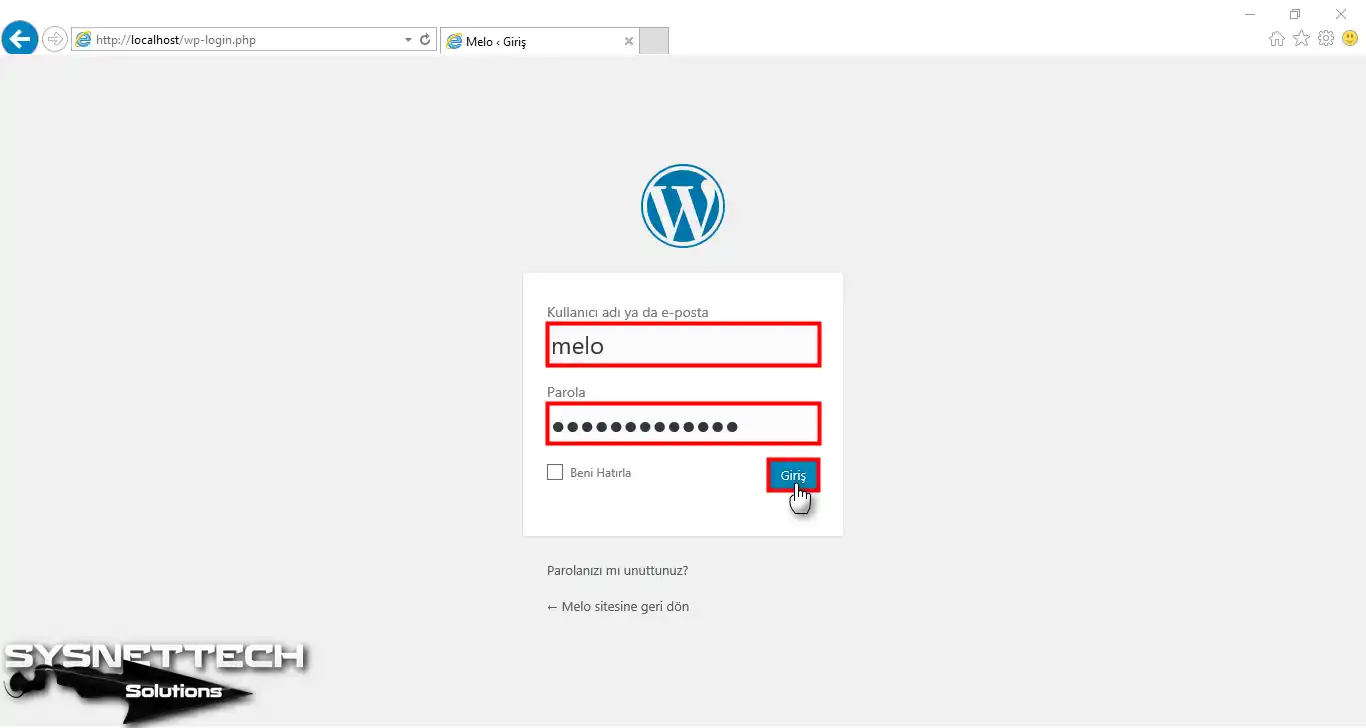
Enter your designated username and password credentials, and subsequently, initiate the login process by selecting the “Login” option.
Step 15
You have finished installing WordPress using WampServer on Windows 10!

Frequently Asked Questions (FAQ)
- How to install WordPress?
- What is required for WordPress?
- Is it free to create a WordPress site?
- How do I log into WordPress?
Conclusion
In this helpful article, we discussed how to run & install WordPress. A website hosted on WordPress infrastructure is easy to manage. Still, the plugins you add to your site may sometimes give errors. Therefore, you should always make a backup of your site. Thanks for following us!

Be the first to share your comment