
Are you planning to get into Linux operating systems? Also, do you want to try Linux Mint 22? Then look no further!
In this guide, I will help you install Linux Mint from scratch. Plus, I will cover the steps to use a bootable USB flash drive. In short, this guide provides instructions for users of all levels. Without further ado, let’s explore the new features of the Wilma version!
How to Install Linux Mint 22 on a PC using USB Flash Memory
Linux Mint is one of the most preferred Linux distributions with Ubuntu source code. This distribution is available to users with the Cinnamon, Mate, and Xfce desktop environments. The most used and preferred desktop environment is the Cinnamon desktop environment.
Like other Linux distributions, Mint allows you to test the system before installation when you boot your computer with the ISO file. Thus, you can gain experience without installing this distribution on your PC. When you decide to use this system, you can easily install it on your physical computer.
Before starting the installation, you need to download the ISO image file from the official website. You will see that there are 3 different versions on the download webpage.
- Cinnamon: It is the most advanced and full-featured desktop environment.
- MATE: It is a more stable and faster desktop environment.
- Xfce: It is the lightest and most stable desktop environment.
You can start installing the Mint system on your PC using the installation media containing a Linux desktop environment of your choice.
The latest version of the Linux Mint OS with the codename Wilma is 22. This distribution, which has both 32-bit and 64-bit architecture, includes Cinnamon 6.2, Linux Kernel 6.8, and Ubuntu 24.04 package base. Also, version 22 will be supported until 2029.
What’s New?
- Wilma 22 has been developed based on Ubuntu 24.04 LTS.
- Wilma edition offers improved performance and security.
- It has the new Cinnamon 6.2 desktop environment with advanced customizations.
- It has an enhanced Update Manager with easier kernel management.
- They have added better Flatpak integration for application installation.
- It has enhanced dark mode and visual tweaks for a modern look.
- It includes updated software, including the latest Firefox, LibreOffice, and more.
How to Download and Set Up Linux Mint 22 (Wilma) Step-by-Step
You can download the Mint ISO installation media to your computer from both the official website and other sources. For a safer download job, I suggest getting it from the official website. Also, remember to verify the Mint ISO after you get the file.
Step 1
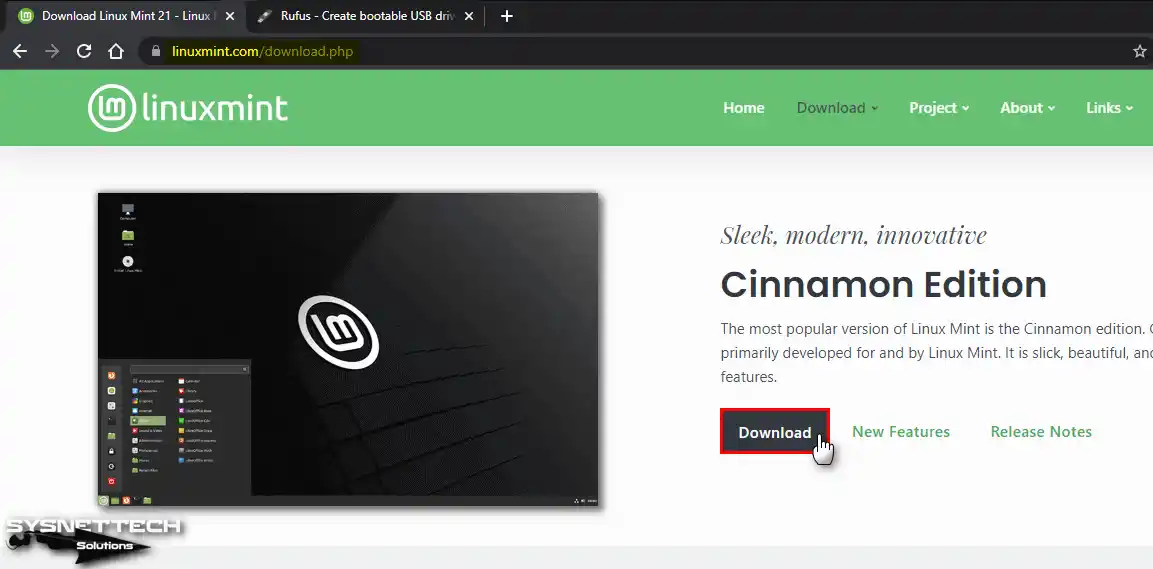
Go to the Mint website and click the Download button for the latest version to download the ISO file. So this will take you to the Mint download page. Finally, click the Download links below for your preferred desktop environment.
Step 2
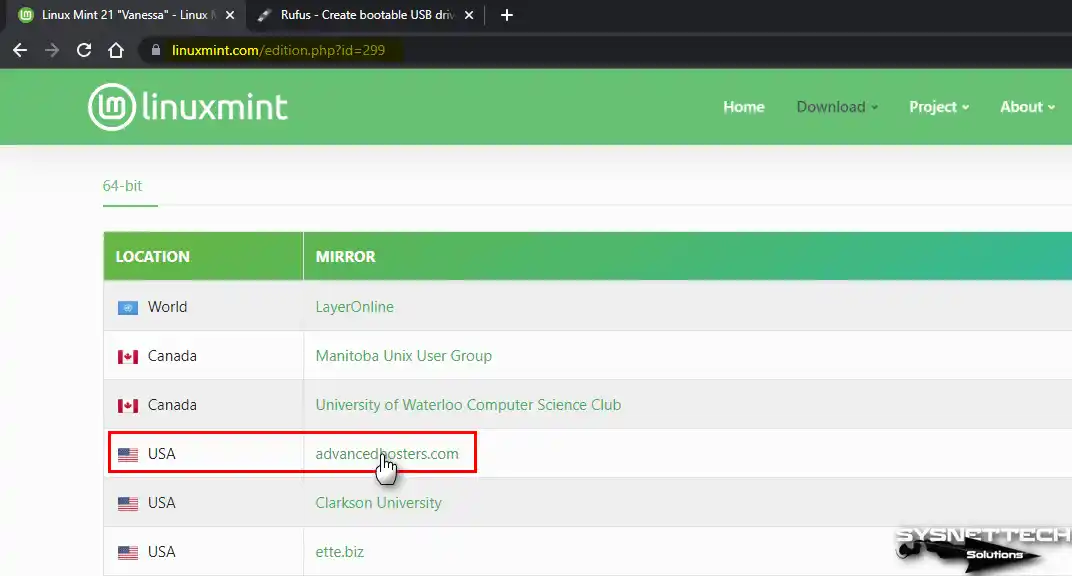
To start downloading the ISO file, click on one of the download links that is closest to where you live.
Step 3
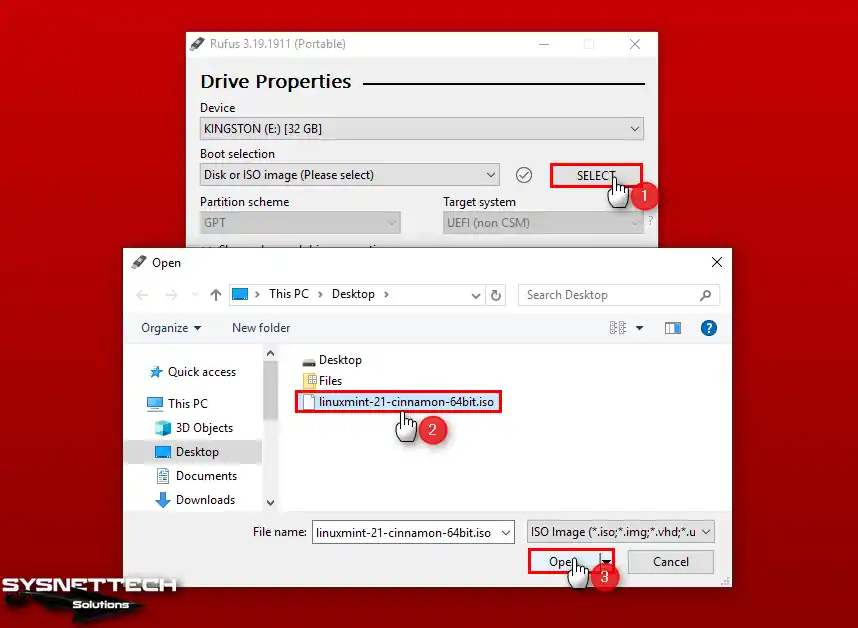
You have downloaded the Mint image file to your PC. Now, you need to make a bootable USB flash memory using the Rufus tool. So, download the Rufus program to create bootable installation media.
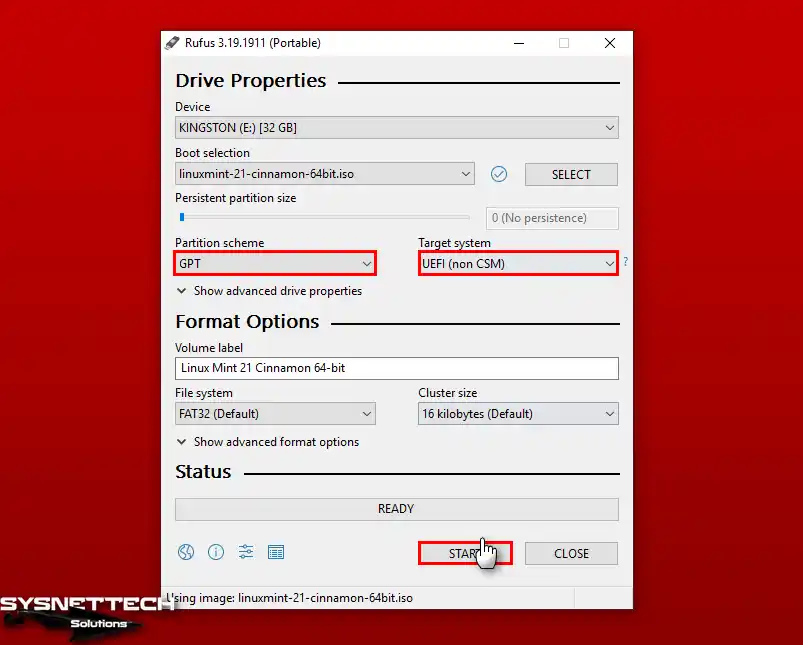
After downloading the current version of the Rufus program, run, then click the SELECT button and select the Mint ISO image from the pop-up window.
Step 4
If you want to install a UEFI-supported system, select GPT from the Partition Scheme and configure the Target System setting as UEFI.
Finally, click START to burn the UEFI-supported ISO file to your USB stick.
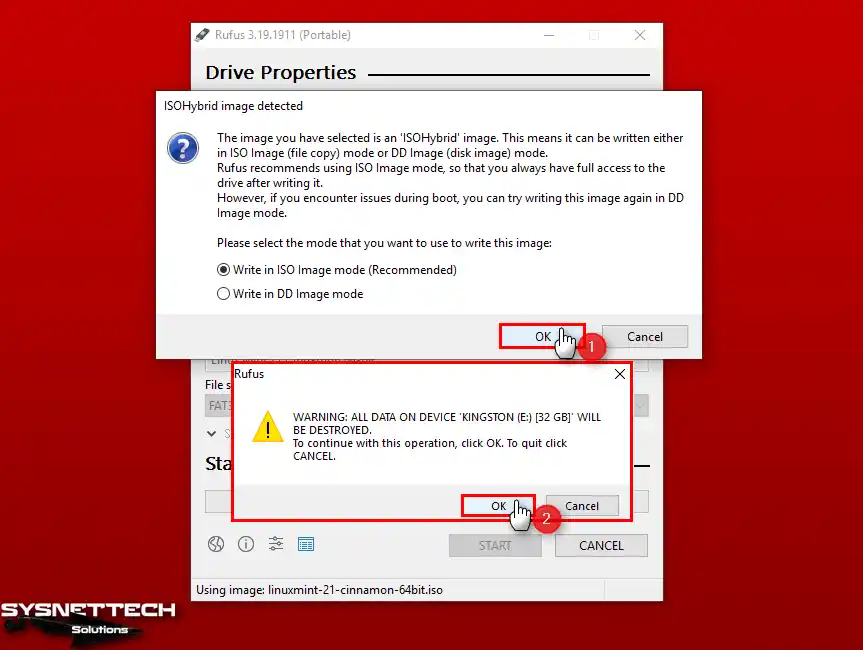
Step 5
Rufus suggests using ISO Image Mode to burn the ISO image. Thus, click “OK” to go with this option, then click “OK” again to confirm that you want to erase everything on your USB.
Then, wait while the wizard copies the Mint system files to your USB. When the copying process is complete, find the Boot Device setting in your computer’s BIOS settings, select your USB memory as the first boot media, save the settings, and restart your computer.
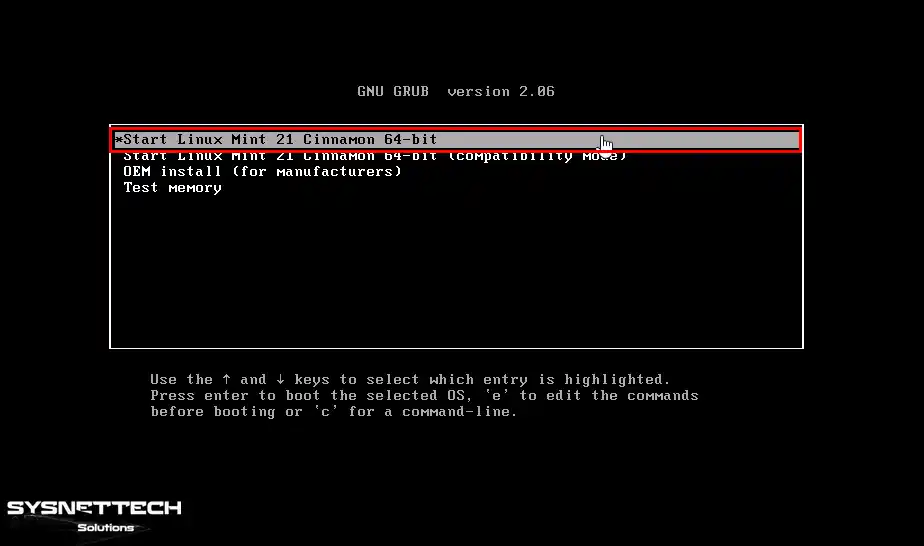
Step 6
After your computer restarts, you will see the Boot screen as below. Press Enter on the Start Cinnamon 64-bit option to start the system in the GNU GRUB menu.
Step 7
Wait while Mint’s initial setup wizard opens.
Step 8
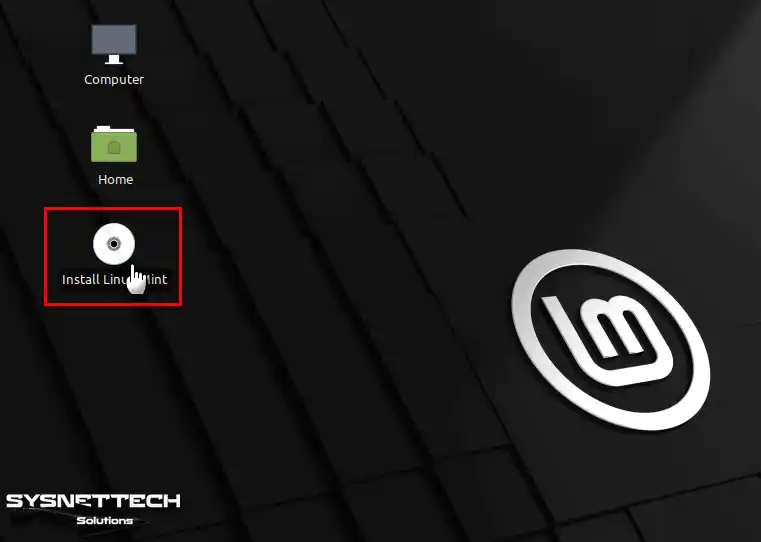
After booting your computer from USB, you can do some tests without installing the system or test the current version using programs.
Double-click Install Linux Mint to set up the current version on your laptop/desktop PC.
Step 9
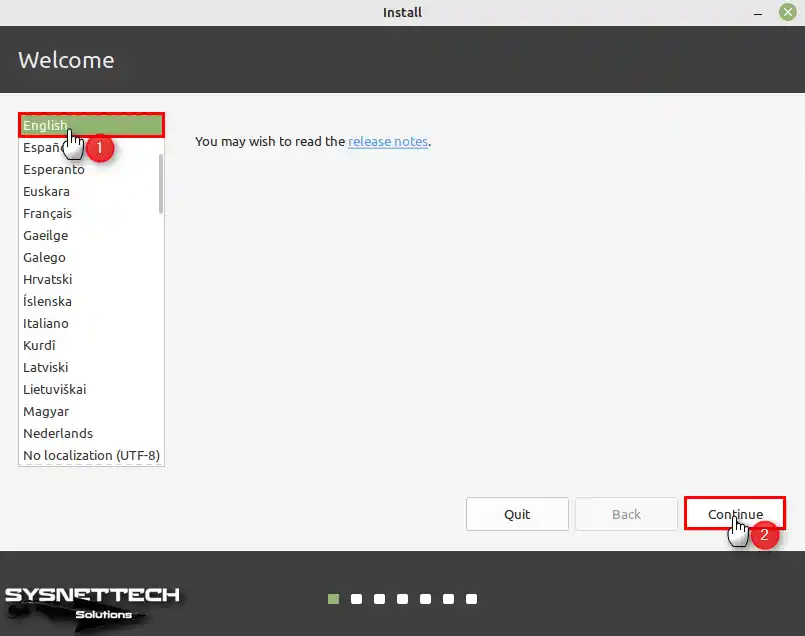
Select the system language you want to use and click the Continue button.
Step 10
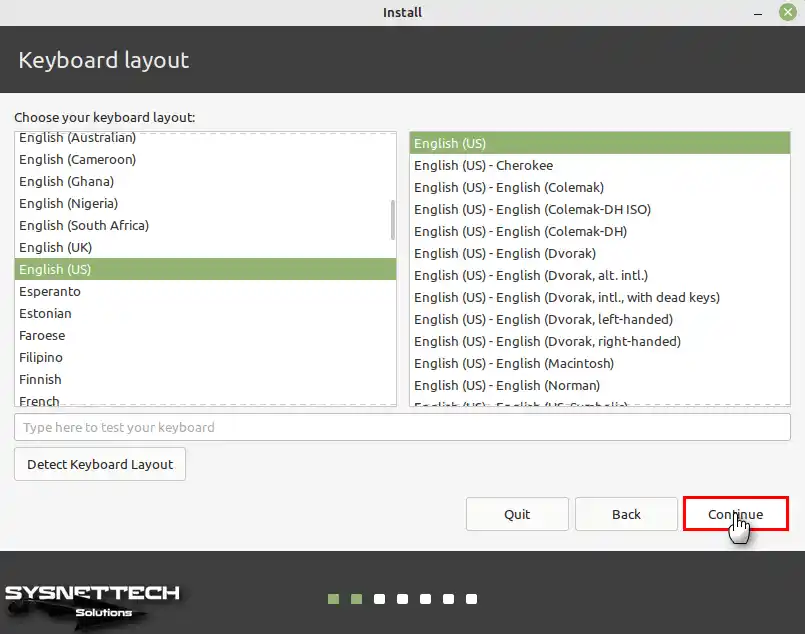
After selecting the keyboard layout and language you want to use in the Keyboard Layout window, click Continue.
Step 11
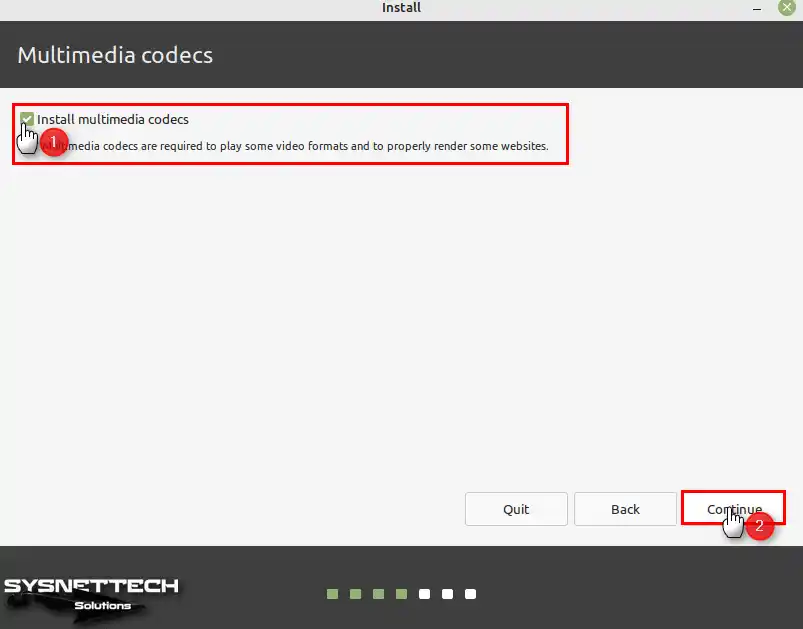
The Cinnamon desktop environment includes many multimedia tools, so to render some websites correctly or play some video formats properly, tick Install multimedia codecs and then click Continue.
Step 12
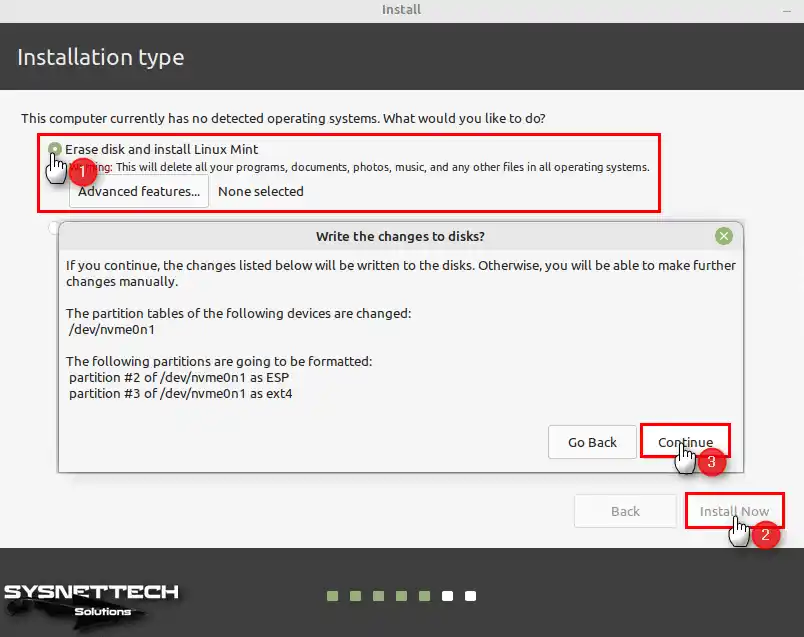
To cleanly install Mint on your computer, select Erase Disk and Install Linux Mint and click the Install Now button. Then click Continue to confirm the changes to your disk.
NOTE: Do not forget that at this stage, if you are going to install the Linux distribution on an existing Windows 10, you need to create an empty partition on your disk!
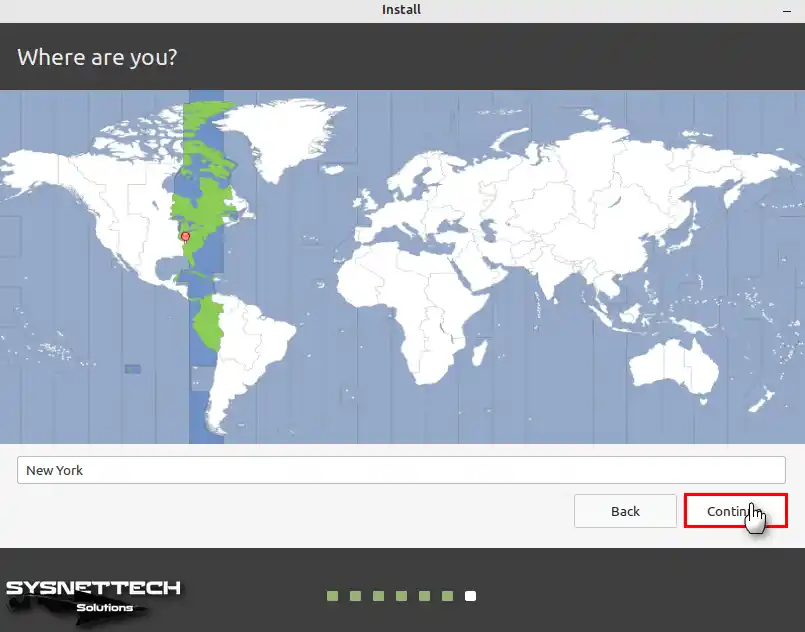
Step 13
Continue by selecting the region you live in.
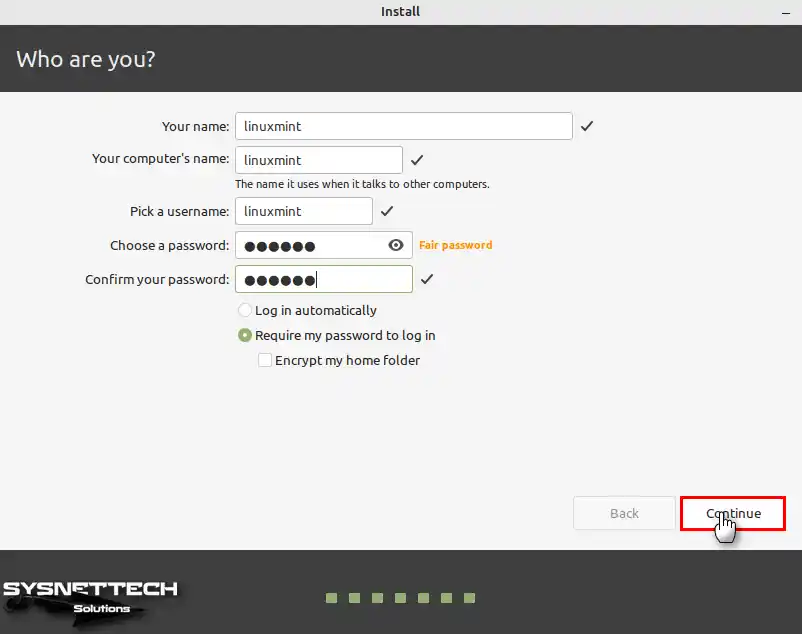
Step 14
After typing your personal name, PC and system username, and password for your system, click Continue.
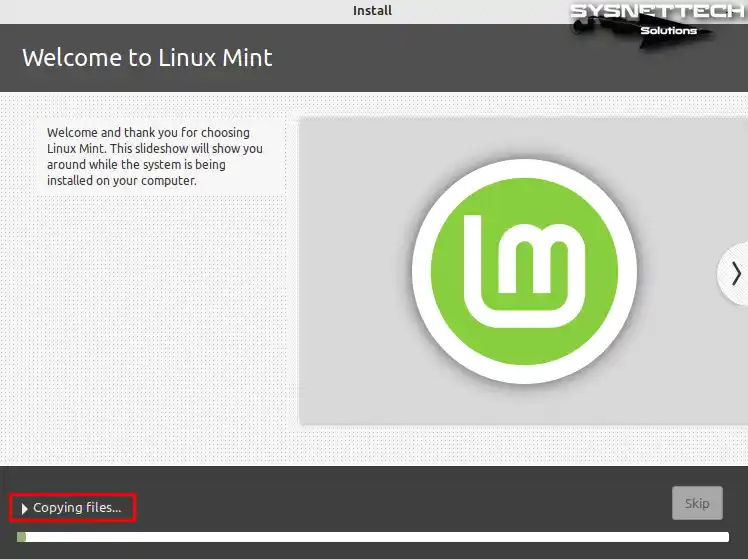
Step 15
Wait while Mint is copying system files to your disk. This process will take about 10 minutes, depending on your computer’s specifications.
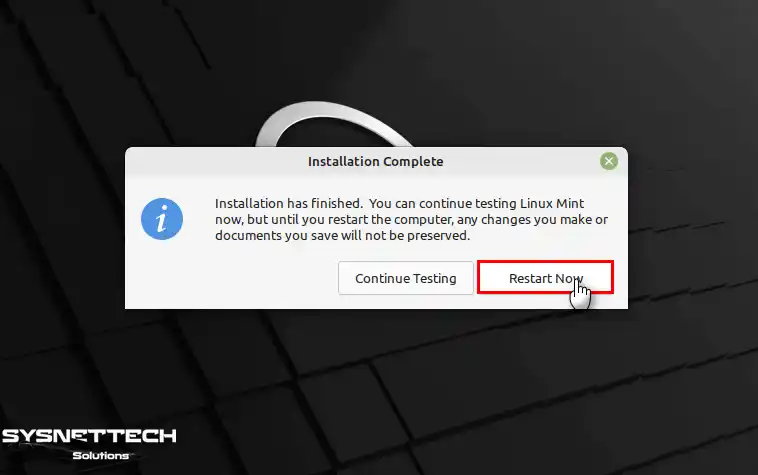
Step 16
Once you have completed the Mint installation, press the “Restart Now” choice to restart your computer.
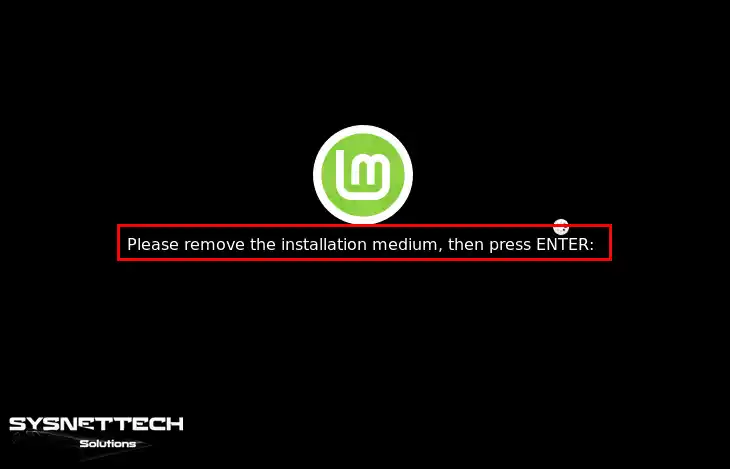
Step 17
After your PC restarts, if you encounter a warning like the image below, remove your USB installation media and press Enter.
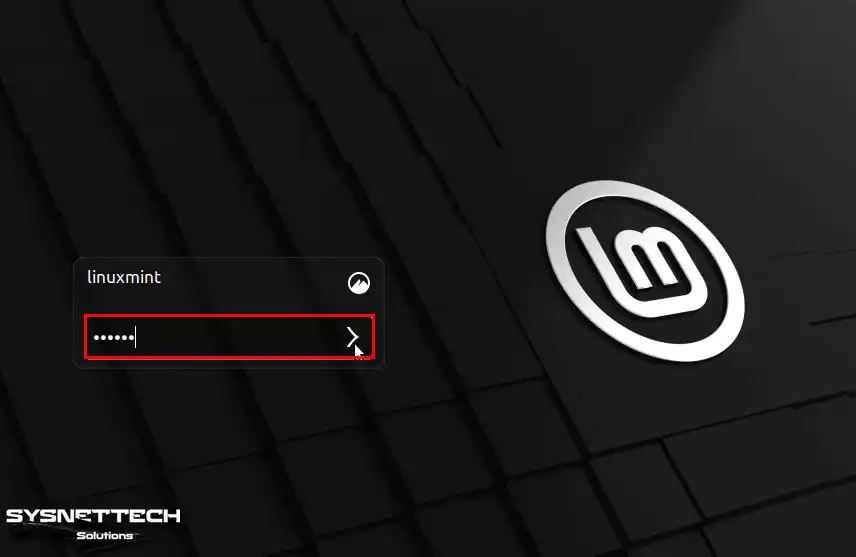
Step 18
After restarting your computer, type your password on the login screen and click the right arrow.
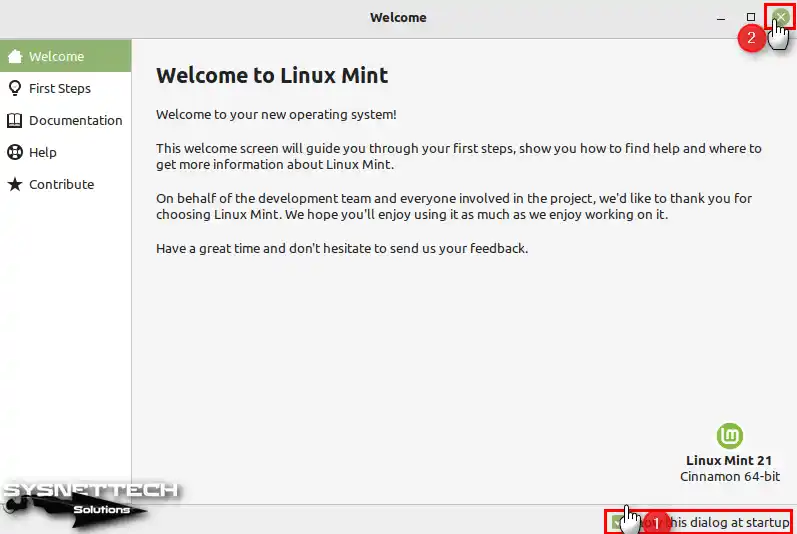
Step 19
After the installation finishes, you will see a welcome screen on your desktop. Here, you can change settings and visit the support forum.
Step 20
After installing Linux Mint on your PC, right-click on the desktop and then open the terminal. You can check your system codename and version by executing the “lsb_release -a” command in the terminal.
lsb_release -a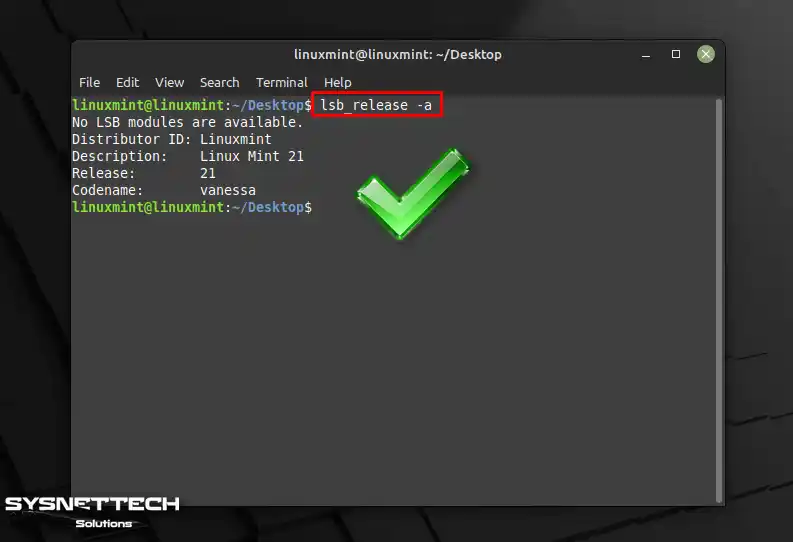
Video
Installing Old Versions
Conclusion
In short, you can get many benefits by installing Linux Mint 22 (Wilma) on your PC. Plus, you will get improved performance, security, and a modern look.
You can quickly complete the installation by following all the steps I have provided. In addition, you can also start exploring the features of this widespread Linux distribution.
Whether you’re an expert or just starting, Wilma 22 is a great choice. For this reason, it’s easy to use and offers lots of ways to customize. In short, I suggest installing this excellent software on your PC to explore the power of open-source tools.

1 Reader Comment
You might want to mention somewhere , like at the very beginning, that these instructions are for Windows users. They aren’t of any help for those of us using MacOS or already using other Linux distro’s. Rufus is a Windows app. Doesn’t work in Linux or MacOS.