This article will discuss how to enable or configure the Hyper-V virtualization platform fastest using CMD (Command Prompt) on Windows 10.
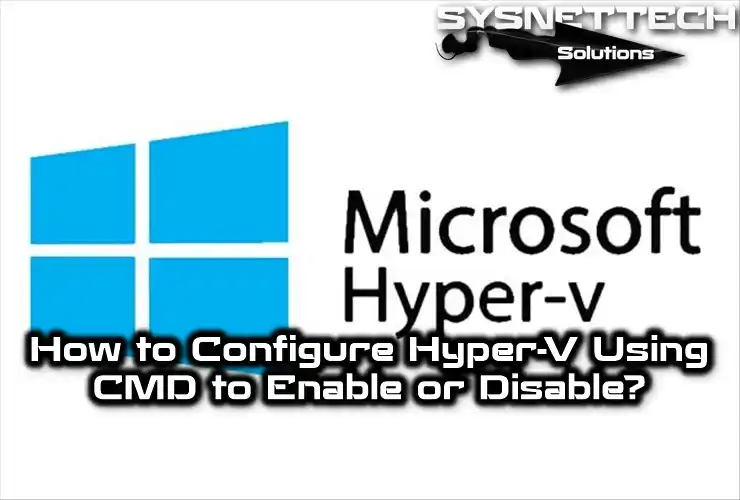
How to Enable and Disable Hyper-V using Command Prompt
Microsoft offers Client Hyper-V as a closed feature to Windows 8, 8.1, 10, and 11 OS users, allowing you to run effective virtual machines on your computer.
Windows 10 has many ways to enable Hyper-V. In our previous articles, we reviewed two ways of installation steps. These;
- Installing Hyper-V using the Turn Windows features on or off method.
- Installing Hyper-V using the Powershell command prompt method.
You can reach our articles about the installation methods mentioned above from the links below:
This article will examine the simple steps of enabling and disabling HyperV using the command prompt.
To enable Hyper-V with Command Prompt, execute the following command in the terminal:
dism.exe /Online /Enable-Feature /FeatureName:Microsoft-Hyper-V /AllTo disable Hyper-V with Command Prompt, execute the following
dism.exe /Online /Disable-Feature /FeatureName:Microsoft-Hyper-V-All
NOTE: Make sure that “Microsoft-Hyper-V-All” is combined at the command prompt.
Turning On Hyper-V from CMD
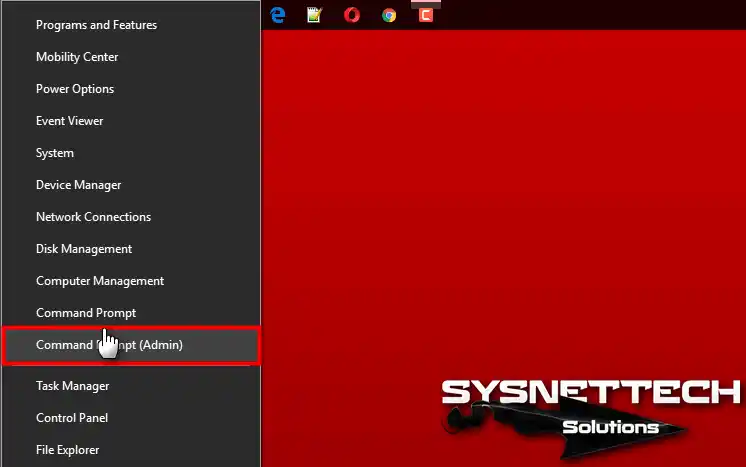
It will help if you run the command prompt as an administrator before enabling Hyper-V in the Windows 10 computer software. Follow the steps below to enable Hyper-V.
Step 1
Click Right Key / Command Prompt (Admin) on the start menu of your Windows 10 system.
Step 2
To activate Hyper-V, enter the command that follows at the command prompt.
dism.exe /Online /Enable-Feature /FeatureName:Microsoft-Hyper-V /All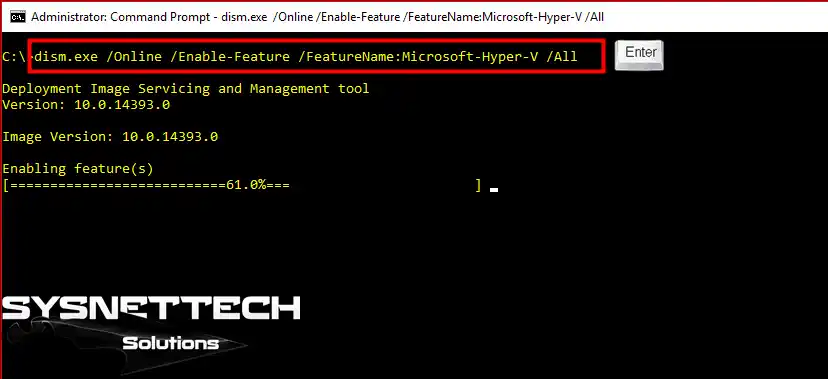
Step 3
After executing the command, press Y (Yes) to restart your computer. After your computer restarts, you will see Hyper-V Manager installed without problems.

Turning Off Hyper-V from CMD
After enabling Hyper-V, you must follow the actions below to remove this virtualization program from your computer quickly.
Step 1
To turn off Hyper-V with CMD, ensure the Microsoft-Hyper-V-All command is adjacent in the property name section before executing the command below.
dism.exe /Online /Disable-Feature /FeatureName:Microsoft-Hyper-V-All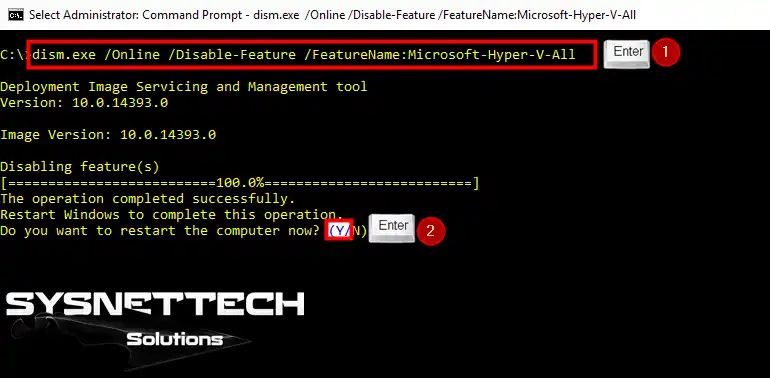
Step 2
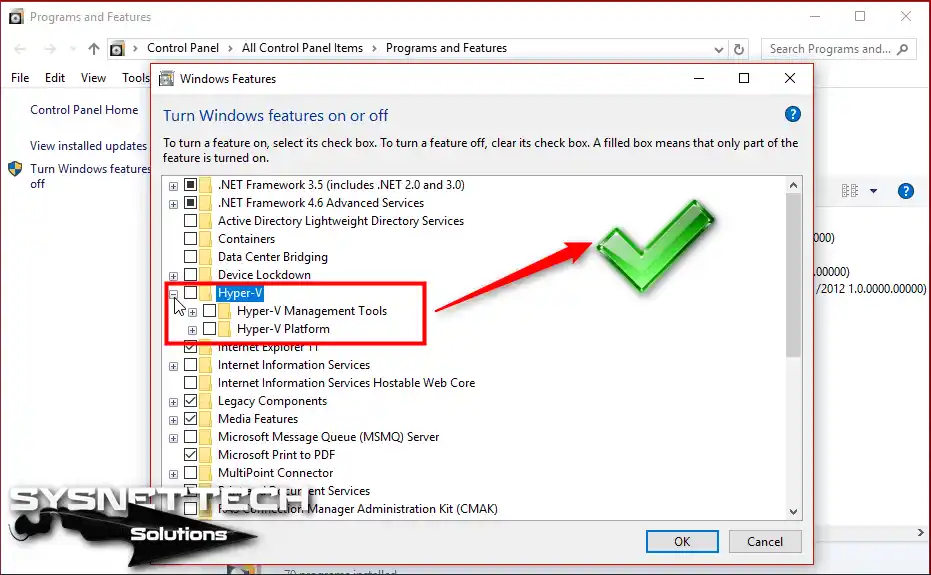
You can confirm Hyper-removal V’s from your PC in the Turn Windows features on or off the window.
Video
Watch the video below to enable and disable the Hyper-V virtualization program on Windows 10 and subscribe to our YouTube channel to support us!
Conclusion
In this article, we have configured Hyper-V with the dism.exe application using Command Prompt. Thanks for following us!
Related Articles
♦ What Does Hyper-V Do?
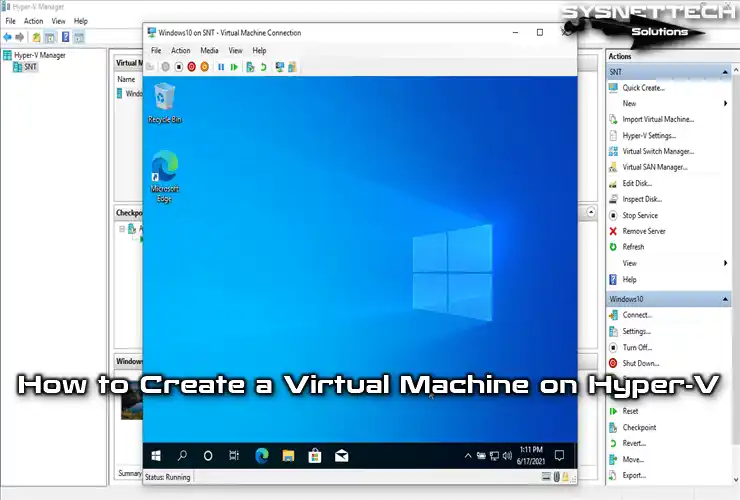
♦ How to Create a Virtual PC in Hyper-V
♦ How to Setup Windows 10 using Hyper-V
♦ How to Setup Windows 7 using Hyper-V
♦ How to Setup Windows XP using Hyper-V

TolgaBagci
Hi, I'm Tolga, a computer expert with 20 years of experience. I help fix computer issues with things like hardware, systems, networks, virtualization, servers, and operating systems. Check out my website for helpful info, and feel free to ask me anything. Keep yourself in the loop about the newest technologies!