To configure Cisco Routers for the first time, you must use the console connection. After connecting to the device using the console, you can assign an IP address, and then enable Telnet or SSH to manage over LAN/WAN.

How to Configure SSH on Cisco Router
For security reasons, configuring Routers with Telnet over LAN or WAN is not recommended. It is recommended that you configure the SSH connection instead of Telnet.
Because SSH provides a secure connection, it encrypts your data and allows you to securely manage your network.
In our previous article, we reviewed how to make a Telnet connection. In this article, we will also configure SSH on the Router using the network simulator.
How to Enable SSH in Cisco Router
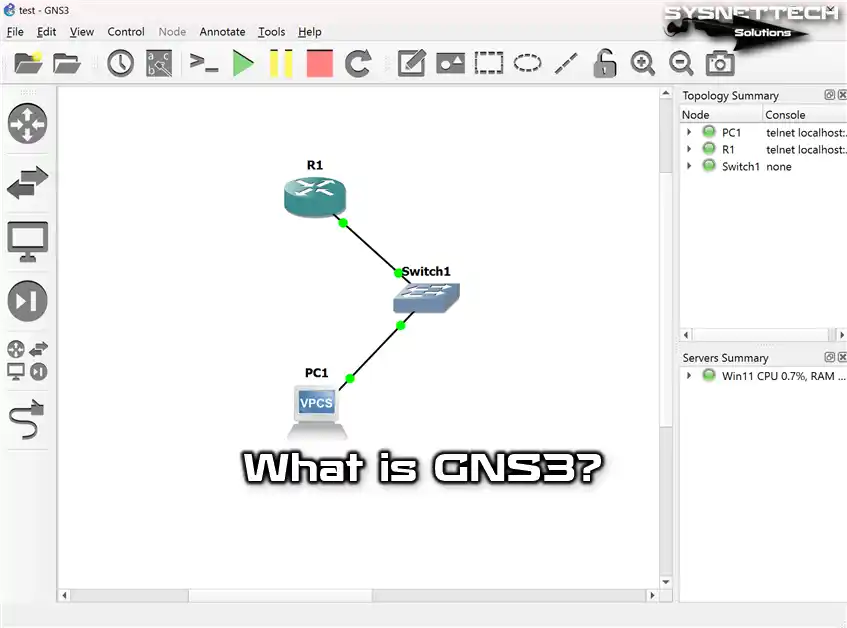
We will use GNS3 and VMware Workstation for configuration. Create a new virtual machine on VMware and install a Windows operating system.
If you haven’t added a Router IOS image before, you can take a look at Adding Routers to GNS3.
After completing the preparations for SSH configuration with GNS3, follow the steps below.
Step 1
Now open the GNS3 program and type a name for the new project.

Step 2
Drag and drop the previously added Router into the workspace.

Step 3
Add a Switch and Host to the workspace and wire the network devices.

Step 4
After creating a small network topology, open the Virtual Network Editor of the VMware virtualization program and configure a VMnet for the virtual machine.

Step 5
Create a VMnet in the Virtual Network Editor program, and then assign the IP address to it from the network and share center settings on your Host as shown in the image below.

Step 6
Type an IP block for VMnet3 in the virtual editor, select Host-Only and click OK.

Step 7
Configure the virtual machine’s network adapter setting to Custom (VMnet3).

Step 8
Configure the virtual machine’s network adapter setting to Custom (VMnet3). Click Start / Resume all nodes to run the router.

Step 9
To enable SSH after running the router, open the CLI prompt and perform the following commands in order.
R1# conf t
R1(config)# interface fastethernet0/0
R1(config-if)# ip address 192.168.8.1 255.255.255.0
R1(config-if)# no shutdown
R1(config-if)# exit
R1(config)#ip domain-name sysnettechsolutions.com
R1(config)#crypto key generate rsa general-keys modulus 1024
The name for the keys will be: R1.sysnettechsolutions.com
% The key modulus size is 1024 bits
% Generating 1024 bit RSA keys, keys will be non-exportable...
R1(config)# ip ssh time-out 15
R1(config)# ip ssh authentication-retries 2
R1(config)# ip ssh version 2
R1(config)# username cisco privilege 15 password cisco123
R1(config)# line vty 0 4
R1(config-line)# login local
R1(config-line)# privilege level 15
R1(config-line)# transport input ssh
R1(config-line)# exit
R1(config)# end
R1# wr

Step 10
Open the Putty program on your virtual computer and enter the IP address of the Router’s FastEthernet0/0 interface in the IP address section, and enter 22 in the Port number section and click the Open button.

Step 11
In the Putty security alert window, click Yes.

Step 12
The SSH connection to the Router will be successfully established as in the following image.
Type the username you created in Login as and press Enter.

Step 13
Enter the user password (cisco123) you created in the Password section and press Enter.

Step 14
Once connected to the Router with SSH, you can now easily manage your device over LAN or WAN.

Step 15
To view SSH sessions on the router, type the show line command in Privileged Mode and press Enter.
You can check the Telnet or SSH connections from the image below.

Step 16
To check the SSH version, execute the show ssh command in privileged configuration mode.
You can check that the SSH version is 2.0 in the show command output.

Step 17
You can use at the command prompt to initiate an SSH session on a PC or other router on the network.
 (Router IP Address)")
Step 18
To connect from Router to Router, execute the ssh -l cisco 192.168.8.1 command, and then type your password and press Enter.

Step 19
You can see SSH sessions again when you use the show ssh command.

Step 20
Use the show line command to display the current session.

Step 21
You can use the exit command to terminate the SSH connection.

How to Connect from Router to Router with SSH Protocol ⇒ Video
You can watch the video below to make an SSH connection from the virtual machine to the Router using the simulator program and also subscribe to our YouTube channel to support us!
Final Word
In this article, we have examined how to use SSH on Router with a network simulator program. Thanks for following us!
Related Articles
♦ Cisco Router Interface
♦ How to Connect GNS3 to VMware
♦ GNS3 DHCP
♦ GNS3 Static NAT
♦ GNS3 Dynamic NAT

TolgaBagci
Hi, I'm Tolga, a computer expert with 20 years of experience. I help fix computer issues with things like hardware, systems, networks, virtualization, servers, and operating systems. Check out my website for helpful info, and feel free to ask me anything. Keep yourself in the loop about the newest technologies!

In a lab environment of Gns3, I had two routers R1 & R2, connected with each other by fast ethernet cable, with one loopback address on each. Done all of my ssh configuration on R2 and lastly able to send ssh requests from the R1-physical interface to the R2-physical interface and to the loopback of R2.
#ssh -l
Now my question is that is it possible to send an ssh request from R1’s loopback address to R2-any interface